Welcome to the 9th Day of Christmas Blog Hop!
On this 9th Day of Christmas, I want to show you an easy Christmas Wreath to make.
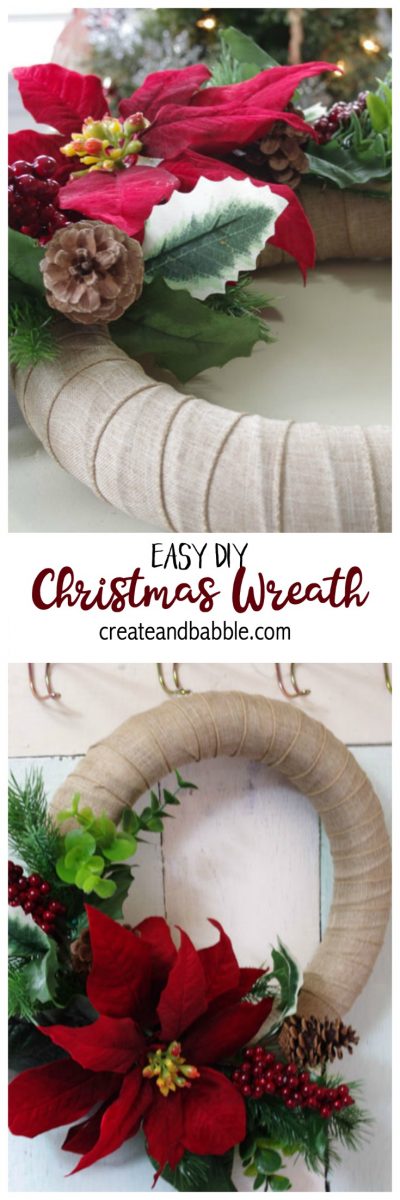
I’ve never been very good at flower arranging but I’ve found a simple way to make pretty wreaths.
Stop by every day from December first through the twelfth for new ideas you can use to make your season brighter!
Meet Your Hosts
They have all been busy as Elves creating, decorating, cooking and crafting tons of new ideas for you to try this holiday season!
Shirley~Intelligent Domestications I Alli~An Alli Event I Michelle~Our Crafty Mom I Marie~DIY Adulation
Erlene~My Pinterventures I Beverly~Across The Blvd. I Debra~Shoppe No. 5 I Victoria~Dazzle While Frazzled
Megan~C’mon Get Crafty I Michelle~Michelle James Designs I Amanda~Domestically Creative
Deborah~Salvage Sister & Mister I Jeanie~Create & Babble I Sherry~Olives & Okra
Jenny~Cookies Coffee & Crafts I Emily~Domestic Deadline I Bonbon~Farmhouse 40
Leanna~Of Faeries & Fauna I Pam Larmore~P.S. I Love You Crafts I Kelly~North Country Nest I Marie~The Inspiration Vault
Gail~Purple Hues and Me I Lynne~My Family Thyme I Karen~Dragonfly and Lily Pads I Trisha~Blowing Away Out West
I Lorrin~Embrace The Perfect Mess I Terri~Christmas Tree Lane I Sam~Raggedy Bits I Cyn~Creative Cynchronicity Valeria~Val Event Gal
Yami~The Latina Next Door I Tania~Little Vintage Cottage I Lauren~Wonderfully Made I Vanessa~DIY 180
Kimberly~A Wonderful Thought I Kim~Everyday Parties I Dru~Polka Dot Poplars
You’ll just need a few things to make this pretty Christmas Wreath.
Here are the supplies you’ll need:
- wreath form
- ribbon
- wire cutters
- floral pins
- straight pins
- hot glue gun
- one large poinsettia
- greenery stems with berries and pinecones
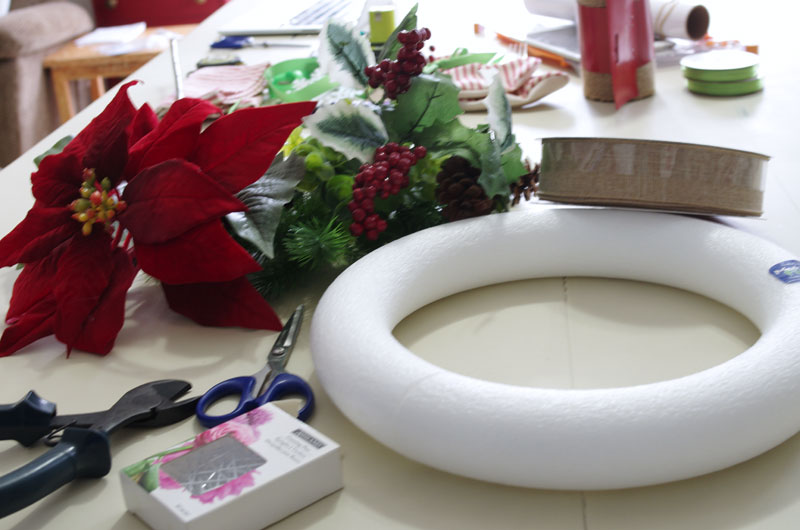
Step One: Wrap wreath with ribbon
Start by wrapping your wreath form with the decorative ribbon. Insert a floral pin in the back of the form to start the ribbon.
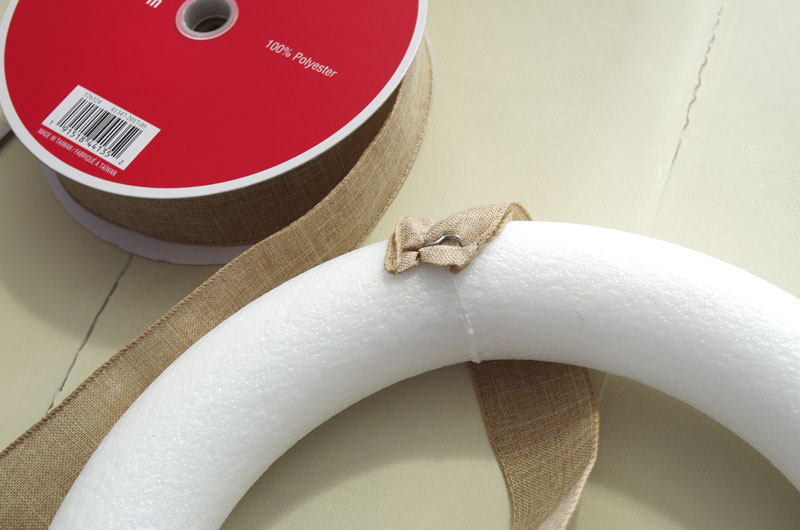
Continue wrapping the ribbon around, pulling the ribbon tight as you go.
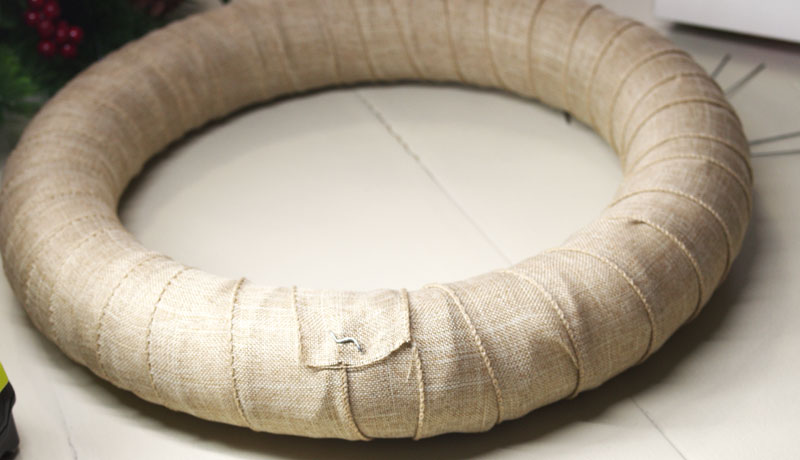
When you’ve completely covered the wreath form, cut off the excess ribbon and secure the end to the back of the wreath with a floral pin.
Step Two – Cut the greenery and flower
Now it’s time to cut down the flower and filler.
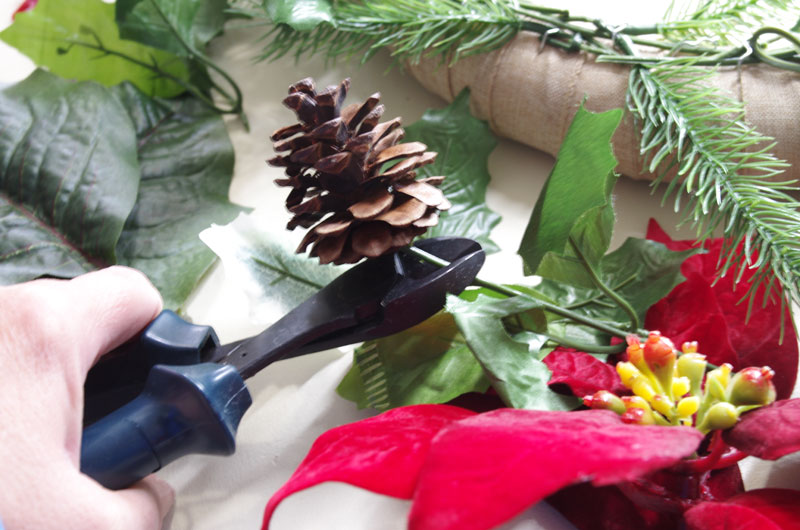
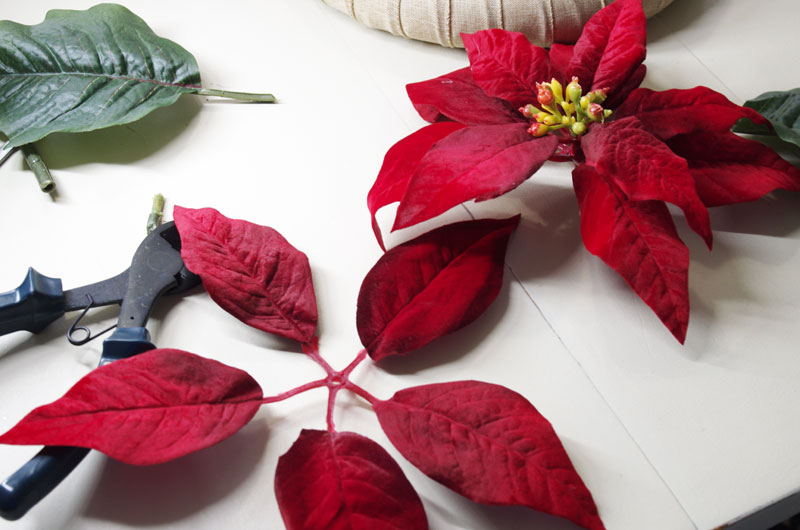
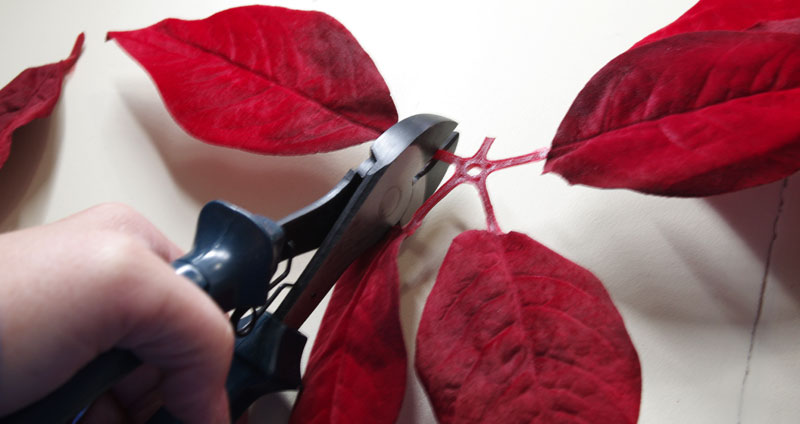
I decided that my poinsettia was a little too big so I removed the bottom layers of petals and snipped them at the stems. I’ll use them later when I get to placing the poinsettia.
Step Three – Add the greenery to the wreath
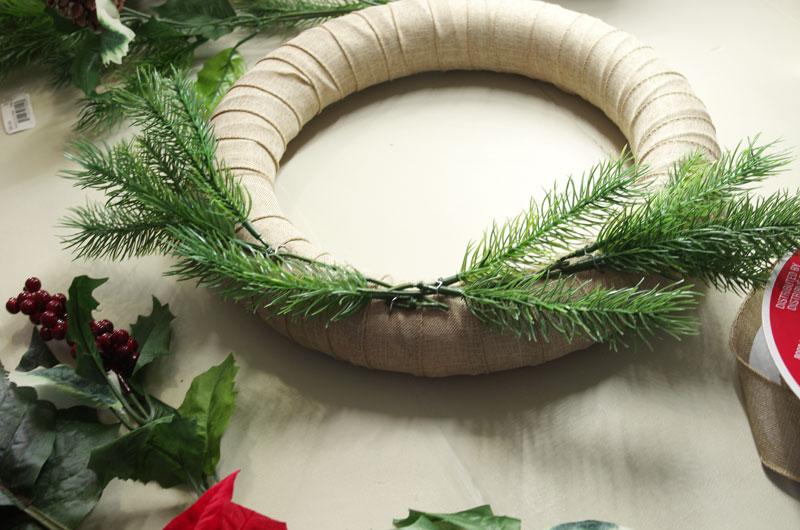
But first, start out with the filler. Pin on some of the greenery as shown above.
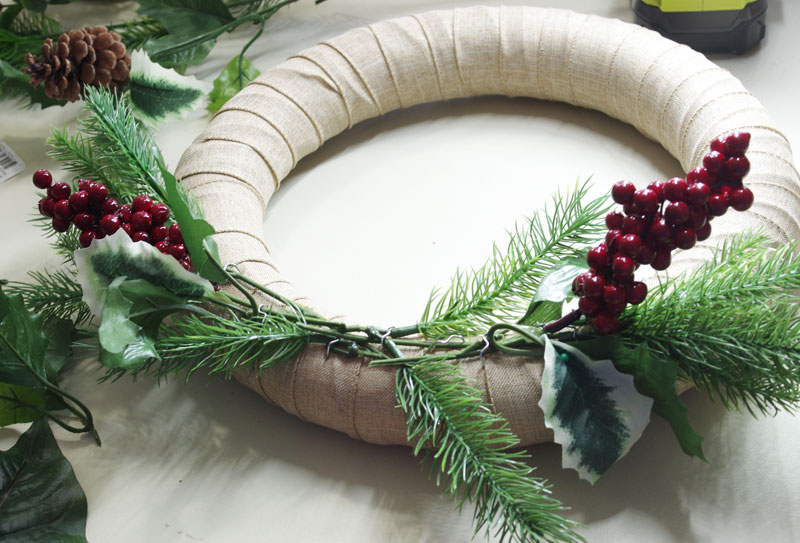
Next, add another layer of greenery and berries.
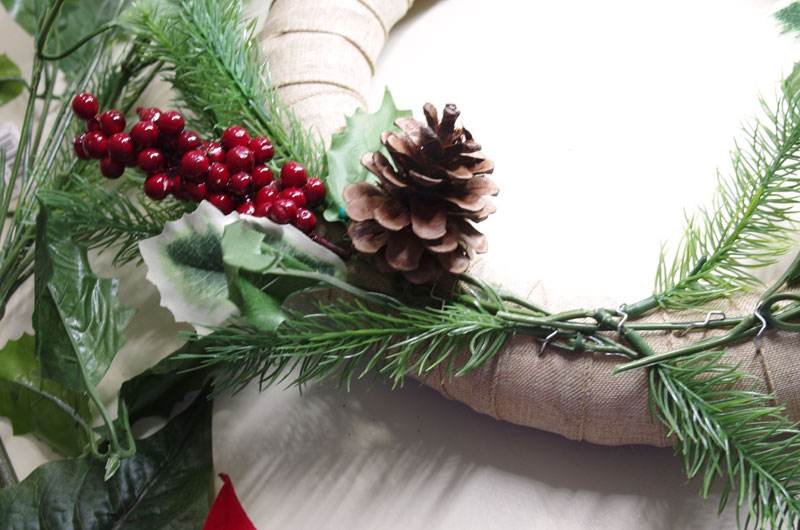
Then add some leaves and pinecones.
Step Four – Add the poinsettia
Remember those poinsettia petals that were removed? This is where I used them. I used straight pins to attached to the wreath,
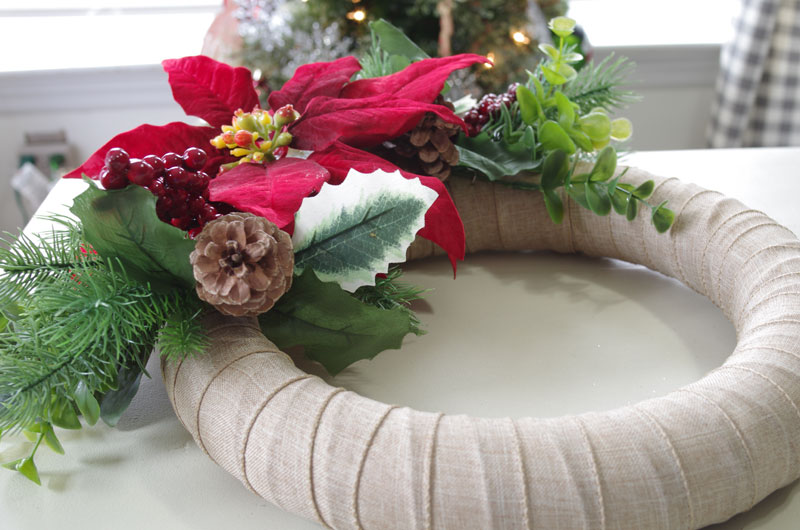
and then hot glued the rest of the poinsettia on top.
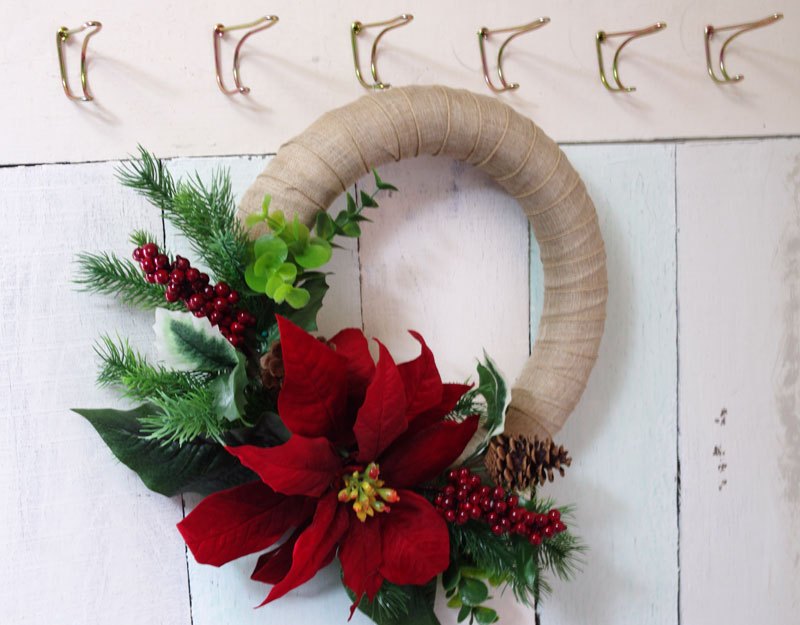
Done!
(Since this wreath is light-weight, I just used some hot glue and attached a floral pin to the back to use for hanging.)

Be sure to visit our fellow 12 Days of Christmas Bloggers below for even more creative ideas this holiday season!




So pretty! Love the oversized poinsettia. Visiting from 12 Days of Christmas.
This is beautiful! I love it! The ribbon is perfect with all the accents
I’ve never been good at flower arrangements either, or wreaths! I’m going to have to try your method for my next wreath, I think I can handle this one!