Therm O Web has provided me with the products used in this post. All opinions are my own. This post contains affiliate links.
I’ve been admiring the pretty pumpkin pillow covers that I’ve been seeing in places like Pottery Barn. The problem is I don’t want to spend $39.50 on a pillow cover! My solution: make it myself. Does it look exactly like theirs? Nope. And that wasn’t my intention. I just used their pillow cover as inspiration for mine. I also wanted mine to have more of a watercolor look.
FYI: don’t miss my friends Fall projects AND be sure to enter to win an AMAZON GIFT CARD – both at the bottom of this post!

How did I get this watercolor look? Easy! I’ll show you how and you don’t even need to own a Silhouette® machine to do it – just the Silhouette Studio® software. You knew you can download the software, right? That software, a printer, and some iCraft Mixed Media Sheets (Heavy Weight) are what you need to get make this faux water color look.
Let’s get started.
Step 1 – Find an image, drop it into Studio®, resize, and turn on registration marks
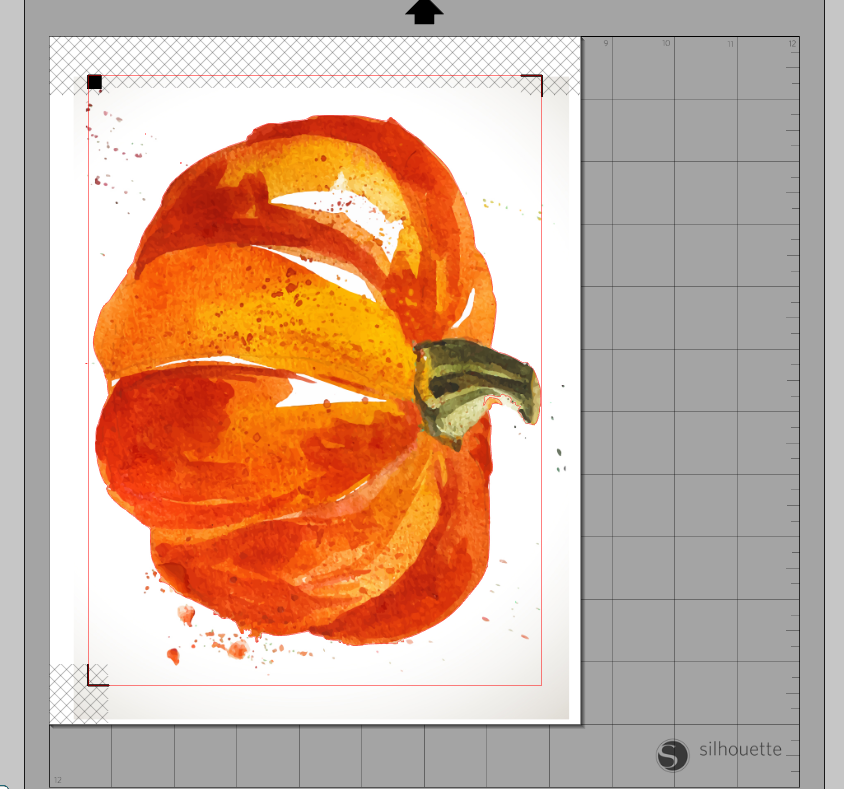
I found this pretty pumpkin here: Watercolor vector designed by Freepik This site is full of pretty watercolor images. (Just be sure to follow the attribution instructions)
Once you’ve found your image, drag it into a new work space in Silhouette Studio®, then resize it to fit on an 8-1/2 x 11″ page. Turn on the registration marks.
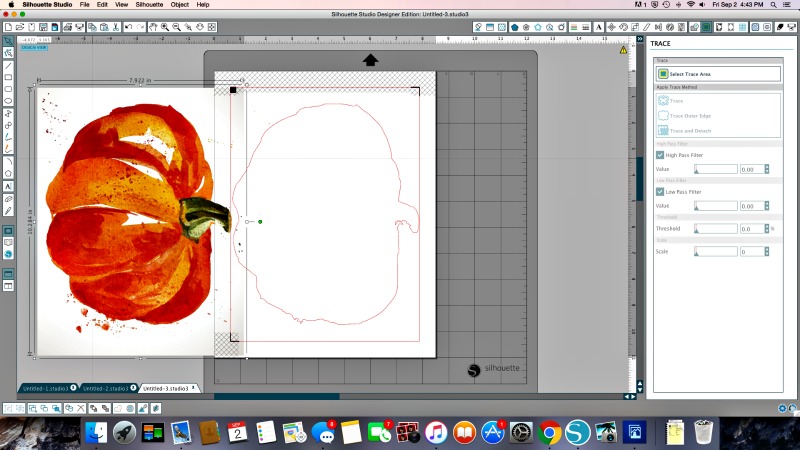
Step 2 – Trace the outer edge of your image
Once you have traced the outer edge of your image, group the image and the cut line together.
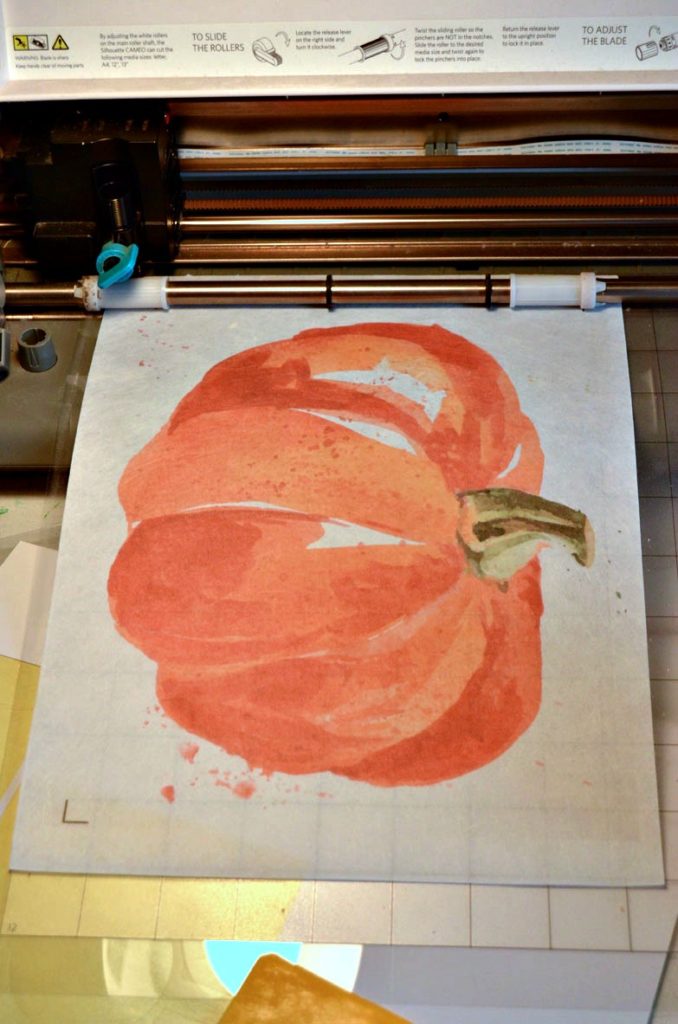
Step 3 – Print & Cut
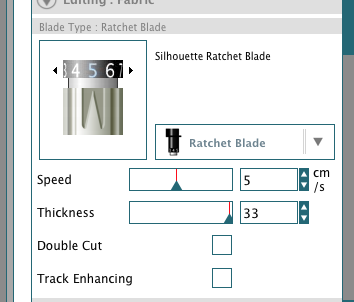
Now it’s time to print out the image onto the Thermoweb Mixed Media Sheet and then cut out the pumpkin with your Silhouette® machine (*or scissors). If you’re using your Silhouette® to cut, I found that a blade depth of 5 works well with the heavy weight Mixed Media Sheets, but I always recommend that you do a test cut first.
*If you do not have a Silhouette® machine yet, you won’t have to turn on the registration marks. Just print out the image onto the Mixed Media Sheet and cut out with scissors.
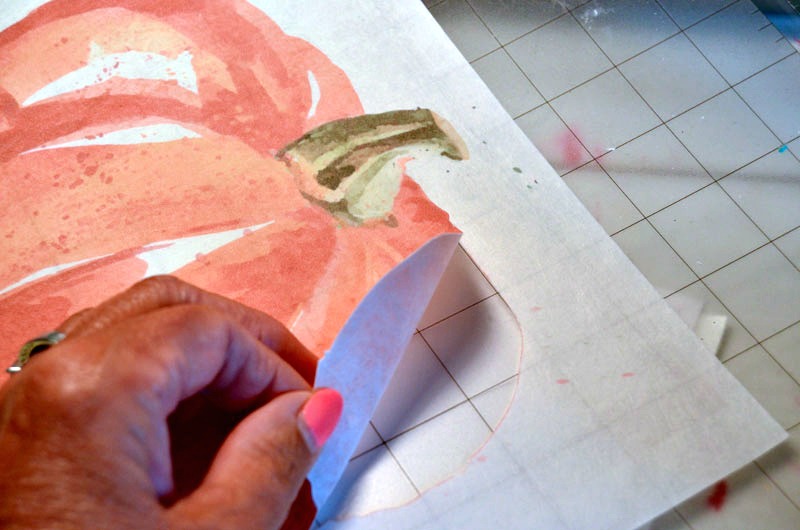
Step 4 – Adhere image (applique) to pillow cover
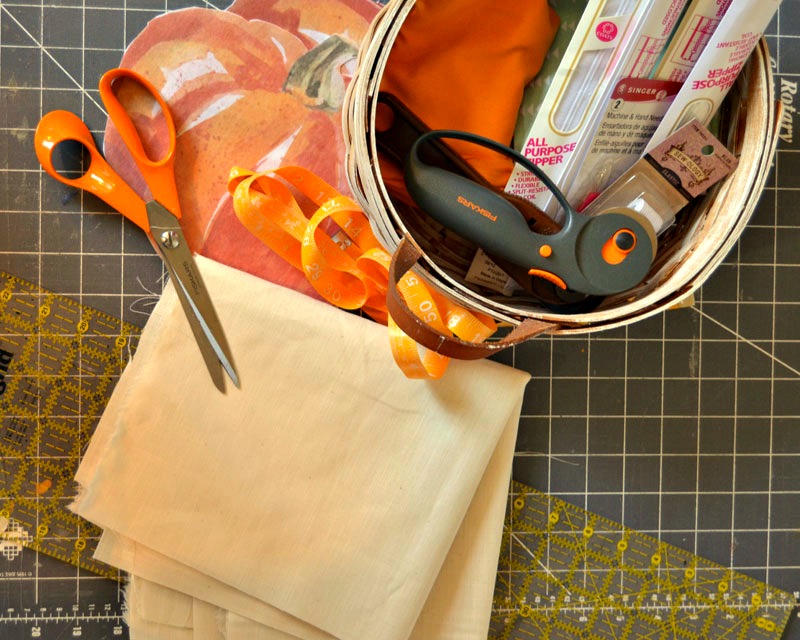
You can follow my easy step-by-step to making a pillow cover with a zipper or purchase a plain pillow cover such as this one.
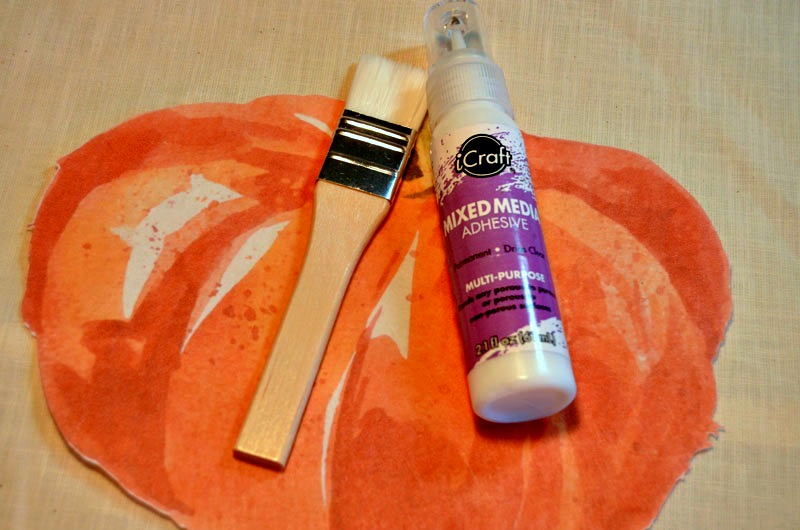
Use the Mixed Media Adhesive to attach the applique to the pillow cover. I find it easier and less messy to spread out the adhesive with a small paint brush.
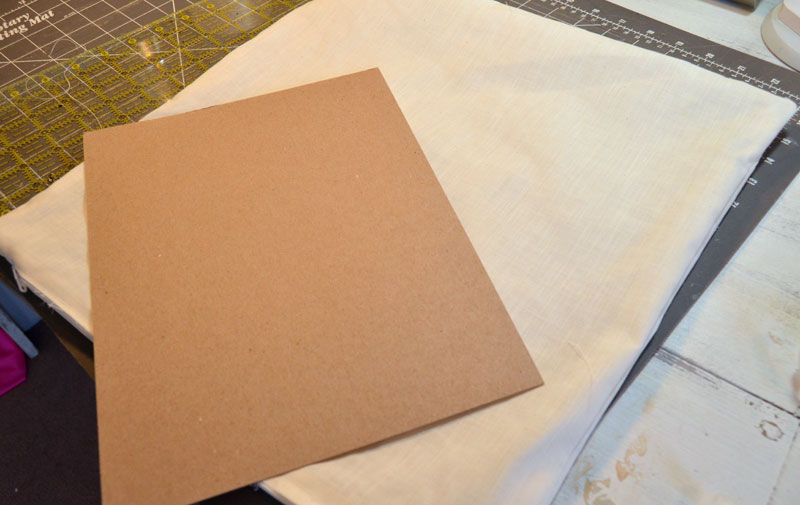
Remember to place a piece of cardboard inside the pillow cover before adhering the applique.
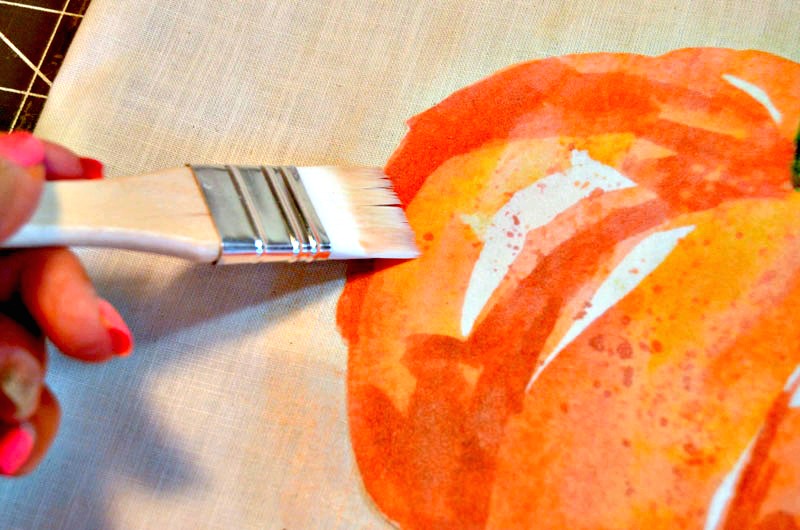
TIP: brush the edges of the applique with a little of the adhesive. This ensures that the edges are firmly adhered and it also draws some of the ink onto the pillow cover, giving it a hand-painted appearance. Please note that this adhesive takes at least 24 hours to completely dry.
TIP: dip a clean paint brush into coordinating colors of acrylic craft paint, and “flick” the bristles over the pillow.
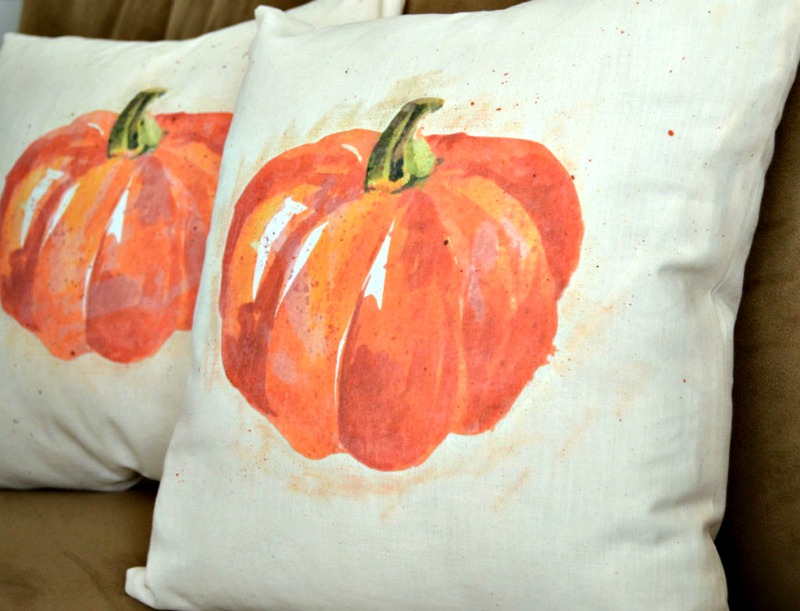
Step 5 – Allow everything to dry
Once the paint and adhesive are completely dry, insert a pillow form into your beautiful, watercolor pumpkin pillow covers!
Want to Check Out More Fall Silhouette Projects?
My Silhouette Challenge friends and I are all sharing projects on our blogs today, so peruse the projects below for a wealth of Silhouette inspiration!

1. Small Stuff Counts // 2. My Favorite Finds // 3. Two Purple Couches // 4. The Thinking Closet // 5. Practically Functional // 6. GiveMeAPaintbrush // 7. Creative Ramblings // 8. Ginger Snap Crafts // 9. Where The Smiles Have Been // 10. Sisters, What! // 11. Create & Babble // 12. HaberdasheryFun // 13. Curly Crafty Mom // 14. unOriginal Mom
Amazon Giveaway
![]()
And because we not only want to inspire you creatively, but help provide you with the tools to make that happen, my Silhouette Challenge buddies and I are hosting a giveaway for a $140 Amazon gift card for one lucky winner. You can put that prize toward a Silhouette machine, supplies, or whatever your crafting heart desires.
The best part? This giveaway is open to international readers, as well. Whoo hoo!
To enter: just complete the entries in the Rafflecopter widget below or at this link. Because of my many blog friends who helped make this giveaway possible, you have 17 potential entries, which means a lot of winning power. So, hurry up and enter!
{This giveaway runs from today through Monday, September 19th at 11:59p eastern and is open to anyone 18 years of age or older. International entrants welcome. You can read the rest of the terms and conditions in the widget below.}


This turned out beautifully! I had no idea you could create something like this with Therm O Web!
Therm O Web has some pretty awesome products that play nicely with Silhouette®!
Oh my goodness Jeanie your pillow is amazing!
Thanks Amy! I was skeptical, but it turned out even better than I had hoped!
Awesome pillow and awesome tutorial! Love everything about this!
Thank you Marni! It was fun to make.
Jeanie, I LOVE this!! I really want to make one for myself. I’ve never used Thermoweb before but I definitely need to! Thanks for the idea and the great tutorial.
WOW!!! This is gorgeous watercolor look project! Cannot believe it is print and cut! Thanks for the tutorial and inspirations!
I just love this Jeanie! What a perfect way to use and showcase our new Mixed Media Sheets and Adhesive! 😉
No Way! I love this project and saw it somewhere around the web…and come to find out it’s yours! Love!!! Pinned for future. Seriously creative project and I loved the flicking technique too!
Your pumpkin pillow is perfect and your tutorial is great! We’d love for you to share it at our new Monday Social at MyHeartLivesHere.com, Botanic Bleu and Let’s Add Sprinkles.
What a pretty pillow, perfect for fall, I think I need to bring out my sillhouette!
I continue to be jealous of those of you with Silhouettes!! So cool.
Thanks so much for sharing at Thoughts of Home. Pinning. 🙂
Gorgeous project! Thanks for the link to the image, and the idea of using paint spatter, and drawing the ink out to make it look more realistic.
How pretty! And clever! I’m learning how to use my brand new Silhouette Cameo (used my gift card to purchase – THANK YOU!) I’m working with the basics now, but look forward to trying more detailed projects like this – thanks for the tutorial!