


There was a day not too long ago really, when I didn’t have a clue on how to hang stuff up on walls that required more than a picture hanger or command strips. The thought of installing drywall anchors made me nervous.
I was in Home Goods not too long ago. I was in the aisles that have the mirrors, artwork, and shelving. There were two other women in the same aisle talking about buying a cute wall cabinet. They were looking at the back of it and discussing how it would need to be attached to the wall. The one woman really wanted to buy it but said she didn’t know how to hang it and the other woman agreed and said they would have to find someone to ask to hang it for them. So they left without it. That was kinda sad. Little did these women know how easy it is to hang this type of thing.
Since that was me not too long ago, I want to make sure that you (my dear readers) are able to install anchors and can hang up your own stuff if you want to!
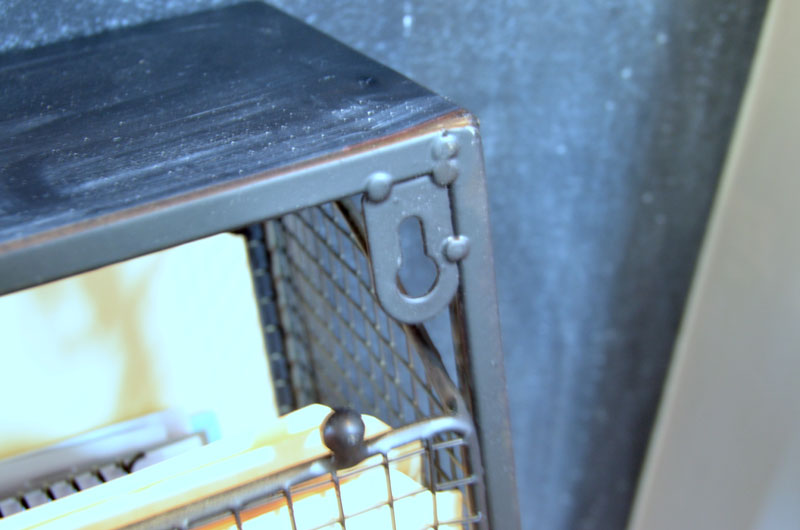
Many objects now have these type of hanger-type things on the back of them for hanging. Actually, they’re not hangers at all. Just little plate type things with holes for the screw heads.
I bought this Metal File Holder from Decor Steals. I’m trying to get the piles of papers in my office corralled into one space where I can easily find what I’m looking for.
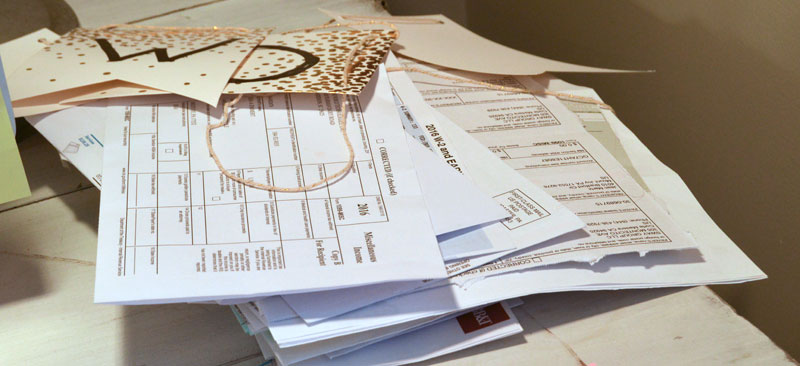
I had piles of paper on my desk beside my computer . . .
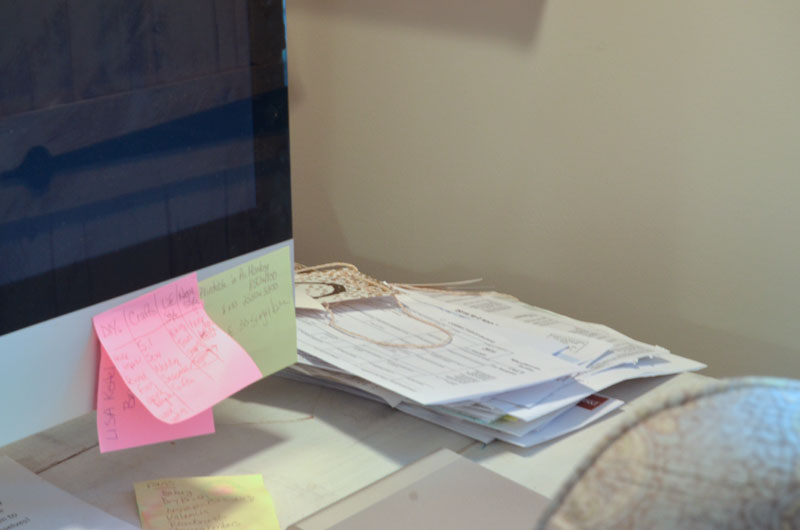
. . . behind my computer . . .
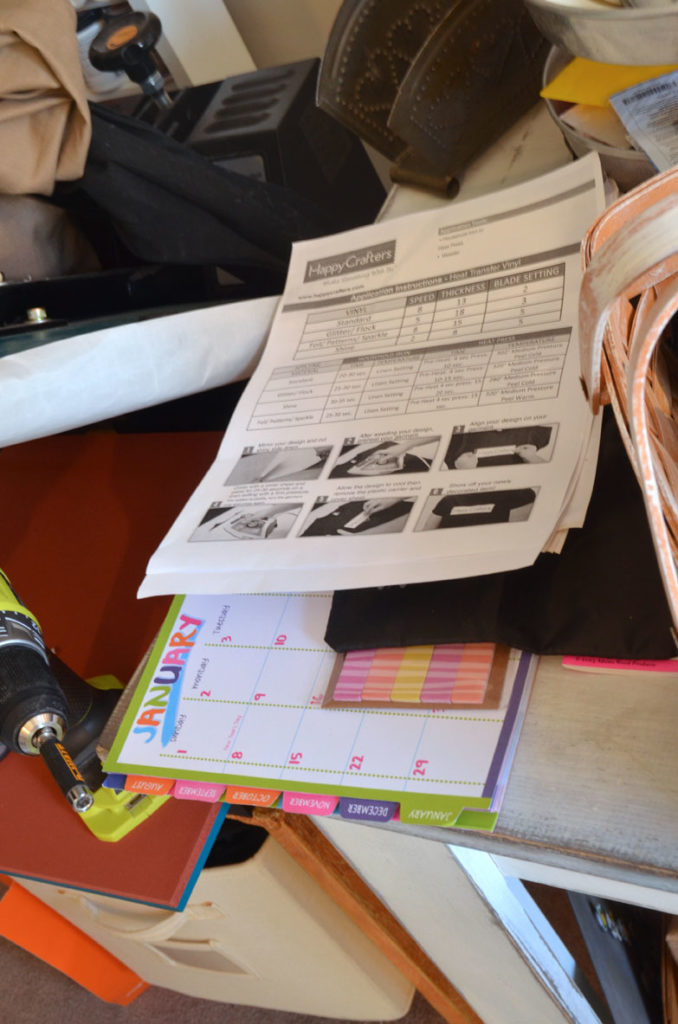
. . . on the floor. . .
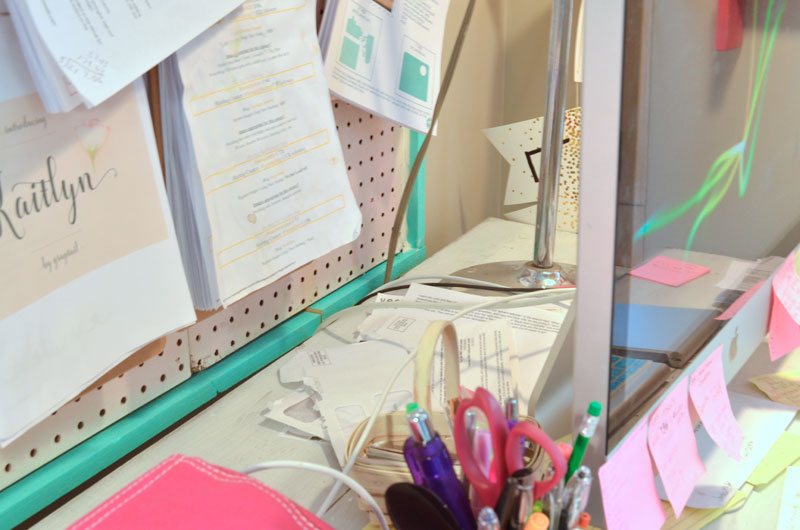
You get the idea. Do you have piles of paper that need organized too???
So it was time to do something about this. I was feeling overwhelmed and disorganized. And I can’t create when I’m surrounded by chaos so I had to do something.
This post contains affiliate links that help me at no cost to you! Thanks so much! Read more.
I was trying to come up with a DIY solution for weeks. Maybe I could build something. But then an email came through from Decor Steals with this:
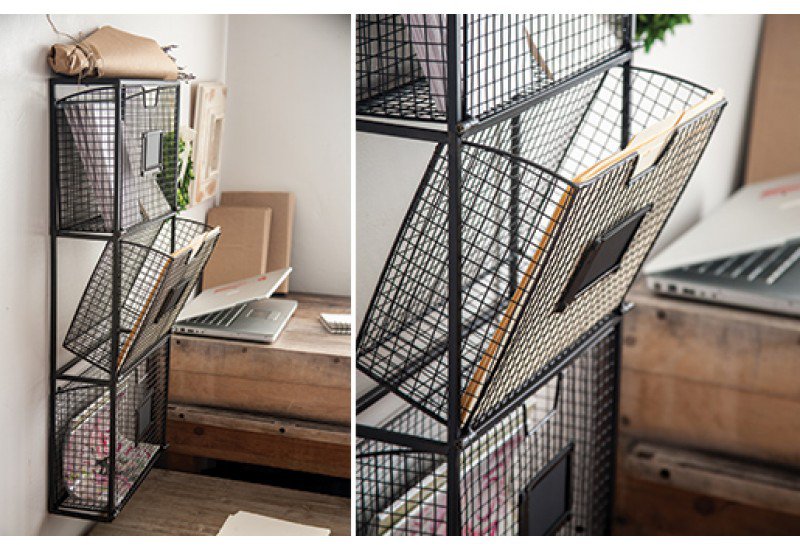
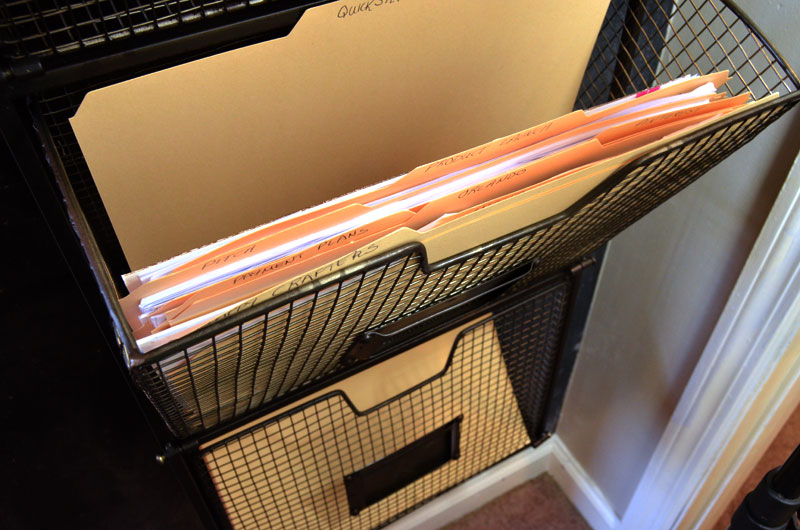
This wall-mounted rack with three tilting baskets is the perfect solution to my problem. I needed a place to store letter-size folders that could hold my piles of papers. Just perfect! (this rack is now sold out but Decor Steals always brings items back into stock that sell well.)
It was delivered a few days later and I saw that it had those screw hole hanger things and thought Hey! I can show my readers with this piece how to install drywall anchors for hanging something like this on your wall. Let’s do it! You’ll be hanging stuff on your walls in no time!
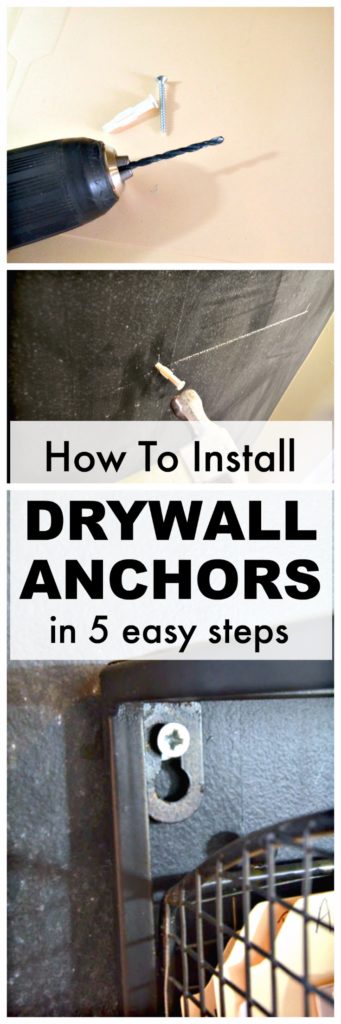
How to install drywall anchors in 5 easy steps!
Step 1 – Gather up tools and supplies
You will need:
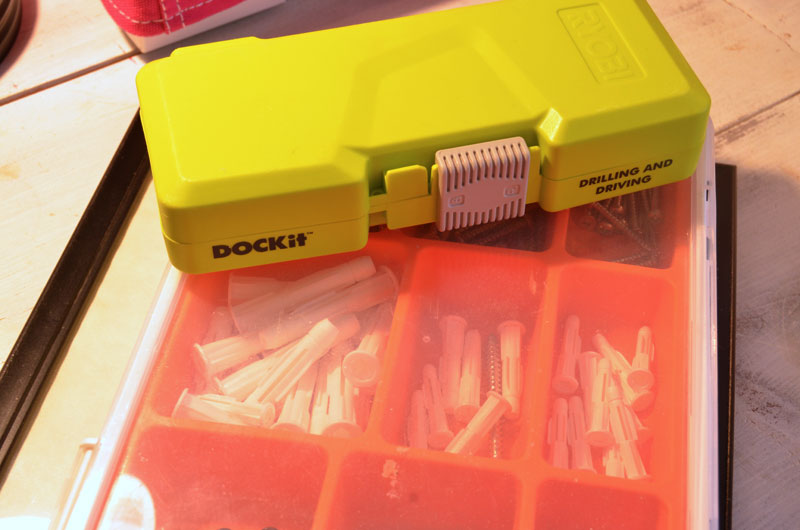
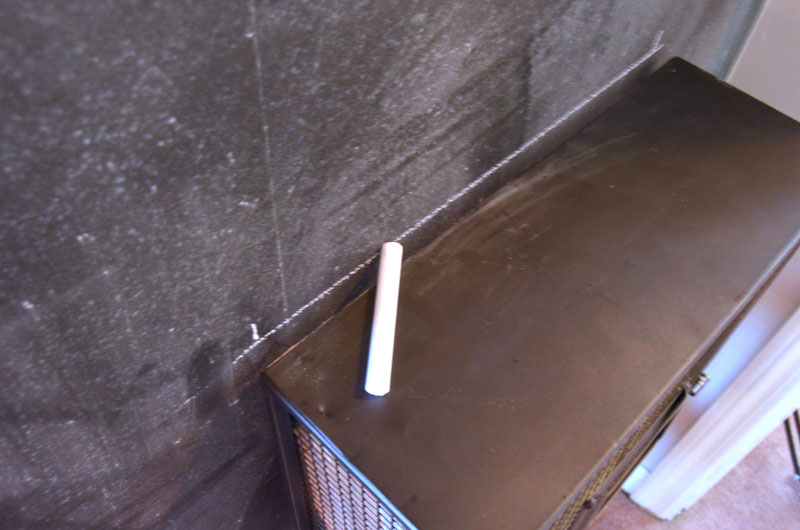
Step 2 – Mark the spot
Place your piece against the wall slightly lower than where you permanently want it. Using a level, check to be sure it’s straight. Mark a line with the pencil (or chalk) across the top, making marks indicating where the screw hole holders are. See photo below:
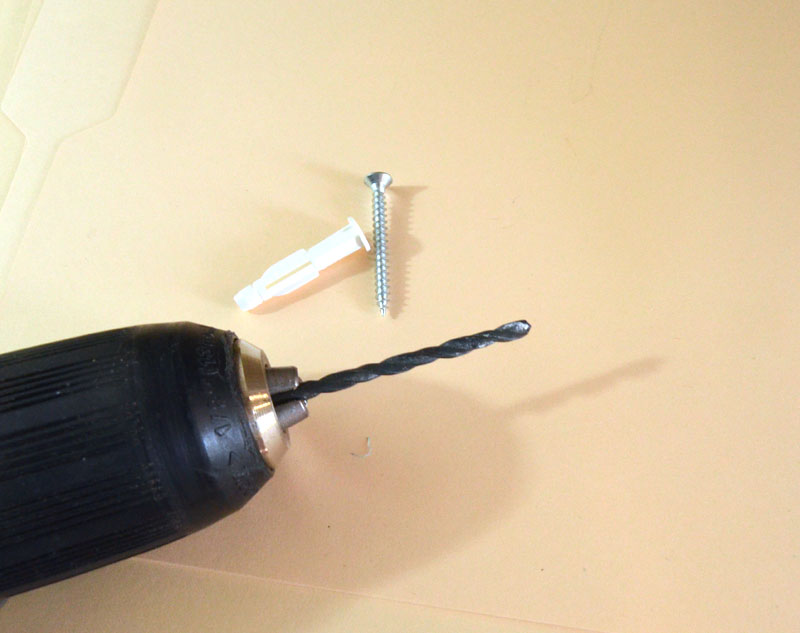
Step 3 – Drill hole for anchor
Insert a drill bit into drill that is slightly smaller than the end of the anchor (I just eyeball this).

Step 4 – Insert Anchor
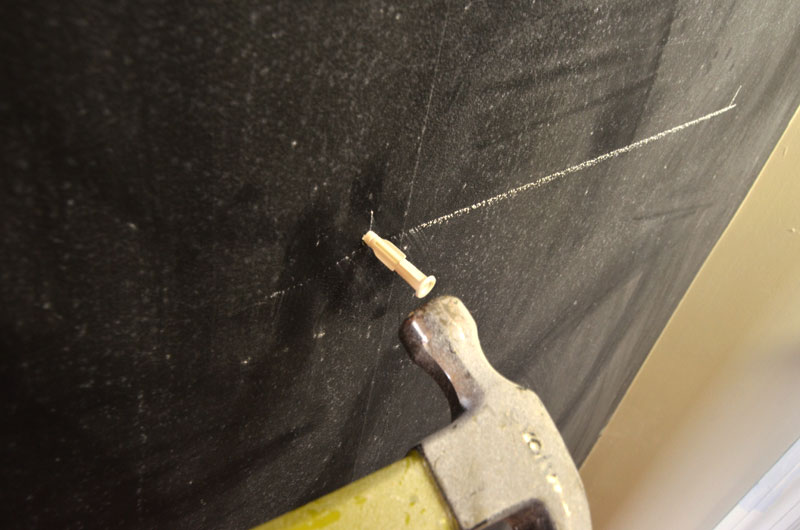
Using the hammer, tap anchor into the hole in the drywall until the edge of the anchor is flush against the wall.
Please note, there are different types of anchors available. My project is relatively light weight and the anchors I used were sufficient to hold what I was hanging. Other types of anchors will be screwed into the wall, not tapped in with a hammer. Please purchase anchors that are appropriate for the weight of the item that you are hanging.
Step 5 – Drill screw into anchor
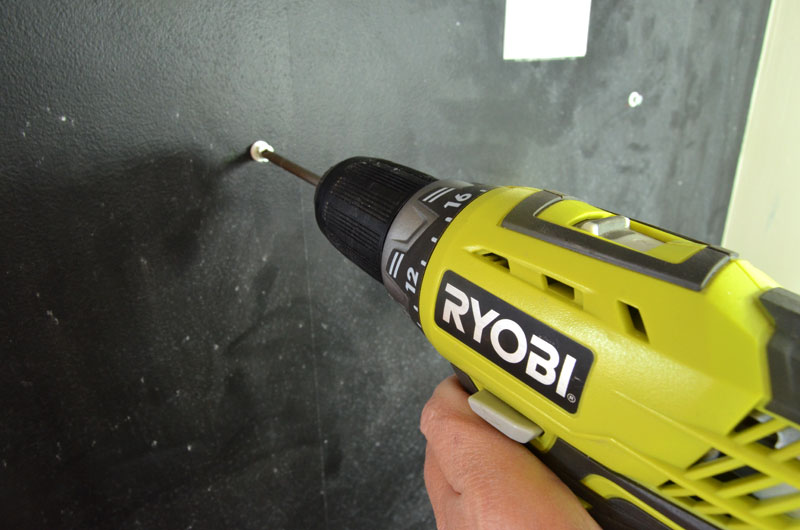
For this type of hanging you want to leave room between the head of the screw and the anchor so that a tiny bit of the shank of the screw is exposed.
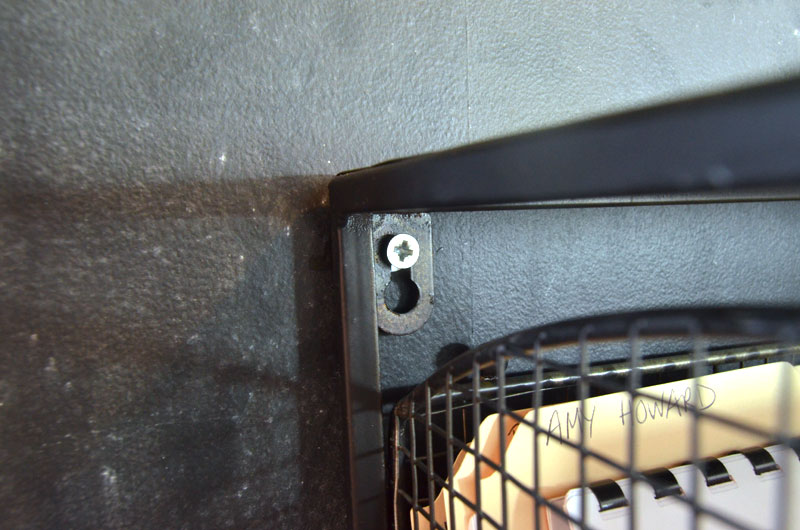
As shown in the photo above, the rack hanger is inserted over the head of the screw and then it slides down the exposed shank of the screw. (You may have to make adjustments to how far the screw is screwed in for this.)
Now you can stand back and enjoy your handiwork!
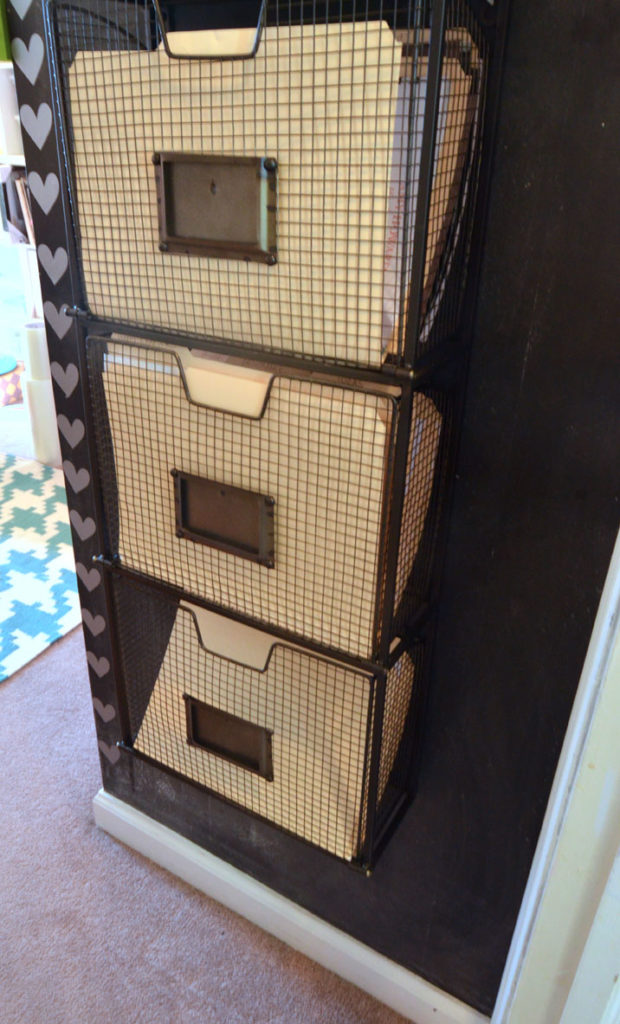
And enjoy your neatly organized file rack! Or whatever it is that you’ve been wanting to hang!
Next I need to organize and store my magazines. How to you store your magazines. I still want to be able to access the magazines but need a way to neatly store them too. I was thinking about this:
One more quick thing: Dan and I are thinking about replacing one of our two sofas in the family with two recliners. Do any of you have two recliners instead of a sofa? What do you think of this idea?
I received an email from La-Z-Boy reminding me that today is the last day to get these historic deals at La-z-Boy.com! Shop recliners starting at $299 and sofas starting at $699!


This is a very handy post. Every woman on earth struggles with getting her pictures where she wants the because “someone” insists it be in the stud. True I understand the need of having a stud to anchor the object, but the item needs to be where it needs to be as well.
Gyproc plugs are the answer for sure, thank for showing the exact method for using them. Very helpful
Great tips Jeanie. I love how clear you have made it to understand that I would actually attempt this kind of project.
Really good article! If you need to patch holes in the wall, use spackle paste to fill the hole and gently use sand paper to smooth the finish. For larger holes use fiber tape to reinforce the spackle.