Every Spring, when we visit Cape May, New Jersey, I l love going into the quaint little boutiques and I always admire the wooden flowers that I see there. I never buy any because I know they would be so easy to make but I never got around to making any. Until now.
The theme for this month’s Power Tool Challenge is Spring and I thought: here’s my chance! My reason to try making a wooden flower.
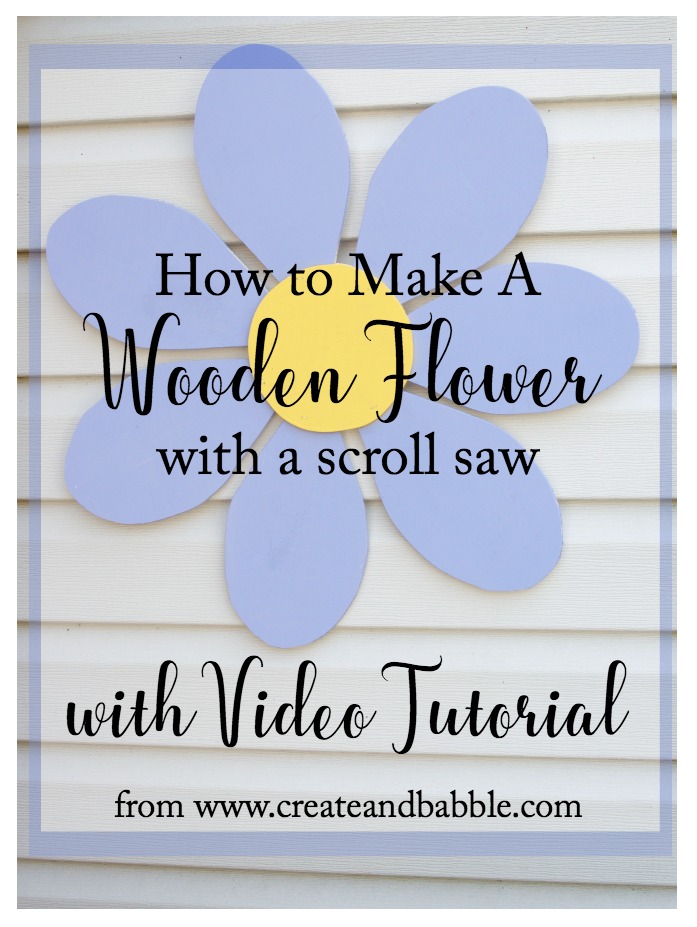
Now that I’ve made one, I can’t wait to make more. These would make great Mother’s Day gifts.
Let me show you how easy these wooden flowers are to make. The video tutorial is at the bottom of this article. This post contains affiliate links.
Supplies you will need:
- 1/4″ plywood (I had plenty of scraps around so I didn’t have to buy any)
- repositionable spray adhesive
- wood glue
(this is my favorite)
- paint
- paint brush
- command strips
to hang
Tools to make wooden flowers:
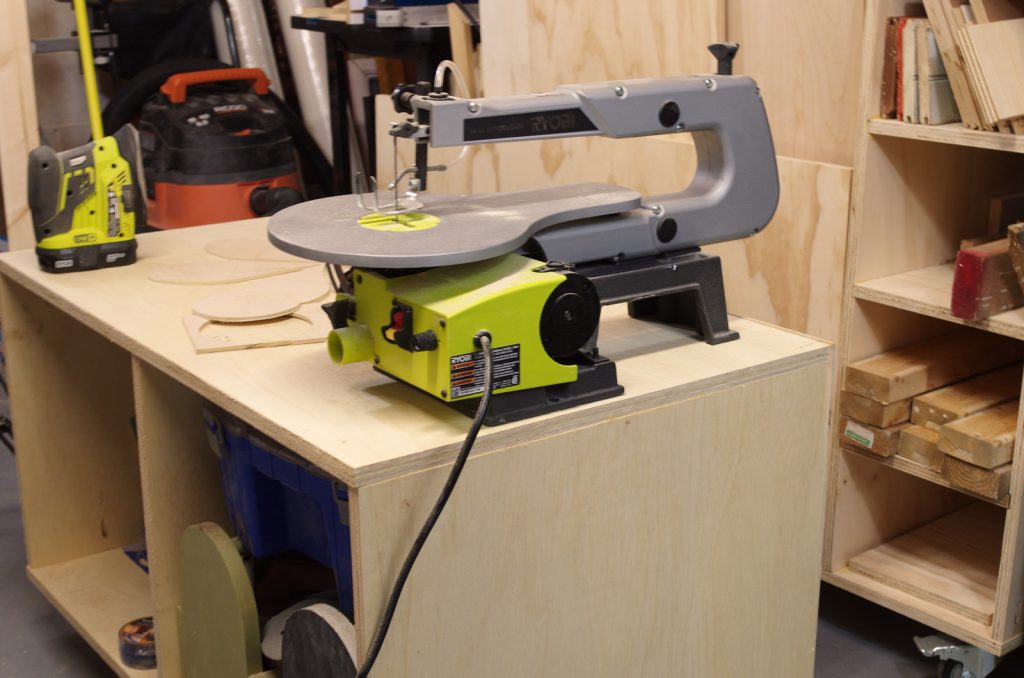
I could have used any of the saws on the list but I chose to use my scroll saw because I haven’t really used it much and I need the practice! (But truth be told, I need practice with the jigsaw too!)
How to make a wooden flower
Step One
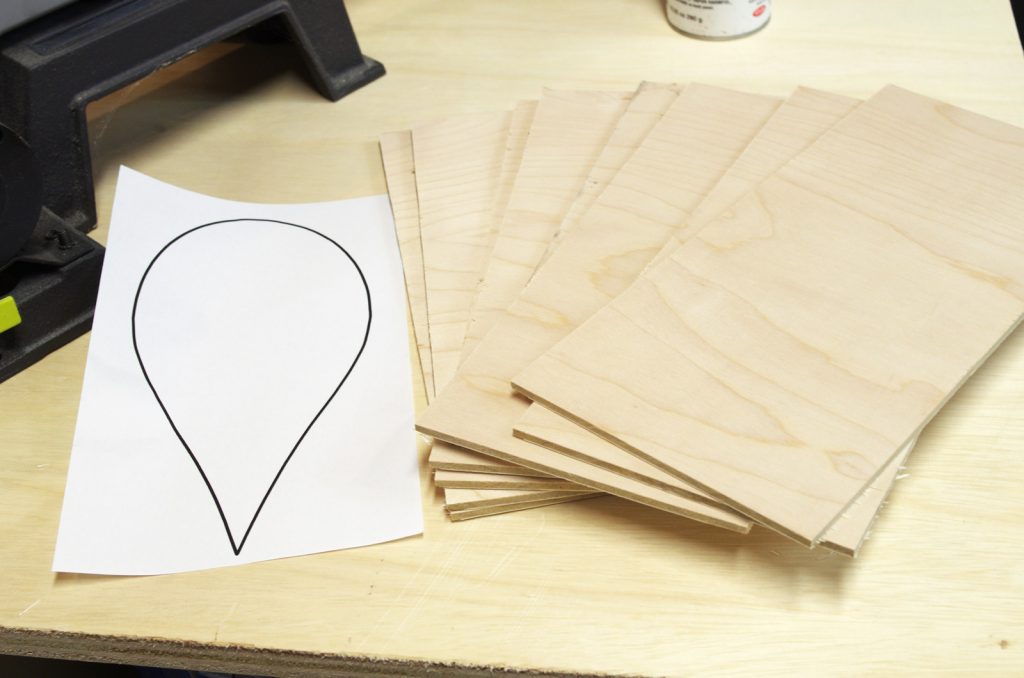
Create a template or pattern of a flower petal. I used my Silhouette Studio software to make mine. Once I had the shape of the petal made, I printed it out on my home printer. Click here to download my petal template.
Step Two
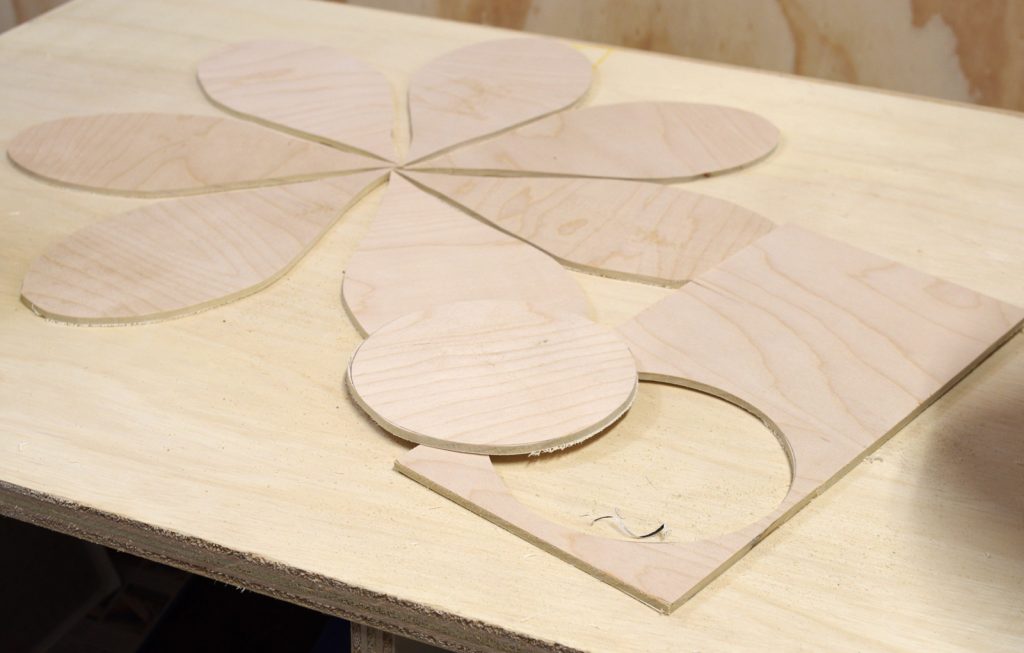
Attach petal pattern to plywood using the repositionable spray adhesive and cut out seven petals with the saw of your choice. Cut out two wooden circles out of the plywood. These will be the center of the flower. For the circles, I just traced around the bottom of a paint can.
Step Three
Sand and paint. Paint the petals and one of the round centers with paint of your choice.
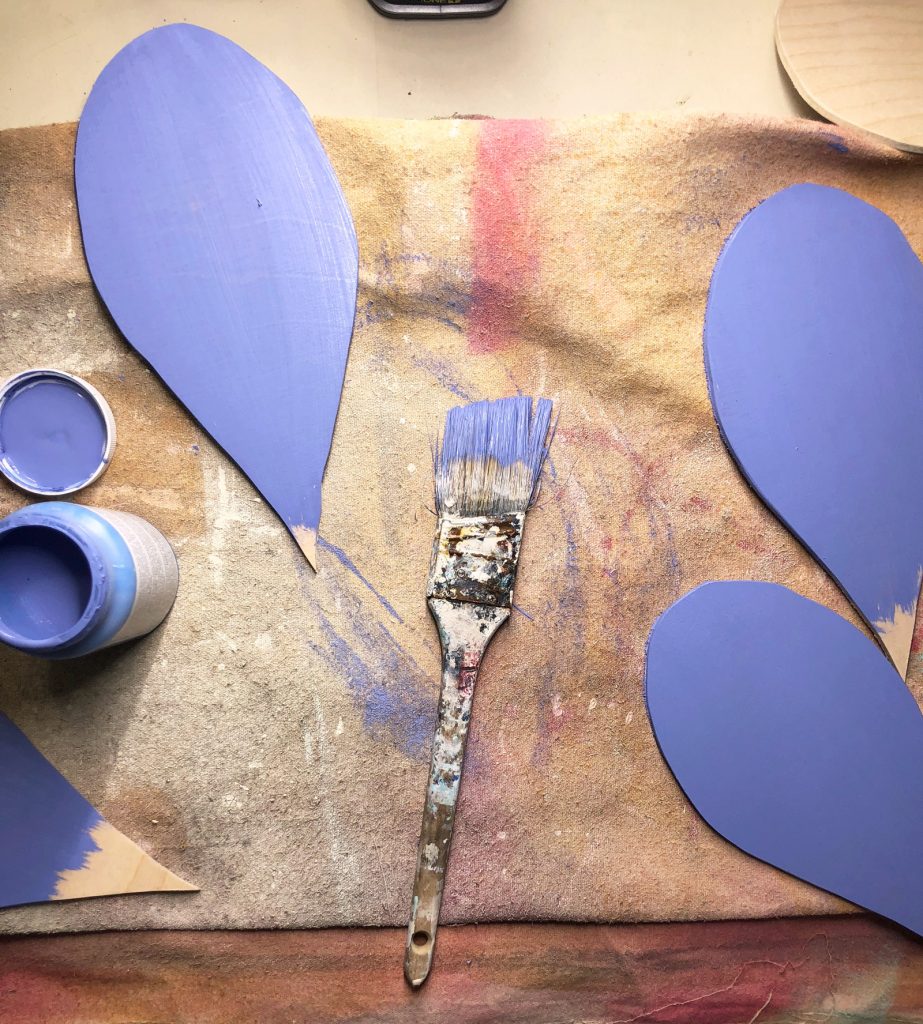
I used DecoArt Vintage Effect Wash which is a color wash paint in Light Purple for the petals and DecoArt Americana Acrylic Paint
in Cadmium Yellow for the flower center.
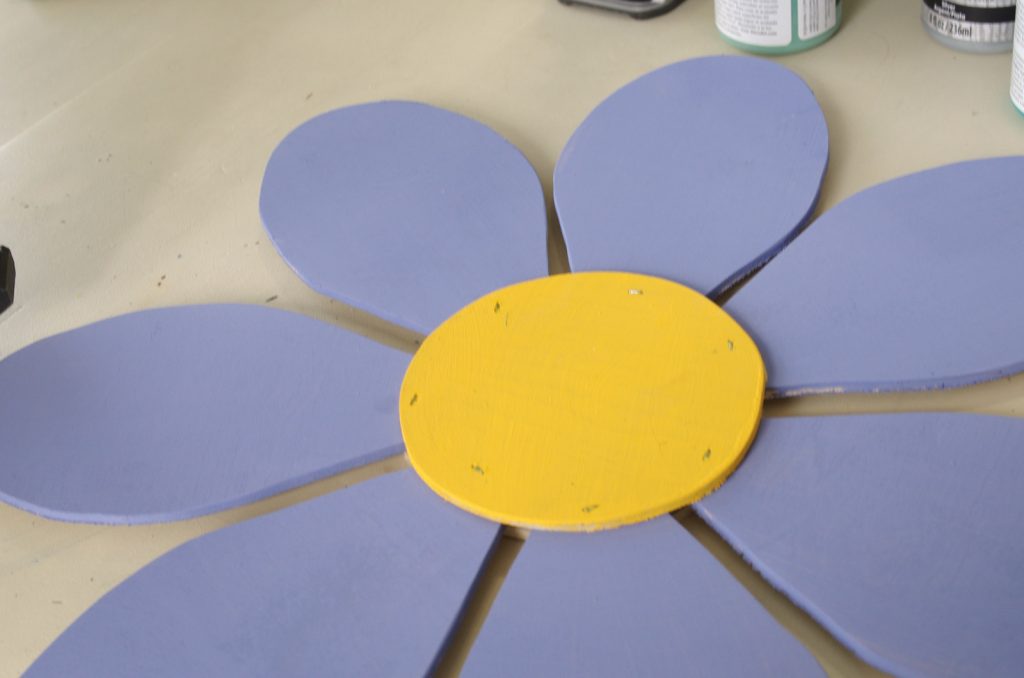
I made the mistake of stapling from the front so here’s a good example of do what I write, not what I did ; ) See next step!
Step Four
Attached flower petals together using wood on the back of the painted round center and attaching it to the front of the flower. Allow the glue to dry for a few hours before turning the flower over and placing the unpainted round piece on the back and attach using the stapler.
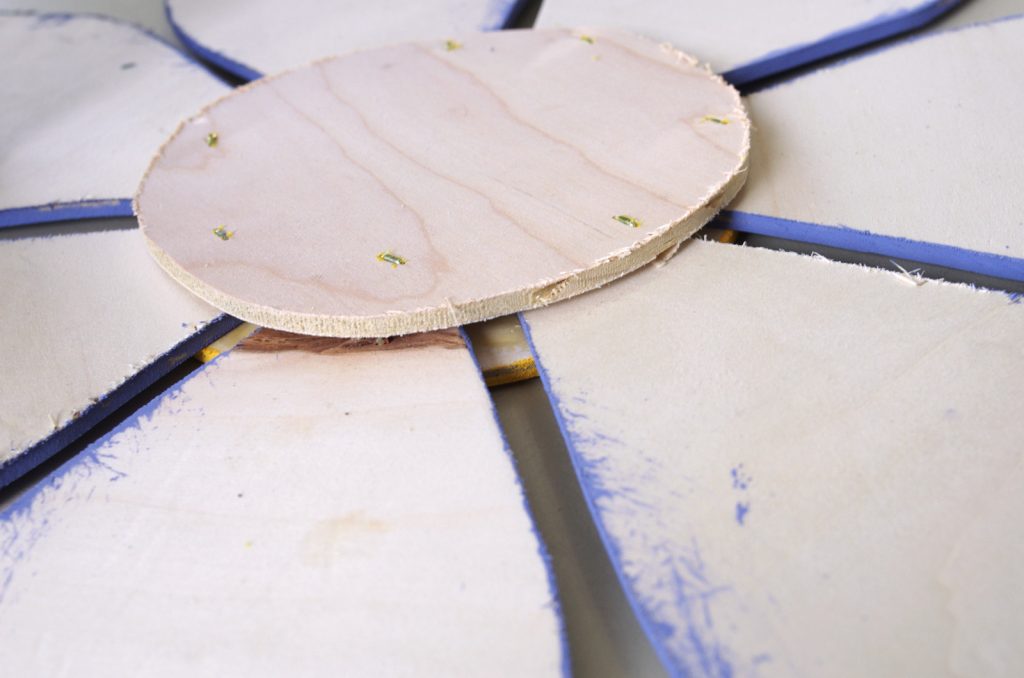
Step 5
Attach a command strip to the back and hang!
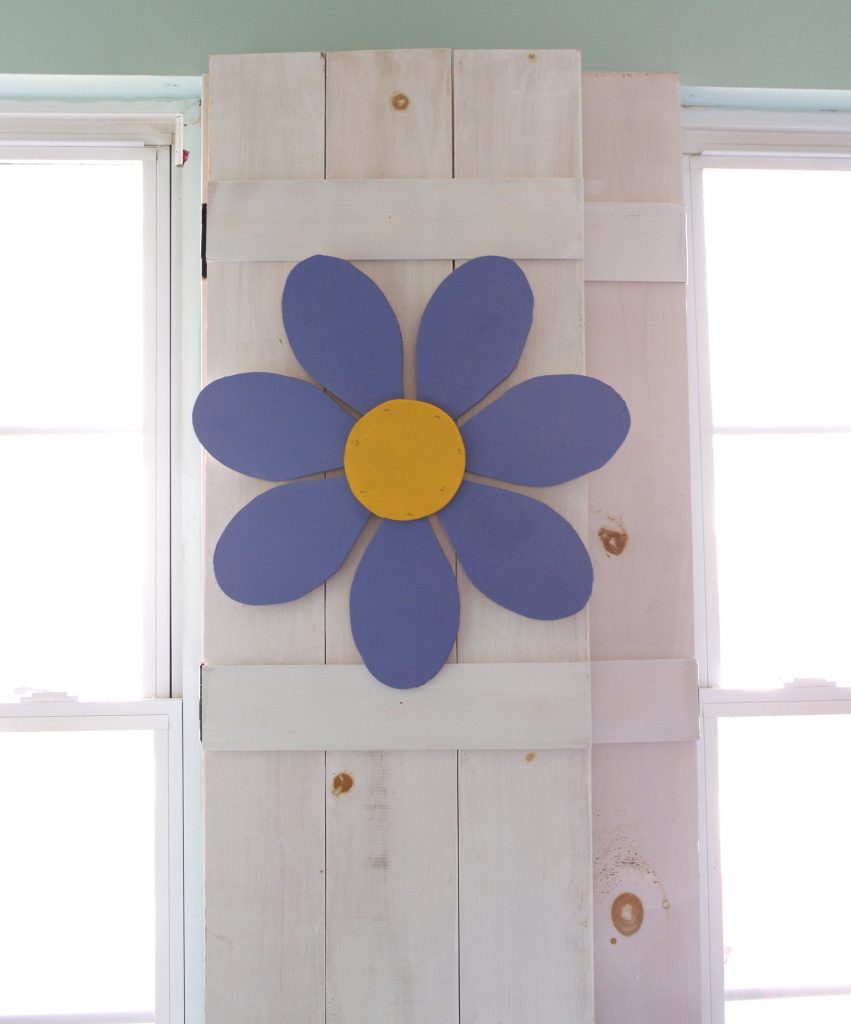
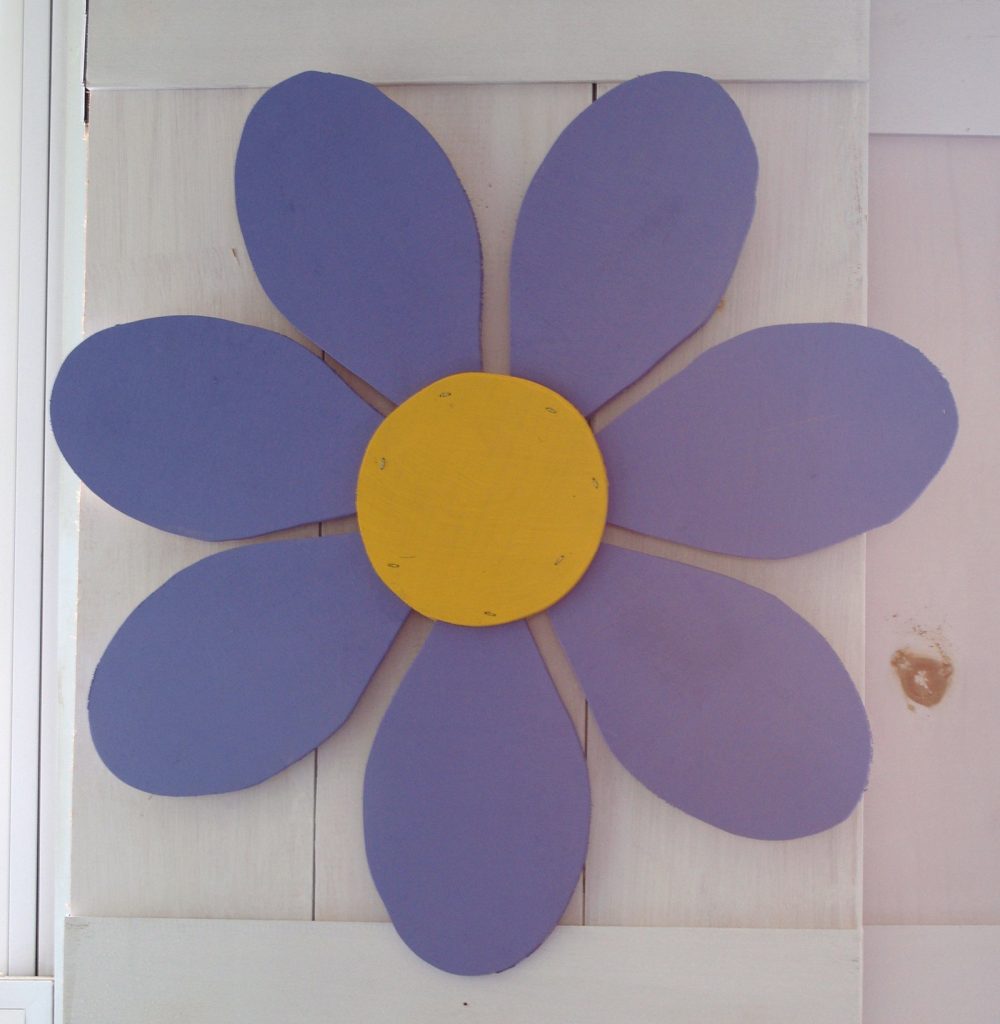
I kinda like it here on my kitchen shutters.
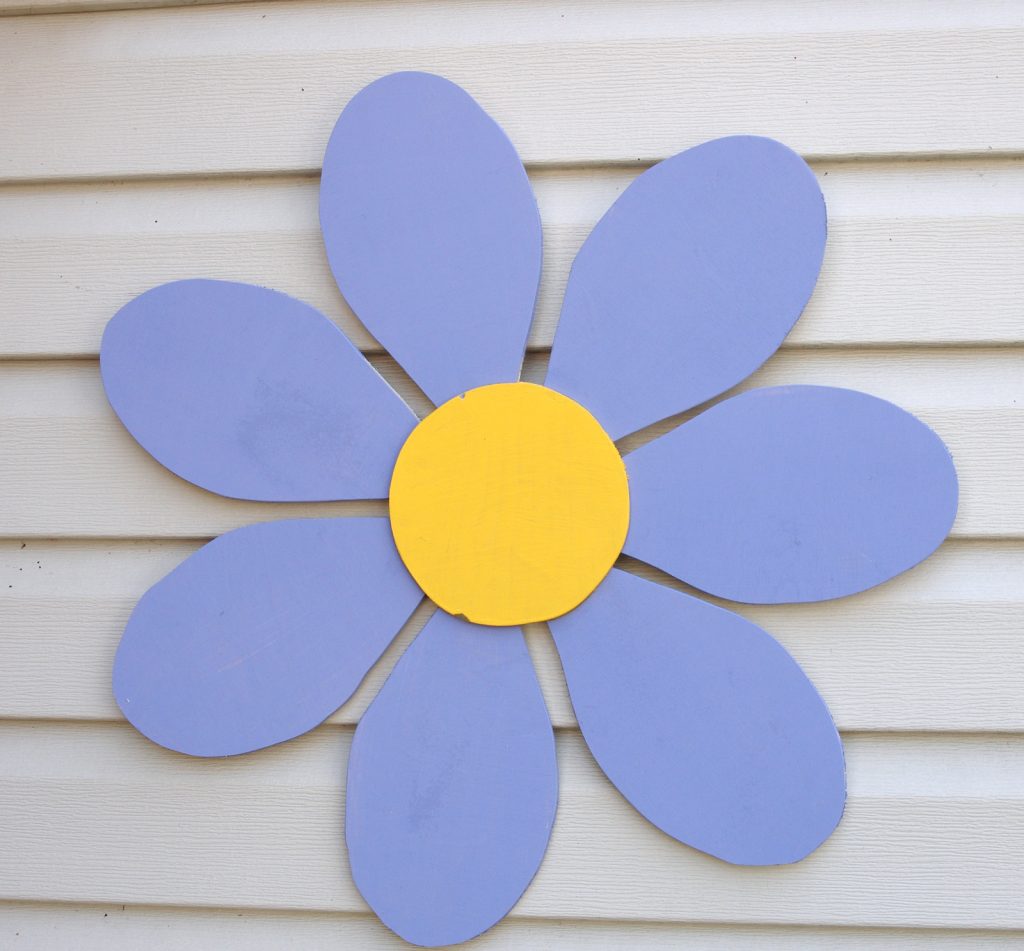
But I also like it here on the outside of the front of my house near the front door. Looks like I’ll have to make more! Since they are so easy to make, that’s no problem!
If you make one (and I hope you do!) where will you put it?
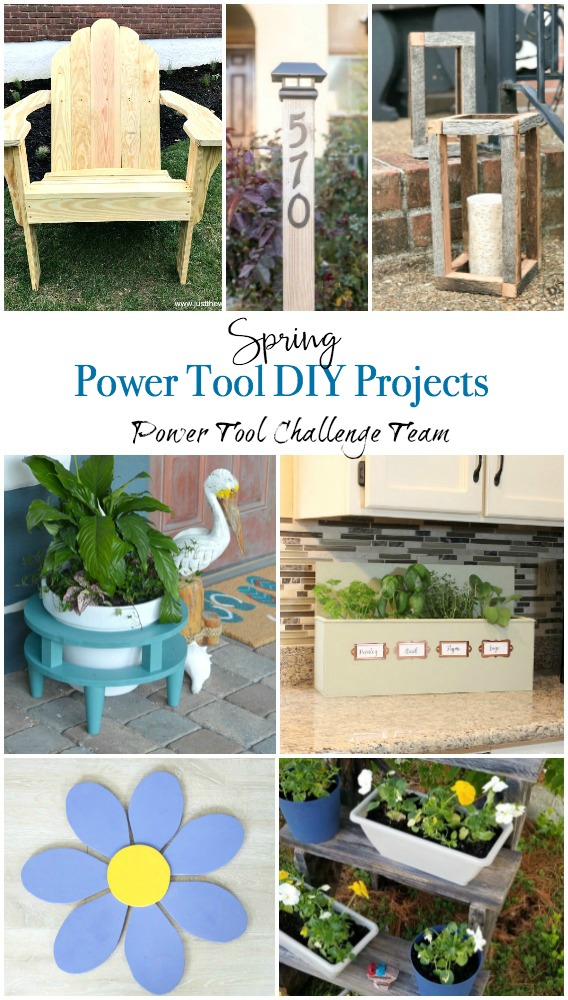
Here are more Spring projects that you may enjoy:
Just the Woods –DIY Aiderondack Chairs
Domestically Speaking – Solar Address Post
The DIY Village – DIY Barnwood Lantern
H2oBungalow – DIY Mid Century Modern Plant Stand
The Kim Six Fix – Kitchen Herb Garden
My Repurposed Life – Reclaimed Stair Stringer Tiered Plant Stand
Here is Where I Party!


this is so cute! I am always looking for new ideas for using my scroll saw! thank you 😉
That turned out super cute!!! My mom would love those in her garden.
How fun Jeanie! I agree with Maryann, these would be so cute in the garden! Super tutorial and I loved the video.
gail
This is so cute and perfect for spring decor!
Great video! I need a reason to use my scroll saw more often too! Love these flowers !!
Hey, Once I thought about things like why such information is for free here? Because when you write a book then at least on selling a book you get a percentage. Thank you and good luck on informing people more about it
Thanks
Super cute! Perfect decor for a backyard garden area.
Oh my gosh this is wonderful and great for spring!
Your post is very great. Hope you’ll be sucessfull in your life!
chrome 49+
I love to make a wooden flower for my patio decor too. You’re so great! Thanks for sharing the tip!
I love how your flower came out, this is something I’ll do with my children this weekend, I know they’ll love to add some flowers to their bedrooms 🙂 Thank you for giving us our weekend project
Your article is very or very helpful to me! thank you. Wishing you every success in your life!
spiderman games for kids under 5
2 player mario games unblocked
very nice
This is so cute. I wonder if power washing could remove the paint. :/
Solar of Tomorrow provides best solar solution for commercial and residential properties in FL.
We provide intelligent solar systems for any property.
With our wide selection of services and products our experts can find
the right solar solution for you! Just contact us to get started with a free Solar Consultation. If you want
to know more, click on the given link. Solaroftomorrow.com
We provide certified and authrozied solar installers.
Whether you want to purchase the product yourself, or have specialist select an option for you; our installers
can make suer your system operates perfectly.
If you want to know more, click on the given link. https://solaroftomorrow.com/
Solar of Tomorrow is an innovative, energy-renewable product & service provider that facilitates the switch to
off-grid electricity. We utilize state-of-the-art solar
technology to give you control of your energy generation and use.
We offer energy optimization consultations as well as full solar installation and maintenance service.If you want to know more, click on the given link.
Solaroftomorrow.com
This is beautiful and nice idea for beginners to learn making design with scroll saw. After painting flowers look so beautiful. I like the this idea. Simple, easy, and nice one.
Hi! What an awesome post! Scroll saws can be kind of trouble to set up for those who are new to them, but the way you broke this down simplifies it tenfold. My team actually just wrote a full review about the Delta 40-694 scroll saw…maybe it will be of maintenance to your readers! https://thebestscrollsaw.com/delta-power-tools-40-694-20-in-variable-speed-scroll-saw/ Thanks for posting!
This is beautiful! Thanks for your tutorial
i like this flower nice share
This is such a brilliant idea .. Thanks for sharing i have been a fan of your blog
How does the various products mentioned on the list compare, and which one can be said to be the best?
Amazing post, Really your content is very interesting. Also, the tips are very great about the wooden flowers. That is awesome for home decoration. Thanks for sharing this informative blog with us.
Hey! Thank you very much for this fantastic DIY. It’s fantastic, and I wish there was something similar for home décor. Small changes to the decorating to provide as many people and things as feasible the opportunity to dress up like this. This would be really good for someone like myself who has difficulty daydreaming.
If you are interested in the topic of floristry, then it does not hurt to go to thematic sites and chat with like-minded people or visit a flower shop
Lovely tutorial! I’ve always wanted to try my hand at woodworking, and this flower is so delicate and beautiful. Can’t wait to give it a try 😍
Loved this tutorial! The step-by-step instructions were so clear and easy to follow. I can’t wait to try making my own wooden flowers now 💐🏼
I absolutely love this DIY project! The step-by-step instructions are so clear, and the wooden flowers look stunning. Can’t wait to try making some for my garden! Thank you for sharing such a creative idea!
CUT , CUT Status Check Central University of Technology.
PlayPelis ofrece contenido que está disponible públicamente de forma gratuita para todos los usuarios descargar playpelis
.
Love this simple spring craft—wooden flowers have such a rustic charm and make perfect handmade gifts.