Today’s post is for all of you who want to learn how to sew in zipper. I think this way is good for beginners. In fact, it’s how I first learned how to sew in a zipper about 100 years ago ; )

Let’s make a zippered pillow cover. It’s an easy-sew project with most of the focus of the tutorial on the zipper part.
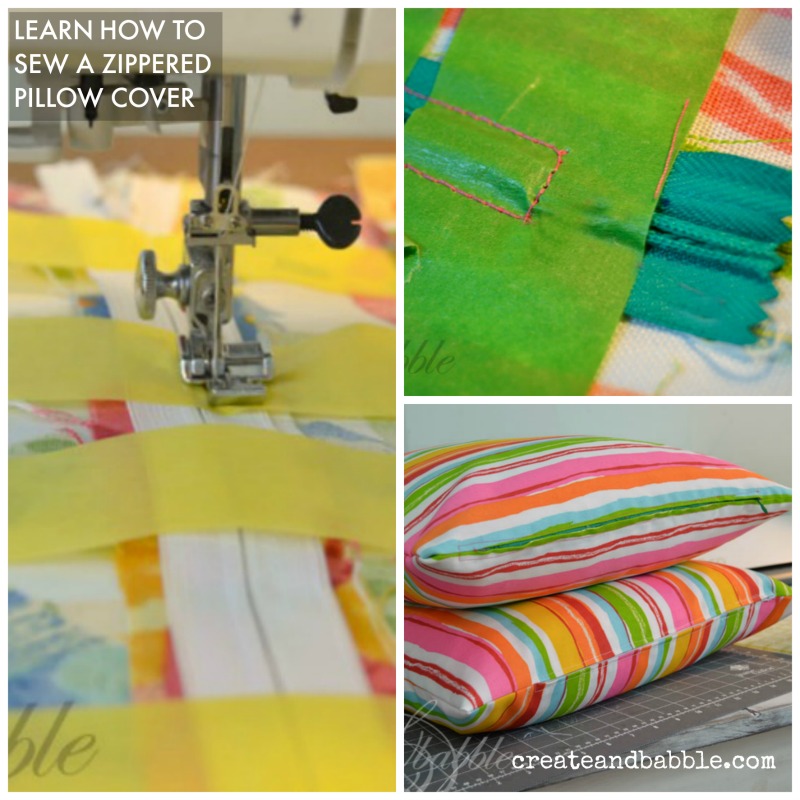
Throughout this tutorial, you’ll see two different fabrics. That’s because I made four pillows: 2 of each fabric.
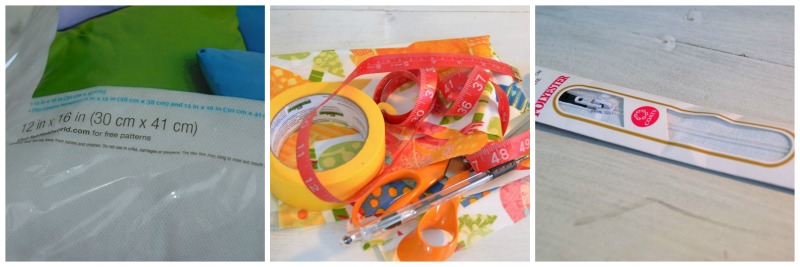
Supplies you will need:
- fabric
- scissors or rotary cutter/cutting mat
- zipper
- pillow form
- sewing machine
- thread
- tape: masking, painter’s, or Scotch
- seam ripper
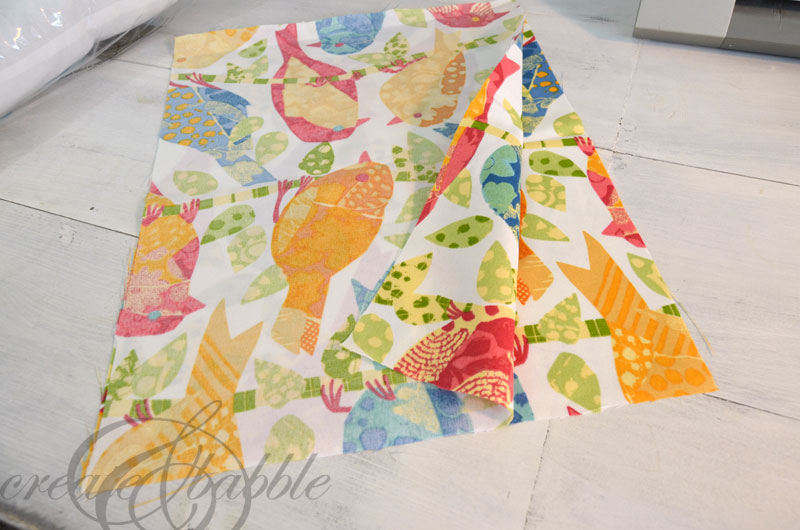
Step One: Cut fabric
You will need a front and back cut 1″ bigger than pillow.
For example: my pillow is 12″ x 16″ so I cut two fabric pieces that measure 13″ x 17″
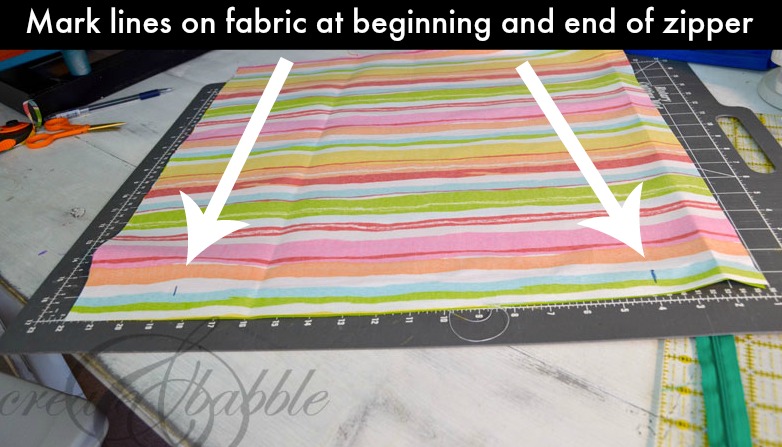
Step Two: Lay front and back pillow pieces right sides together and mark ends of zipper as shown above and below.
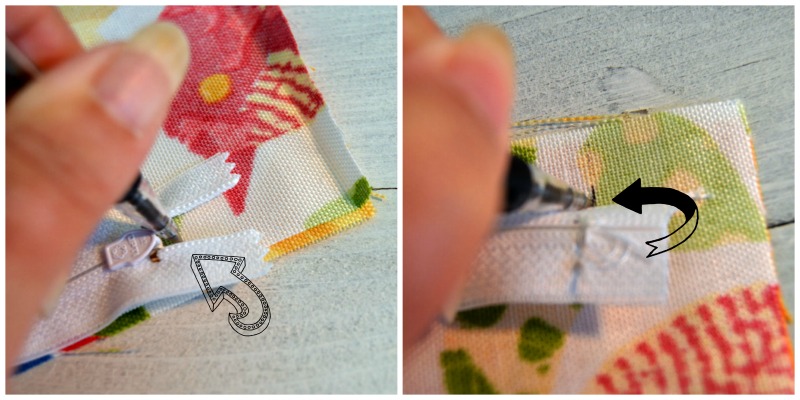
You can use a marking pencil but a regular pencil or pen works, too ; ) Once the pillow is finished, you won’t see those lines. Your mark should be where the zipper starts and stops. See photo above.
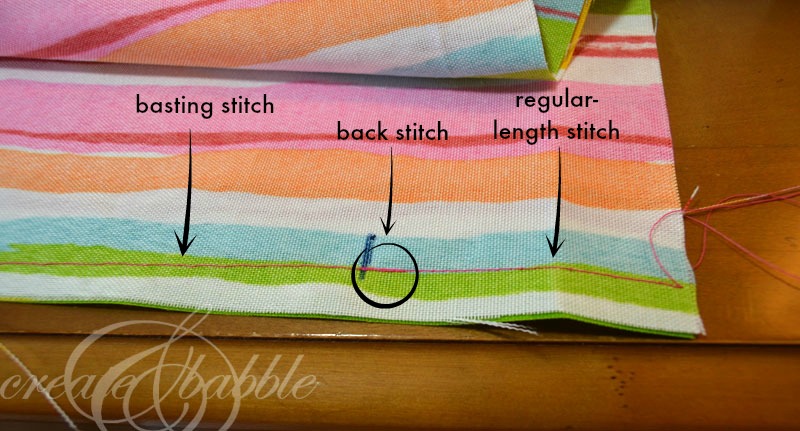
Step 3: Now take that marked piece over to the sewing machine and sew a regular-length stitch to the first mark and then back stitch. Then, without removing the fabric, change the stitch length to the longest possible basting stitch and sew to the next mark. Now switch back to the regular-length stitch, take a few stitches and then back-stitch over those, then finish sewing to the edge.
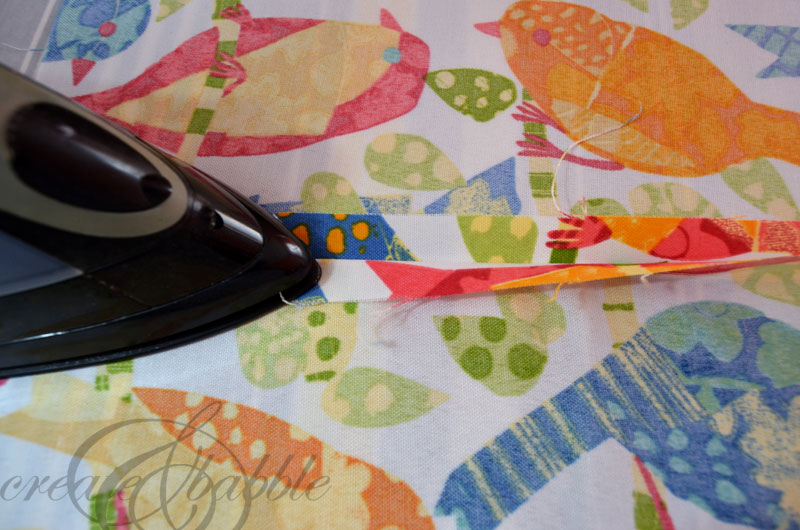
Step 4: Move over to the ironing board and iron that seam open.
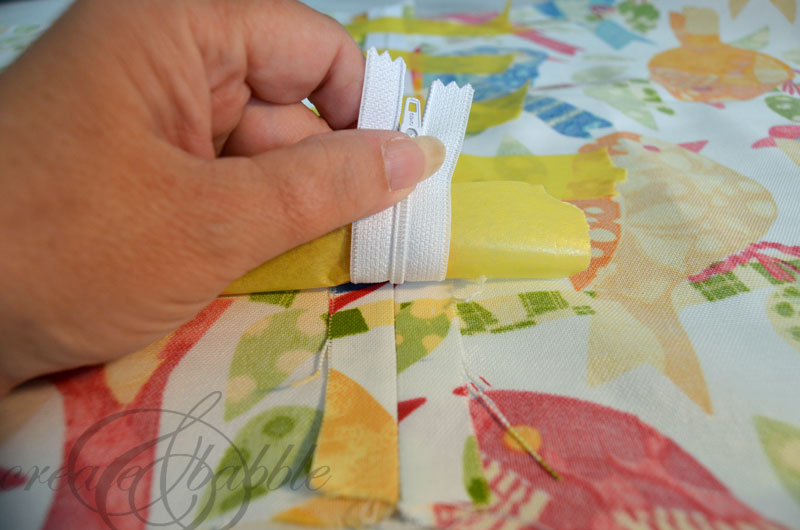
Step 5: Lay zipper right side down on opened up seam. Line up teeth of the zipper with the seams and tape into place with masking or painter’s tape. Masking tape or Scotch tape would be better choices, but I didn’t have any and used painter’s tape instead.
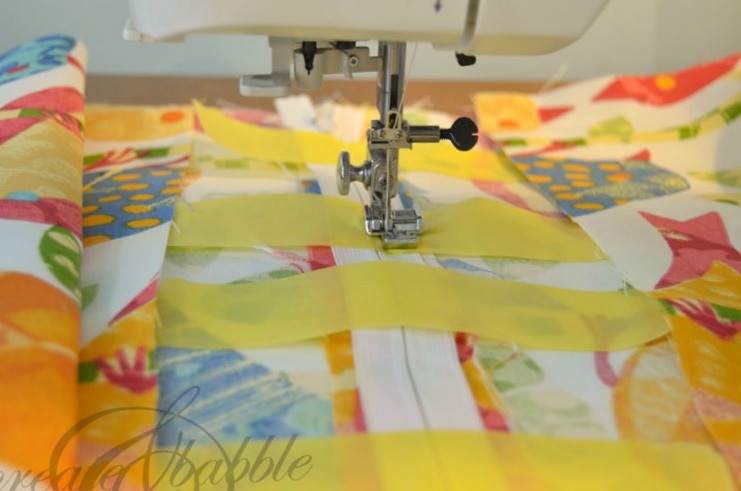
Step 6: Here we go! Time to sew in that zipper! Attach the zipper foot and start sewing above and below the zipper pull and to the right of ridge next to the teeth of the zipper.
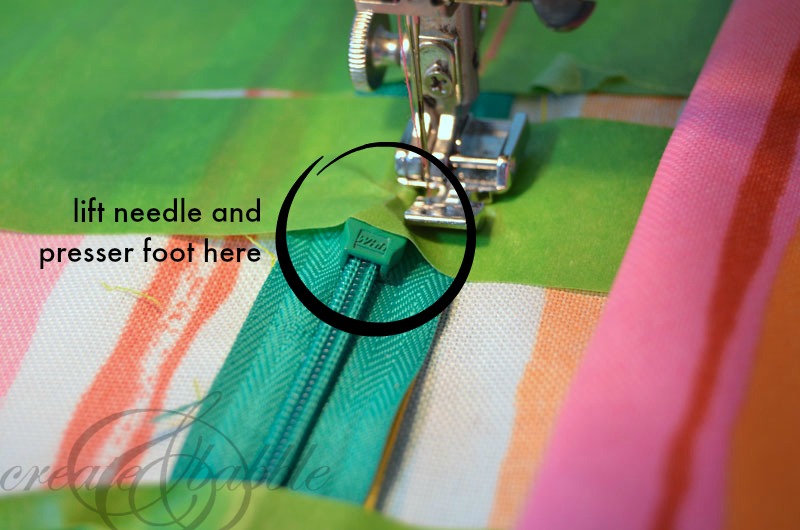
We’ll get the zipper pull section of the zipper in a later step.
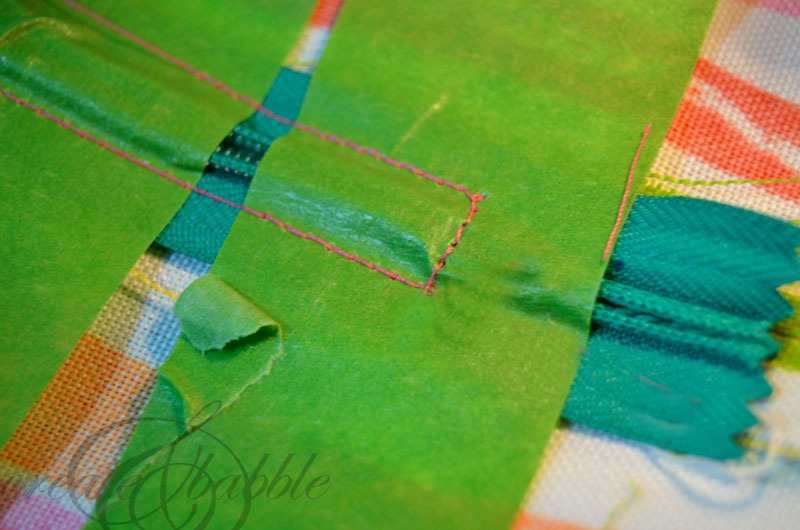
When you reach the end stop of the zipper, stop with the needle in, turn, stitch across the bottom of the zipper just above the zipper stop and then stop and pivot again, then sew up the other side.
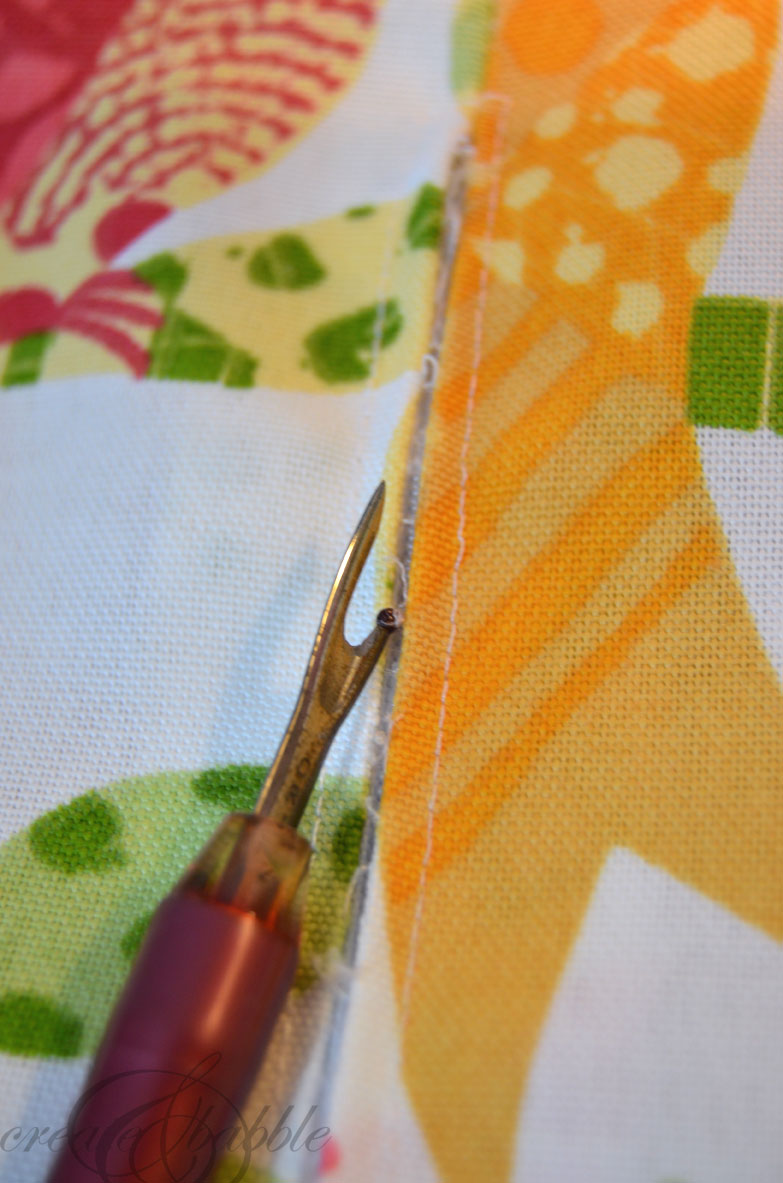
Step 7: Remove the tape and use the seam ripper to remove the long, basting stitch. Open zipper and move the zipper pull to a different location.
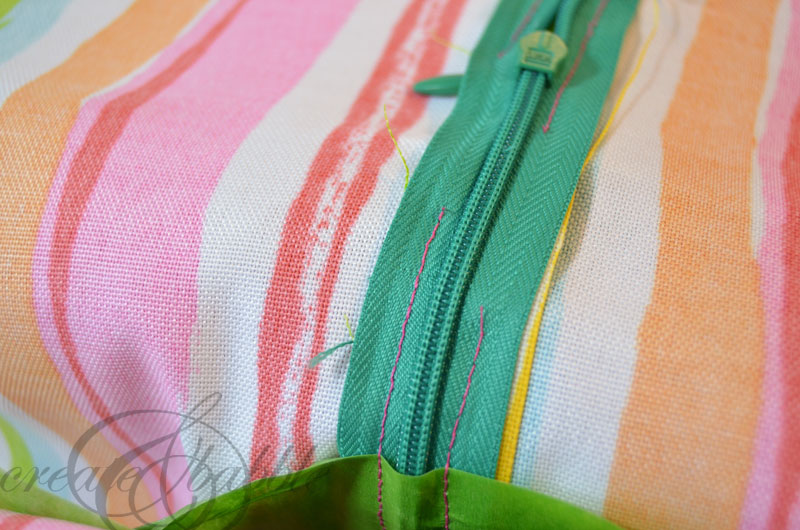
Step 7: Sew where stitches are missing from previous zipper pull location. See photo above. Sew square around top of zipper just as you did for the bottom of the zipper.
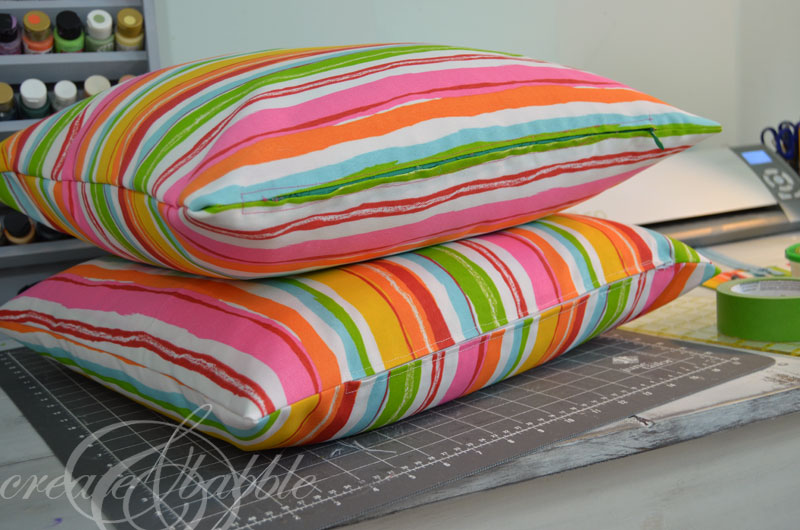
Step 8: Open zipper and sew the three remaining seams using a half inch seam allowance.
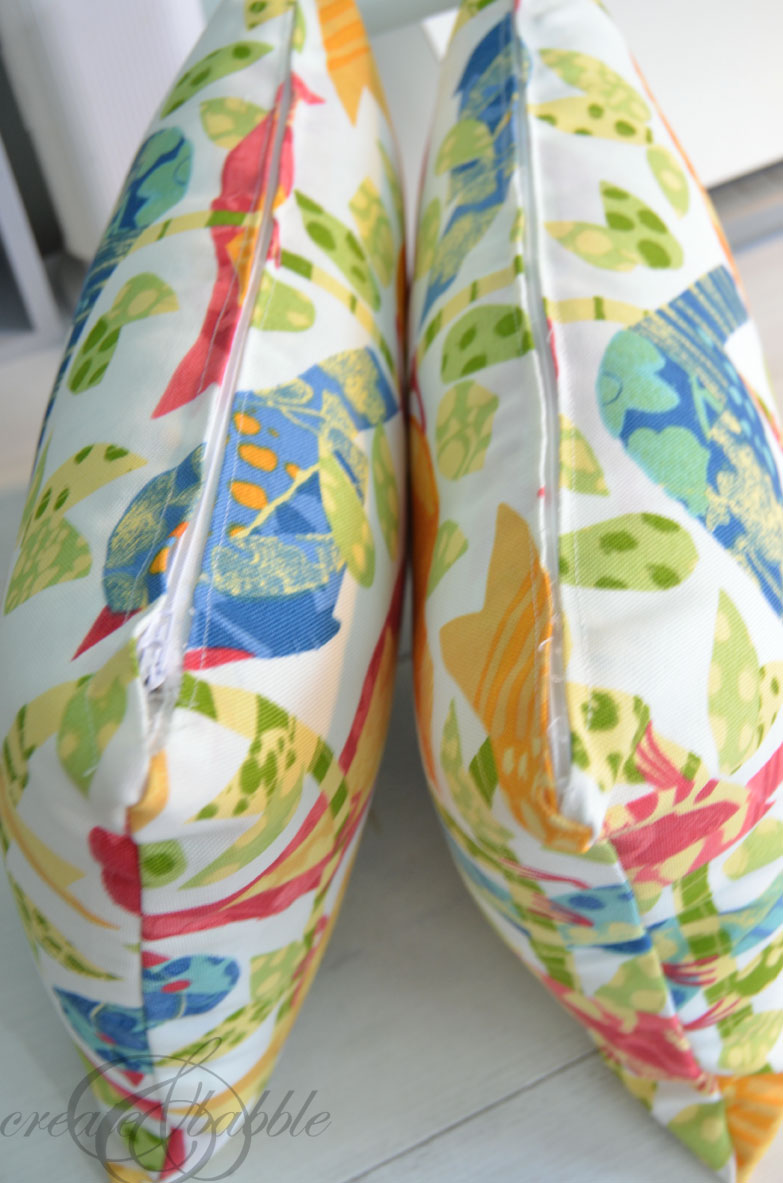
Step 9: Turn pillow cover right side out, insert pillow form and celebrate! You just made a zippered pillow cover! Remember to remove the little basting threads leftover from the seam ripper before you take pictures ; )
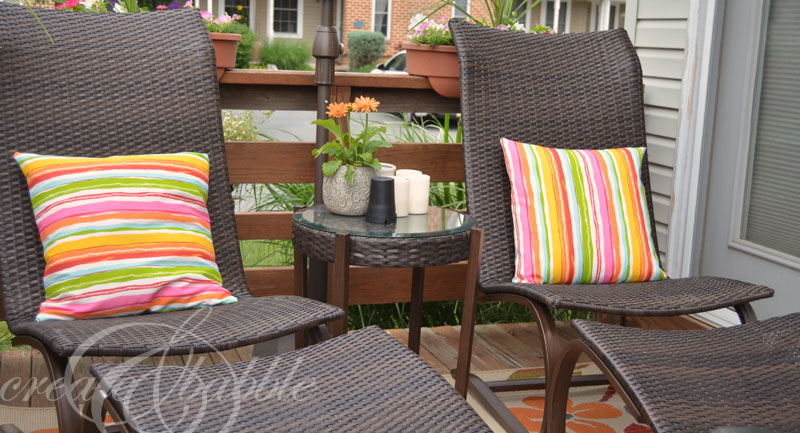
My new, striped pillows add much-needed color to the lounge chairs on my deck. All of the browns needed to be broken up with some bright colors and a pattern!
So. What do you think? Will you give it a try? I’d love to hear from you if you do try it. If you have any questions or need more guidance, let me know! I’ll be happy to help you.
You may also like this article about an easy way to make lined curtains.
Here is Where I Party!


Jut take me to the zipper
EUREKA!!!! It all makes sense. Thousand thanks – my fear is gone xxxxxx
Yay! I’m happy to help!
Great zipper tutorial! All the years I’ve been sewing zippers and I’ve never thought of jumping over the zipper slide! Thanks for sharing that!
Love the idea of taping the zipper in place. I hate pinning the whole thing then taking them out just before I run over them with the needle. I just started making some toss pillows for the bedrooms and will do the rest using the tape method. Thank you!
Love the tape! It is a brilliant idea. Time for me to make some new pillow covers and try it!
I like the idea of using tape to hold zipper down. Thanks for sharing at the Inspiration Spotlight party @DearCreatives pinned, and sharing. See you again soon.
Admiring the dedication you put into your site and detailed
information you provide. It’s nice to come across a blog every once in a
while that isn’t the same old rehashed information. Great read!
I’ve saved your site and I’m including your RSS feeds to my Google account.
Thank you. Very helpful.
Can I just say what a comfort to find someone who actually knows what they are discussing on the internet.
You certainly realize how too bring an issue to light aand mke it
important. A lot more people must look at this and understand this side of the story.
I was surprised you aree not more popular given that you definitely possess the gift.
Great tutorial, babble! No matter how many times I’ve put in a zipper, I always learn something new from other sewists out there! This is awesome!