I just got done making a whole bunch of paper flowers with my Cricut. I learned a thing or two and would like to share my tips with you. (This post may contain affiliate links)
Tips for Making Paper Flowers with a Cricut
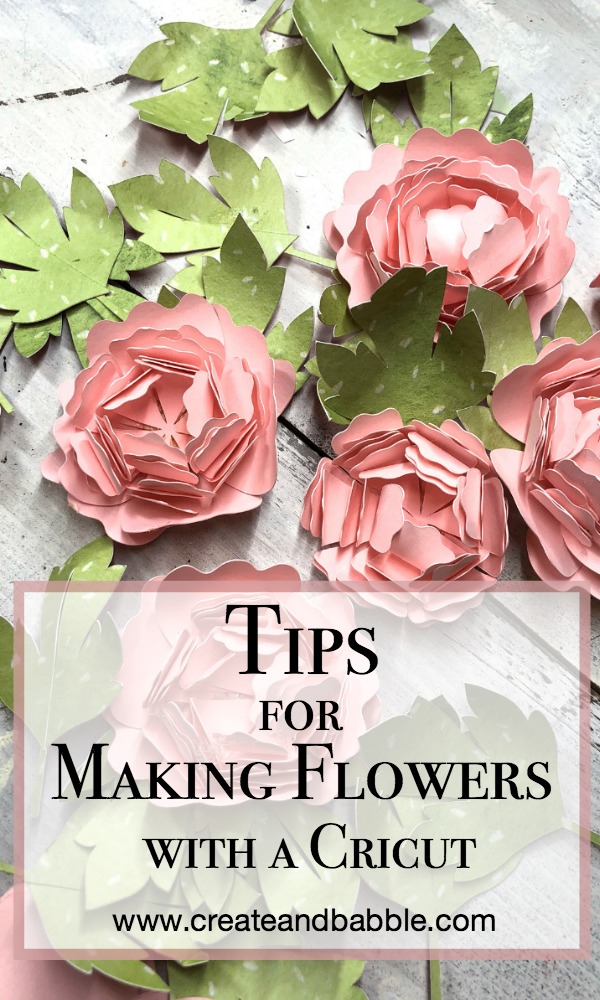
Peonies are one of my favorite flowers. I planted two bushes behind my deck and when they bloomed last year for the first time the blooms were gone in a day! I had no idea that they were so fragile. One good windy rainstorm and poof, they were done. I was so disappointed. I’m going to remember that this year and cut them before they bloom and bring them inside so I can enjoy them for a few days anyway!
Well there’s another way to keep the pretty look of peonies around a lot longer. Make them with paper! I know. It’s not exactly the same thing but these are really pretty! Take a look:
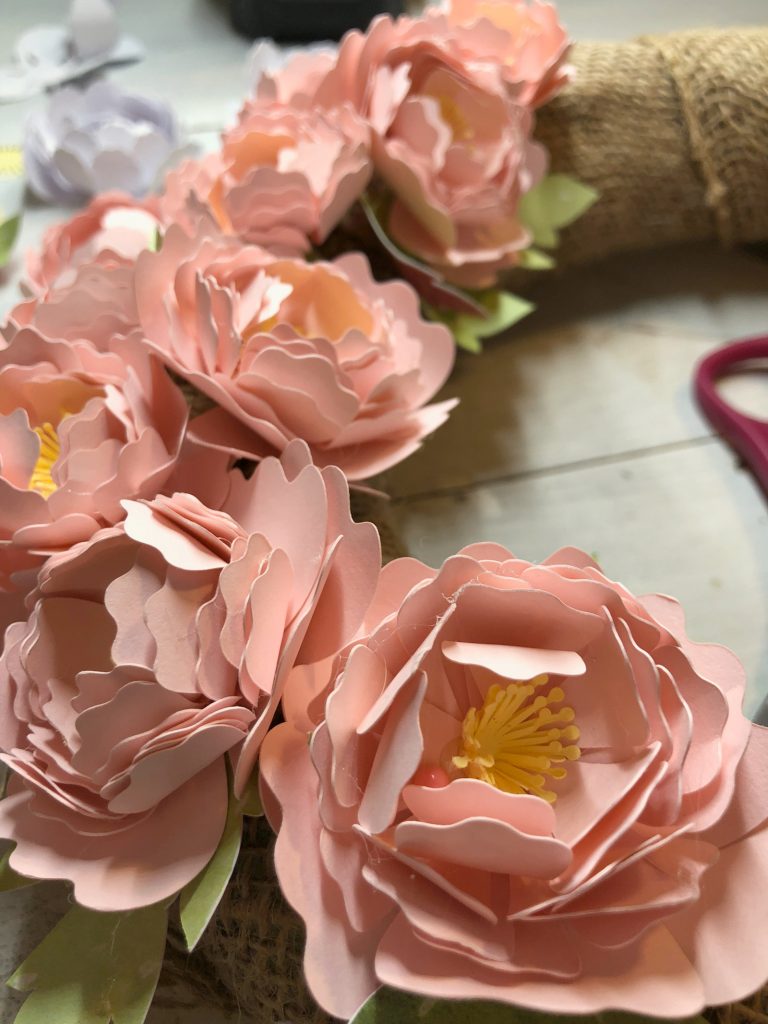
I made these using my Cricut Maker and a cutting file I found in Design Space. These could also be made with your Silhouette Cameo or Portrait
using a similar cut file from Silhouette Studio.
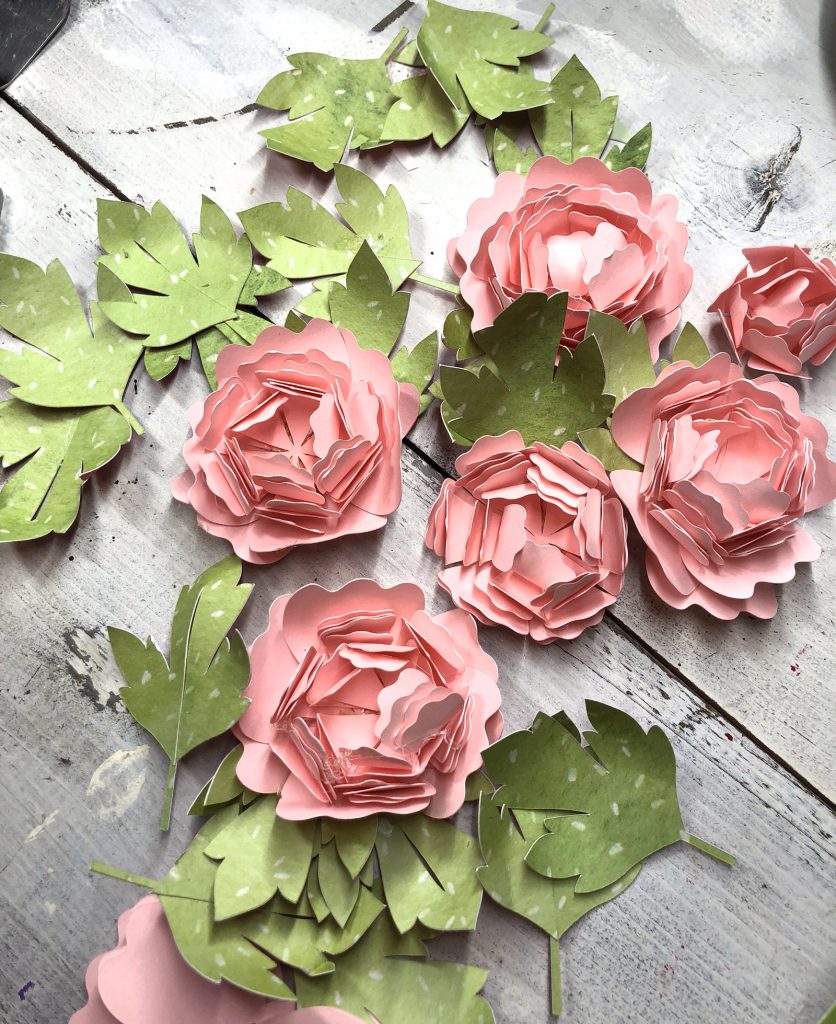
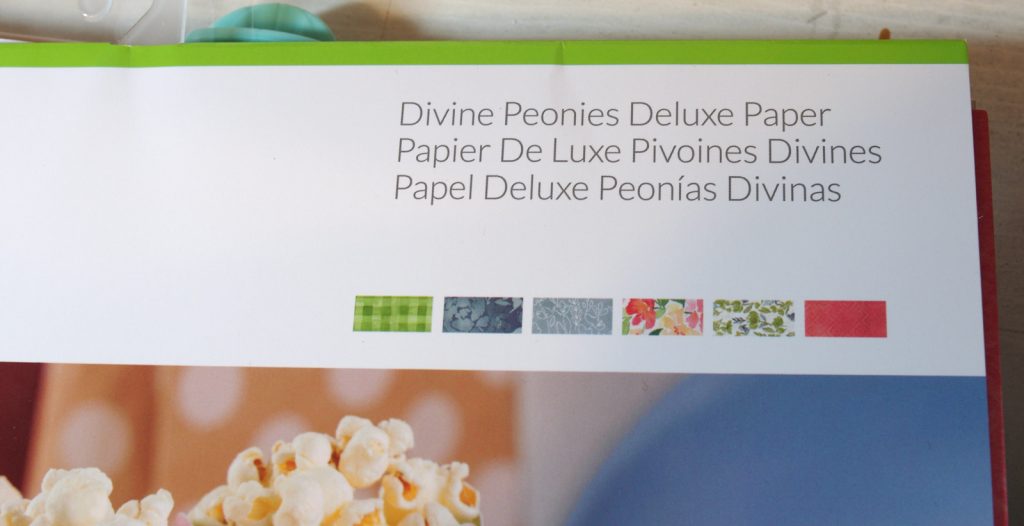
I actually used two peony cut files from Cricut Design Space. I like them both! I used pink cardstock for the petals and a patterned paper from the Cricut Divine Peonies Delux Paper pack. (and it’s 50% off right now!)
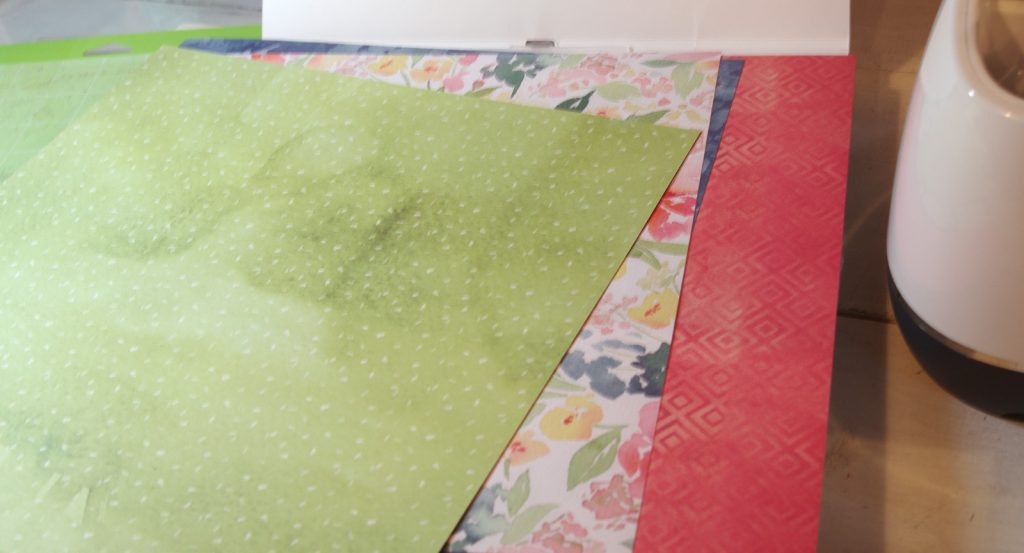
As I said, I made quite a few flowers so I learned a few things that I’d like to share with you.
Tip #1: For small delicate cuts like these stamen, adjust the pressure

With the Cricut Maker, when you set your material, you have the chance to adjust the pressure. In this case, less is more ; )
Tip #2: Use good quality card stock

Tip #3: Remove cut shapes from the mat with the spatula tool
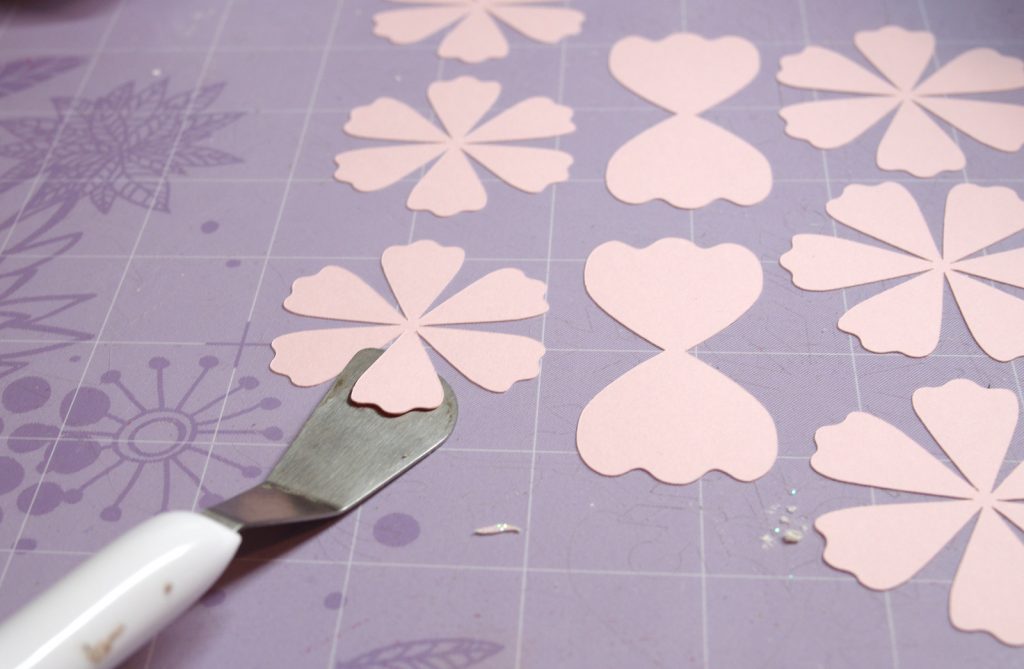
This little tool is worth its weight in gold! The spatula comes in the Basic Tool Set.
Tip #4: Replace dull blade
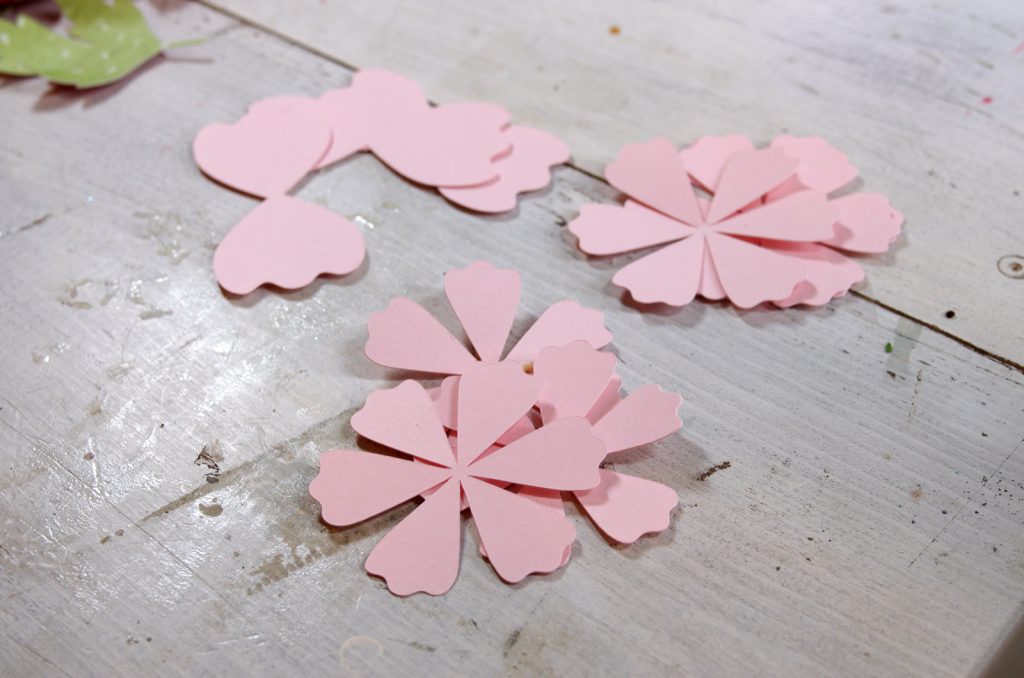
Delicate cuts require a sharp blade. Always keep replacement blades in stock.
Tip #5: Use a curling tool
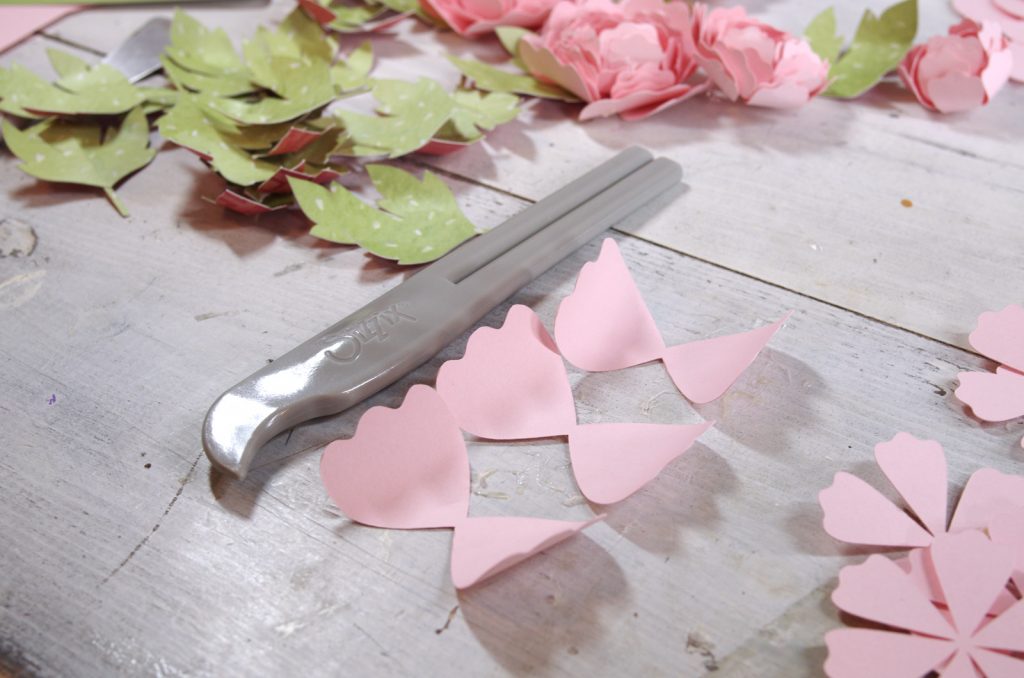
I love the Crease & Curl Tool by Sizzix. You can get it at Michaels. This tool was invaluable for curling the ends of the petals. But you can also use your fingers.
Tip #6: Use a good quality paper glue
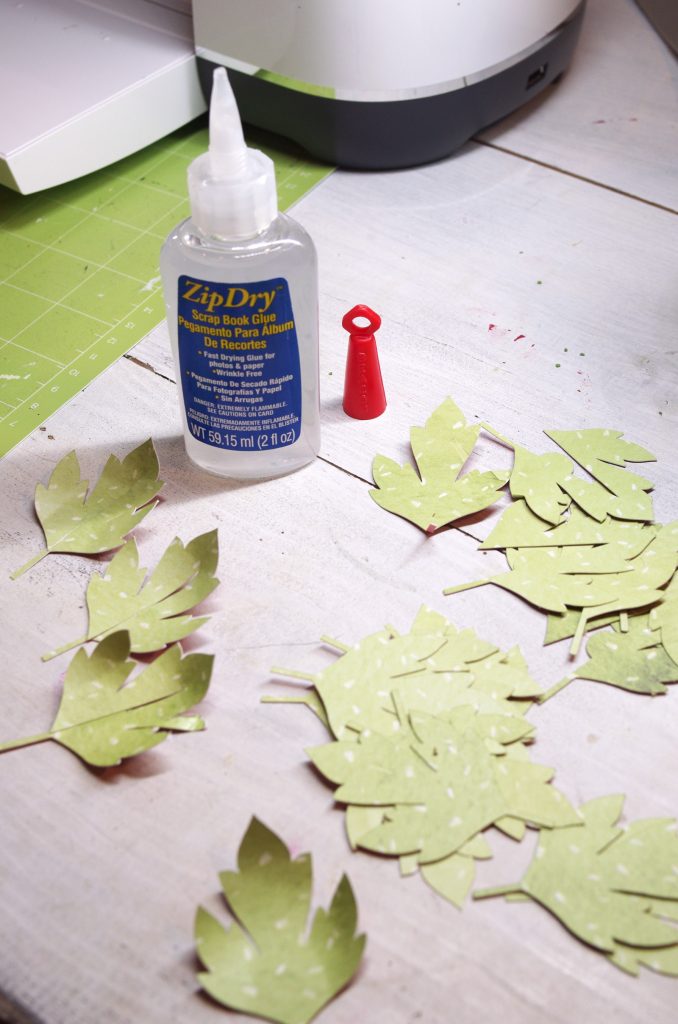
My favorite adhesives are Zip Dry and a hot glue gun
.
Tip #6: Adjust the size of the cutting files for your needs and get rid of elements you don’t want
In other words, customize the cutting files. I used leaves from one file and deleted the others. There were petals in one file that I didn’t like so I hid them using the “Contour” button. I preferred the stamen in one file and not the other.

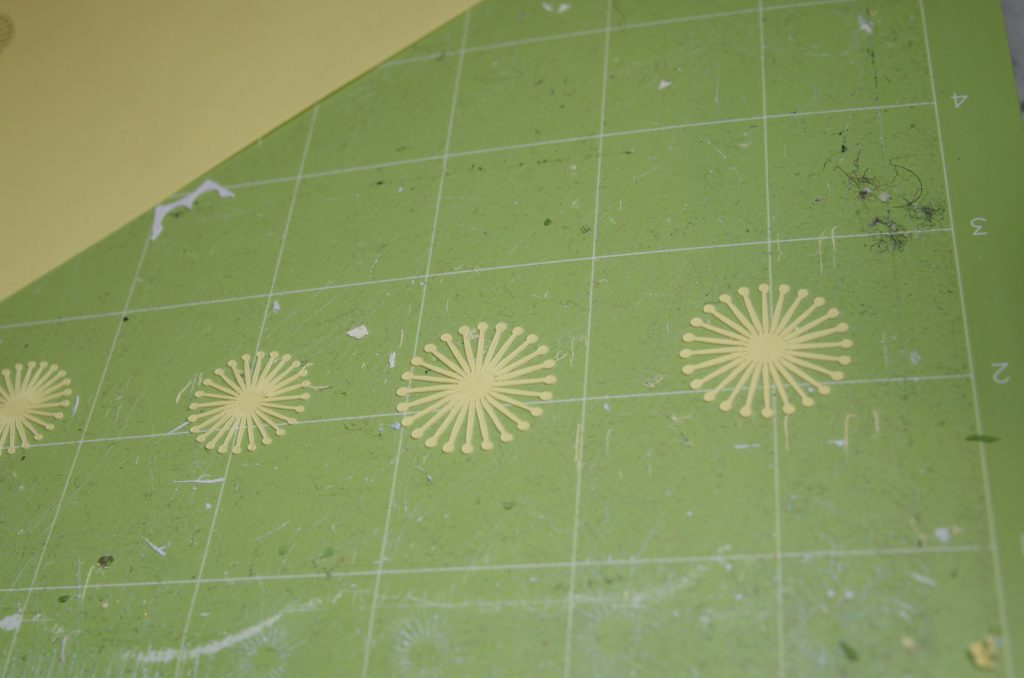
“before yellow stamen”

With the yellow stamen.
Here’s a quick video showing how I made the peonies.
For more Cricut crafting tutorials click here.
Here are more Spring projects to inspire you:
Weekend Craft | Doodlecraft
Inspiration Vault | Refresh Restyle | Daily DIY Life
See Lindsay | Cookies Coffee & Crafts | The Kim Six Fix
A Turtle’s Life for Me | Upright and Caffeinated | PS I Love You Crafts
Our Crafty Mom | The How-To Home | Real Girls Realm
Here is Where I Party!




This is my favorite flower to make using the cricut! It’s just beautiful. Thank you for the tip on adjusting the pressure, that helps so much with small detailed cuts. Your flowers came out adorable!
I absolutely love peonies! I bought two plants at the end of last season. Great tips! I always use a spatula getting the paper off the mat. It helps alot.
These peonies are beautiful! I’ve always admired the paper flowers, but I haven’t made any yet. I really need to. I’ve only had my Cricut Maker for a few weeks so that’s great to know for the cutting to use less pressure.
I love this project!! I have never made paper flowers with my Cricut- I might have to give it a shot!!! They look beautiful!
These are so lovely! I don’t think I have the patience to make these though.
Yes, lots of patience for sure!
Oh, Jeanie, these are gorgeous! I love them.
These are gorgeous! I’ve made all kinds of paper flowers, but I don’t think I’ve tried this one.
Such a cute innovation and a perfect epitome for spring, peonies!
They are gorgeous! Thanks for this, Jeanie.
all the love from Nepal xoxo
I love peonies, too! I have found some very pretty and realistic-looking ones at Michael’s that don’t die, lol. Great tip about the pressure and I definitely need one of those curling tools!
These are so incredibly adorable! Thank you for the excellent tutorial. I have been struggling at mastering flowers for a while, and my issue was the dull blade. Where do you normally buy your cricut blades?
Works of art and labors of love, beautiful!
So pretty! I’m having Cricut envy. Needl to ask Santa for one, LOL. Visiting from Dream Create Inspire party.
These are gorgeous! Thank you for sharing at the To Grandma’s House We Go DIY, Crafts, Recipes and More link party! Pinned!
These are absolutely gorgeous and peonies are my favourite flower! x
I love peonies, and these paper flowers are so pretty. What a great use for the Cricut! Thanks for linking up with us a the #HomeMattersParty this week!
What a great tutorial -thank you. I will definitely have to make some of these for Mother’s Day.
Jesse
Great tutorial and your flowers are so pretty. I will be featuring this tonight at my Swing into Spring party that opens at 8pm EST. Please stop by and pick up an I’ve Been Featured button. Thanks. http://diybydesign.blogspot.com
You can never go wrong with peonies!! These look amazing Jeanie.
Thank you for sharing this post on Create, Bake, Grow & Gather this week. I’m delighted to be featuring it at tonight’s party and pinning too!
Hugs,
Kerryanne
Your post is very great. Hope you’ll be sucessfull in your life!
chrome 49+
iphongthuynet