A few weeks ago, Dan and I went into Lancaster to visit our local farmers market. While we were in town we also shopped at the small specialty shops, antique stores and boutiques. In one of the shops, a Merry Christmas banner caught my eye.
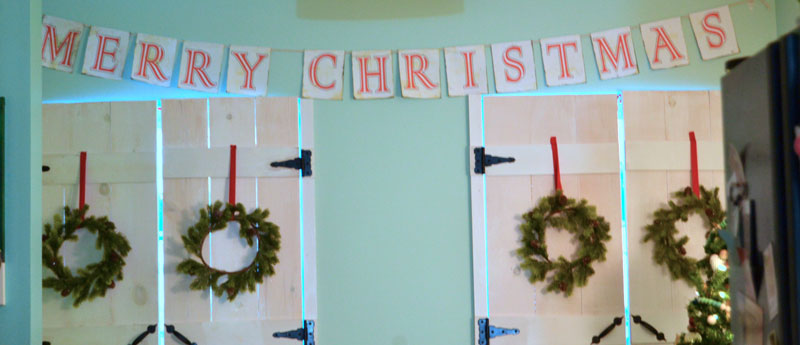
While that banner wasn’t particularly expensive, I thought right away that I could easily make a similar one. So I did. And I’m going to go share it with you. (If you’re a subscriber of the Create & Babble newsletter you’re getting it in your inbox ; )

My little Christmas gift to you!
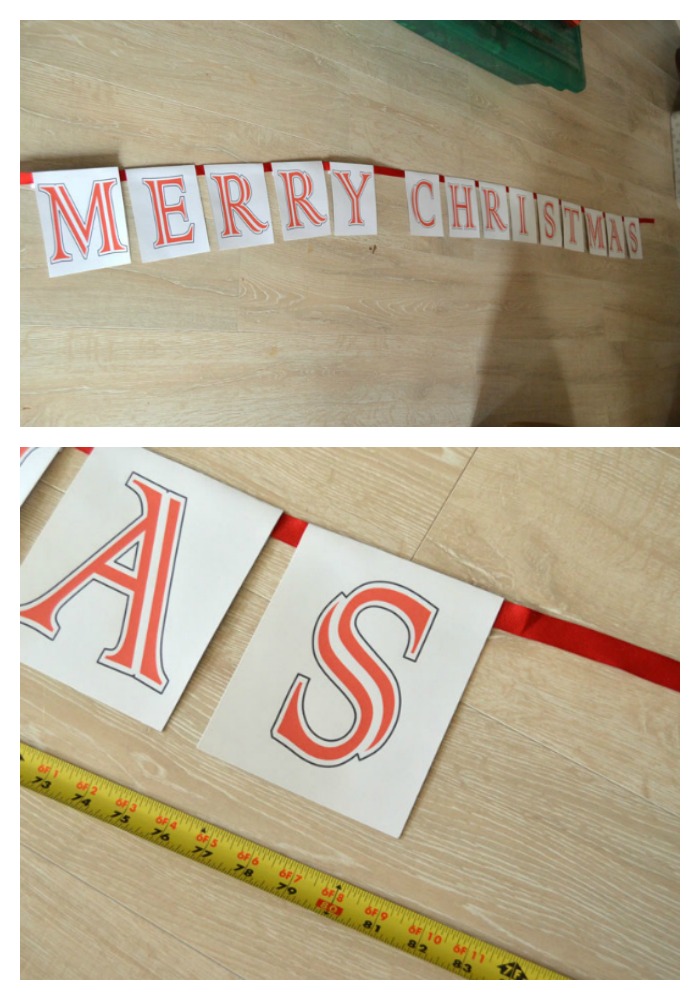
In order to make this Merry Christmas banner you’re going to need the print files (download them here), a color printer, a paper trimmer, scissors, some white or off-white 8-1/2″ x 11″ card stock, some twine, ribbon or rope, and a hot glue gun.
Step 1. Download the PDFs and print
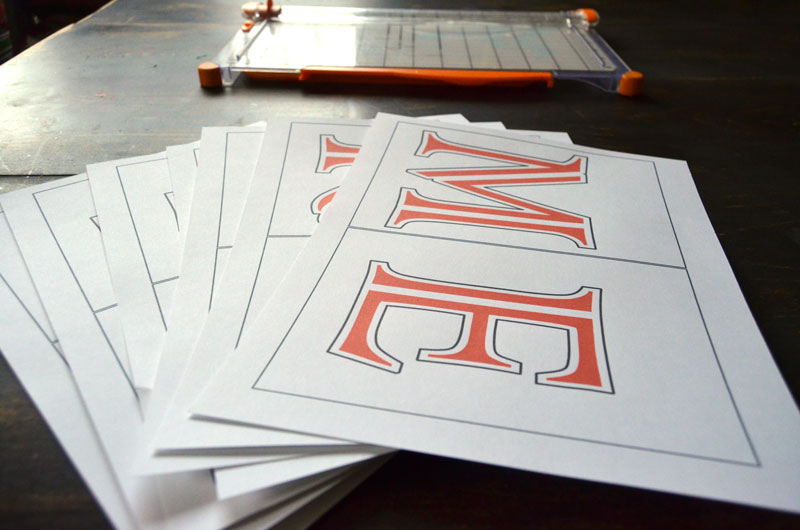
Step 2: Trim the letters
Print out the letters (2 on a sheet) on 7 sheets of white 8-1/2″ x 11″ card stock. Once they are all printed out, trim each letters with a paper trimmer or scissors. (I currently have this paper trimmer, but I told Santa that I want this one.)
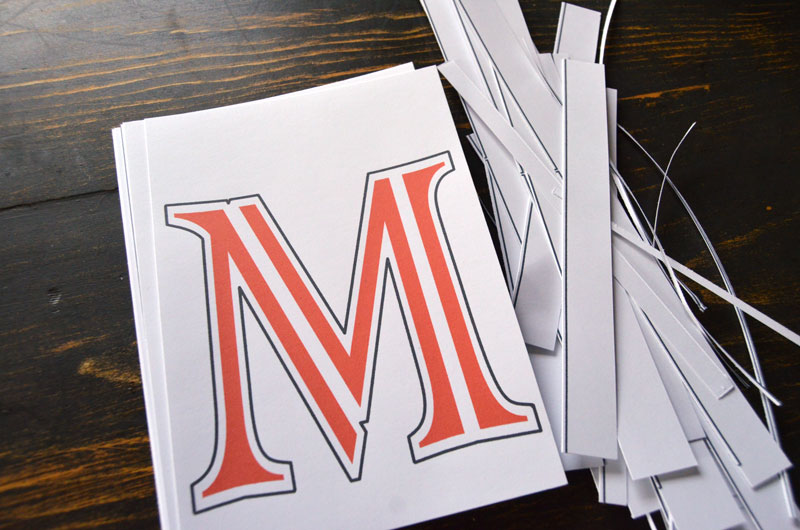
Step 3: Fold letters down 1″ and glue letters onto ribbon
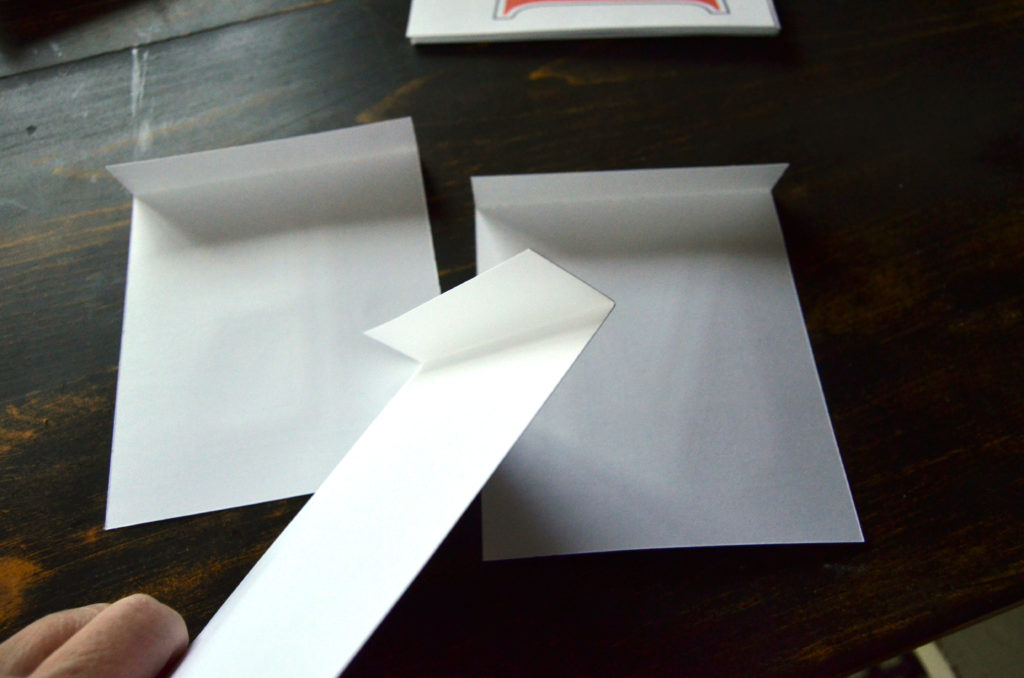
Fold down the top of each letter 1″.

Use hot glue gun to attach each letter to the ribbon.
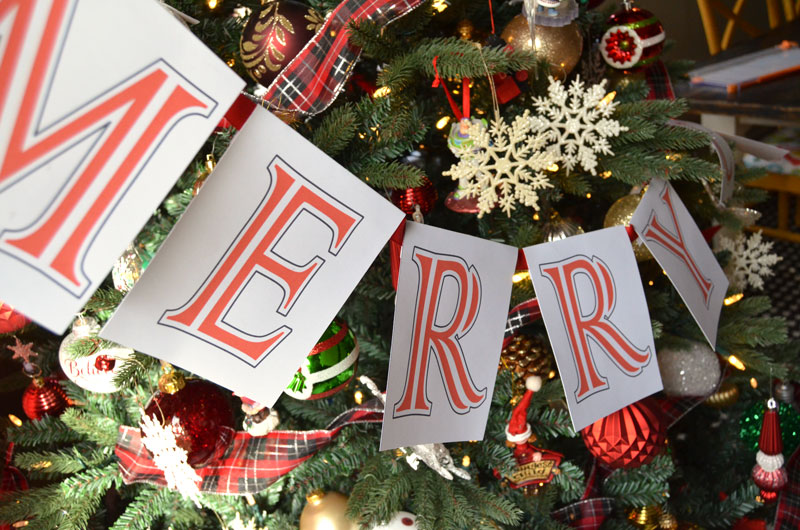
That’s it! Now go hang up your banner.
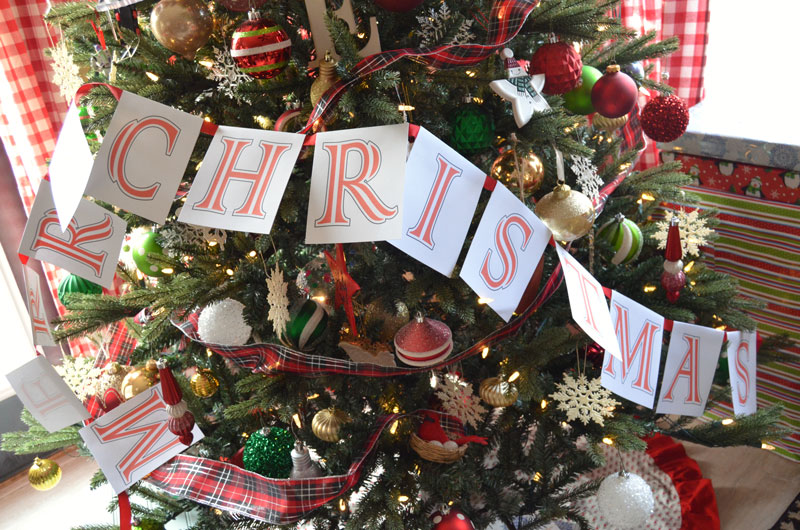
You know, now I’m thinking I need to make a smaller version to put on the tree!
Enjoy!


3lesions