


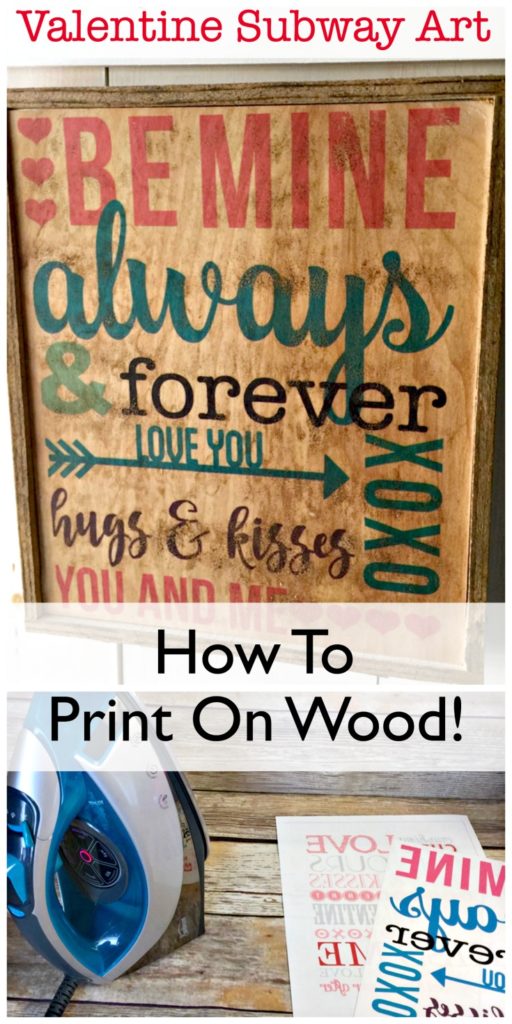
I’m excited to be sharing my Valentine’s Day Subway Art on Wood project with you today for a couple of reasons.
First, because I’ve been looking for a quick and easy way to print on wood. Well, not really “print on wood” – you obviously can’t put wood through a printer! But I found a really easy way to transfer anything that you print (including photos) onto wood and I can’t wait to show you how too! Well I didn’t really find this method. It kinda found me.
I’ve tried the various methods of transferring images onto wood using a special solvent or Mod Podge but I never had any success. Just a big, gloppy mess. Until now.
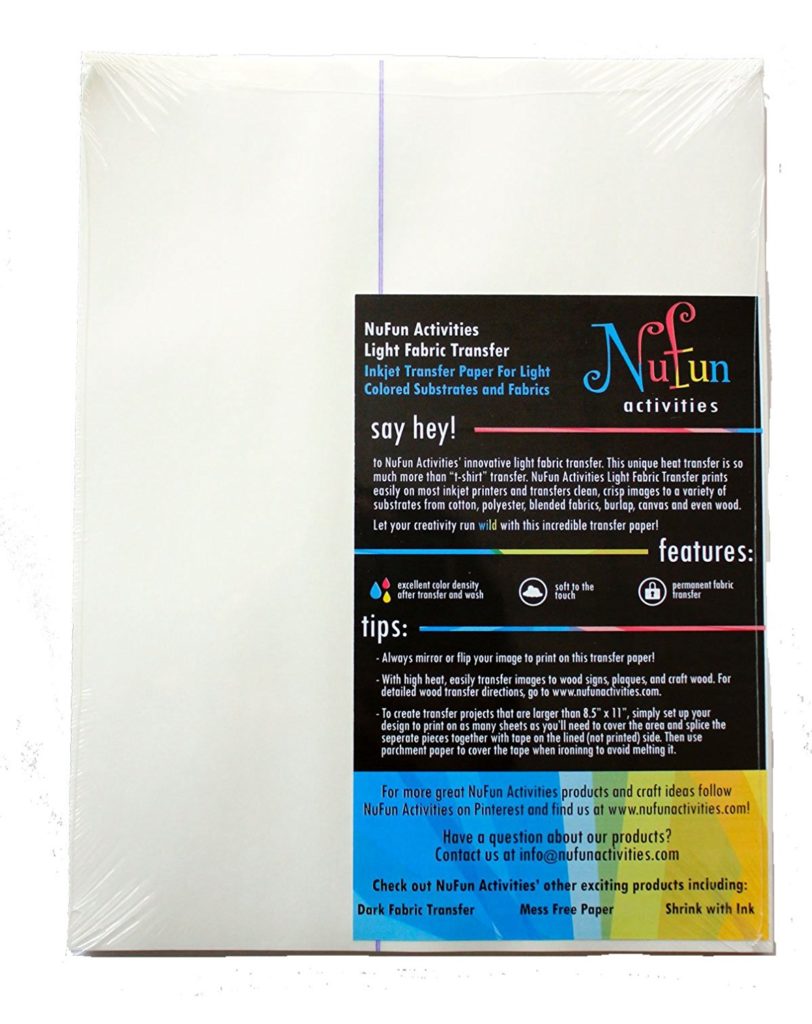
Let me introduce you to my new favorite crafting product by Nufun Activities. It’s their Inkjet Printable Iron-On Heat Transfer Paper. Nufun Activities sent me a pack of their transfer paper last year and I finally got around to trying it out. Wow! I shouldn’t have waited so long!
I am having a blast with this stuff. My grandson and I made photo collages on wood – I’ll show you those in another post. For now, I want to show exactly how I made Valentine Subway Art on Wood.
This post contains affiliate links.
How to make Valentine Subway Art on Wood
Materials needed:
- computer
- subway art (you can make this, download mine, or find one on Pinterest – just search for “Valentine Subway Art Printable” and you’ll find a ton of them)
- scrap plywood cut down to size of your subway art (I made mine 8-1/2 x 11)
- NuFun Activities Transfer paper
- inkjet printer (I have one similar to this, a wide format printer and I love it!)
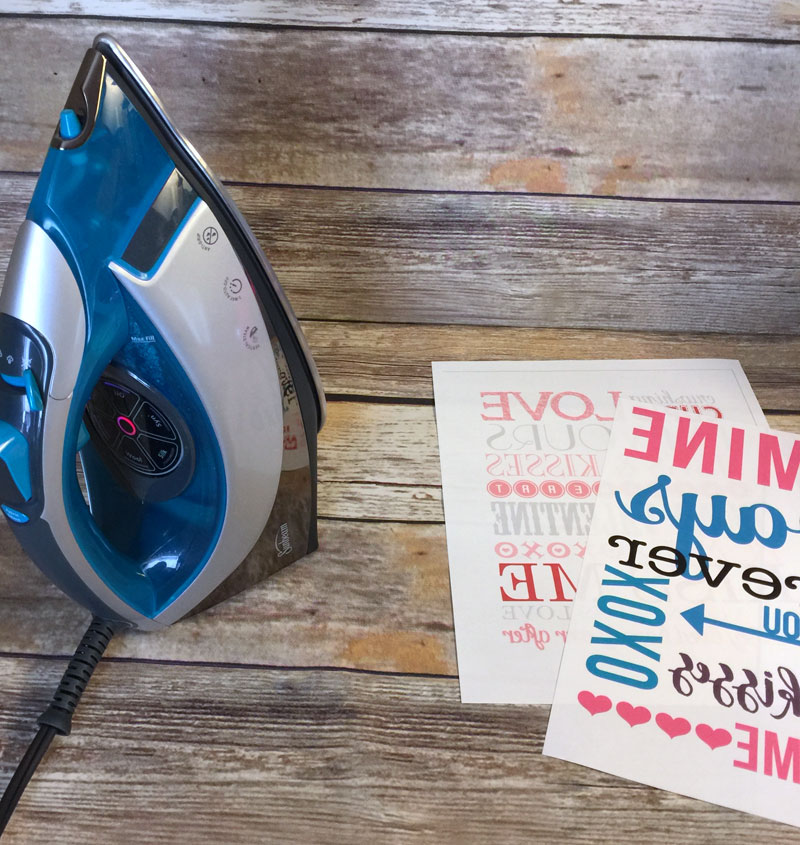
- iron
Step 1 – Print the design
Load a sheet of the NuFun Activities Iron-on Transfer paper into printer. (Please know in advance which direction you need to place the paper. Mine is placed face up.) You want the image to print on the unlined (matte) side of the transfer paper.
Using your computer, open the design image to be transferred. Mirror or flip the image before printing. (NOTE: mine has already been flipped for you ; )
Print image/design on paper.
Use scissors to cut around the image if it doesn’t take up the entire sheet.
Step 2 – Transfer the design
Preheat the iron to “Linen”.
Place the printed transfer face down (lined side up) on the wood.
Using FIRM, STEADY pressure, glide the iron over the entire transfer for about 5 minutes. Lift corners to see if transfer is complete. Paper will lift easily when transfer is completed.

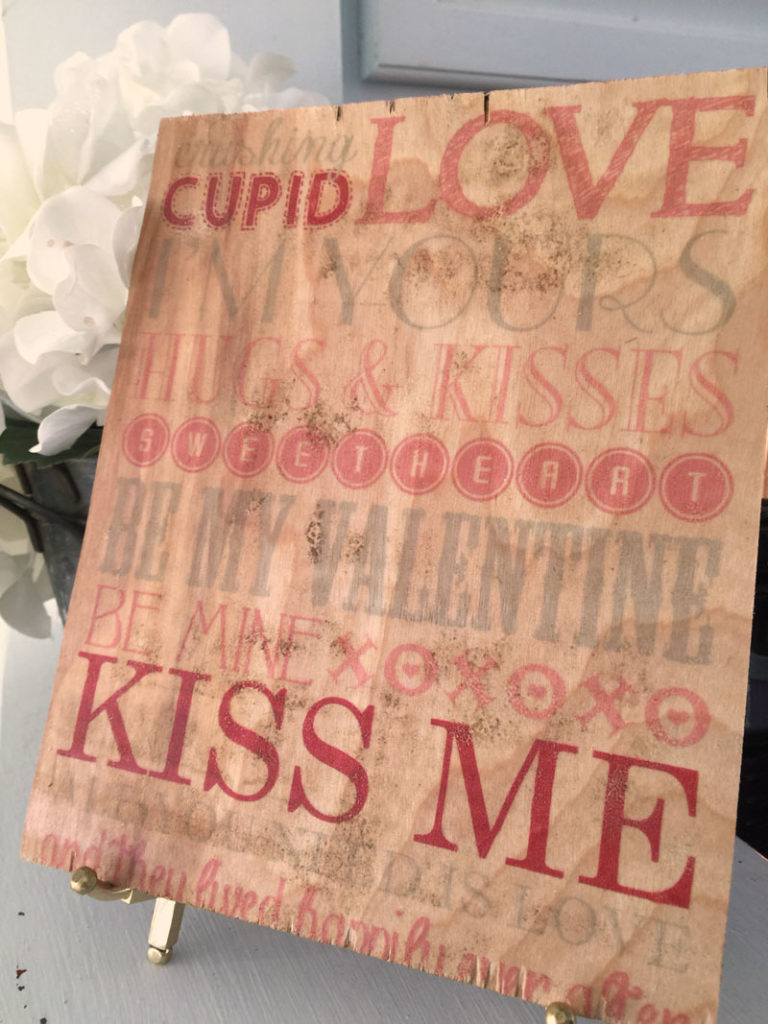
{Source for above free printable}
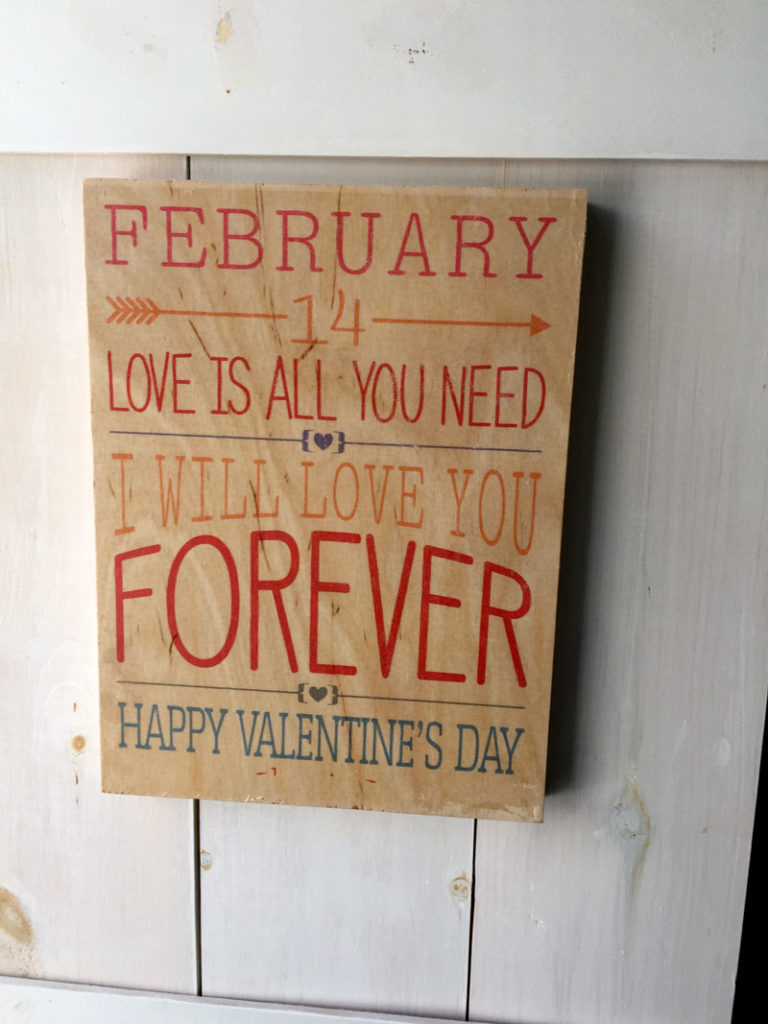
Now isn’t this a fast, clean and easy way to “print on wood”?!?!
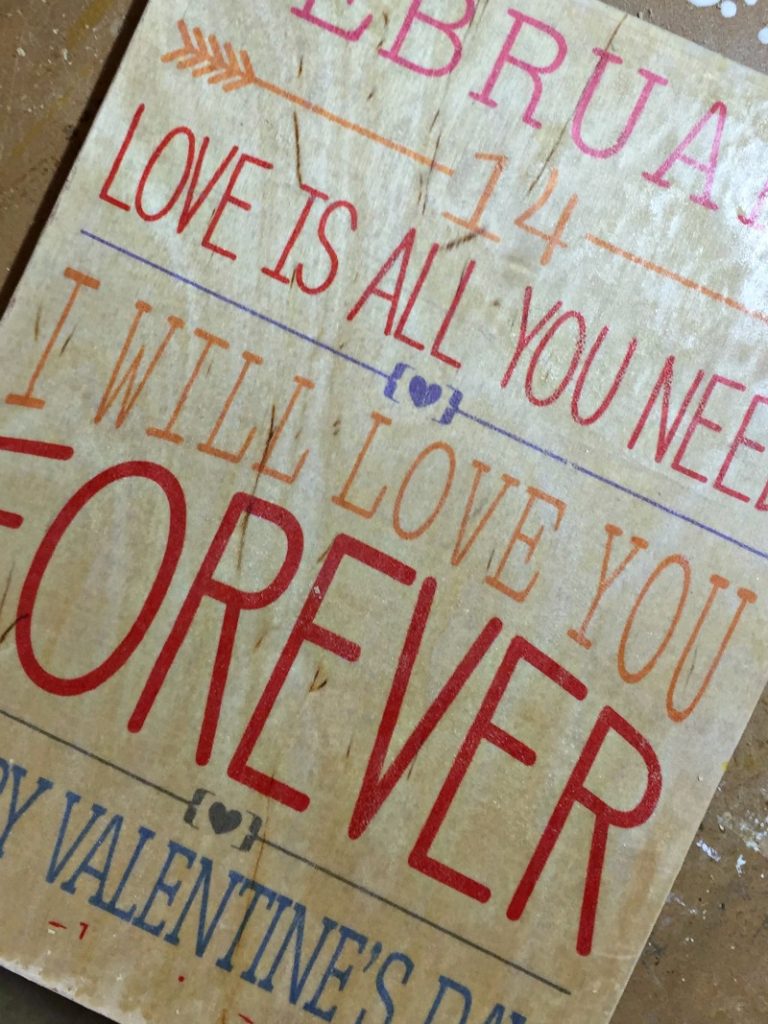
This subway art above is from the Silhouette Online Store.
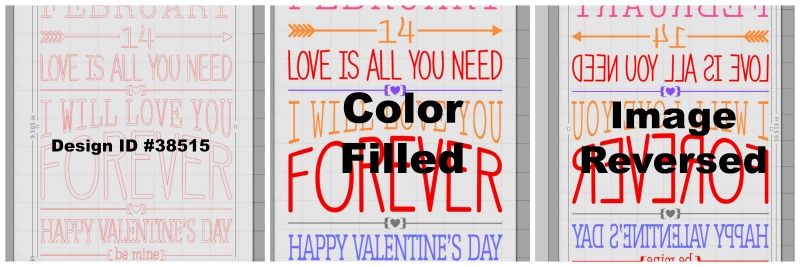
If you use Silhouette Studio, I have shown the design ID #, and how I color-filled and reversed the image before printing.
Here’s a short video showing the ironing process:
After the images were iron onto the wood, I lightly sanded and added some dark antiquing wax to the boards.
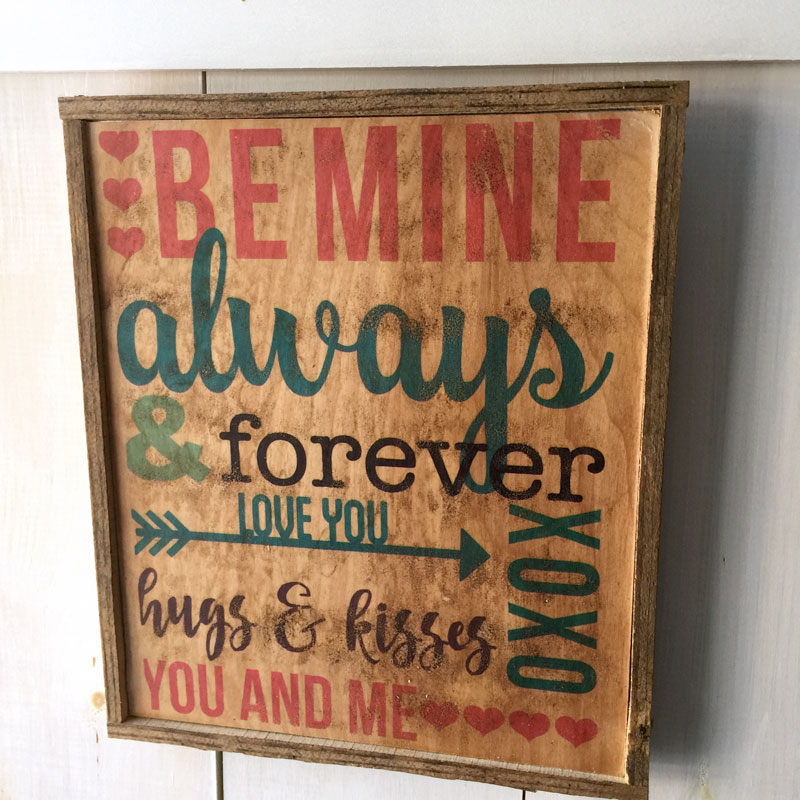
Step 3 – Framing the art (optional)
I think adding a frame makes for a more finished-looking piece of art, don’t you? And it’s really easy. Let me show you how I do it.
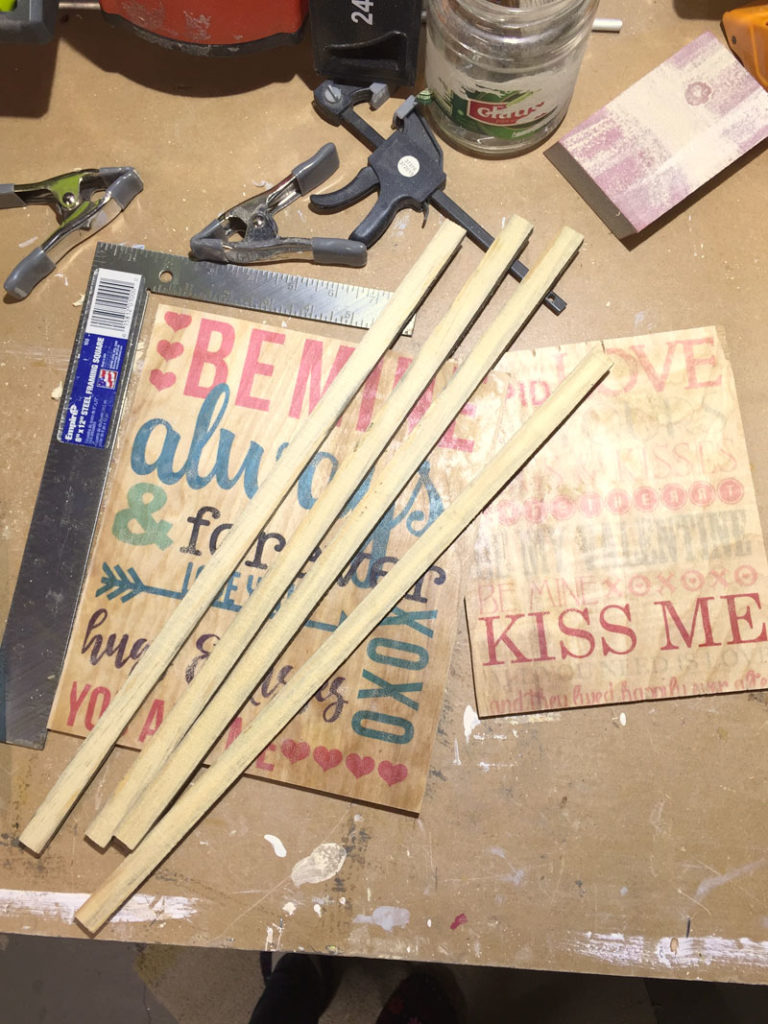
I cut narrow strips of scrap wood (in this case pallet wood) with my Ryobi band saw. (Currently my favorite power tool ; )
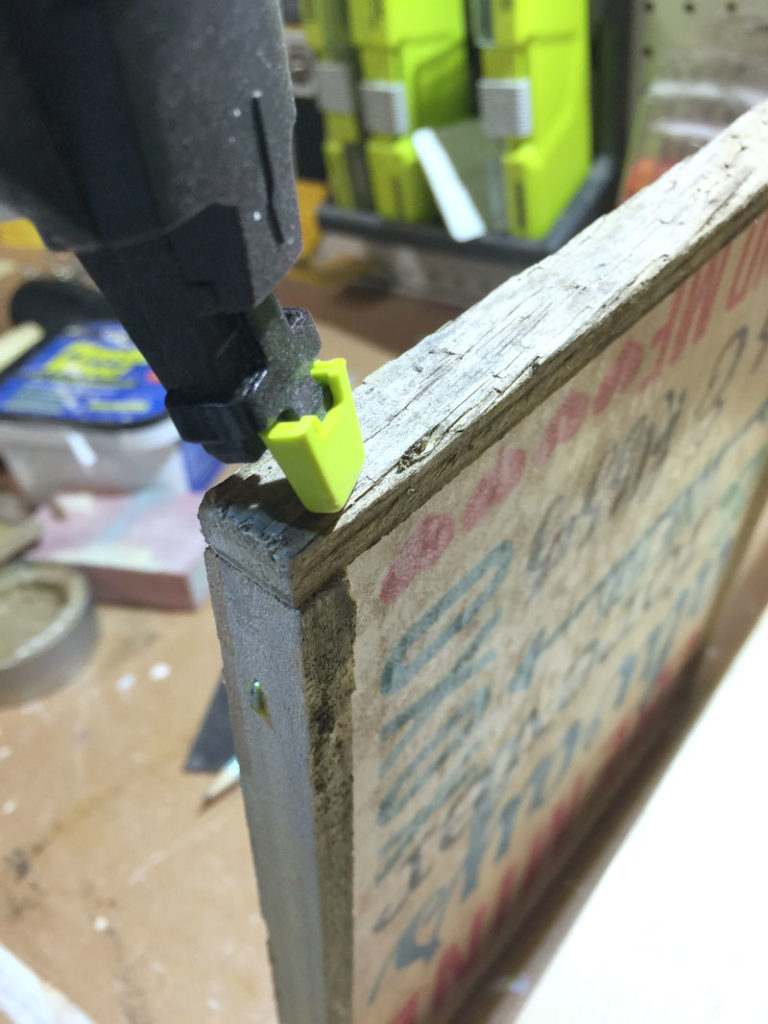
And attached the frame pieces with a Ryobi Narrow Crown Stapler.
For the subway art above, I attached the frame to the backside of the piece.
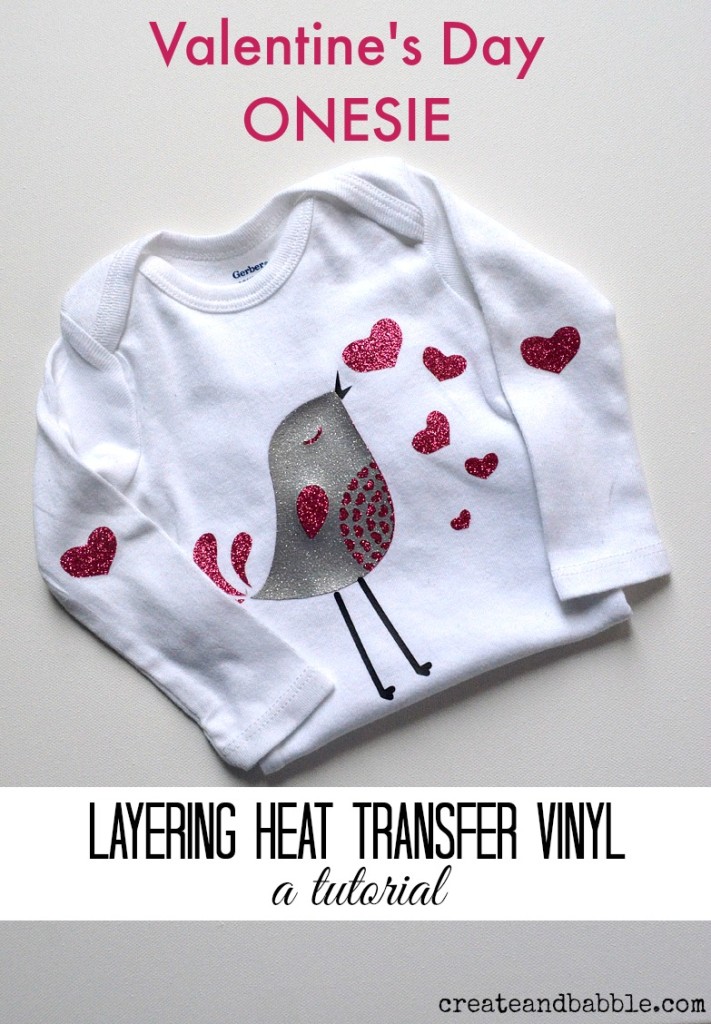
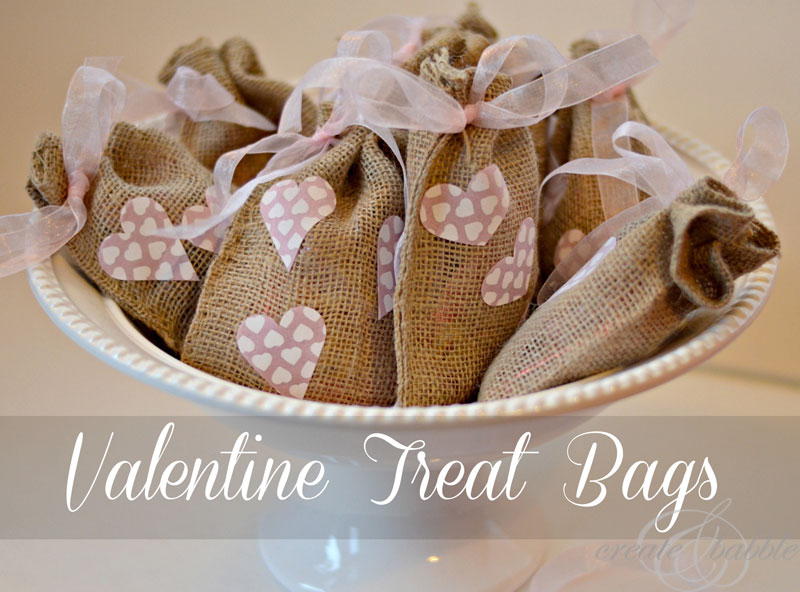
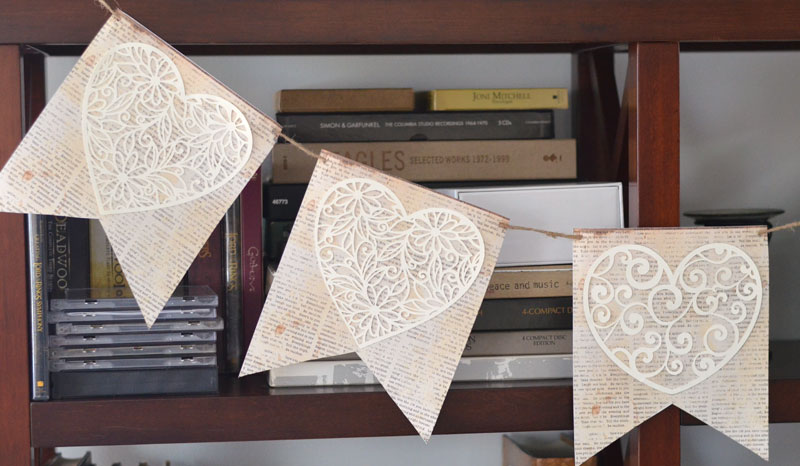
Here are a few more of my favorite Valentine’s Day crafts (just click on the photo to see the tutorial)
To see more of my Valentine’s Day craft ideas please click here.
Disclosure: I received either product and/or monetary compensation from Nufun Activities for this post. All words are my own. As I always, I only recommend products that I use and love.
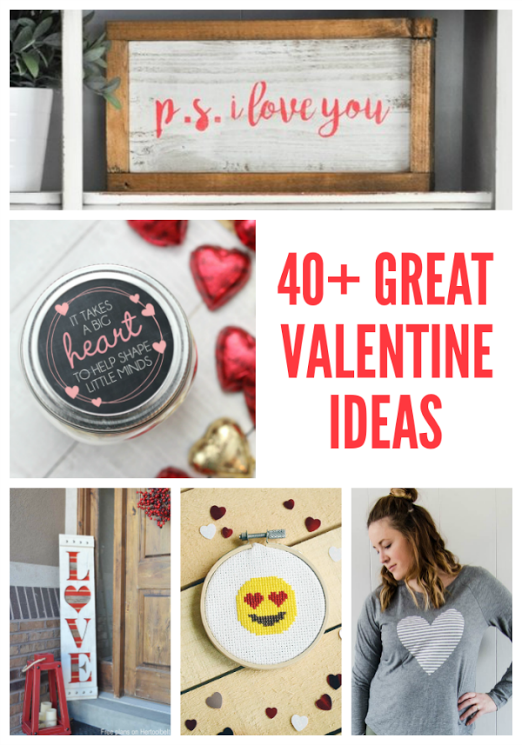
Also, here are 40+ more Valentine’s Day craft ideas from my crafting friends!


I love that Be mine one in your video… so darn cute! It doesn’t look like it get’s any easier than this for transfering onto wood!
pinning!
gail
Thanks for your visual video…My brain is exploding with ideas using NuFun. Your blog link came from My Repurposed Life blog. So happy to see this can be done on wood.
What a great idea! Thank you for sharing as part of the blog hop.
Such a fun sign!
I’m loving this project! I’ve been meaning to visit and see how you did it as soon as I saw it. LOVE! pinned 🙂
Oh I like this one! Looking at the video it seems like it is an easy thing to do. I think if you have kids this could be a great activity, you just need to be careful with ironing though and just let the parent’s or old ones handle the iron. Can’t wait to order the product and try it this weekend.
Hello everybody. Fascinating information that will always be useful! I am very grateful to the author for his diligence and interesting presentation of information. When you are developing 2D art for future computer games, you always really want to eat something tasty. This is an important moment in our work.