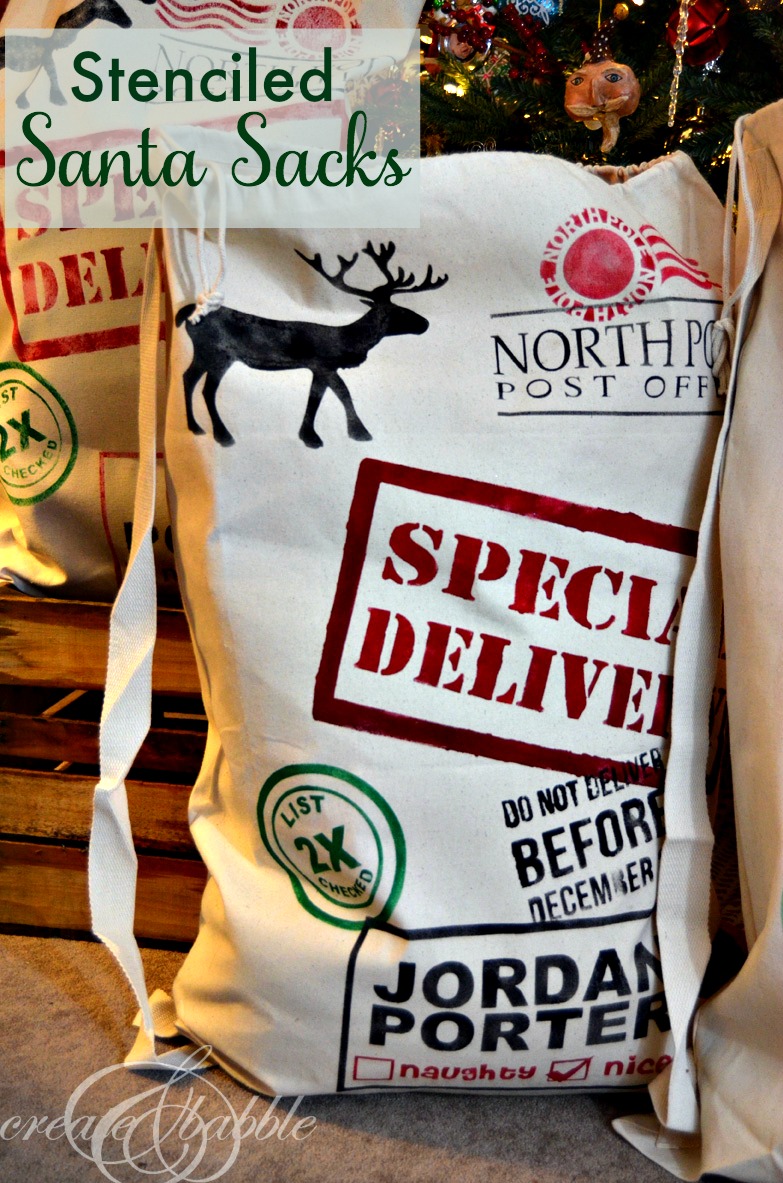
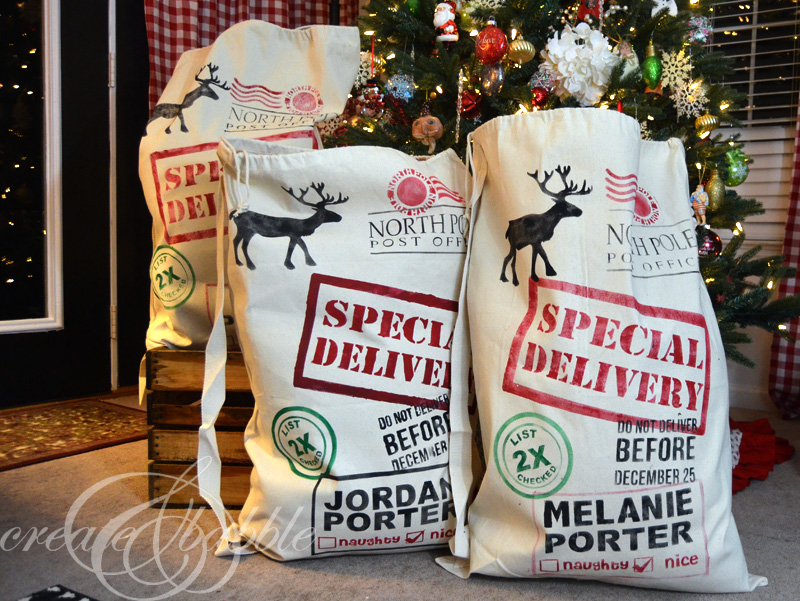
There is nothing like watching the faces of little children on Christmas morning discovering that Santa did indeed come and drop off toys during the night. This year my grandson is six years old and we know the magic won’t last much longer. That is why I made stenciled Santa Sacks. In case there’s a tiny bit of doubt, we are hoping that the sight of an official-looking sack from the North Pole that is personalized with his name will erase any doubt. At least this year ; )
If making a Stenciled Santa Sacks sounds like too much work and you don’t have the time, I found some really cute ones on Etsy and Amazon,
There are many great tutorials out there for making these sacks. I have seen many made with vinyl. In fact, I considered using heat transfer vinyl but since I didn’t own a heat press when I made these and I needed to make three of these sacks – well that was too much time spent over an ironing board for me! (Santa, if you’re reading this, a heat press is on my list — and I’ve been really good!) UPDATE: Santa brought a heat press!
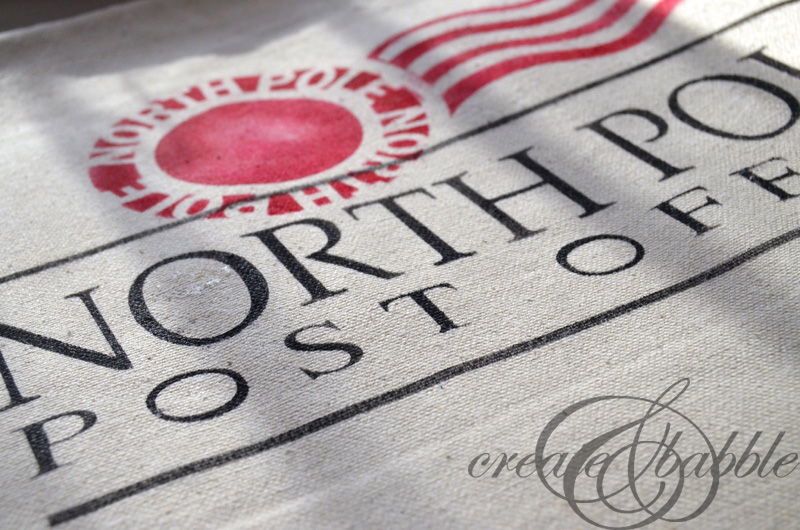
I decided to make stencils instead. I thought that the uneven look of paint stenciled on the bags would give an almost authentic appearance of the words being stamped onto the bags. You know, by tiny elves. With big stamps and ink pads.
The first thing I had to do was find the right bags. I ordered mine online through Tote Bag Factory. They’re a very nice quality for the price.
Once I received the bags, I measured how big of a design I would need: 18″ x 26″
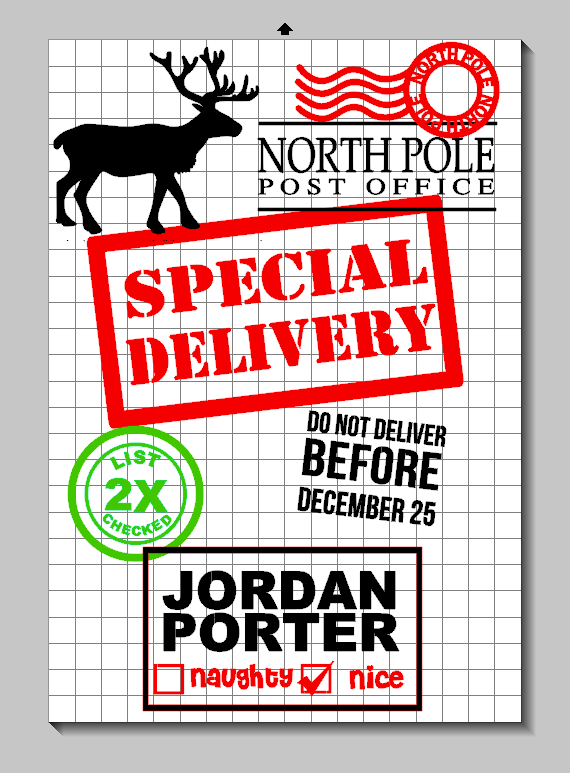
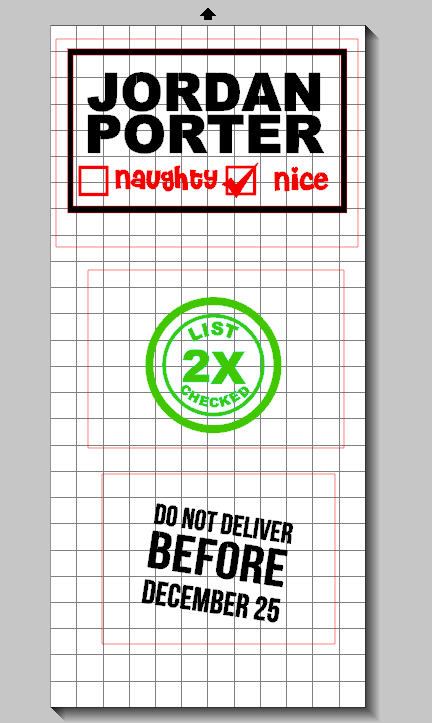
In Silhouette Studio, I created an 18 x 26 workspace and starting creating my shapes.
The inspiration for my design came from multiple places. One of them was from Brooklyn Limestone. They offer a free printable that can be printed onto transfer sheets. In fact I used the reindeer from her design and traced it to create a cut shape.
The postal stamp and the check boxes are from the Silhouette® Online Store. Everything else I made in Studio.
To make the letters stencil-friendly, I used the knife tool to make a slice through letters that have a “hole”.
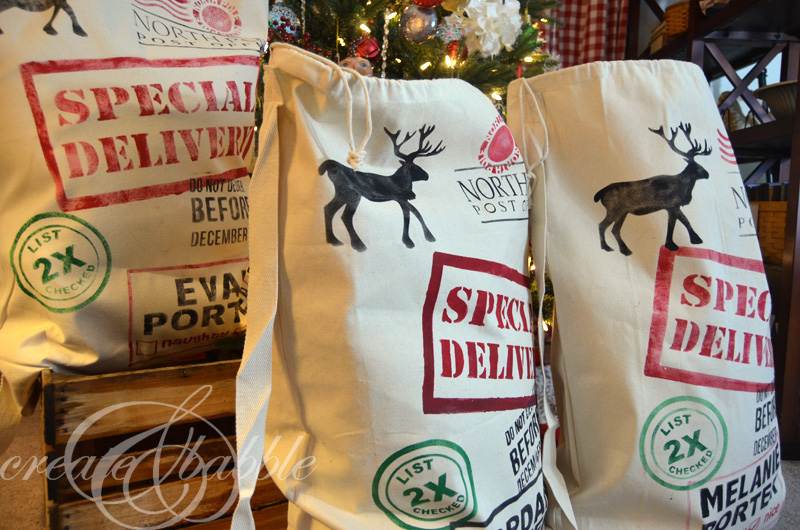
If you look closely at the photo above, you can see the small white line through the letters with holes.
After all of the designs were made and placed where I wanted them on the 18″ x 26″ drawing space, I copied and pasted each one onto a new drawing space sized to fit the size of my stencil blanks. I used the Show-Off brand of stencil blanks that are 12″ x 18″.
I drew rectangles around each shape to create a border on each stencil piece.
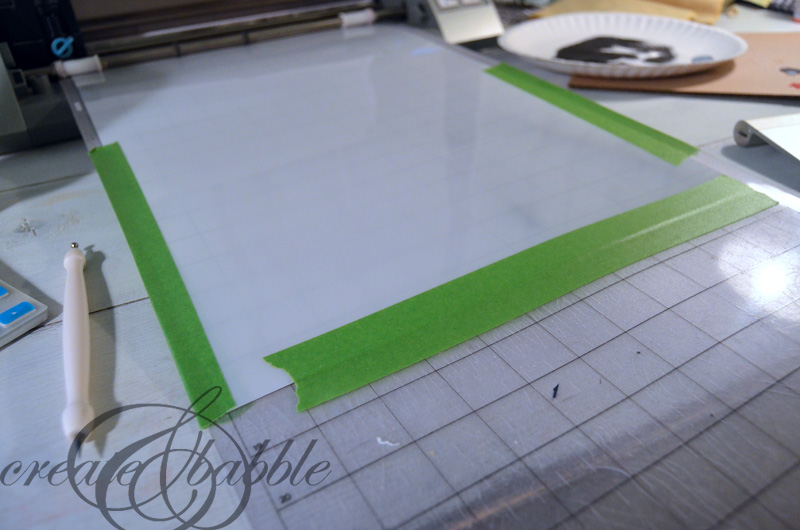
Here’s a little tip for you. If your stencil material is sliding around on your not-so-sticky-anymore cutting mat, use a little painter’s tape along the edges. Works like a charm! I do the same thing with glitter card stock.
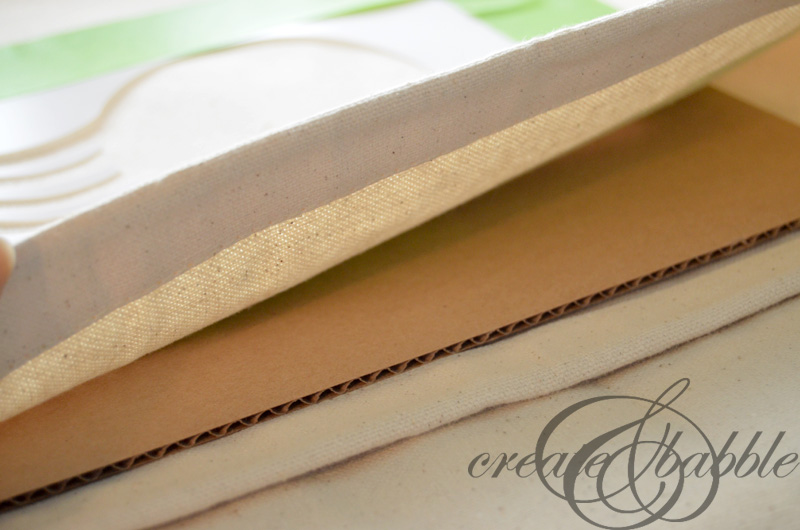
I started off using a piece of cardboard inside the bag in case the paint bled through, but then forgot about it later. The bags I used are really thick and I didn’t have any issues with paint seeping through.
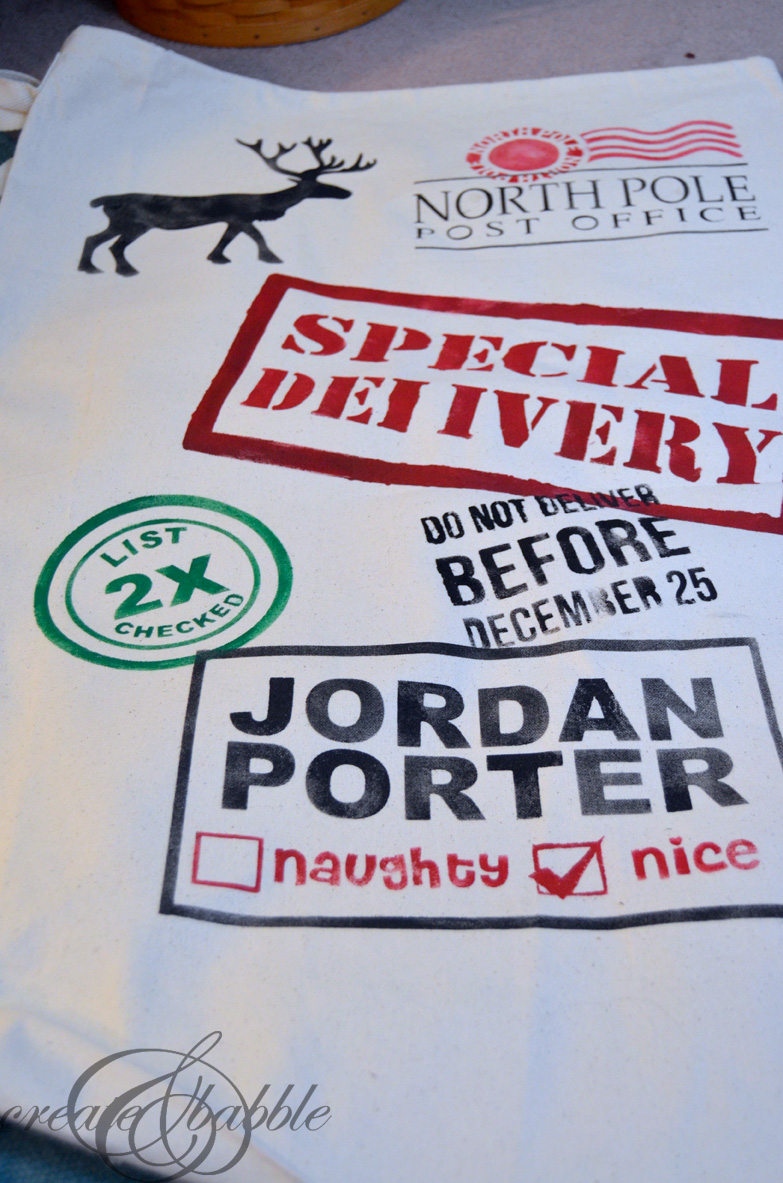
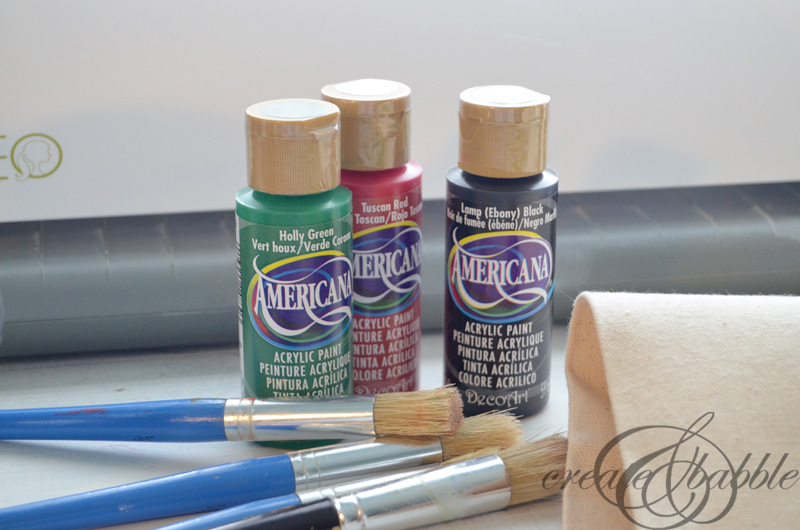
To keep things simple (and less messy), I only used three colors of paint. I chose Americana Acrylic Paint by DecoArt: Holly Green, Tuscan Red and Black.
The more I did, the faster and better I got at it. I was little heavy handed with the red paint on Jordan’s ; ) I don’t think he’ll notice. The trick to stenciling is to keep the stencil brush relatively dry.
I cannot wait to see those three little precious faces on Christmas morning when they see what Santa left for them!
Want to Check Out More Silhouette Projects?
My Silhouette Challenge friends and I are all sharing projects on our blogs today, so peruse the projects below for a wealth of Silhouette inspiration!

1. Pineapples and Pinecones // 2. Simply Kelly Designs // 3. Architecture of a Mom // 4. Just a Girl and Her Blog // 5. Two Purple Couches // 6. Chicken Scratch NY // 7. Creative Ramblings // 8. One Dog Woof // 9. Ginger Snap Crafts // 10. The Thinking Closet // 11. Please Excuse My Craftermath… // 12. Designer Trapped in a Lawyer’s Body // 13. weekend craft // 14. Dragonfly & Lily Pads // 15. Practically Functional // 16. Living My Given Life // 17. My Paper Craze // 18. The Kim Six Fix // 19. Home At Eight // 20. Queen of Everything // 21. Tried & True // 22. McCall Manor // 23. unOriginal Mom // 24. Create it. Go! // 25. From Wine to Whine // 26. GetSilvered // 27. It’s Always Ruetten // 28. Nearly Handmade // 29. Mama Sonshine // 30. Silhouette School // 31. It Happens in a Blink // 32. Create & Babble // 33. Sowdering About // 34. Where The Smiles Have Been // 35. My Favorite Finds // 36. Lil’ Mrs. Tori // 37. Designed Decor





I LOVE them! They turned out great!!
Your santa sacks are awesome! The kids are going to be sooooo surprised.
Those are so cute! The kids will love them. How special!
These are so adorable! I’m charmed by the rustic look. These are family keepsakes definitely.
These are fabulous. There’s going to be some pretty happy Children around on Christmas Morning.
If anything will keep the Christmas magic for your grandson, these Santa sacks will! Jeanie, I’m so impressed by how professional they turned out. These could definitely be STRAIGHT from Santa’s workshop. Also, great tip on the painter’s tape! I’m pinning this for future ref. for sure. Thanks so much for joining in on the December Silhouette Challenge and Giveaway, and adding so much creativity into the mix.
How fun! I need to make a stencil with the stencil material. Great job! Pinning!
Thank you, I would love to win!
I think I will be doing this next year! These are so adorable! Hobby Lobby has some that are burlap and really cute…not as cute as yours, but they smell and are very rough and shed fibers. Your way is the better way.
What an awesome idea! I never would have guessed you made these .. so cool!
Awesome idea! I didn’t even know there were such bags available!
These are awesome!! I’m wondering why you put the line through the letters with holes though??
These are precious! I bought heat transfer material to make some, but I like the look of the stencil & paint better, I think! You’re right – they look handstamped by the elves. Thanks for sharing.
Such a fabulous idea. I love them!
So I’m new to the craft world and I don’t own a Cameo so I apologize if my question seems dumb. Did you use a separate stencil for each bag or did you peel it off one bag to place on another?
~Jessica
Hi Jessica! That’s not a dumb question at all! Yes, I re-used the same stencils (except for the names, of course ; )
Thank you so much! I ordered a cameo and cannot wait to use it. Do you have a preference as to using a stencil to paint vs just ironing on vinyl?
~Jessica
Hi Jessica. It depends on what I’m making. I wanted the Santa bags to look authentic and printed, which is why I used stencils instead of vinyl. Good question!
Great! Thanks so much for your help! So you ever use vinyl as a stencil?
You are welcome! And yes, I have used vinyl as a stencil as a one-time use.
I just received my tote bags & am at a loss at how to start this project.
I don’t have a machine to make stencils.
How would you suggest I start this project? ghpught I would save some money & try to make them myself….ugghh! Probably should have just bought them.
http://mittenhouse.com/2013/12/07/santa-sack/
I love this idea. I actually got my santa sacks at https://www.bagzdepot.com/ and they are very durable and priced well. I will start my project soon
How fun. I love everything about this. Thank you for sharing ?
Great idea! Loved reading through. Thank you for sharing!
Nice article!! Its useful for me. we are the cotton manufacturers in india.
this is amazing!!!!!!!
https://www.news.ir/category/news/economic/
this is amazing
https://www.news.ir/category/news/economic/
It is a nice blog, I agree with you many benefits of using cotton bags and also helpful for nature. It is a good blog us.
For more details visit at Face Mask Cotton Bags Jute Bags Hand Glove