Papers have taken over my craft room. They are piled up everywhere and when I need a certain one, it takes forever to find it. I was thinking that there needs to be a way to get these papers organized yet easily accessible at the same time. Maybe bulletin boards would work. But they would have to be big bulletin boards. And of course they would have to be pretty ; ) So I came up with an easy way to make framed bulletin boards that are not only functional, but very pretty!
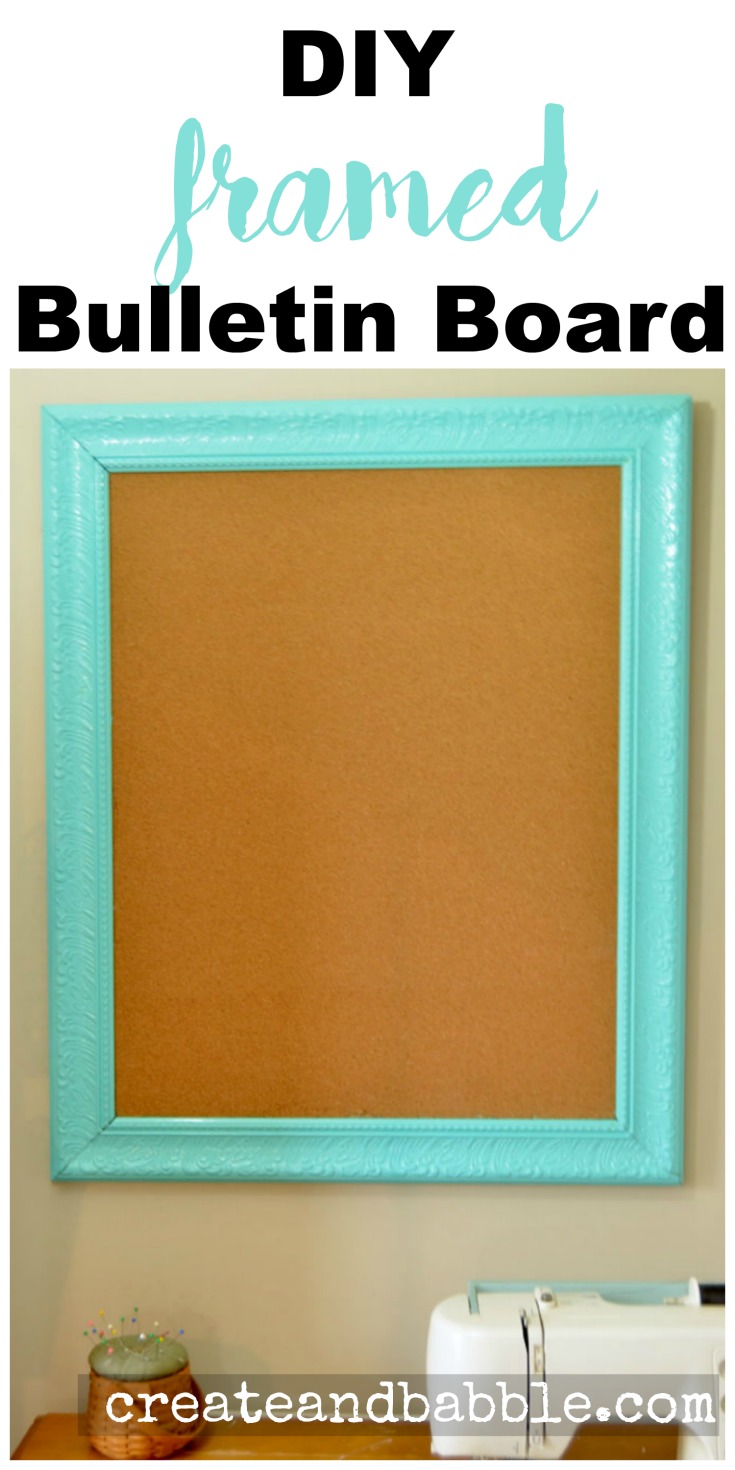
Pretty, right?
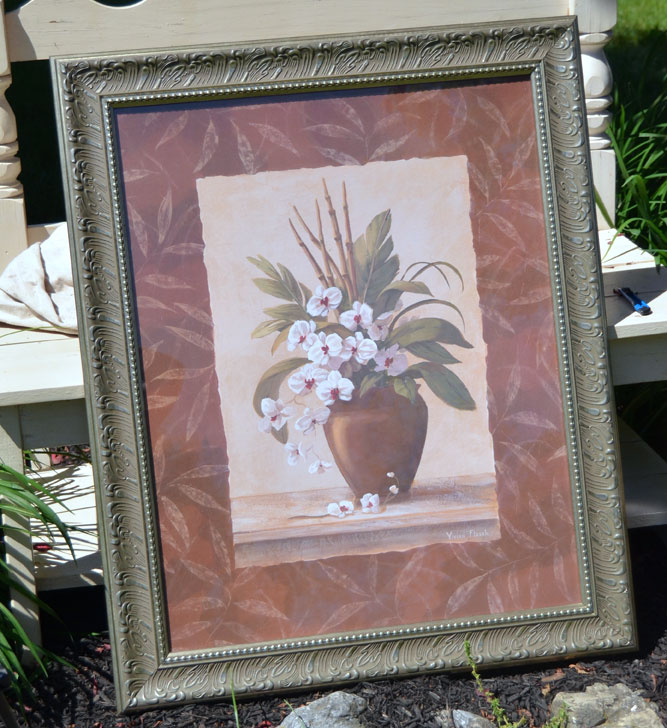
The picture above is what it used to look like. Not too pretty, I know ; ) I picked up a pair of them at a yard sale for $10. I didn’t care about the print inside – I bought them for the frames and I was itching to try out some new paint on them: Americana Decor Maxx Gloss® paint by Deco Art.
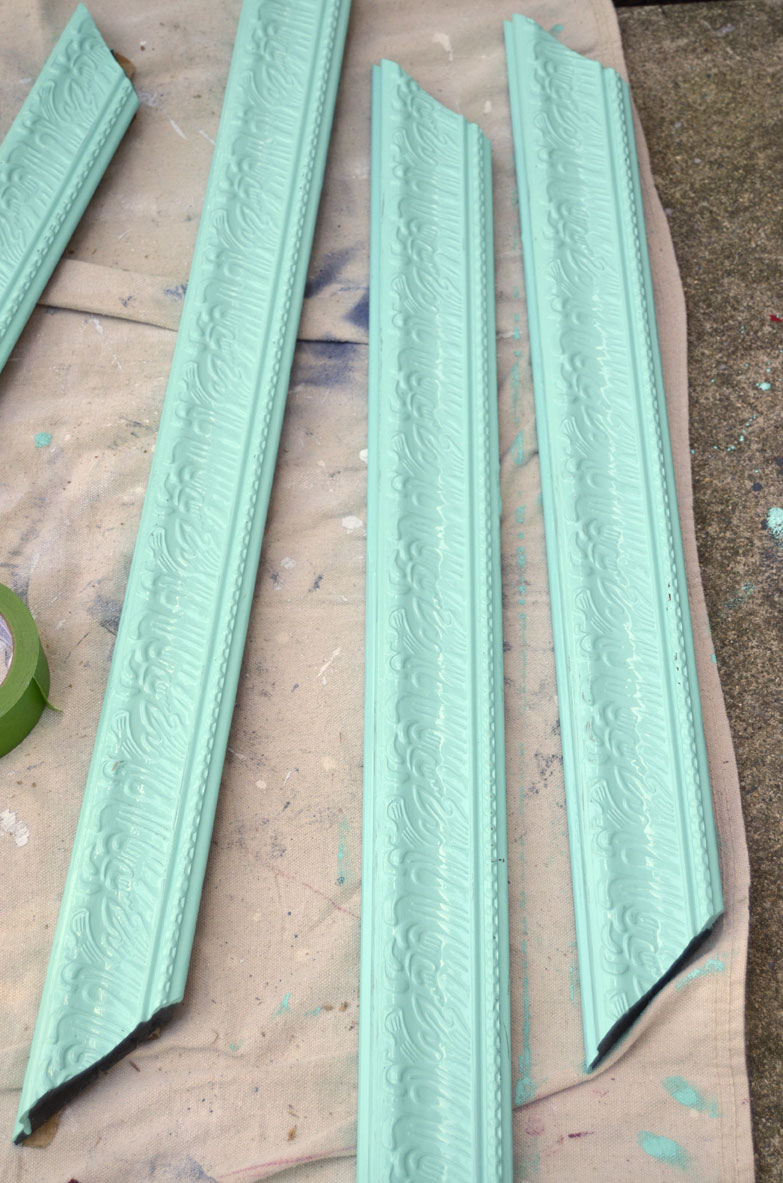
The first thing I did was remove the paper backing from the framed print to remove the glass and the print. Turns out the paper backing was holding the frame together! Ah well, I’ll worry about that later. I went ahead and painted the four pieces of the frame using a good Purdy paint brush and two coats of the Maxx Gloss paint. This color is called Aqua Waters.
I am IN LOVE with this paint. If you happened to see my Facebook Live video you know what I’m talking about! I was kind of excited ; )
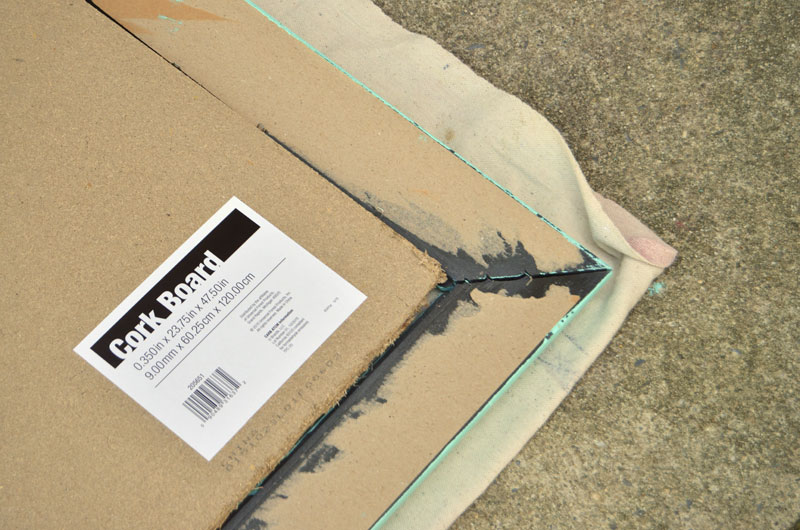
After the frame was painted and dry, I put it back together with wood glue and small brad nails. Then I added the cork board to the back.
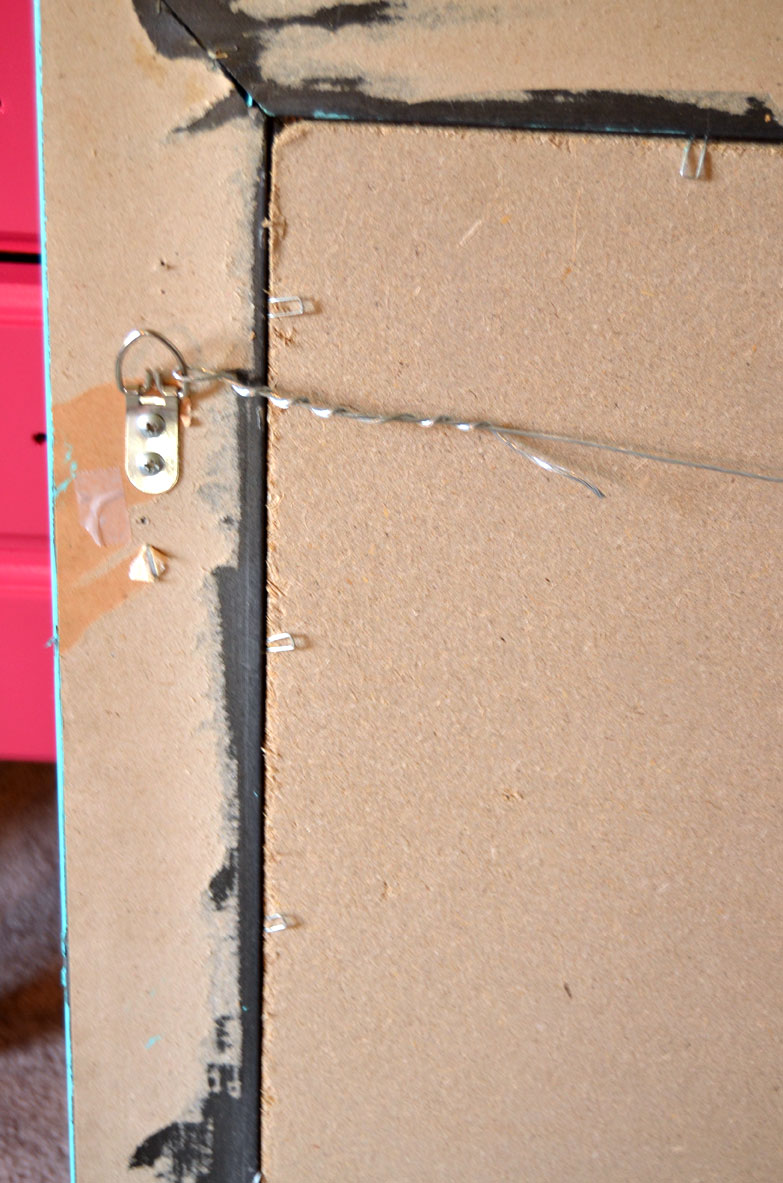
The d-rings were already attached. I just had to add the wire and hang it up on the wall.
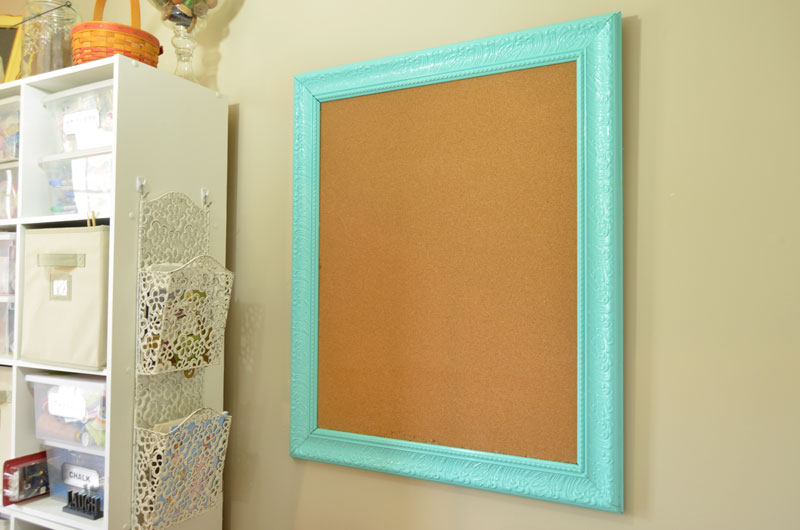
I hung it above the sewing machine next to the cubby shelf unit.
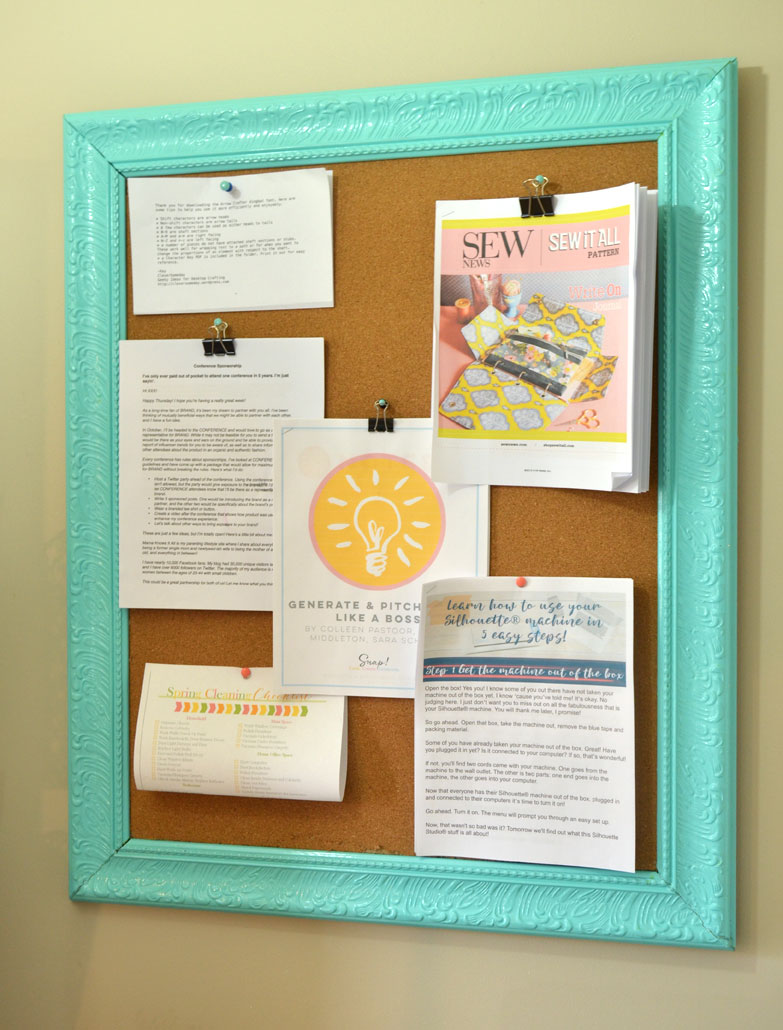
I wasted no time getting some of my papers pinned up! Wait . . . there has to be a better way to hang papers and get more of them on there!
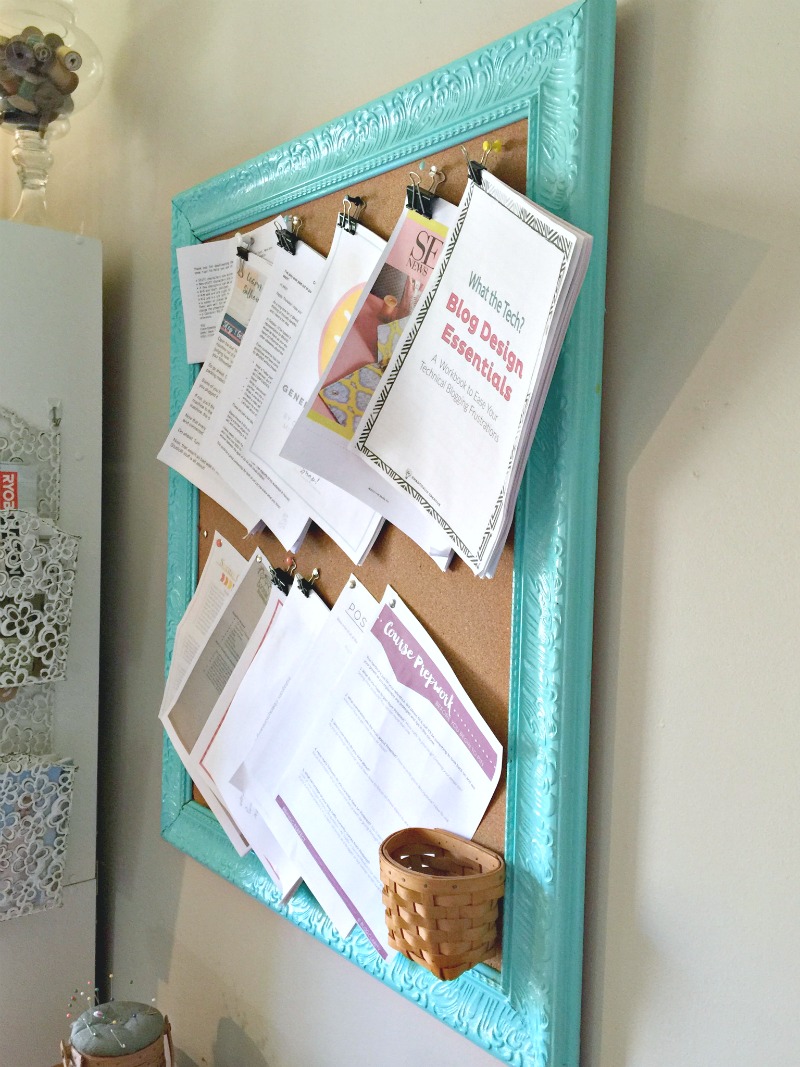
Yep, that’s better. Now on to the second one!
If you enjoy seeing repurposed ideas, then you may like this headboard bench or this 2-tiered tray. Oh and you gotta see what I made with an old cupboard door from the ReStore.
I link up at the following parties:
Tutorials & Tips / Monday Funday / Creative Corner / Merry Monday / Bewitchin’ Projects Block Party /That DIY Party / Inspiration Monday / Project Inspired / Creative Spark / The Scoop / Grand Social / From Dream to Reality / DIY & Recipe Linky / Dream.Create.Inspire / You’re Going to Love It Tuesday / Show & Tell / Moonlight & Mason Jars / Create & Share / Talk of the Town / Whimsy Wednesday / Wow Us Wednesdays / Welcome Home Wednesdays / Lovely Little Link Party / Create It Thursday / Thursday Favorite Things / Creative Spark / The DIY Collective / This Is How We Roll / Weekend Retreat / Party Junk / Celebrate It / Foodie Friends Friday / Friday’s Furniture Fix / Creativity Unleashed / The Creative Circle / Freedom Fridays / Shabbilicious Friday / Remodelaholic Anonymous / Feathered Nest Friday / Sweet Inspiration / Link Party Palooza / The Party Bunch / Best of the Weekend / Party Junk / Share it One More Time / DIY Sunday Showcase / Sundays at Home /


That’s a great idea for re-purposing an old frame. I love how you use binder clips with the thumb tacks. I never thought to do it like that. 🙂
Thanks Abigail! Yes, I can fit more papers on the bulletin board by using binder clips hanging with thumb tacks!