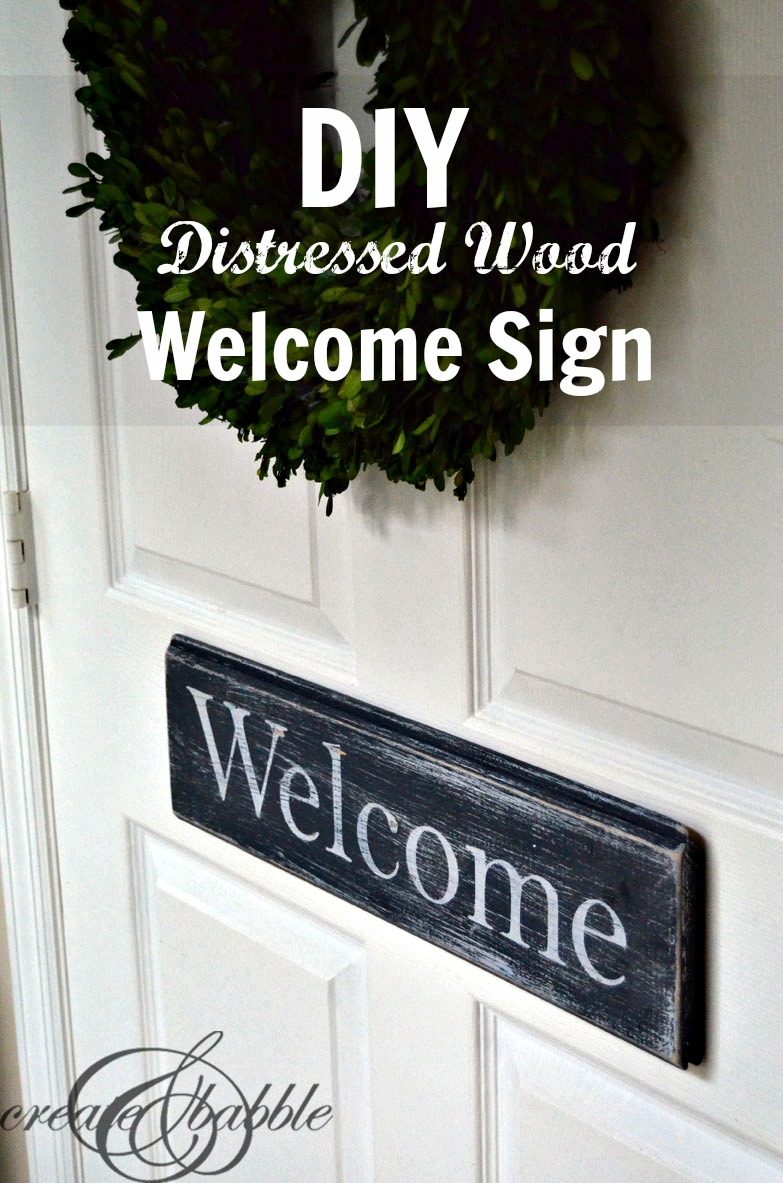
One of the benefits of my woodworking hobby is that I have lots of wood scraps. I used to have run to the craft store to buy small boards but not anymore! I now have a small stockpile to choose from to make wooden signs. You see wooden signs everywhere. I came across one that caught my eye recently. It was $35. Pffft. I can make that for nothin’. And you can, too. Feel free to pin this image to one of your Pinterest Boards to save it.
I experimented with layering paint to get the old, weathered, distressed look to my sign. It was easy. If you want to make one here’s what you’ll need:
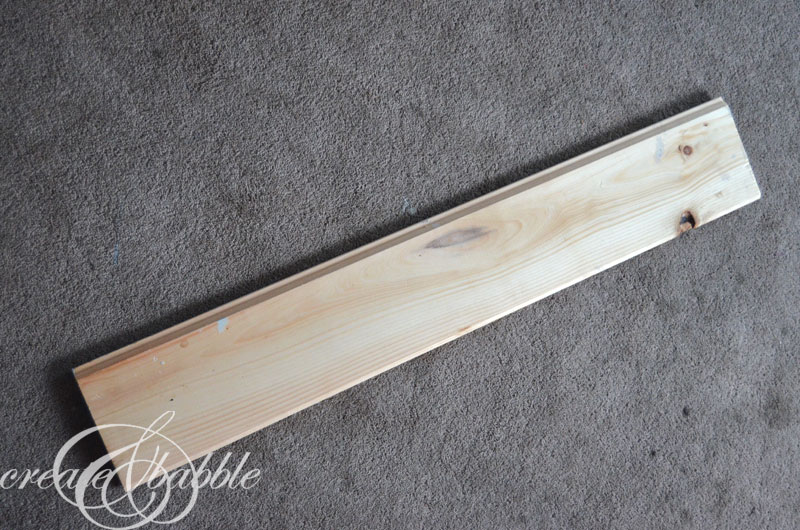
A piece of wood. I’m using a leftover of 6″ wide tongue and groove board.
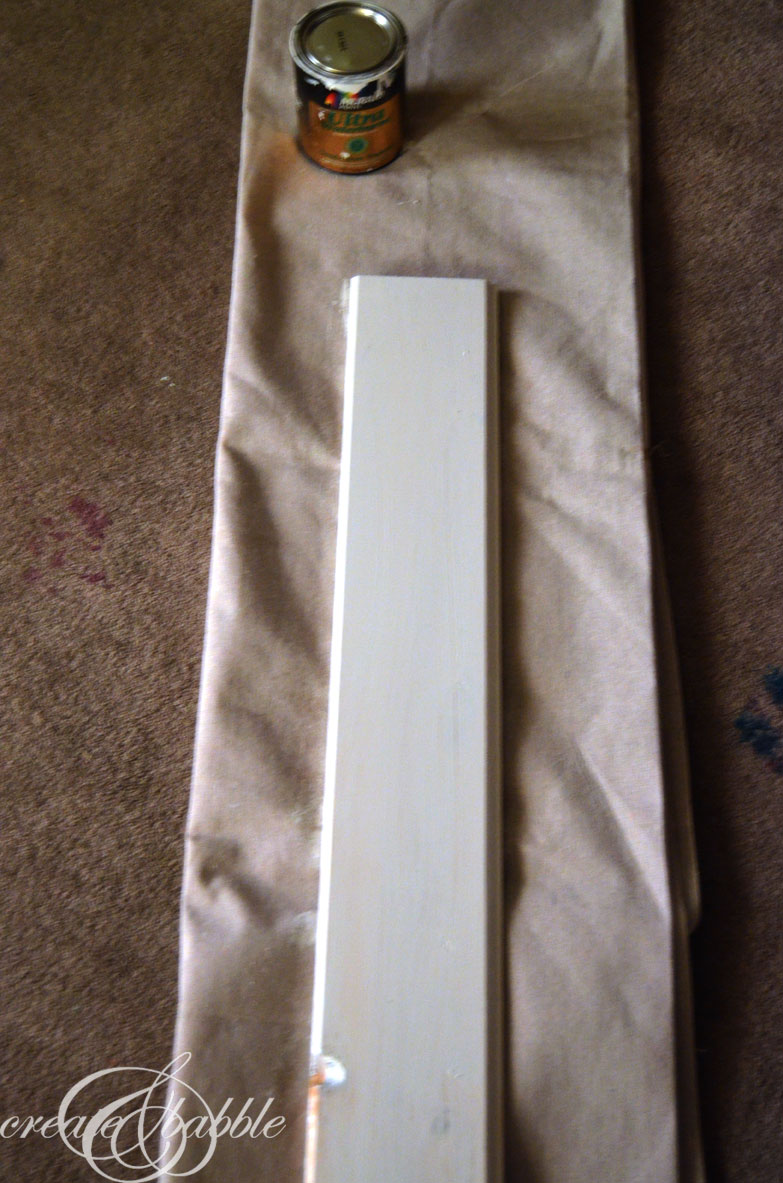
Paint it with any white paint you have. (Then take a bad cell phone picture!)
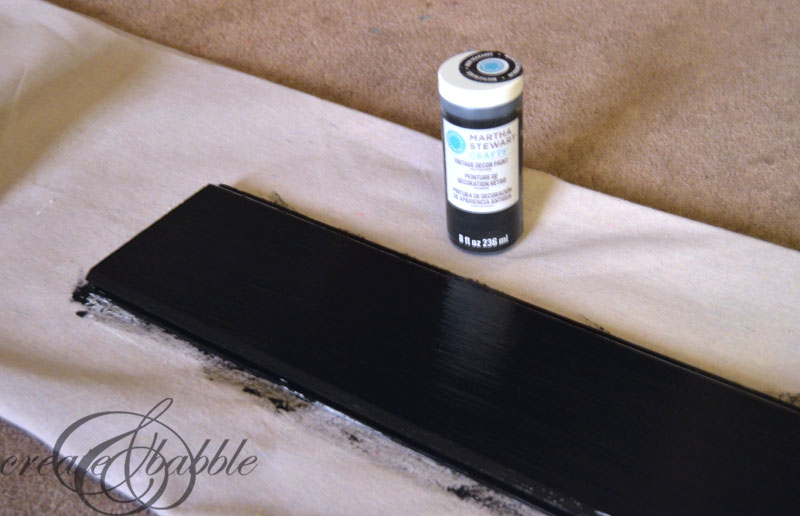
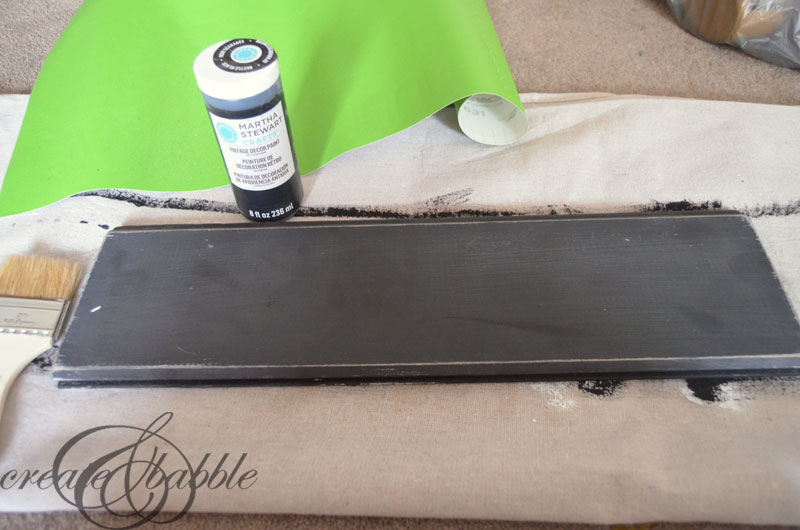
Once the white paint is dry, use a black chalky-type paint for the next layer. I used the new Martha Stewart chalky paint that I found at Michaels. It’s a little pricey so use a coupon!
When the chalky paint is dry, it’s time to give the piece a good sanding, especially around the edges where the board would naturally show age.
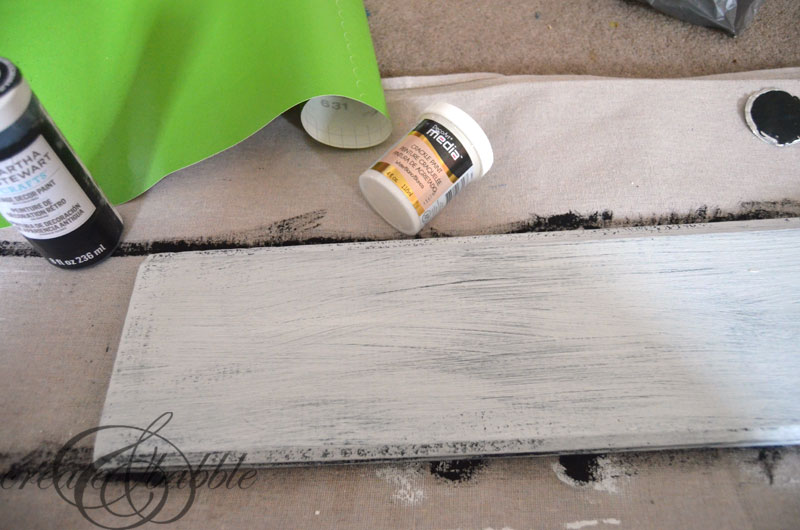
One more layer of white paint. This time I used DecoArt Crackle Medium. It’s designed to be mixed with other colors, but I just used it straight out of the jar since I wanted white.
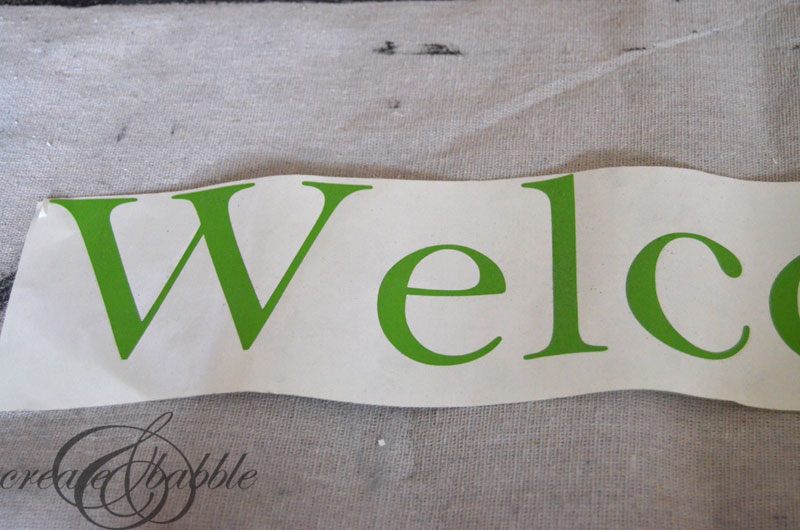
While the paint was drying, I used my Silhouette to cut the letters for my sign out of leftover vinyl.
After the last coat of paint is good and dry, transfer the letters to the board making sure all of the edges of the letters are well adhered to the board.
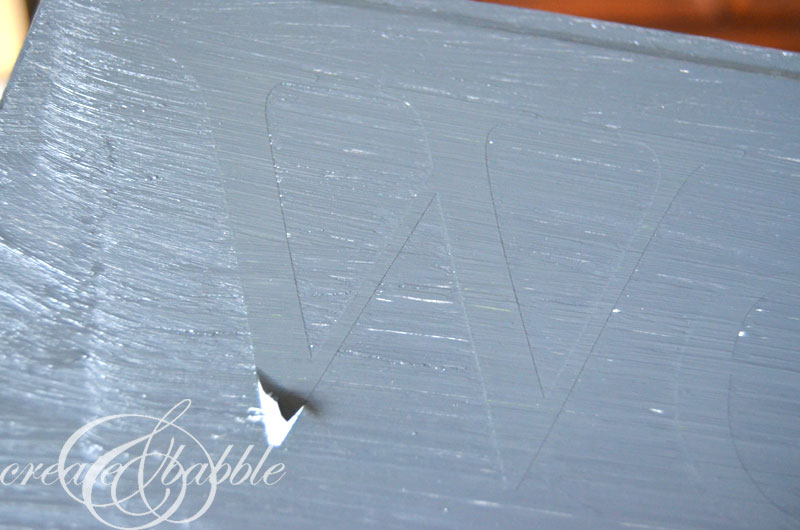
Then paint over the entire board, letters and all with one more coat of black paint. I know that the paint looks gray in this photo – I lightened it up so you can see the vinyl letters under the paint.
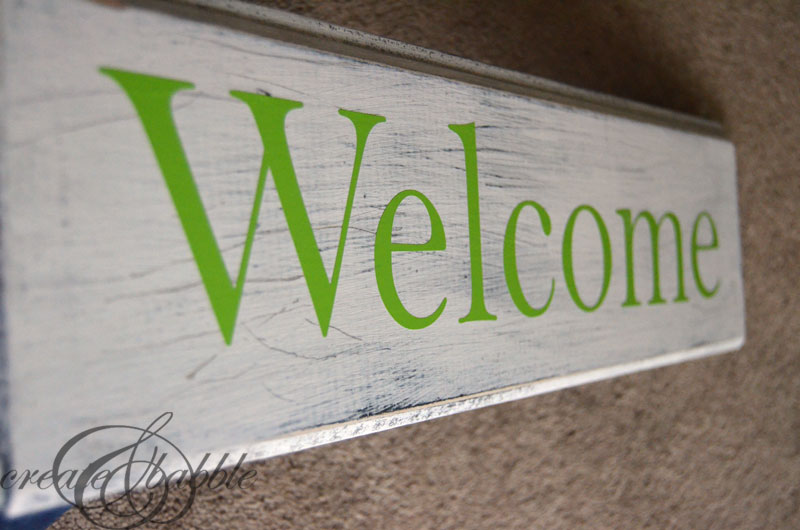
Then the fun part: peel off the vinyl letters!
Go over the entire board with a sanding sponge until you get the amount of distressing that you want.
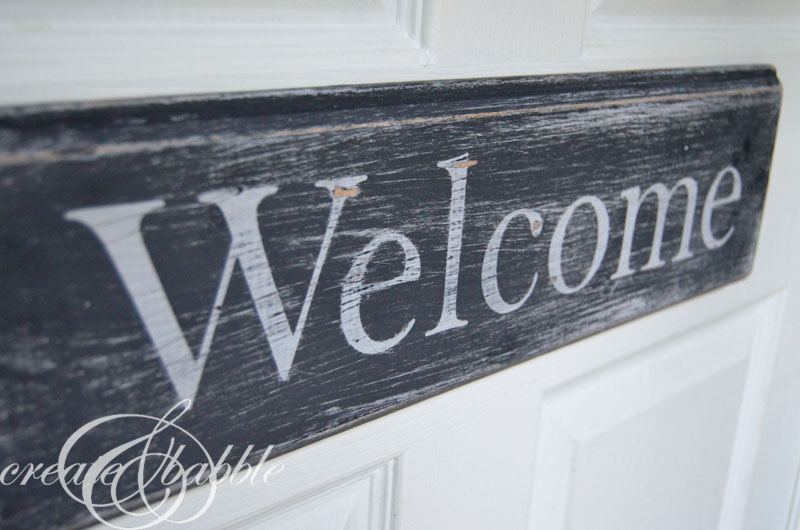
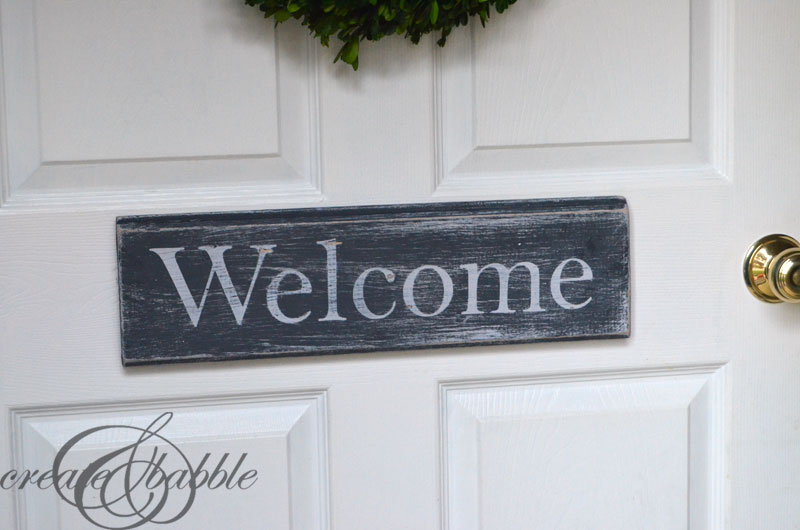
Hang it near or on your front door to welcome your guests! (Then pat yourself on the back that you just saved $35 plus shipping!)





So pretty, Jeanie! I love anything distressed! Would love to invite you to share your beautiful projects with us at our link party please 🙂 It goes live on Thursdays and runs till Monday! Have a wonderful weekend !
Thank You. Cool technique. I’ll also myself on the front door and write in Polish WELCOME “WITAMY”
buss steve wood sign
add stevewood sign
piz add steve woodsign 409 332-9670
Hi,
I’m so excited to start my project. But first, did you use a hand held sander for the first sanding process or the sanding sponge for for both??
Thanks so much,
Ashley
Awesome post! Using the letters definitely makes it easy, very cute! Thanks for sharing!
What if I did grey first? Can I slather some white over top then sand?
Thanks so much, for sharing this. I love the way the sign is big enough for any incoming visitor to see it. I love to have signs like this especially for motivational quotes or something to use as direction just outside the home. I like it even better that I’m not paying anyone to help me do this.
I want to express my deepest gratitude to the author for their invaluable contribution to Geometry Dash Wave the discourse surrounding this topic, providing readers with a wealth of knowledge and perspectives to consider.