Have you heard of the PVPP method of creating handmade signs? Apparently I’ve been doing this long before I knew there was an acronym for it! Create fun DIY Harvest Signs using this method.
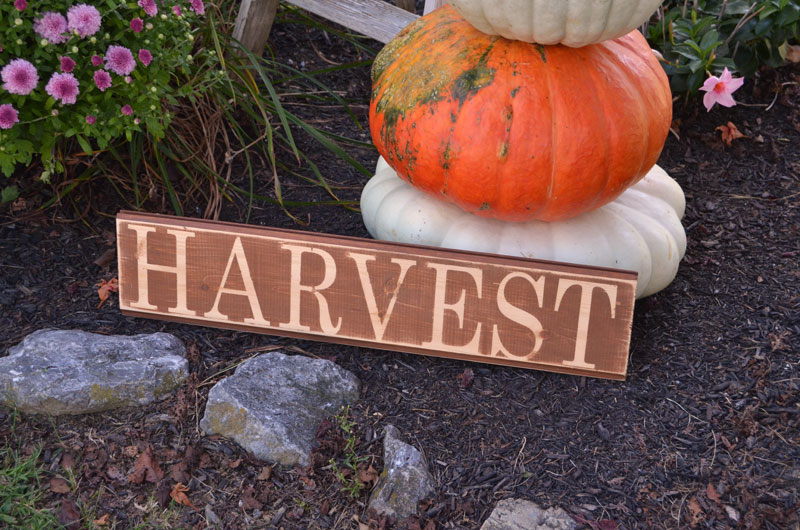
The “Harvest” signs that I made for the local craft show were made using the “PVPP Method”
What does “PVPP” stand for you ask? (I had to ask too ; )
- PAINT
- VINYL
- PAINT
- PEEL
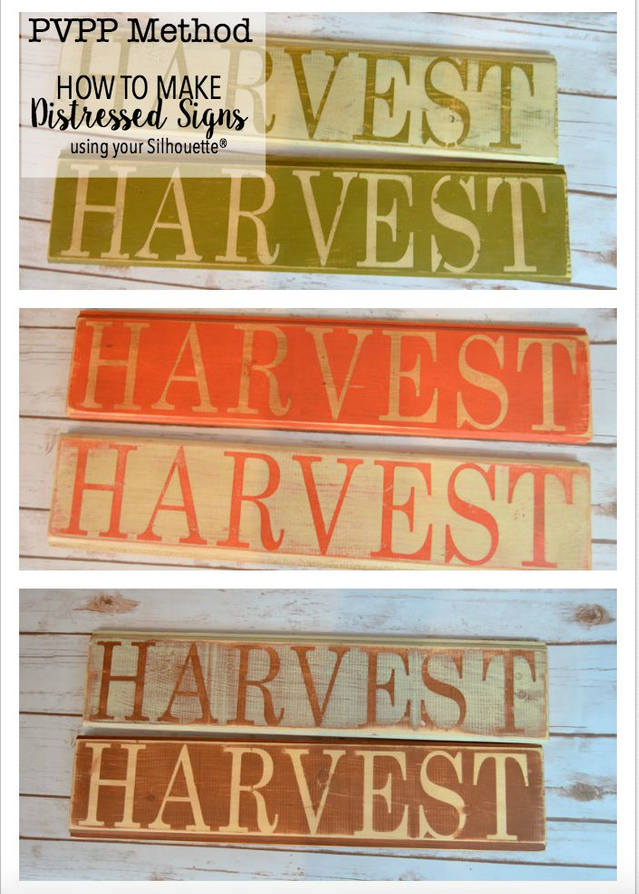
Here’s how the PVPP method works:
First you paint the board (or canvas or whatever surface you’re working with) the color that you want your letters to be on your finished sign.
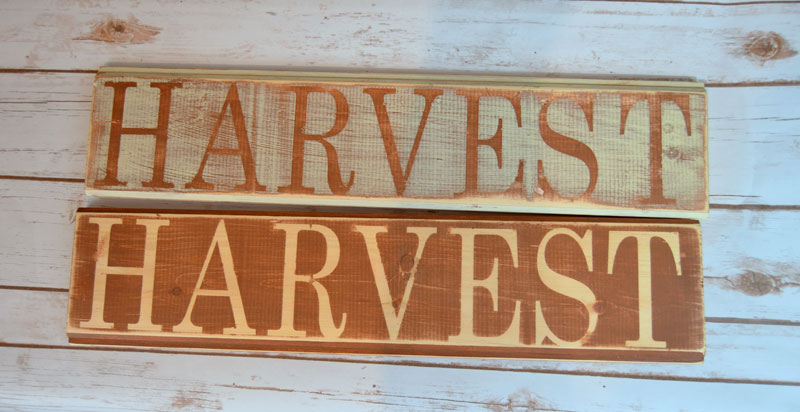
For the image above, the top sign was first painted brown, the lower sign was left bare. So that’s the first “P” in PVPP: P for PAINT
“V” is next and that’s for VINYL. Apply your vinyl design over the painted wood (or bare wood in some cases)
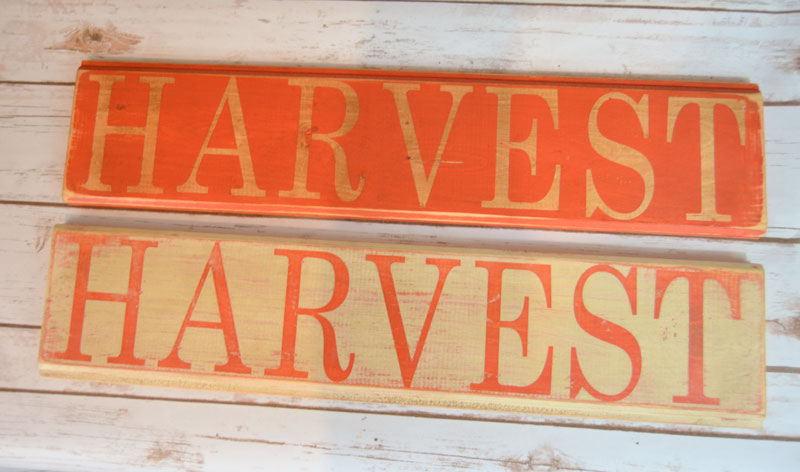
The next “P” is for paint. For the top sign, I painted an orange paint over the vinyled sign.
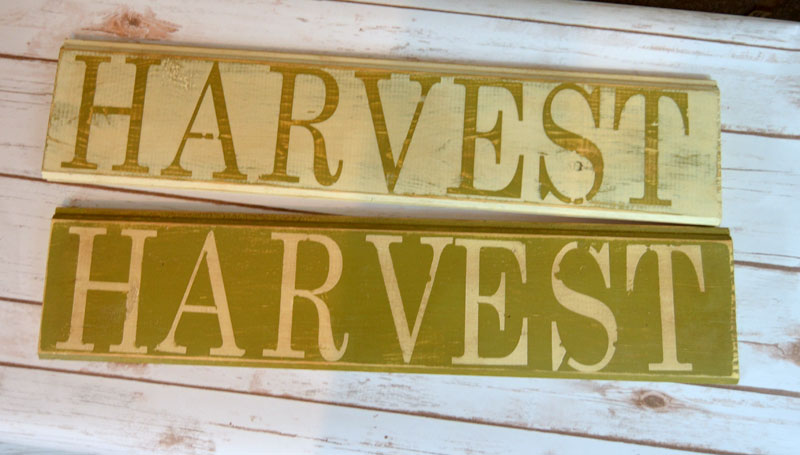
The last “P” is for PEEL. Pell off the vinyl letters.
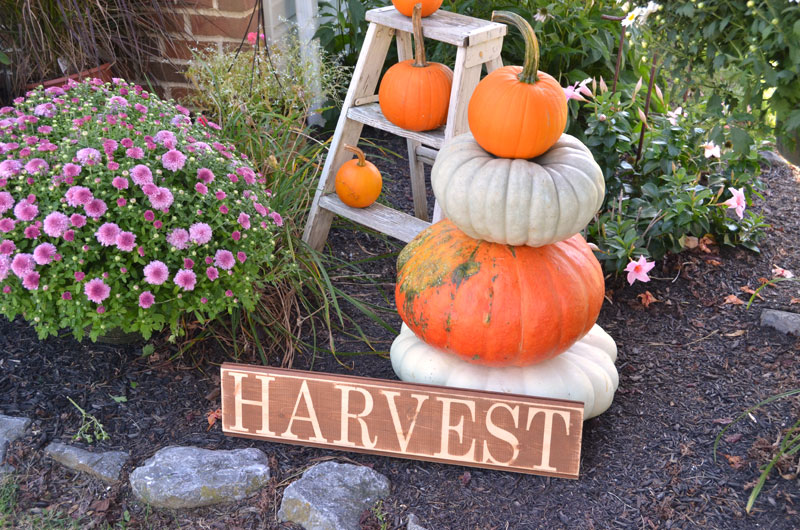
You know, we could call it the PVPPD method,
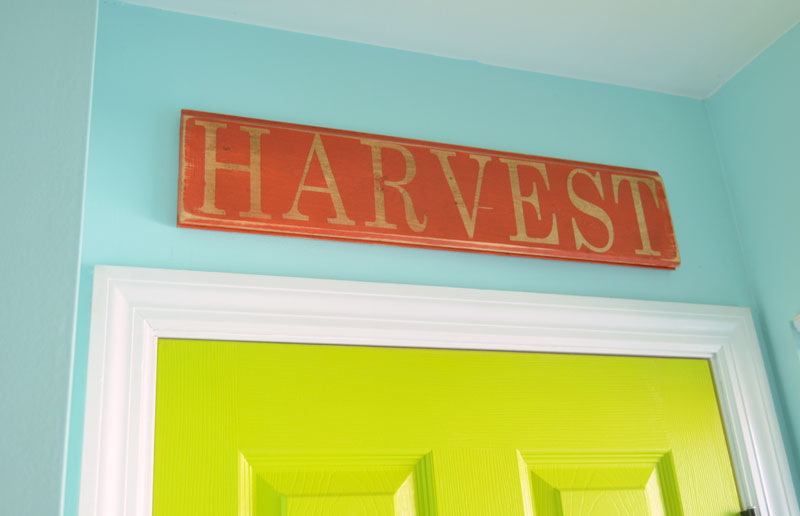
and the “D” could be for DISTRESS. I sanded all of my signs to get the distressed look.
Here’s the free “harvest” file for your personal use only. Enjoy Harvest Season!


Jeanie, I didn’t know this! Thanks for sharing the methd. I’ve had my Silhouette for almost a year and have only used it mabe 3 times.. I need to break it out!
Creating DIY harvest signs using the PVPP method (Paint, Varnish, Polish, Protect) is a fun and durable way to showcase your garden’s bounty. Start by painting your design on a wooden board, then apply varnish to seal and protect it from weather damage. For added longevity, consider whole house air filtration systems to reduce dust and pollutants that could affect your sign’s finish. Polish the surface for a smooth look, and finally, protect it with a UV-resistant sealant. This method ensures your harvest signs remain vibrant and weatherproof for seasons to come. Perfect for farm stands or home decor, PVPP offers a professional touch to your DIY projects.