• Home
  • About
  • Contact
  • Partner
  • Privacy Policy
    • Facebook
    • Instagram
    • Pinterest
    • Twitter
    • YouTube

Create and Babble

  • DIY
    • Home Improvement
    • Upcycle
    • Furniture Makeovers
    • Build It
  • Craft
    • Silhouette
    • Sewing
    • Wedding DIYs
    • Seasonal
    • Gifts
  • Lifestyle
    • Bicyling
    • Travel
    • shopping

STAY UP TO DATE

Get the latest crafting and DIY tips, tricks and tutorials delivered straight to your inbox!

DIY Pretty Pegboard

September 4, 2015

If you like it, please share it!Share on pinterest
Pinterest
Share on facebook
Facebook
Share on twitter
Twitter
Share on stumbleupon
Stumbleupon
Share on google
Google
Share on linkedin
Linkedin
Share on reddit
Reddit

I am participating in a sponsored campaign hosted by Advil®. I received compensation for this post. All opinions stated are my own.

I try to keep my craft room organized. Really I do! You may even remember some of the organization items I’ve made to keep neat and tidy. Like the labeled storage bins, the card catalog-type cabinet, and the paint storage shelf. 

These all work great but I’m missing something. Something to hold the crafting tools that I use most often. You know, like scissors and such. Having a bin labeled “tools” just isn’t cutting it for me and it’s a real head ache every time I need to grab an often-used tool and I have to go rummaging around through all of my storage bins looking for it!

Here’s my solution. The last missing piece of my storage puzzle, I hope! I’m going to build a framed peg board. Not just any old peg board. A pretty, framed peg board. Does your craft area need one, too? How about we build one together. Me and you!

Here are the supplies that you will need:

  • a piece of 2′ x 4′ peg board
  • 1″ x 2″ x 6′ boards (4 of these)
  • brad nailer (or hammer and brad nails)
  • miter saw
  • wood glue
  • paint or stain to finish however you like!

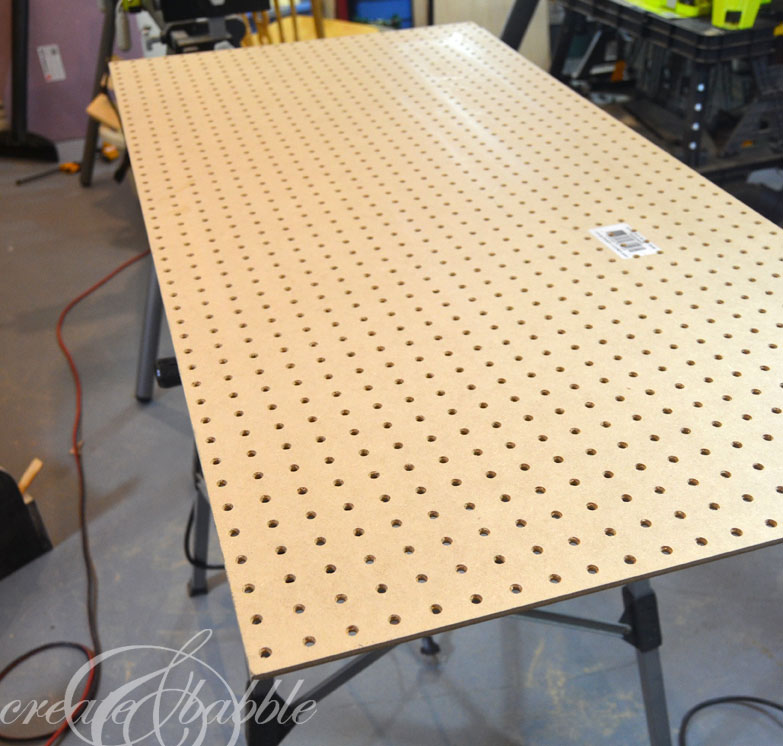
​The first step is two cut down the 1″ x 2″ boards to match the size of the peg board. Since my pegboard is 2′ x 4′, I cut two lengths of the 1″ x 2″ to 45″ and two lengths to 24″. 

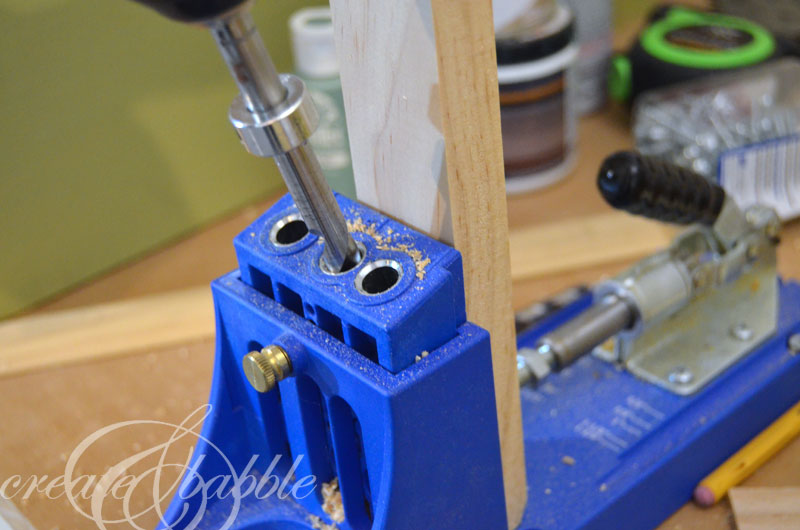
Then drill pocket holes in the ends of two of the frame pieces.

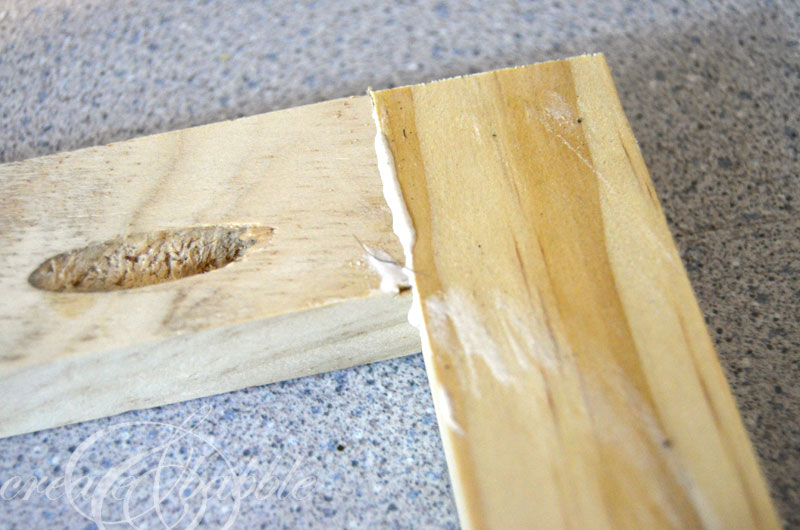
Assemble the frame using wood glue and pocket screws.

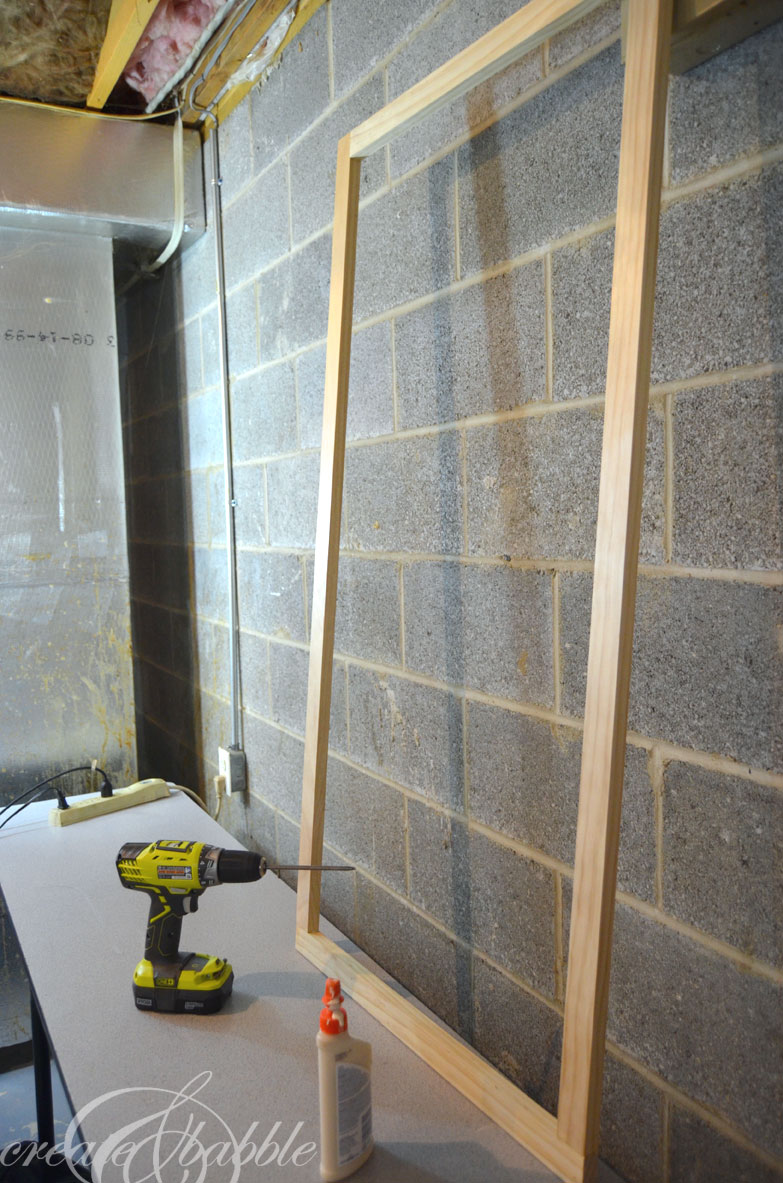
Here is the finished frame ready to attach to the back of the pegboard with the brad nailer or a stapler.

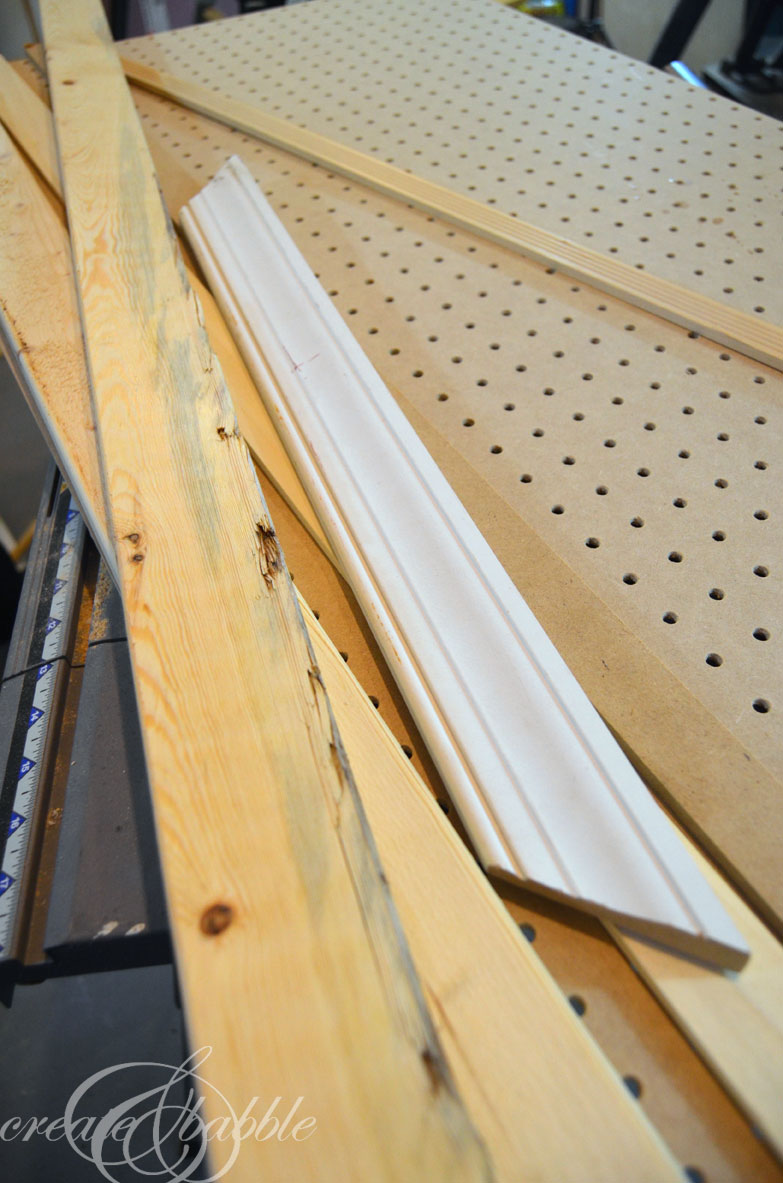
Now it’s time to choose the wood for the front frame. I decided on the rough 1″ x 3″ that I’ve had forever in wood pile. I cut them to fit the frame and miter cut the edges.

I think I’m going to go with a grayish stain on the frame. Since the wood is rough, I thought gray would give it the appearance of old, worn barn wood. I’m going to make you wait for Part Two to see what color I decided to paint the pegboard.

What DIY projects have you been working on? Since my workshop is in my basement, I go up and down those stairs more times than I could count.

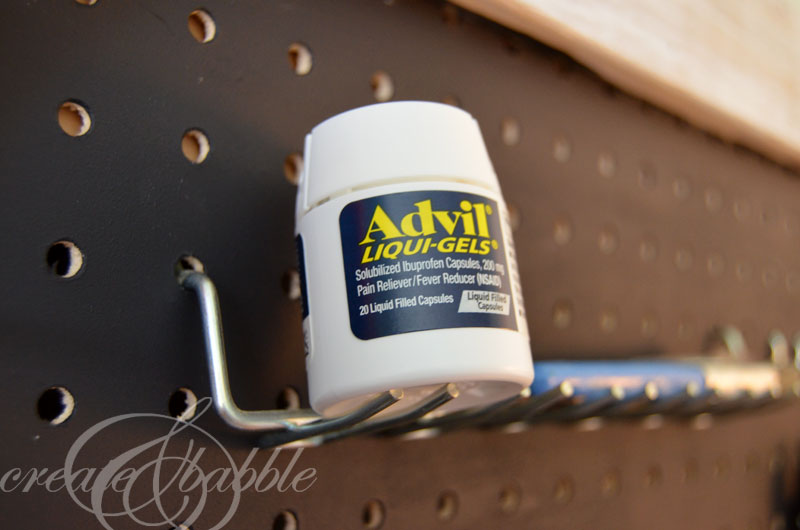
And my knees let me know it! Advil® Liqui-Gel® to the rescue!

This summer home improvement expert Carter Oosterhouse is teaming up with Advil® to help consumers get through their toughest DIY projects. Upload photos of your DIY project to Twitter or Instagram from now until September 7th using both #DIYrelief and #AdvilSweepstakes to enter for daily prizes. A grand prize winner will win a video conference call with Carter, where he’ll help you plan a DIY project for your home as well as $15,000 CASH to use toward a tough DIY project. Visit Advil.com for more information on how Advil® can take the pain out of DIY.

Don’t forget to add #DIYrelief and #AdvilSweepstakes to your hashtags!

Advil®

Visit Sponsors Site

If you like it, please share it!Share on pinterest
Pinterest
Share on facebook
Facebook
Share on twitter
Twitter
Share on stumbleupon
Stumbleupon
Share on google
Google
Share on linkedin
Linkedin
Share on reddit
Reddit

Filed Under: Build It, DIY

« DIY Lawn Dice & RYOBI Giveaway
DIY Pretty Framed Pegboard – Part 2 »

Trackbacks

  1. 2submissive says:
    January 12, 2022 at 7:39 pm

    3telecom

About Jeanie

About Jeanie

Welcome to Create & Babble. This is where I share my loves: crafting, hiking and camping

Read more about me here

Categories

Archives

AntiqueFarmHouse
Zots Craft Adhesive Dots

Amazon Associates Disclosure

Jeanie Hevener Emmert is a participant in the Amazon Services LLC Associates Program, an affiliate advertising program designed to provide a means for sites to earn advertising fees by advertising and linking to amazon.com.


hobby lobby

Copyright © 2025 · Site by Pretty Pink Studio

Copyright © 2025 · Glam Theme on Genesis Framework · WordPress · Log in

This website uses cookies to improve your experience. We'll assume you're ok with this, but you can opt-out if you wish.Accept Reject Read More
Privacy & Cookies Policy

Privacy Overview

This website uses cookies to improve your experience while you navigate through the website. Out of these, the cookies that are categorized as necessary are stored on your browser as they are essential for the working of basic functionalities of the website. We also use third-party cookies that help us analyze and understand how you use this website. These cookies will be stored in your browser only with your consent. You also have the option to opt-out of these cookies. But opting out of some of these cookies may affect your browsing experience.
Necessary
Always Enabled
Necessary cookies are absolutely essential for the website to function properly. This category only includes cookies that ensures basic functionalities and security features of the website. These cookies do not store any personal information.
Non-necessary
Any cookies that may not be particularly necessary for the website to function and is used specifically to collect user personal data via analytics, ads, other embedded contents are termed as non-necessary cookies. It is mandatory to procure user consent prior to running these cookies on your website.
SAVE & ACCEPT