How to Decorate Mugs with Iron On Vinyl and a Cricut for a cute Valentine’s Day couples gift.
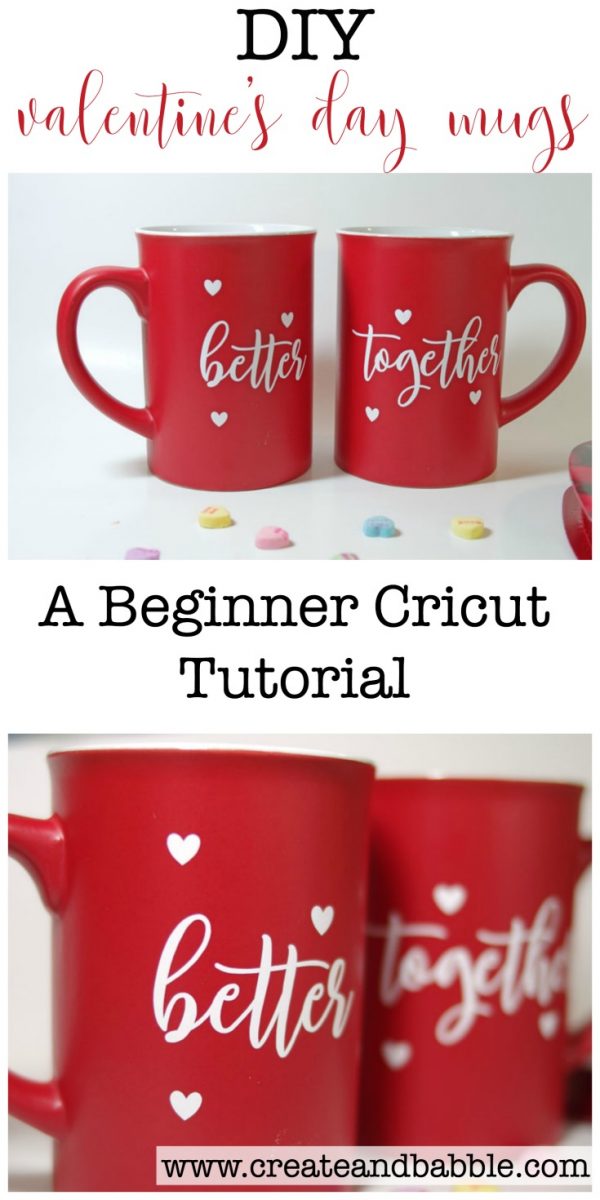
Hi friends! Today I’m joining with some blogger friends to share a bunch of Valentine’s Day projects you can make on your Cricut! Please be sure to read all the way to the bottom of this post to see all of the projects in this hop!
I love being able to easily create personalized and one-of-a-kind gifts using my Cricut machine. I especially love customizing things like tee shirts, sweatshirts, drinking glasses, and mugs. The Cricut software makes it so easy because of the templates that are built right into DesignSpace. I love this! Whatever you want to put vinyl on, there’s probably a template for it!
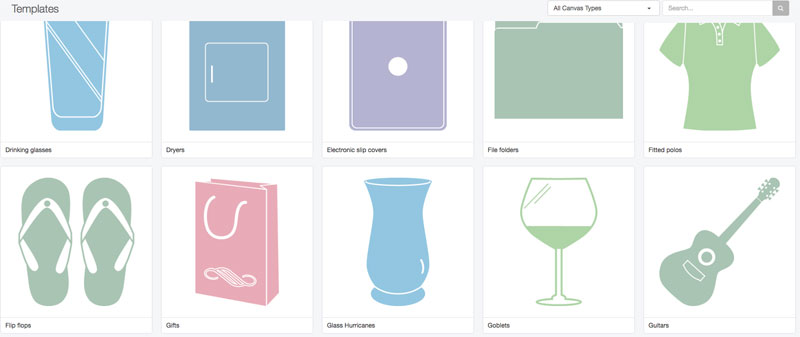
If you are new to DesignSpace or haven’t discovered the templates yet, here is a good article with step-by-step instructions on how to find and use a template.
This Valentine’s Day mug project is perfect for a “first-time” vinyl project. So if you received a Cricut machine for Christmas, now is the time to get it out of the box and start creating!
Here’s what you’ll need to make these adorable mugs.
- Cricut machine (I used my Cricut Explore Air 2 but you could use any Explore machine or the Maker. – don’t worry Silhouette users, I haven’t forgotten about you! You can also use the SVG file)
- heat transfer vinyl – Yes I’m going to put HTV on a ceramic mug! What??? Stick around – you’ll see!
- better together SVG file (you can get that here)
- mini handheld iron
or heat press with a mug attachment
Here are the steps for How to Decorate Mugs with Iron-on vinyl and a Cricut
Step One
Download the free SVG file here (This file is for personal use only)
Step Two
Open Cricut Design Space and click on “new project”. This will open up the “canvas” area in DesignSpace. Now click on the “upload” button at the bottom of the left column. Click on “upload image” and then upload the “better together” SVG file from wherever you saved it.
Highlight the upload image by clicking once on it and then click on the green “insert images” button on the bottom right.
Ungroup the file so you can move the words around independently. Now click on the “templates” button in the left column and do a search for mugs. Click on the image of the mug and it automatically comes into DesignSpace.
IMPORTANT: Before clicking anywhere else in the Canvas, go the top and adjust the size to match your mugs.


Click on custom to be able to type in the dimensions of your mugs. Pretty awesome, right???
You can also change the color of the mugs in the Layers Panel in the right column.
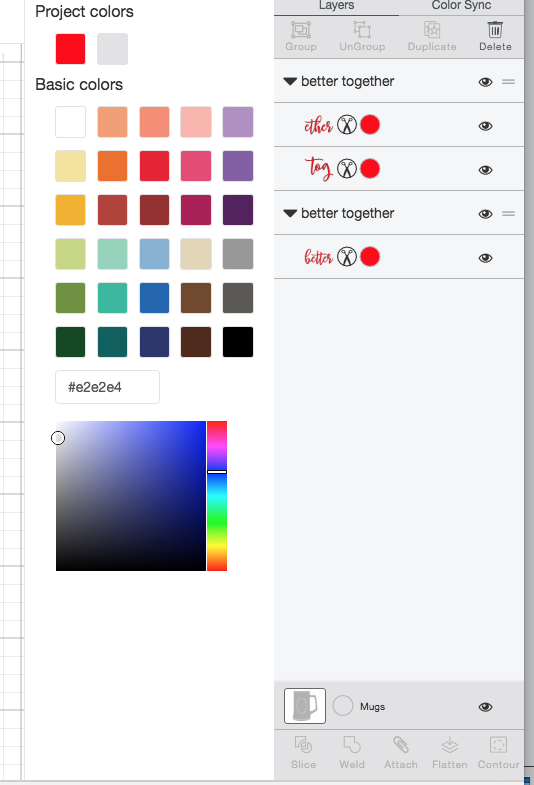
Step Three
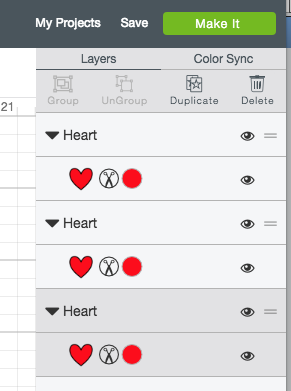
Adjust the size of the design to fit into the templates. Add hearts if desired by clicking on “insert shapes” and choosing the heart. Adjust the size of the heart and then hit “duplicate” in the layers panel on the right. Highlight all of the shapes and then click on “attach” at the bottom of the layers panel.
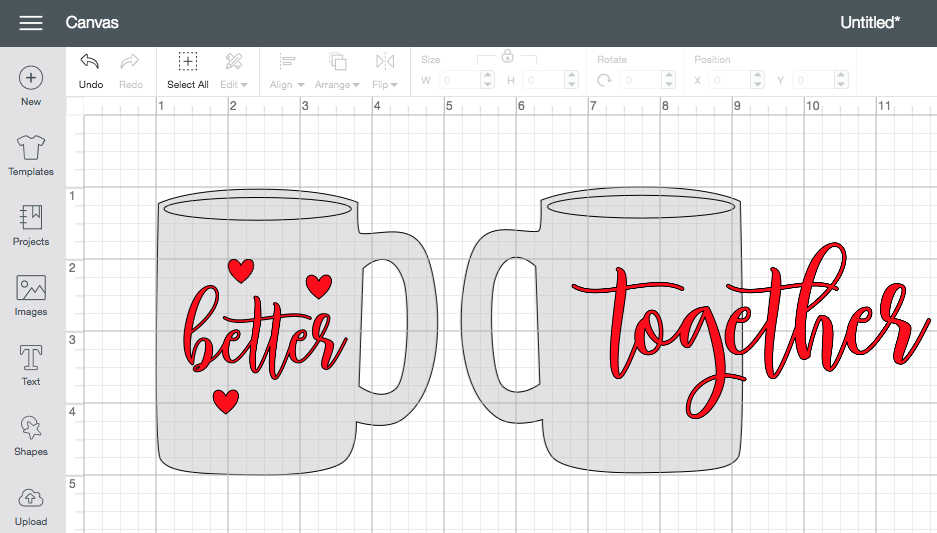
Step Four
Now it’s time to cut. Click on the “Make It” button at the top right. Click on the “Mirror” button, change “Project copies” to 2 (if you want the design on both sides of the cups). Click “Continue”, change Material set to Iron-on, place iron-on vinyl shiny side down on cutting mat, load cutting mat, then press “Go”.
Step Five
Remove iron-on vinyl from the cutting mat and “weed” the excess vinyl from the design using the weeding tool. Lay iron-on design on the clean mug and cover with piece thin cotton (like a pillowcase).
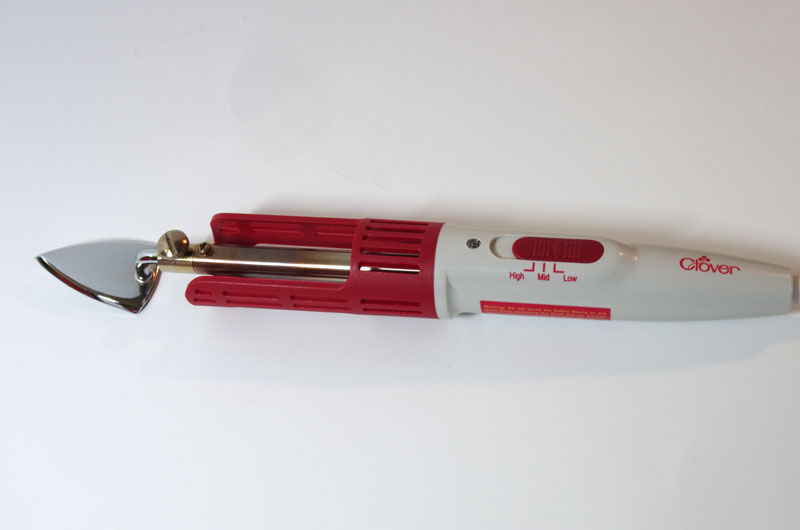
Use the mini iron* to slowly and firmly “iron” over the design for several minutes. Take your time with this and be careful! That iron is super hot.
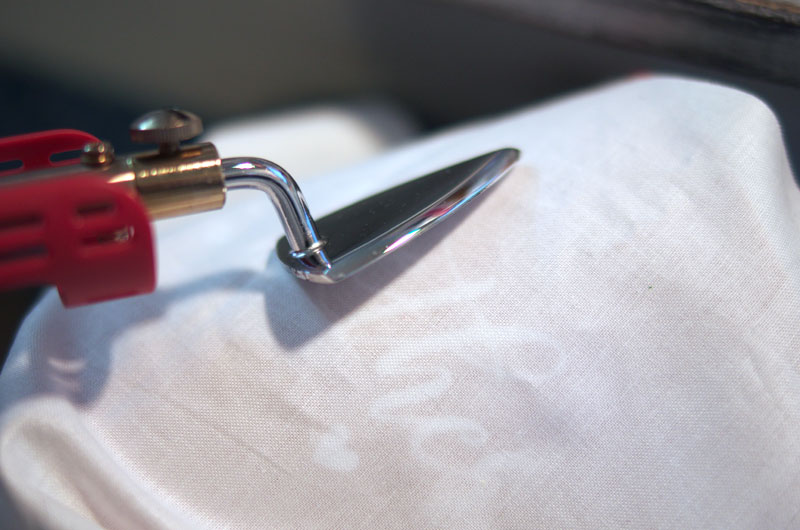
The plastic backing of the iron-on vinyl will easily release when the vinyl has sufficiently adhered to the mug.
*So how do I feel about the mini iron? Well, I think it’s good for applications like this. I’m sure I’ll probably use it on some sewing projects too. But, if you’re thinking about making volumes of mugs to sell, I’d invest in a heat press with the mug attachment. This little iron is perfect for a couple of projects here and there but I wouldn’t want to make dozens of mugs using it!
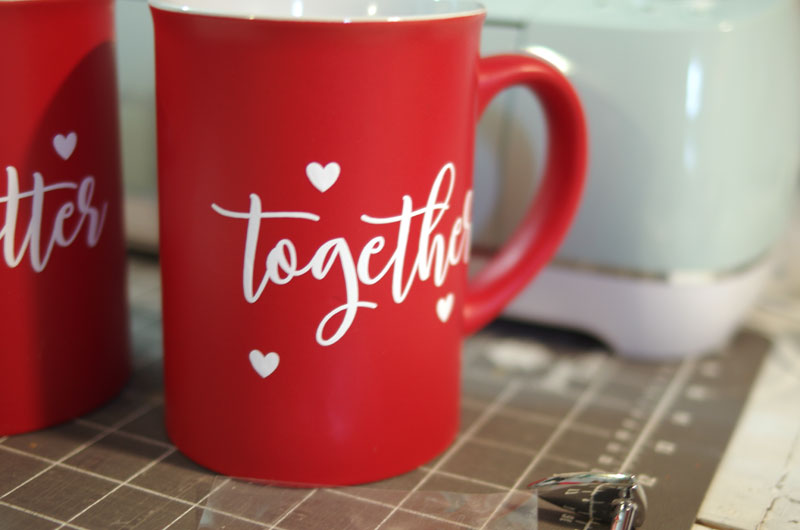 So why iron-on vinyl? It’s simple. I prefer how it looks versus wall vinyl. And I think it stays on better. But I still wouldn’t put these in the dishwasher.
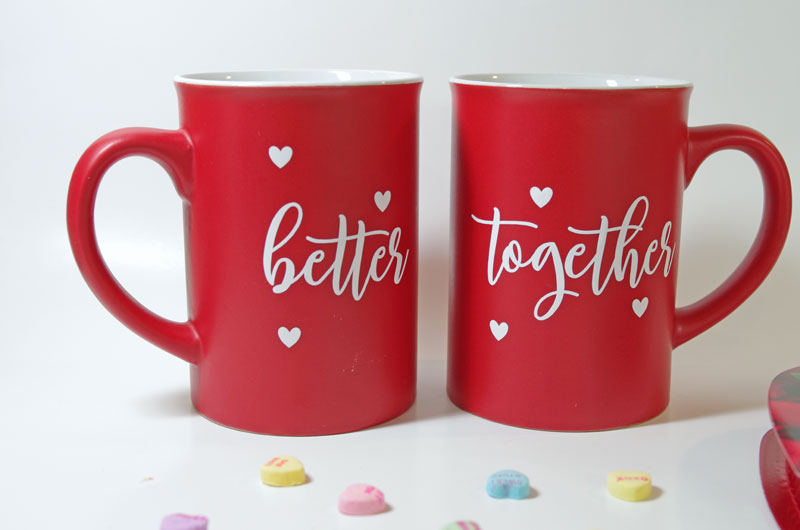 They’re so simple to make and aren’t they a cute little gift.
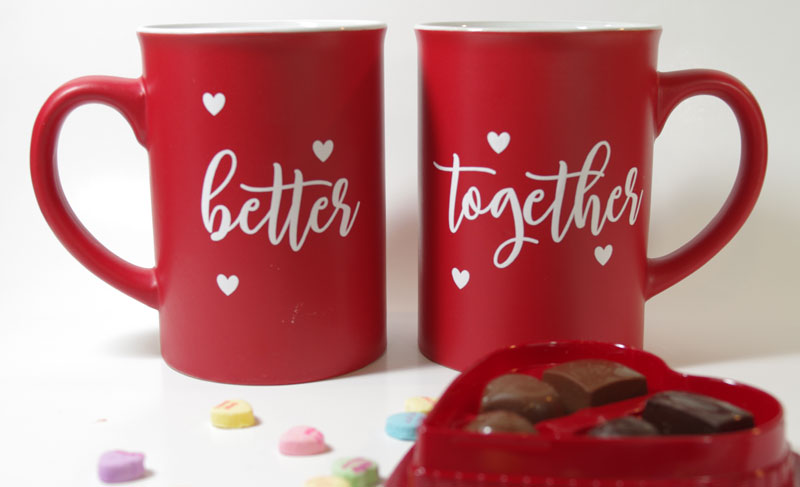
Surprise your Valentine with a cup of coffee served in these “better together” mugs.
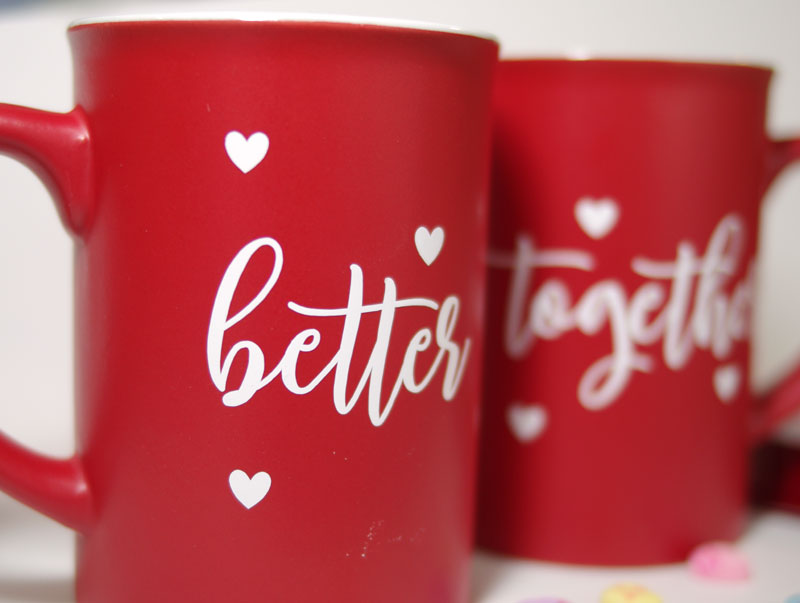





I’m trying to redo my space so I can get back to making with my cricut. Nice tutorial. Pinned & sharing, saving for later. Drop it in my weekly party to share if you like. 😉
As these cups are made of disposable material, it decomposes quite easily. Not only this but also the cups can easily be recycled if it is in the right hands.
I haven’t had much luck in doing cups. You make it look easy. I just might have to give it another try using your examples. Thanks for posting these
Hi…I know you published this about 2 years ago so not sure if there is an update. I’m curious about the HTV on the mugs. Do you use anything to seal the design? I have been playing around with the HTV (using a mug press) on a few practice mugs and the vinyl easily washed off when I hand washed the mug. Any suggestions or thoughts about what I may be doing wrong?
Where did you purchase the red mugs?
Great and detailed, thanks!
So cute! Thank you for sharing.
Hi, Jeanie
Fascinating this idea of differentiated customization of mugs, decoration with paints and recycled materials, I’m a lover of this, we did the game in family our commercial business, living only of personalized mugs in general, congratulations for the creativity and sharing with us.
Good afternoon. When choosing a Lexus car, I was hesitant about which model to buy from an authorised dealer. On the website https://kyiv-west.lexus.ua/ua/avtomobili/es-250/ I was able to learn more about the ES 250 model. What I liked the most was that the dealer offers a variety of configurations of this model, describing all their advantages. I was also able to get incredibly helpful advice that helped me make my choice.