


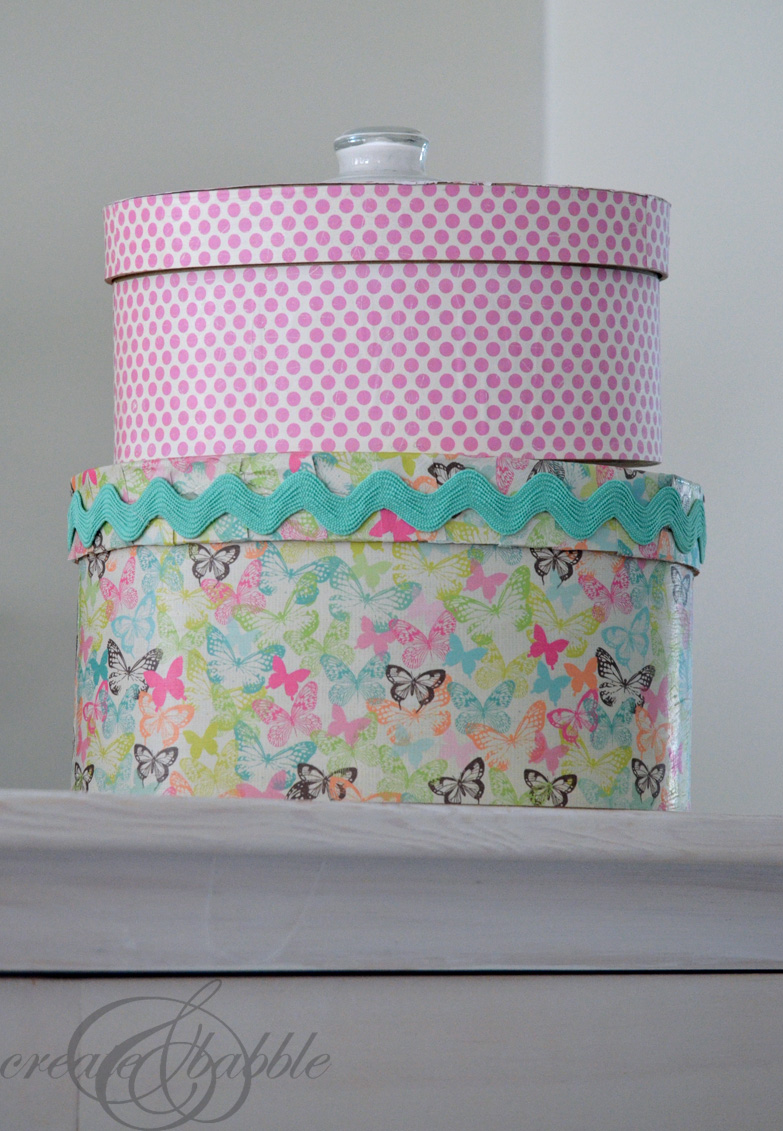
You know those cardboard or paper mache boxes that are sold in the craft stores? Well I was thinking that I needed to make some sort of decorative storage boxes for the top of the armoire that I’m building for the baby’s room. So with the help of Mod Podge and some scrapbook paper, I made two decorative storage boxes to hold all of the little miscellaneous baby items. You know all those little things that tend to get lost in the top drawer of the dresser.
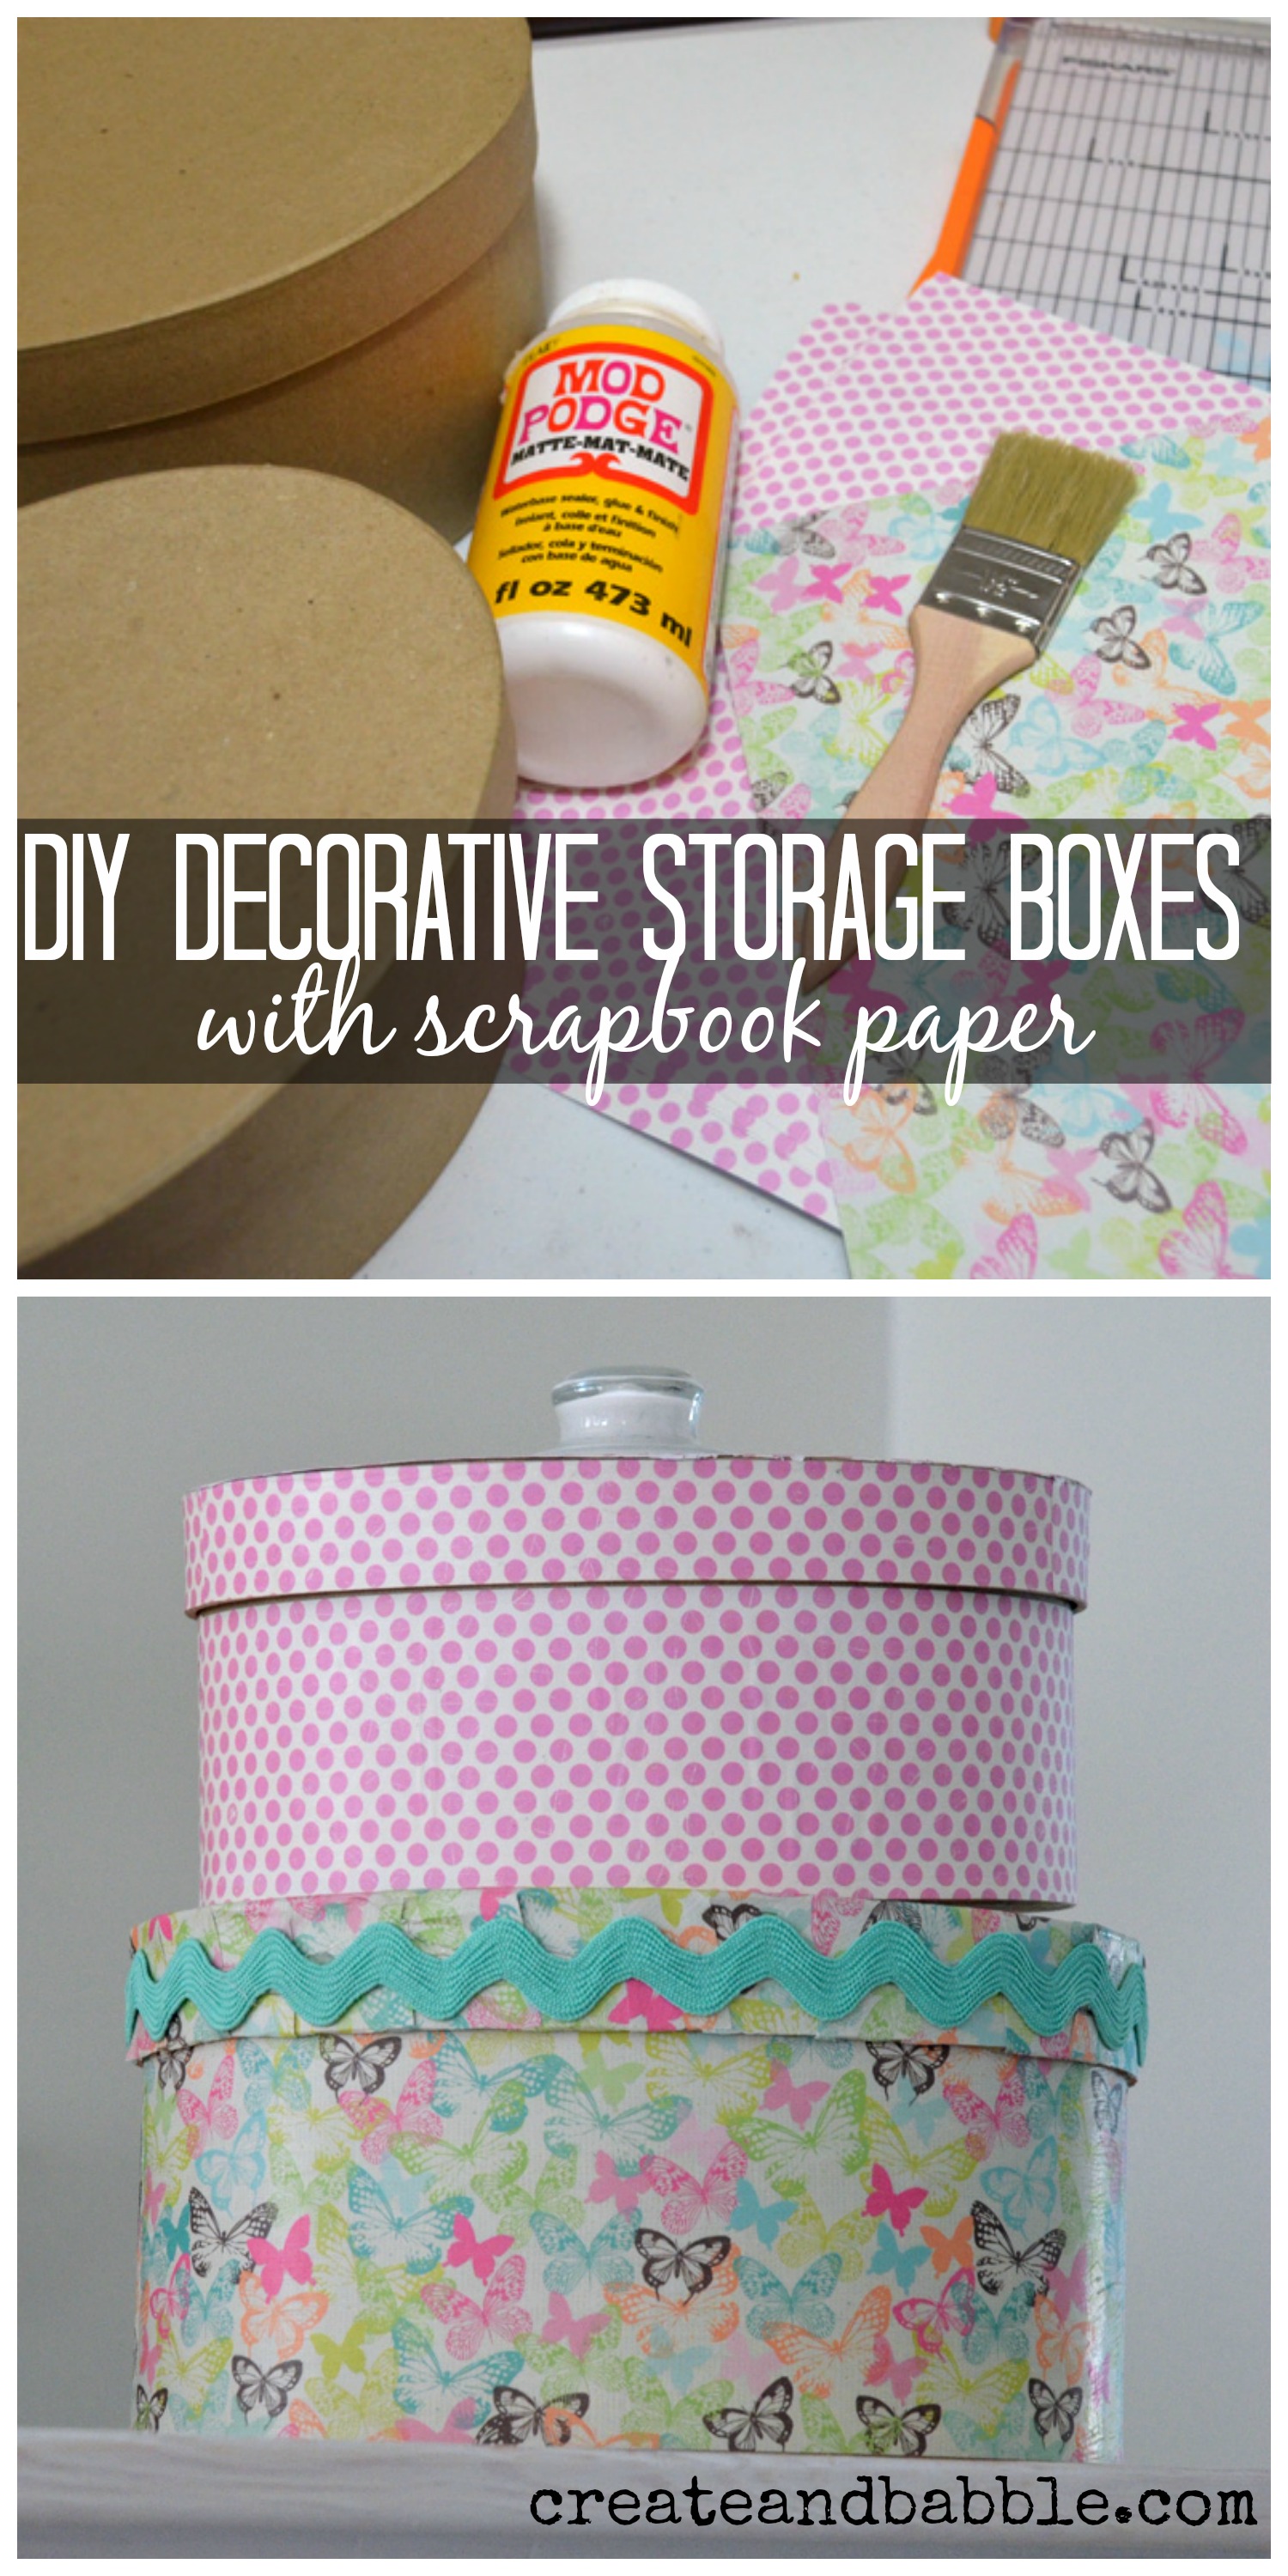
The pretty boxes were quick and easy to make. Here’s what you need to make them:
- paper mache boxes
- scrapbook paper
- Mod Podge
- ruler
- scissors
- brush
- paper cutter
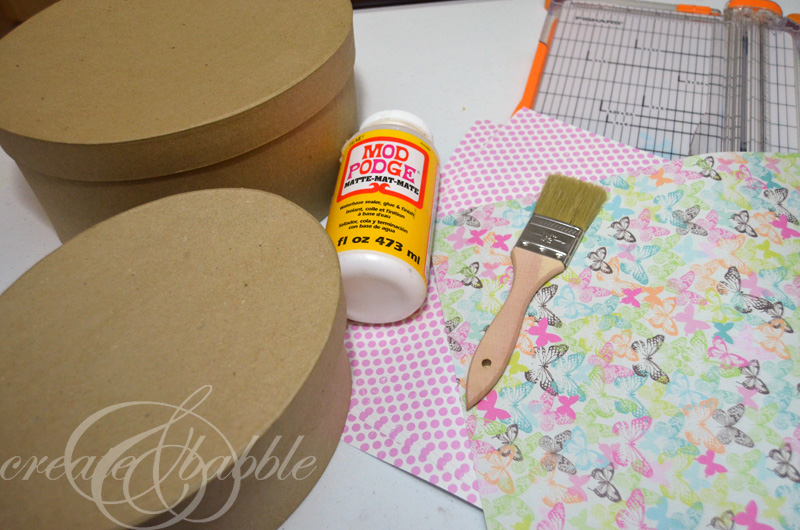
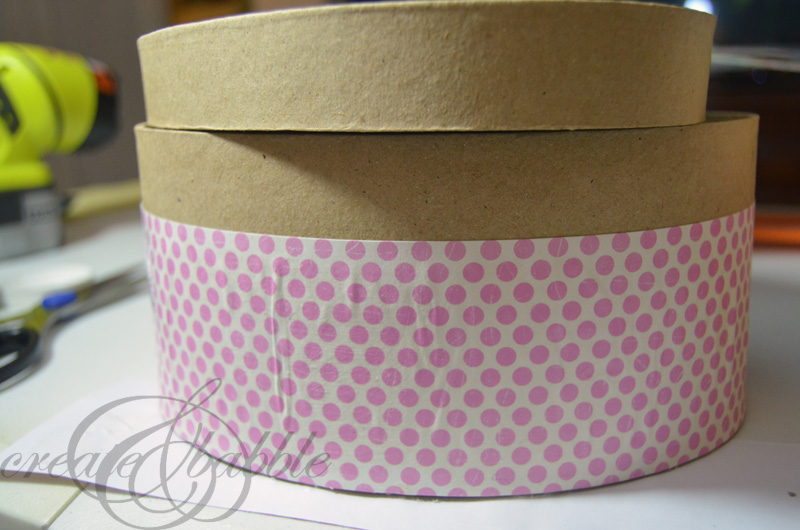
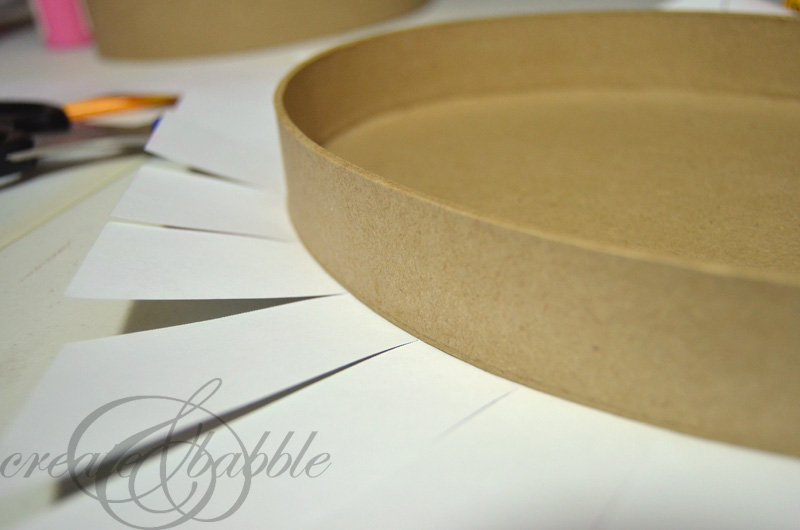
First, gather up all of the supplies. For the large oval box I used two sheets of 12 x 12 scrapbook paper. For the small oval box I used two sheets of 8-1/2 x 11 paper.
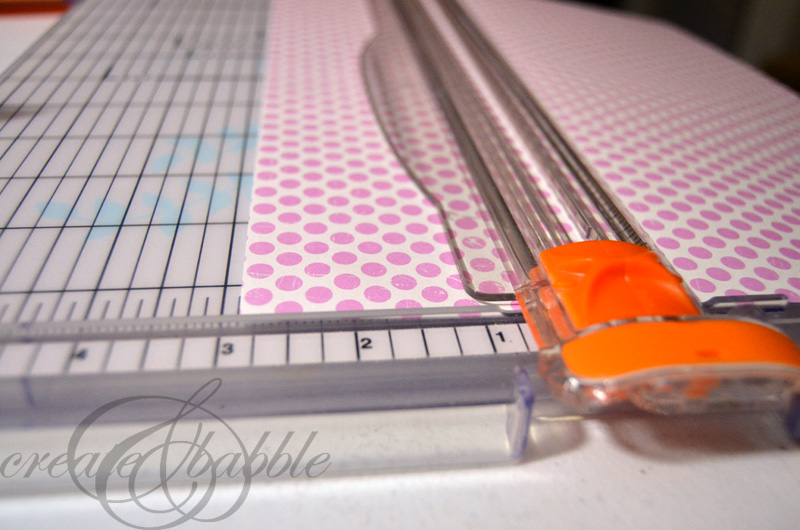
Cut strips of the paper that match the height of your box from the bottom of the box to the bottom of the lid.
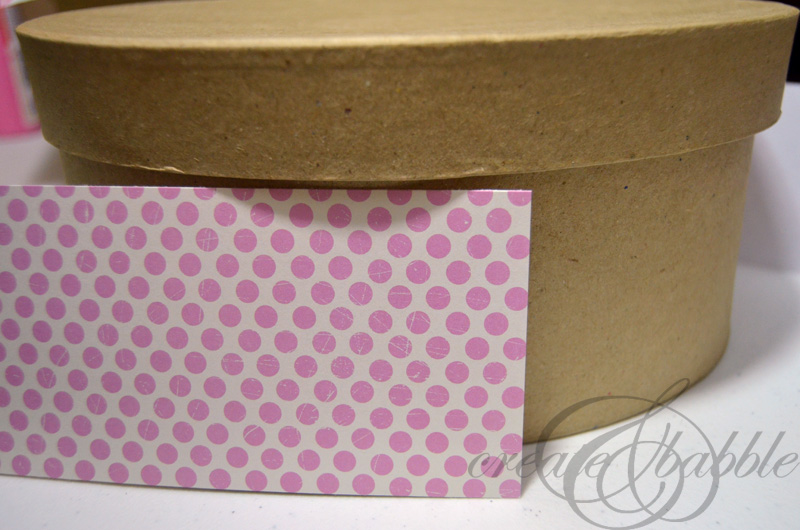
You don’t want to attach paper on the part of the box that is under the lid or the lid may not fit back on the box.
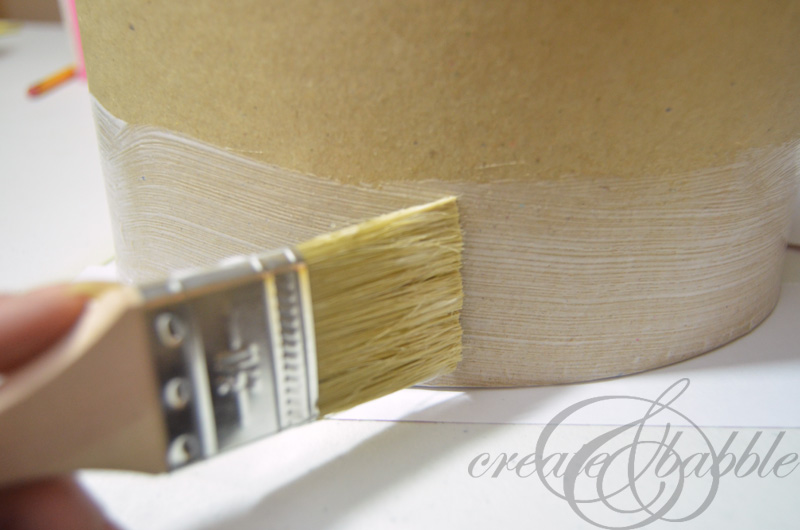
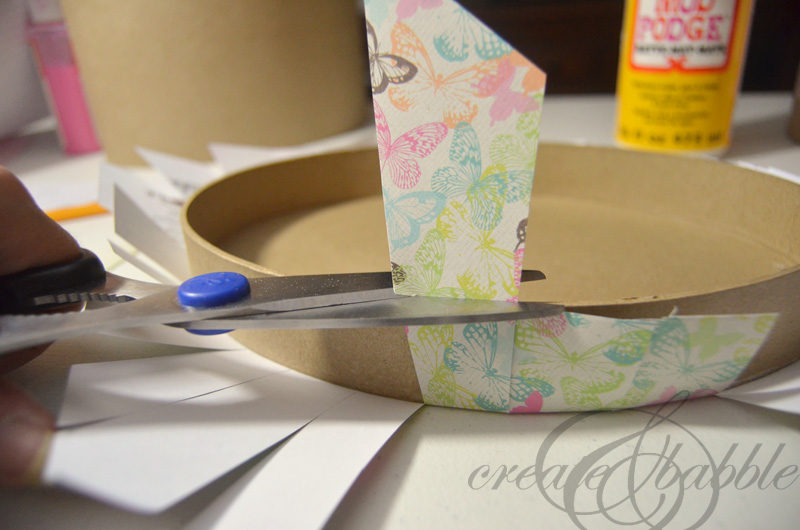
Brush on a generous coat of mod podge to both the box and the backside of the paper.
Use the brush to smooth out the paper, removing air bubbles as you go. Brush on a thin coat of modpodge over the paper. Continue adding strips until the box is covered the whole way around.
The lid can be done in two ways. Well probably more than that but these are the two methods I use. First I cut strips of paper to the depth of the lip of the lid and applied the paper in the same way as the box.
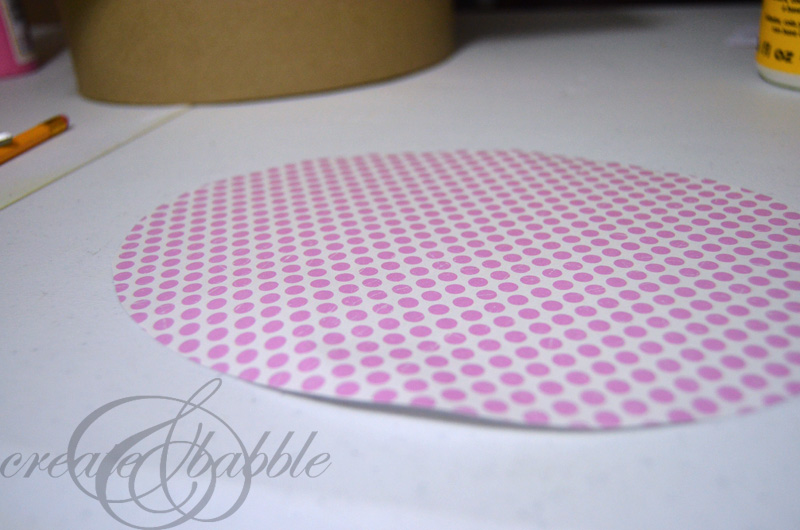
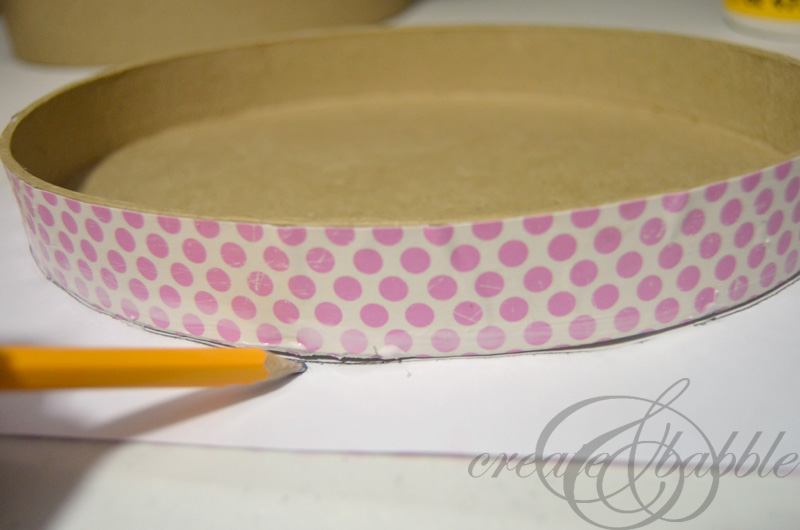
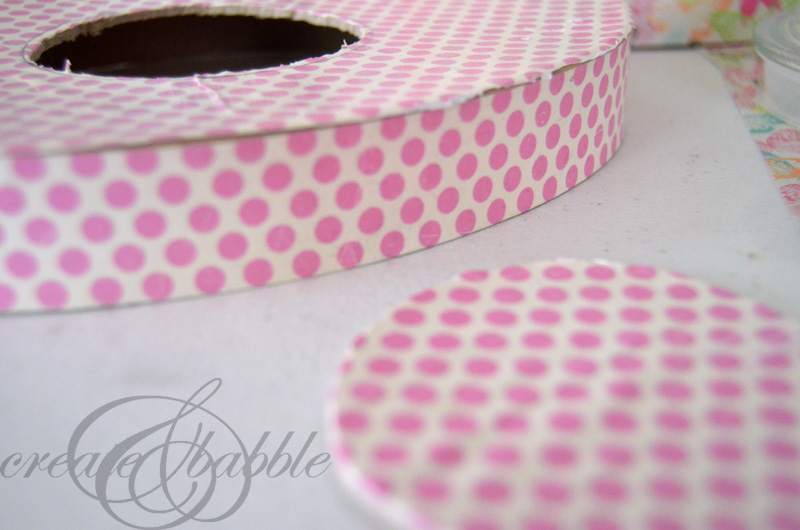
Then trace the lid onto the backside of the paper using a pencil. Cut out the shape with scissors, then apply the paper to the top of the lid using the directions above. Trim with craft knife if necessary.
The other method I use is to cover the top of the lid with mod podge, then place the mod podge covered lid down onto the backside of the uncut paper. I smooth it out, let it dry, and then using my scissors, I cut into the paper from the edge of the paper to the lid. (see photo above)
Then I flip the lid over and fold up each “tab” and cut off the excess. Next I brush mod podge on the rim of the lid and smooth down each “tab”.

The second method creates sort of a pleated look. I chose to cover this box lid rim with large ric rac adhered with hot glue. Get creative with decorating your boxes. Use buttons, ribbons, lace or even those self-adhesive pearls would be pretty.
So what’s up with that glass jar in front of the box you ask? Well, I was wracking my brain trying to come up with a “handle” for the box lids. I thought about looping ribbon or twine then I spotted this Dollar Tree jar that I had and the wheels starting turning. Can I use that lid as the handle?
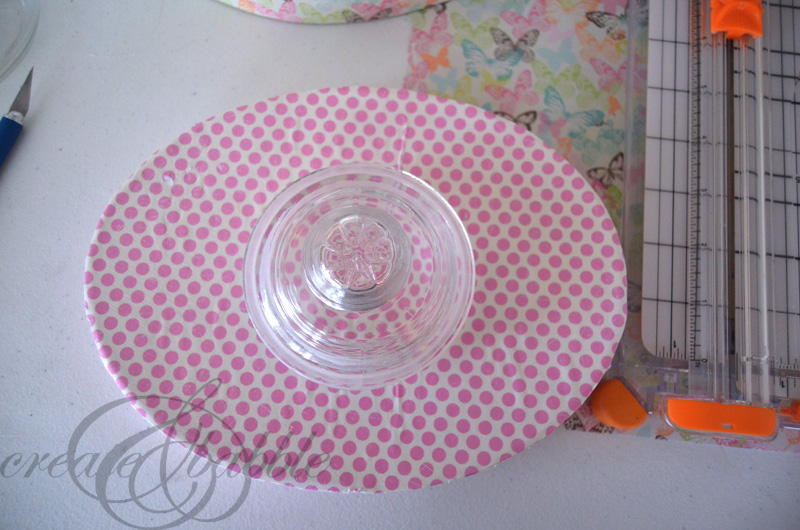
Why yes. Yes I can! Even though it kinda looks like a percolator in the photo above.

I traced the lid onto the lid (yeah, I know ; )
The I cut out the hole with a craft knife . . .
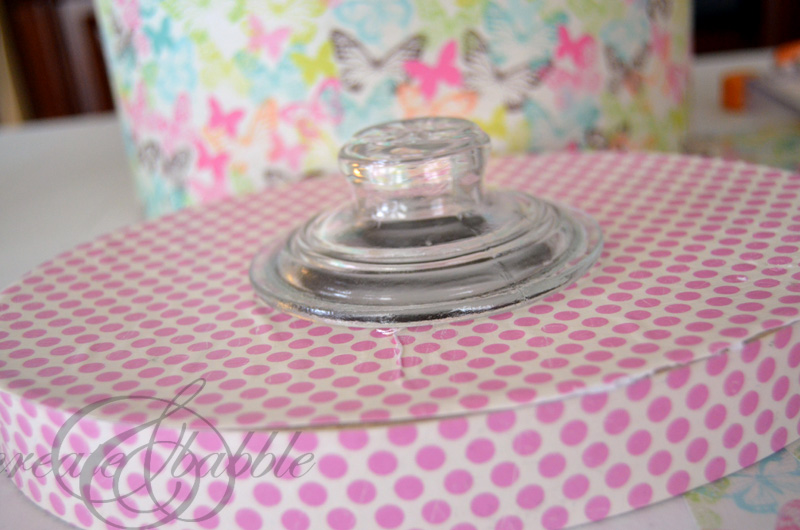
The jar lid fits snugly in the opening and there’s a little lip on the glass lid so it’s pretty secure. I then painted the inside of the glass lid with white paint to make it less percolator-looking ; )
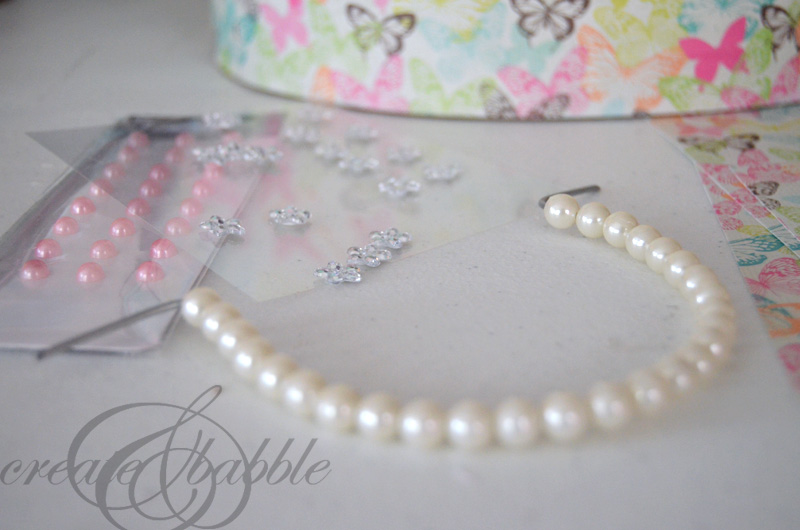
Coming up with an idea for a handle for the bigger box was more of a challenge. Because I wanted the two boxes to be able to stack, another jar lid was out of the question. I needed a handle that could lay relatively flat. Then I remembered that I saved two beaded handles from a paper gift bag that I received a few years ago. All I had to do was find them ; )
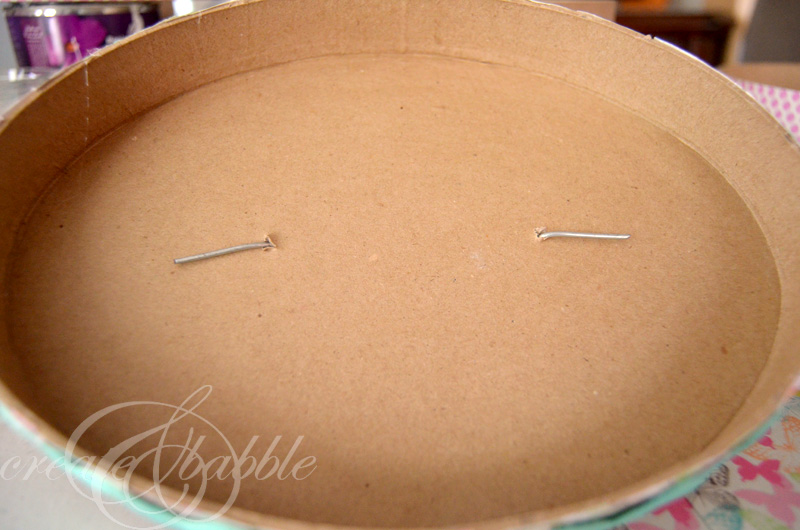
An hour later the bigger box has a pretty, beaded handle that can lay flat.
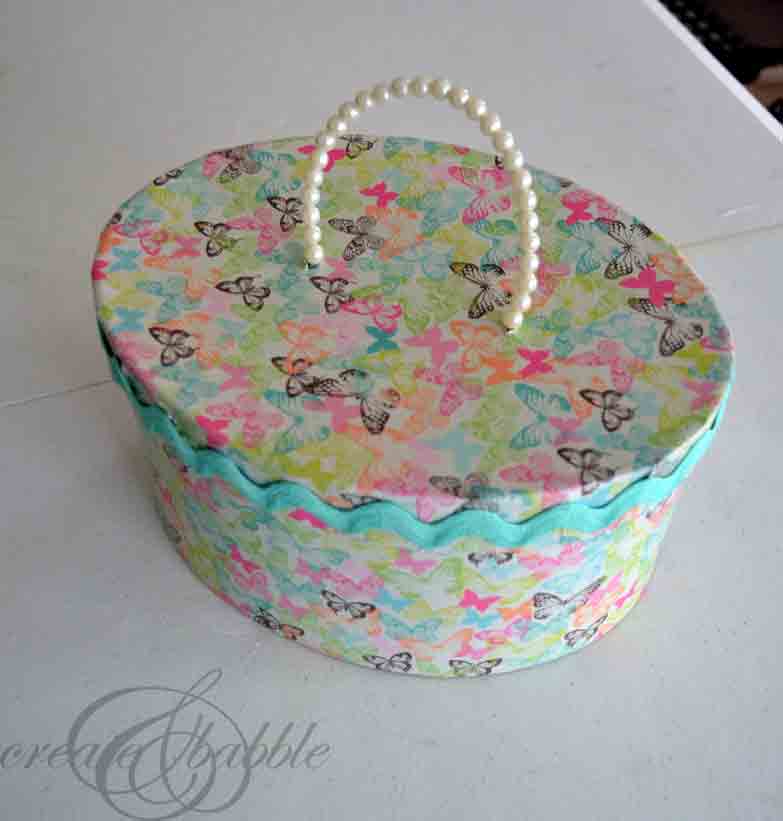
(I KNEW I’d come up with a use for those beaded handles ; )


Love your pretty boxes!
Thanks for joining us at Inspire Me Monday at Create With Joy – you are one of our featured guests this week! 🙂
I simply want to say I am all new to blogs and certainly enjoyed this blog site. Very likely I’m want to bookmark your website . You amazingly have great writings. With thanks for sharing your blog.
Thanks for sharing your experience, it looks really cool, and it’s good for small things. In order not to litter the house, it is always better to use storage facilities. You can always find extra space storage Singapore here