• Home
  • About
  • Contact
  • Partner
  • Privacy Policy
    • Facebook
    • Instagram
    • Pinterest
    • Twitter
    • YouTube

Create and Babble

  • DIY
    • Home Improvement
    • Upcycle
    • Furniture Makeovers
    • Build It
  • Craft
    • Silhouette
    • Sewing
    • Wedding DIYs
    • Seasonal
    • Gifts
  • Lifestyle
    • Bicyling
    • Travel
    • shopping

STAY UP TO DATE

Get the latest crafting and DIY tips, tricks and tutorials delivered straight to your inbox!

How to Make Double-Sided Personalized Mugs

September 1, 2016

If you like it, please share it!Share on pinterest
Pinterest
Share on facebook
Facebook
Share on twitter
Twitter
Share on stumbleupon
Stumbleupon
Share on google
Google
Share on linkedin
Linkedin
Share on reddit
Reddit

how to make doubled-sided personalized mugs

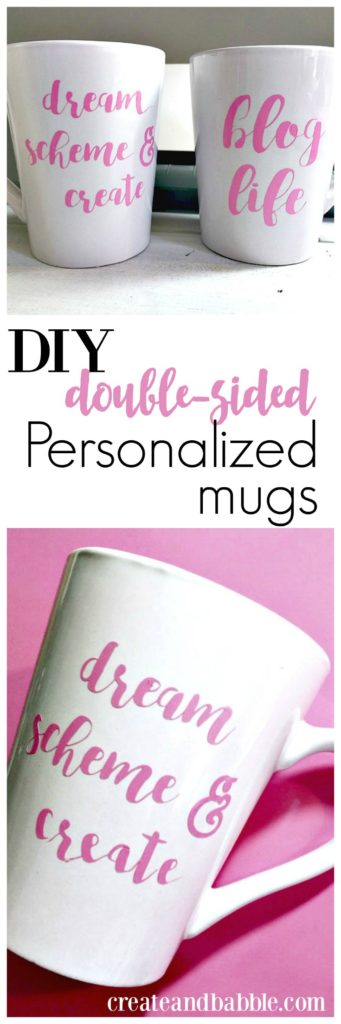
Ready for a quick and easy Silhouette® tutorial? How about learning how to make these double-sided personalized mugs!

Personalized and decorated mugs are huge – I’m seeing them everywhere: Pinterest, Etsy, and specialty boutiques! I see them made with permanent markers, porcelain-friendly paint, and even heat transfer vinyl! I used regular adhesive vinyl on mine. I don’t think they’ll be dishwasher safe, but I don’t mind hand washing a cute coffee or tea mug, how ’bout you?!?

This post contains affiliate links meaning if you make a purchase through one of these links, I may earn a small commission at no additional cost to you.

How to make double-side personalized mugs!

Step 1 – Find a font you like

how to make doubled-sided personalized mugs

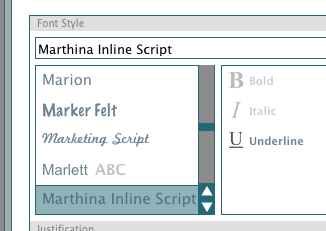
First things first. Find a font you love! I used Marthina Inline Script font. This font came in a bundle that I purchased from The Hungry Jpeg – one of my most favorite sources of fonts.

Step 2 – Type your design, quote, or phrase in Silhouette Studio®


I looked all over Pinterest and Etsy for inspiration for what I wanted to put on my mugs.

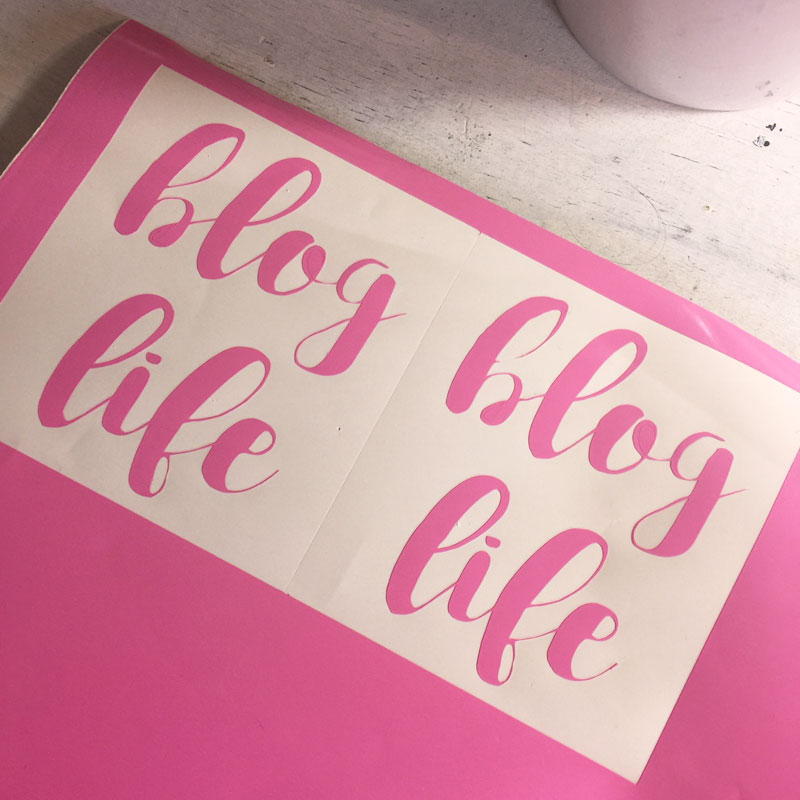
Since the font I chose is narrow, I added an offset to make it thicker and easier to cut. I believe I used an offset of 0.015

I always draw a rectangle around my vinyl designs to make weeding so much easier. One more tip: make this rectangle about the sizehow to make doubled-sided personalized mugs that you want your design to be. I measured the cup with a ruler to get an idea of how big to make the rectangle. I made sure that my rectangle would fit twice on the mug: On the front and on the back.

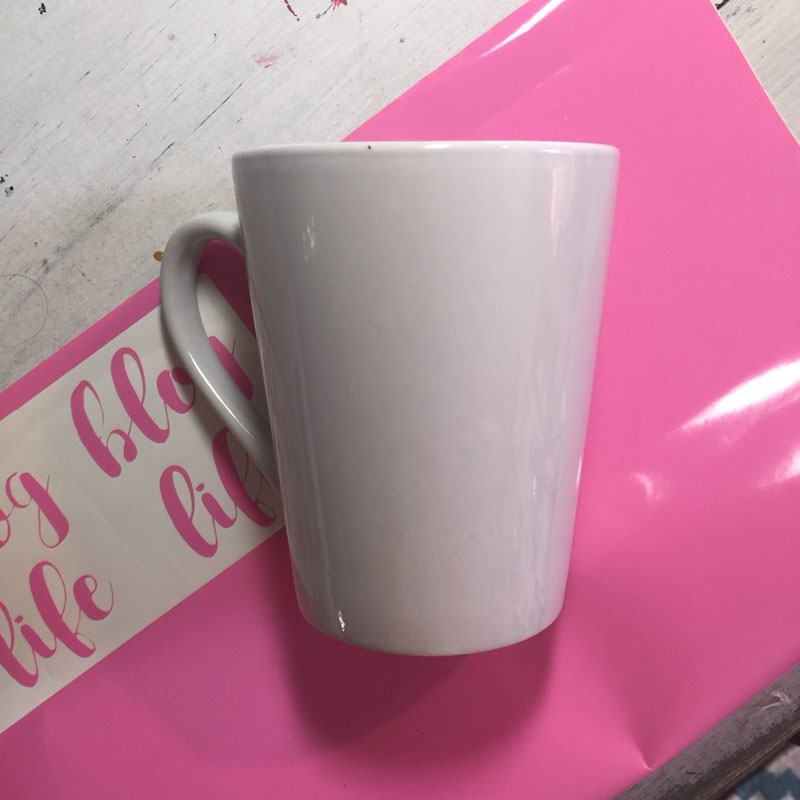
Step 3 – Cut vinyl and attach to mug

how to make doubled-sided personalized mugs

I use clear transfer tape to attach my vinyl to the mug.

how to make doubled-sided personalized mugs
By the way, I got my mugs at the Dollar Tree.


But I found these on Amazon.

how to make doubled-sided personalized mugs

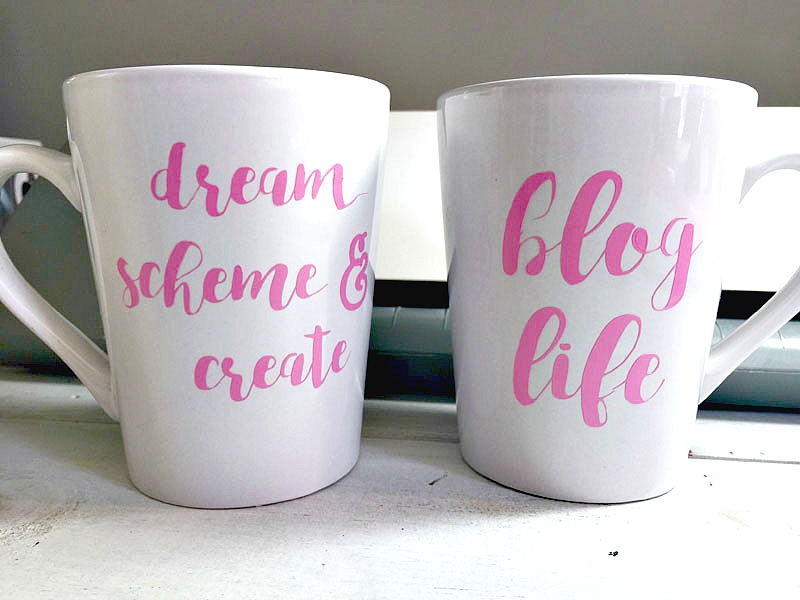
I love my new coffee tea mugs. I use them every morning! What will you put on your mugs? I’d love to hear. Let me know in the comment section below – I may borrow your idea!

pin-this-post

Click here for lots more Silhouette tutorials, tips, and ideas!

If you like it, please share it!Share on pinterest
Pinterest
Share on facebook
Facebook
Share on twitter
Twitter
Share on stumbleupon
Stumbleupon
Share on google
Google
Share on linkedin
Linkedin
Share on reddit
Reddit

Filed Under: Uncategorized

« Create a Chalkboard Wall
Amy Howard Furniture Lacquer »

Comments

  1. Wendi @ H2OBungalow says

    September 7, 2016 at 6:25 am

    These re too cute! I’ve always paid big $$ for printed mugs…that don’t last & chip too fast. I think I’ll just purchase quality ones form now on and have fun with my Silhouette and some vinyl! Love your tutorials:) pinned!

    Reply
    • Jeanie says

      September 14, 2016 at 7:47 am

      Thanks for pinning Wendi!

      Reply
  2. Ashley S says

    September 20, 2016 at 9:40 am

    I am absolutely obsessed with this! My favorite project I’ve seen by far in a while. I cant wait to get a silhouette because I am in love with this! Pinning for later!! 🙂

    Reply
  3. Eilis@MyHeartLivesHere says

    September 20, 2016 at 10:07 am

    You are going to have me expanding my Silhouette horizons!

    Reply
  4. Christine says

    September 22, 2016 at 5:59 pm

    Such a nifty idea! Stopping by from Party Time.

    Reply
  5. Crystal Green says

    September 25, 2016 at 12:38 pm

    These cups are really cute. I honestly don’t know what I’d put on mine if I were to make them. Yet, at the same time I know it would have some inspirational quote to remind me that I can do this.

    Thank you for sharing this with us on the #HomeMattersParty. We hope you’ll come back again next Friday when we open our doors again at 12 AM EST.

    Reply
  6. Sucayna says

    March 3, 2018 at 11:23 am

    How do you wash your mugs? Don’t the Vinyl come off?
    P

    Reply
  7. Mark says

    November 9, 2021 at 5:17 pm

    I’ve always paid big $$ for printed mugs. But i prefer my fonts. I always use textandfonts website to get best fonts.

    Reply
  8. woooo says

    March 13, 2023 at 9:15 am

    Rank your website from us in a 100% accurate and authentic way. because our 1st priority is to satisfy the client. want to know more about us then click on the given link or just visit this site.

    Reply
  9. Emma says

    July 14, 2023 at 5:28 am

    Your idea is really cool and I want to repeat it. The main thing is to choose the right markers that are suitable for such a surface. I have some cool permanent markers, you can buy now here too. I think this is exactly what you need for a cool result

    Reply
  10. Marry Tiker says

    October 4, 2023 at 5:59 am

    You can use the artistic fonts here to further create your design: https://schriftarten.io/.

    Reply
  11. Yazistilleriio says

    July 19, 2024 at 12:18 am

    Meet Yazistilleri.io! You can express your creativity in every field by choosing from thousands of Instagram font styles, handwriting fonts, emoji fonts and more. Visit now: https://yazistilleri.io/

    Reply

Trackbacks

  1. 2pronoun says:
    January 12, 2022 at 4:46 pm

    1aphorism

    Reply

Leave a Reply Cancel reply

Your email address will not be published. Required fields are marked *

About Jeanie

About Jeanie

Welcome to Create & Babble. This is where I share my loves: crafting, hiking and camping

Read more about me here

Categories

Archives

AntiqueFarmHouse
Zots Craft Adhesive Dots

Amazon Associates Disclosure

Jeanie Hevener Emmert is a participant in the Amazon Services LLC Associates Program, an affiliate advertising program designed to provide a means for sites to earn advertising fees by advertising and linking to amazon.com.


hobby lobby

Copyright © 2025 · Site by Pretty Pink Studio

Copyright © 2025 · Glam Theme on Genesis Framework · WordPress · Log in

This website uses cookies to improve your experience. We'll assume you're ok with this, but you can opt-out if you wish.Accept Reject Read More
Privacy & Cookies Policy

Privacy Overview

This website uses cookies to improve your experience while you navigate through the website. Out of these, the cookies that are categorized as necessary are stored on your browser as they are essential for the working of basic functionalities of the website. We also use third-party cookies that help us analyze and understand how you use this website. These cookies will be stored in your browser only with your consent. You also have the option to opt-out of these cookies. But opting out of some of these cookies may affect your browsing experience.
Necessary
Always Enabled
Necessary cookies are absolutely essential for the website to function properly. This category only includes cookies that ensures basic functionalities and security features of the website. These cookies do not store any personal information.
Non-necessary
Any cookies that may not be particularly necessary for the website to function and is used specifically to collect user personal data via analytics, ads, other embedded contents are termed as non-necessary cookies. It is mandatory to procure user consent prior to running these cookies on your website.
SAVE & ACCEPT