


This is a sponsored post written by me on behalf of Gorilla Glue. All opinions are 100% mine.
Maybe it’s the popularity of shiplap that has inspired the wood plank signs farmhouse that are so popular these days. You see them everywhere! No matter where I go the gift shops, markets, and boutiques are all stocked with these modern farmhouse style wood plank signs. I just love them, don’t you?

Lucky for all of us they are easy and inexpensive to make. And you don’t need a lot of fancy tools either. In fact, I’ve come up with a way to make a wood plank sign without the use of any power tools! What? But how will the planks go together? Easy! With Gorilla Tape!
Here’s how to make a wood plank sign without any power tools:
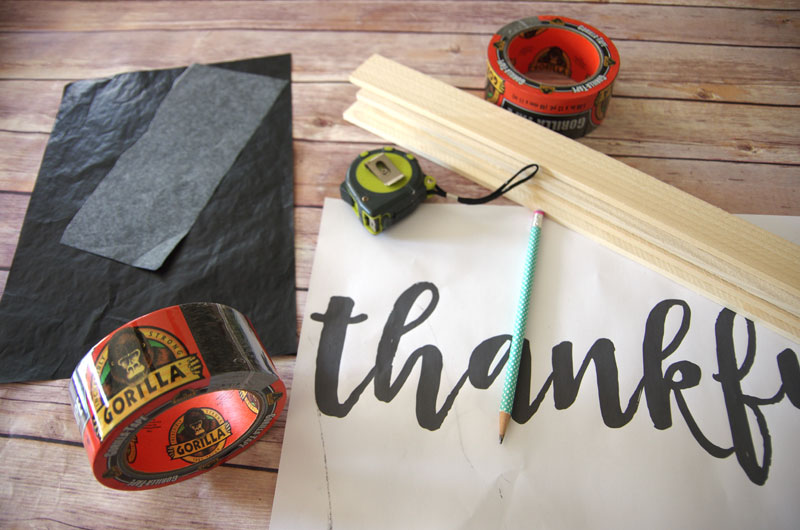
You can find all of the supplies that you’ll need at Home Depot to make a sign that is 8″ tall x 21 wide”. You can make a sign any size that you want.
- (4) 1-1/2″ wide x 48″ long Poplar hobby boards
- Gorilla Tape*
- Clear Gorilla Glue
- sanding sponge
- paint
*Gorilla Tape is 3X stronger (compared to a leading value brand duct tape) for a hold that lasts. Made with double thick adhesive, strong reinforced backing, and a tough all-weather shell, this duct tape is great for projects and repairs both indoors and out. Gorilla tape sticks to smooth, rough and uneven surfaces, including wood, stone, stucco, brick, metal, and vinyl.
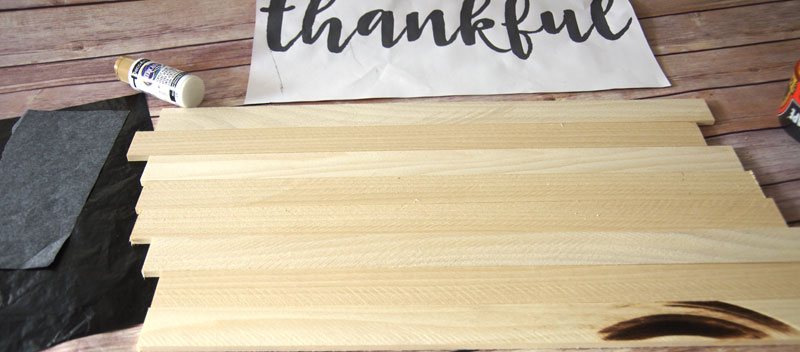
Have the hardware store cut the hobby boards into (8) 21″ long strips (or cut them at home on a miter saw if you have one. Or since these boards are thin they can easily be cut with a hand saw).
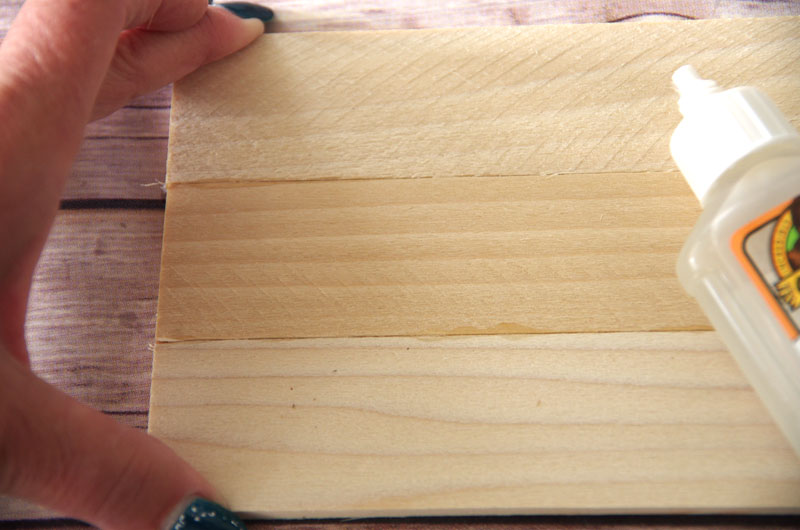
Run a bead of glue along the long edge of one wood strip and place adjacent to another wood strip pressing firmly. You may see a small of glue being squeezed out – that’s a good sign! You’ve got it tight enough.
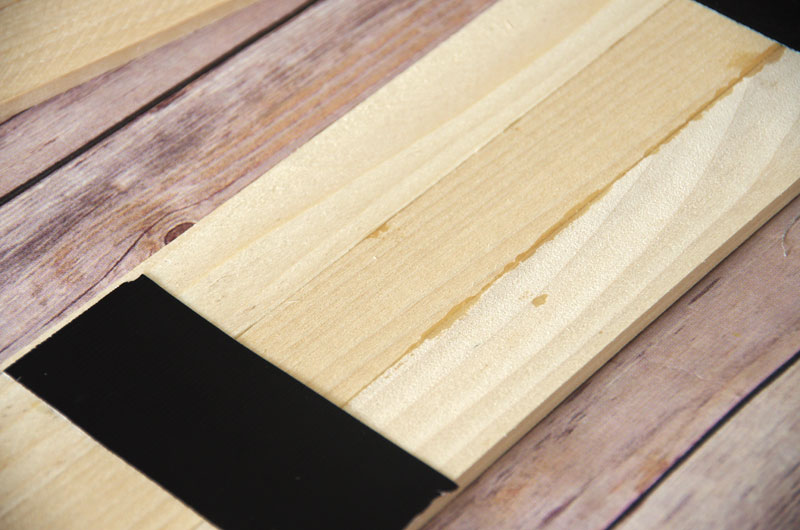
Once you have three strips glue together, tear off three pieces of the Gorilla Tape and place the pieces of tape perpendicular onto the wood strips. I used the Gorilla Tape in three places: the ends and the middle.
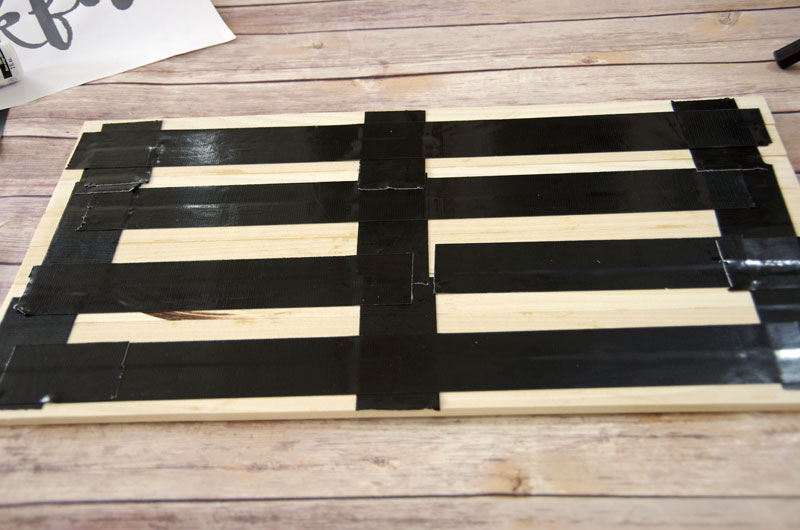
Keep gluing and taping until all eight boards are all glued and taped together. Allow the glue to dry thoroughly. This only took about half an hour.
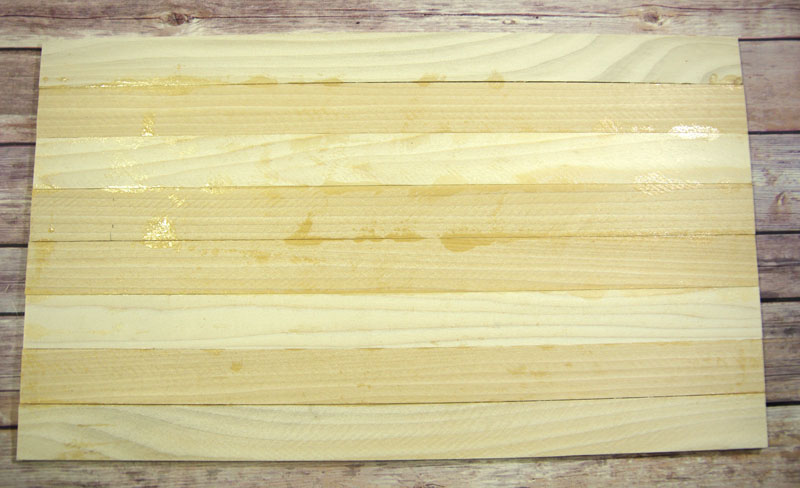
Once the board is dry, turn it over and sand it lightly with the sanding sponge, sanding down the rough edges and dried glue.
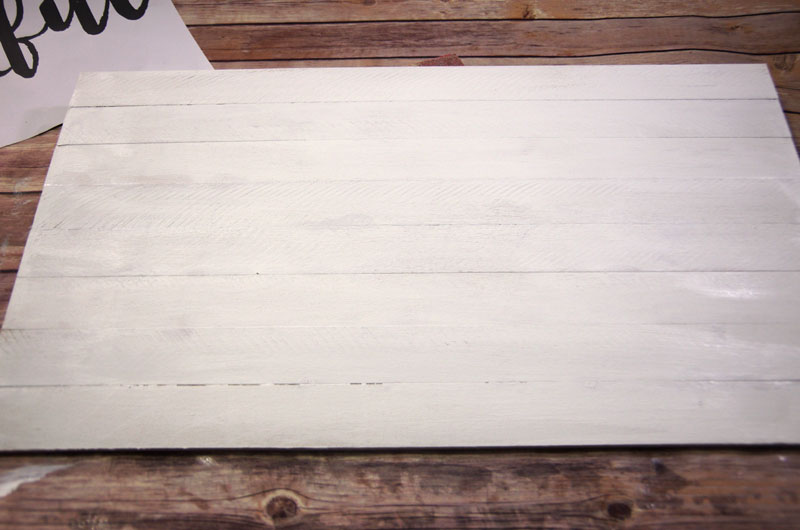
Now it’s time to paint. I painted mine with three coats of white acrylic craft paint. You could also stain it if you’d like. Just be sure all of the dried glue is sanded off the wood. Give the painted board a light sanding once the paint is dry.
The final step is the most fun. Now you decide what you want on your sign. I chose to use just a single word: thankful. But you can use a list of words, a phrase, your last name. Anything you want! Just print out your design and transfer that design to your sign using carbon paper. Here’s how:
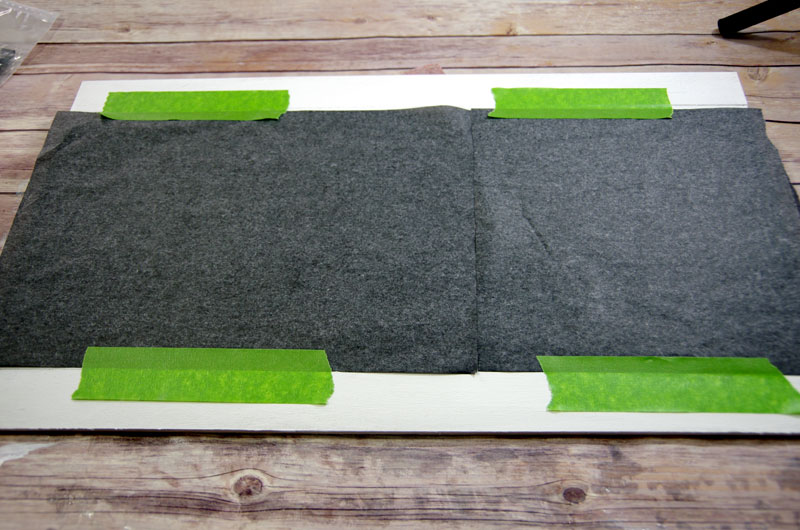
Lay the carbon paper down on your wood plank sign and tape into place.
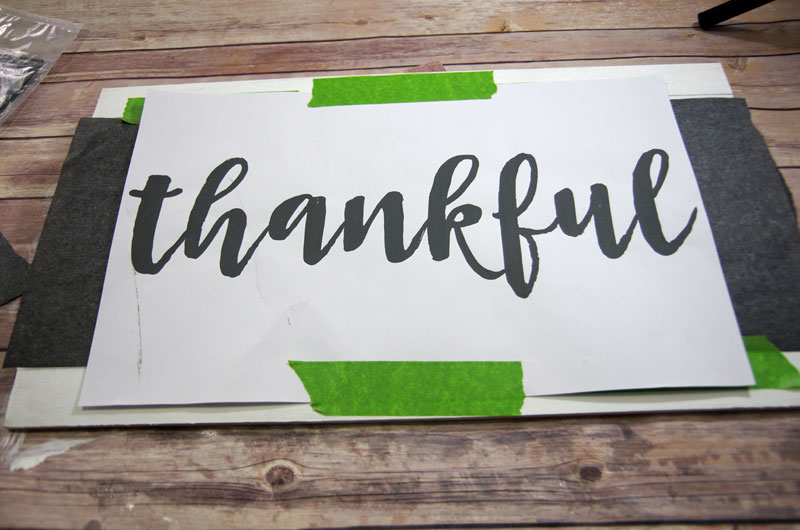
Now lay the design on top of the carbon paper and tape that into place.
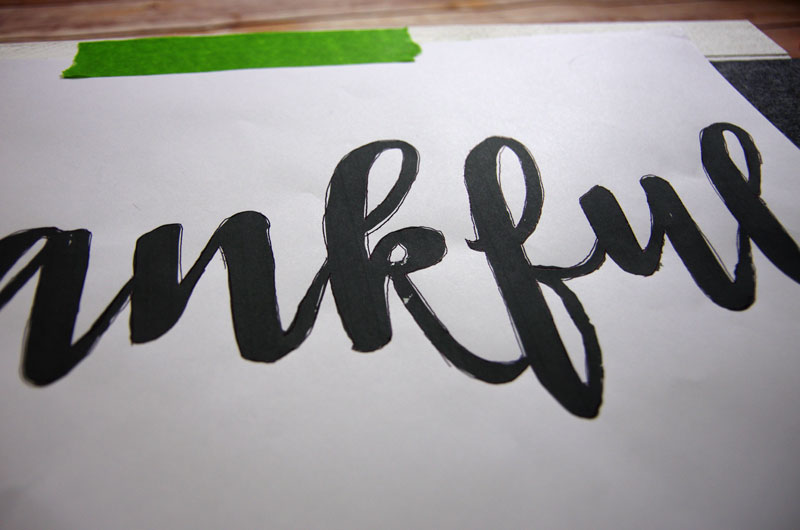
With the ballpoint pen, trace the outer edges of your design. It will be transferred to the wood underneath. (If you used stain or a dark paint color, make sure to use white carbon transfer paper.)
Remove the design and carbon paper.
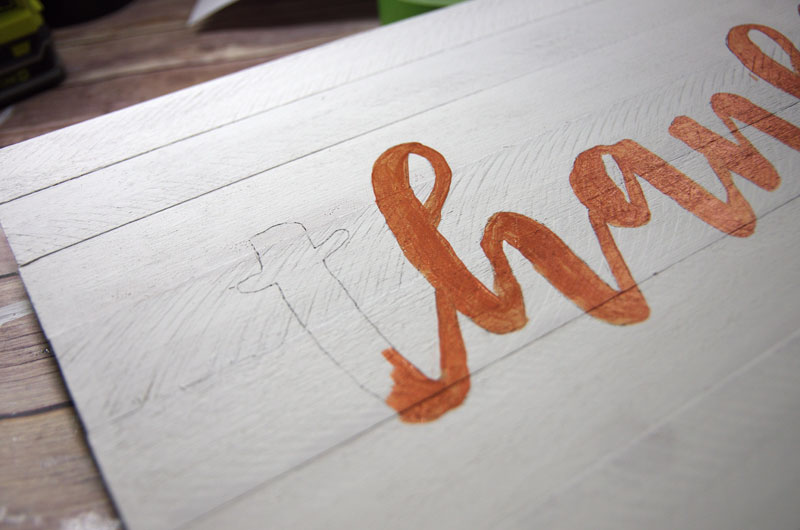
Now it’s time to grab that paintbrush and fill in the design. Don’t worry too much about perfection here. Remember, hand lettering is also very popular these days.
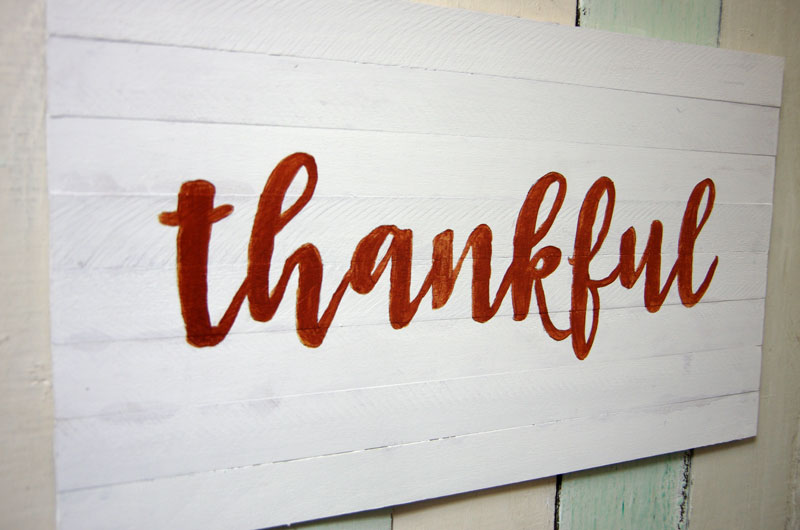
What I really love about making these wood signs is that it’s so easy to switch them out for different holidays. I can cover “thankful” with a few coats of paint and then trace on a different design for Christmas.
What will you put on your DIY Wood Plank Sign?
Enter below for a chance to win a $250 Home Depot Gift Card!
Gorilla Tape $250 Home Depot Gift Card Giveaway


Farmhouse text design that is modern and contemporary. I appreciate your project that finished without using any power tool. Have a great weekend!
I like how easy the directions are for making signs. I think it would be fun to make a birthday sign. Thanks
Wood planks are my thing! I’m not into DIYs and all that artsy crafty things but seeing how it’s done, maybe I should give it a try! It’s much cheaper than actually buying those hanged in stores. Thanks for sharing the details! Love this post!
Thanks for sharing your experience!! All things are so much essential for every homeowner. By the way, I love your idea and love it. I will have to try this, thanks for all this awesomeness!!
i would do this to my door!and on the wall of my room!thank you so much for sharing this!
As a DIY ers you have added a great experience without using a power tool. This is new invention farmhouse designs. You are so creative. This is a very helpful project. Thanks for sharing your post.
Love this idea. I really love yours. I never try to this. Thanks for sharing this amazing article. Keep it up more share.
Great Information about how to make farmhouse sign without using power tool, Really love this piece. Thanks
I appreciate your project that finished without using any woodworking power tool. Have a great weekend!