This is a sponsored conversation written by me on behalf of Cricut. The opinions and text are all mine.
When I attended a paper crafting class that a friend of mine hosts every month, I saw the cutest thing: a tea bag card! I knew right away that I had to make my own version of these cute little cards. And I could make it easier with my Cricut Explore Air 2.
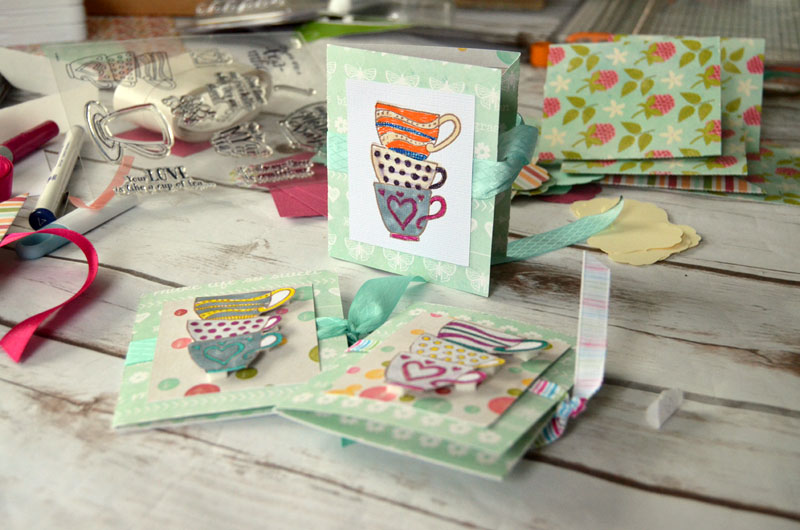
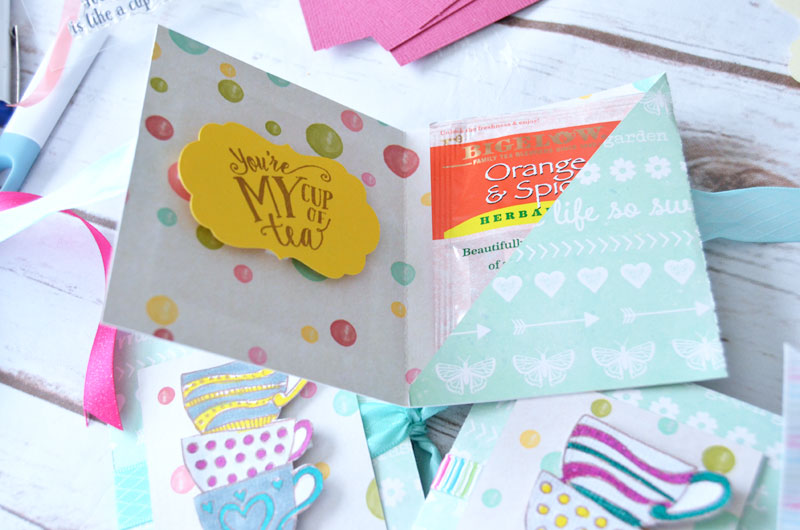
Or just a fun, pretty way to have tea bags stored in your kitchen and share when a friend or family drops by.
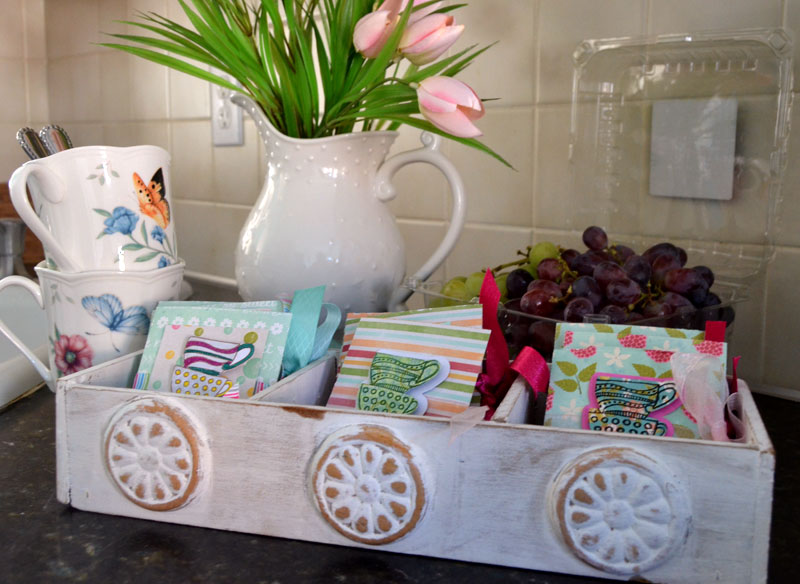
Wouldn’t a pretty box full of these tea bag-filled cards make a lovely housewarming gift! I can think of so many ways to use them!
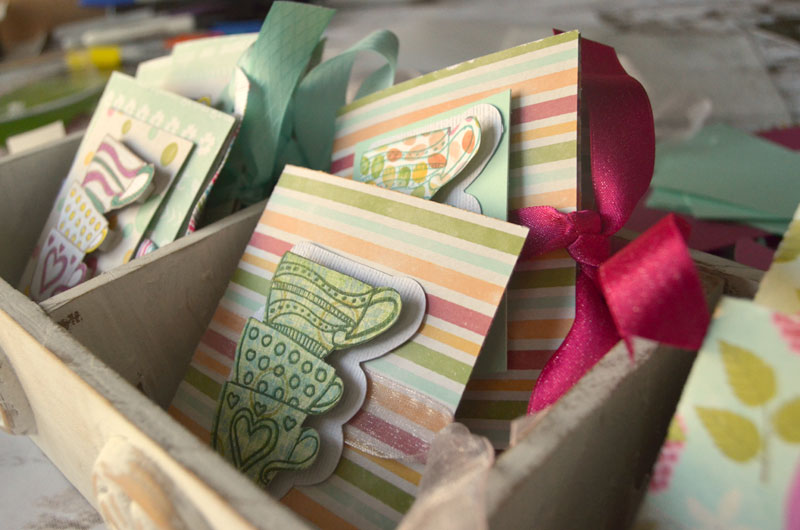
Are you ready to make some tea bag cards? Let’s get started!
Make Tea Bag Cards With Cricut Explore Air 2
Supplies (affiliate links included for your convenience):
Tools:
- Cricut Explore Air
- SVG file (download here)
- Cricut Scoring Stylus
- scissors
- stamps
- ink
Step One – Cut tea bag card using Cricut Explore
Sign into Cricut Design Space and click on “Create New Project”.
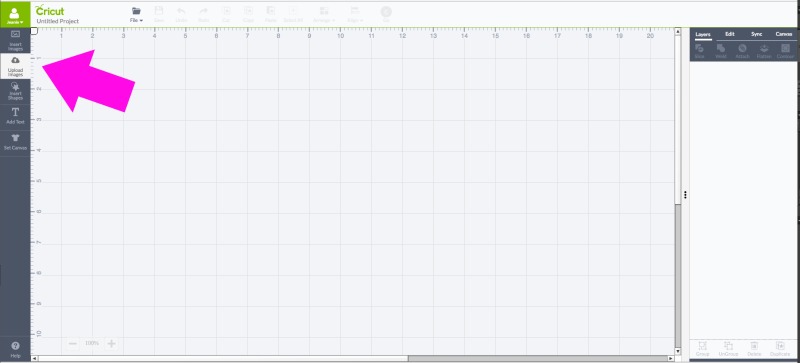
- Click on “Upload Image”
- Upload the tea bag holder
- ungroup
- click on the vertical lines and click on the scissors icon
- change to “score”
- repeat for second vertical line
- attach layers
Here’s a video to watch of the above steps:
I’m a visual learner and if you are too, then watching the video is a lot easier!
Step 2 – Fold tea bag cards along score lines
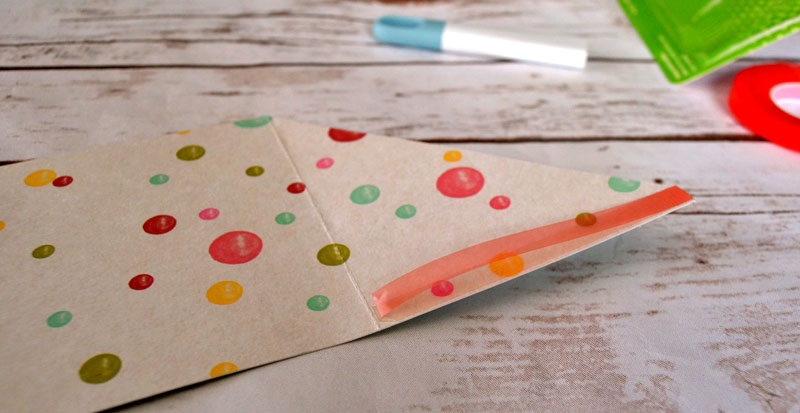
As shown in the photo above, place a strip of narrow double-sided tape on the right section and fold to the middle.
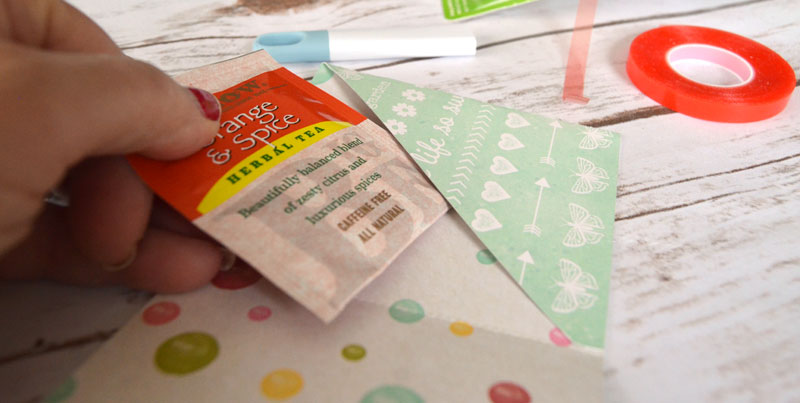
This creates the little pocket for the tea bag.
Step 3 – Add embellishments
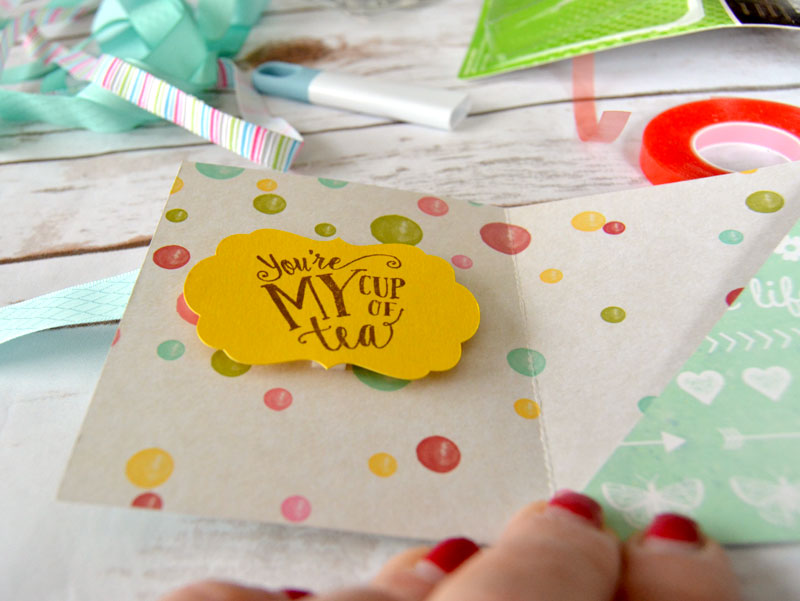
This is the fun part and where you really get to be as creative as you want! I chose to add a label shape to the inside left of the card and stamped a sentiment.
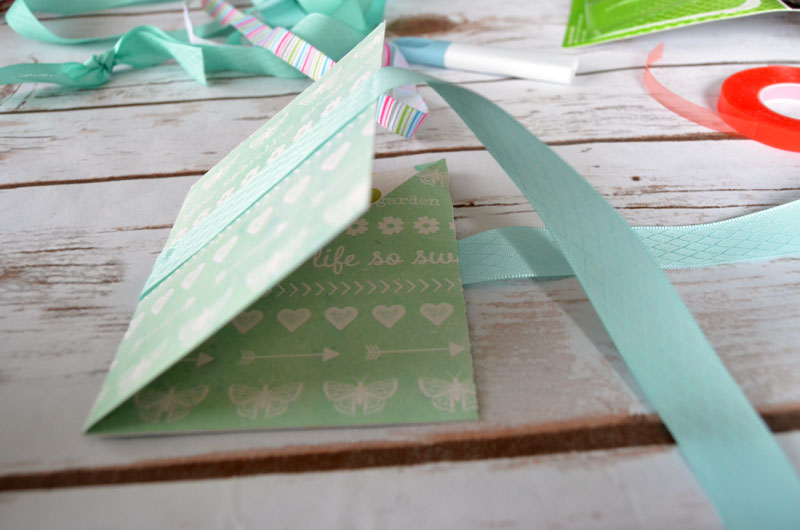
I also used double-sided adhesive to attach a ribbon around the front and back of my cards. I made sure to leave enough of a tail to tie a bow.
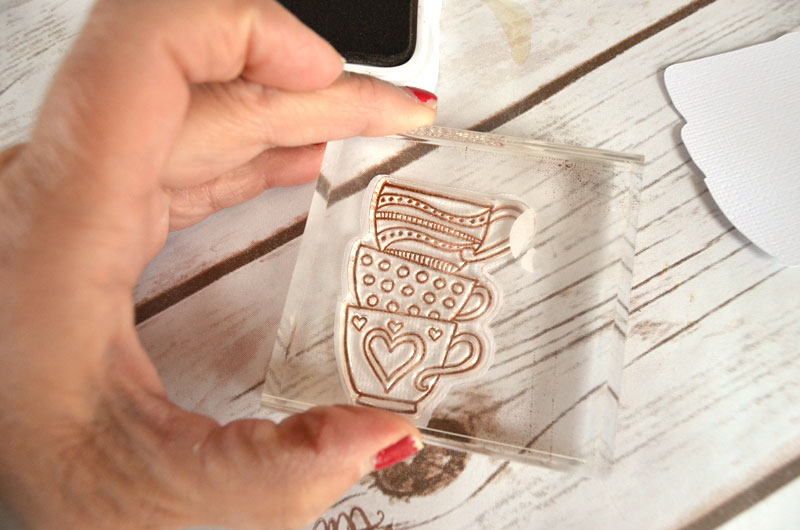
I used a tea cup stamp from Close To My Heart to decorate the front of the card.
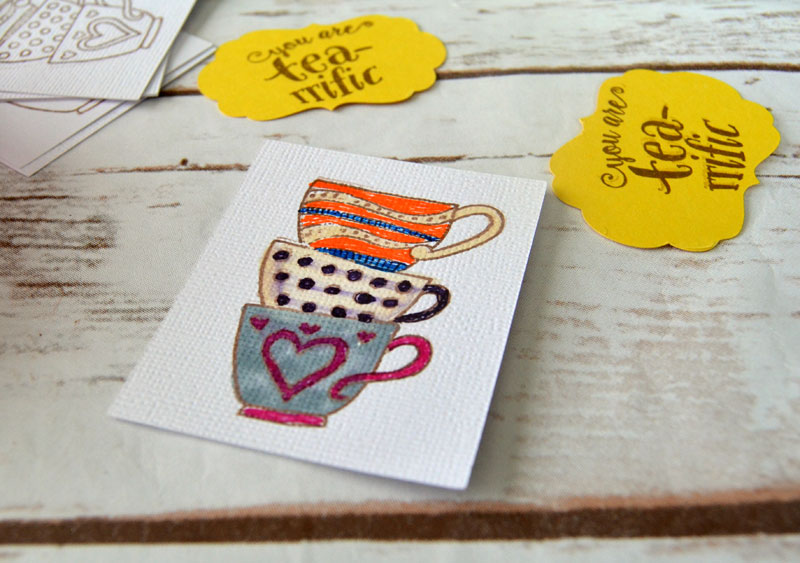
After the image was stamped, I colored it in and cut out the shape with small, sharp scissors.
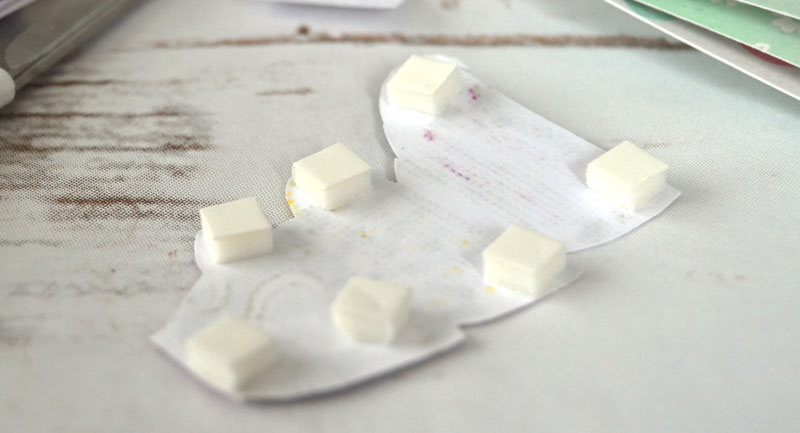
Small 3D adhesive squares were used to attach the shape to the front of the card.

I hope you like today’s project. I think it is so cute! If you have any questions, please let me know in the comment section below.

Be sure to pin this so you don’t forget it!
This is a sponsored conversation written by me on behalf of Cricut. The opinions and text are all mine.
Comments submitted may be displayed or featured on other websites owned by Cricut.


[…] Tea Bag Gift Cards (you can make tons of card ideas!) from Create and Babble […]