This post contains affiliate links for your convenience. Click here to read my full disclosure policy.
It is time once again for another Power Tool Challenge. In case you don’t know, the Power Tool Challenge is when a bunch of us DIY bloggers get together once a month and we each share a project (based on a predetermined theme) made with our favorite power tools. It is meant to encourage and inspire you, our dear readers, to pick up your power tools and get busy!
Our theme is month is “organization” and I made a pallet wood entryway bench.

This project started with a box of pallet wood that was sent to me by the kind folks at Amy Howard at Home.
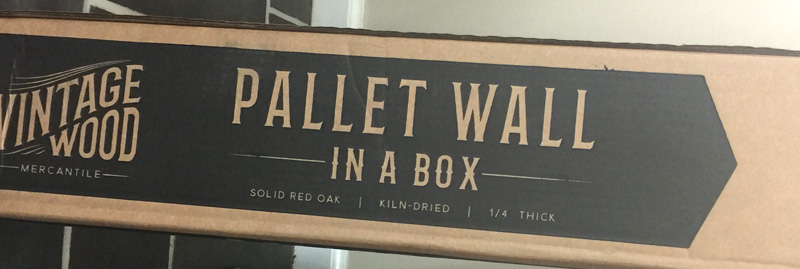
My job was to create something with these pallets.
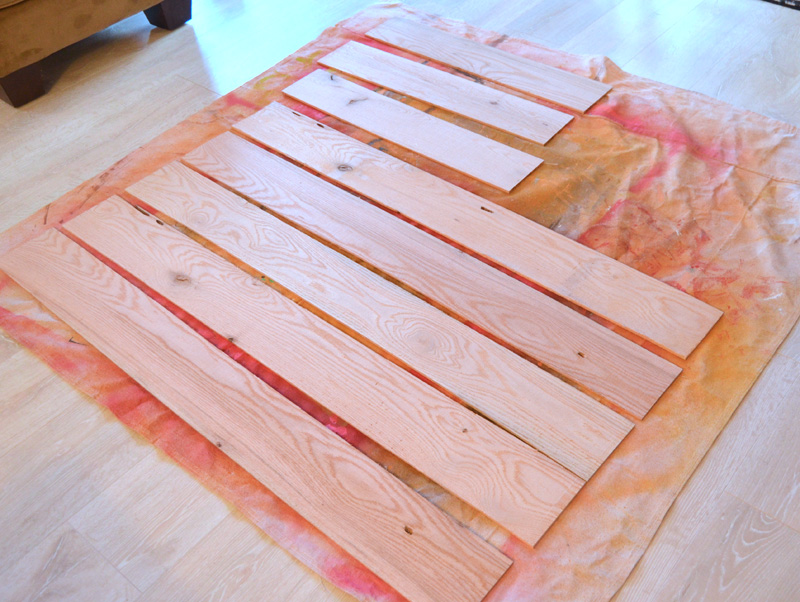
No problem.
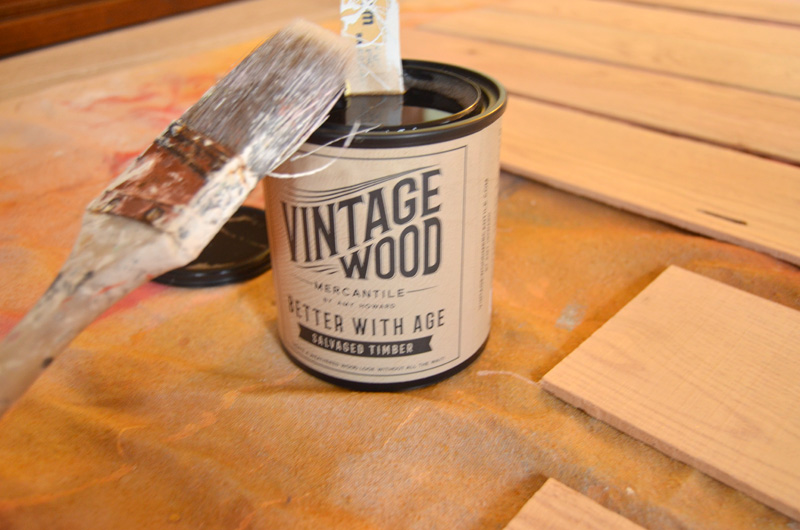
But first I wanted to do something with these plain red oak pallet planks. I had a chance to try out Amy Howard’s Better with Age at a conference last year and fell in love with it.
All you do is brush this stuff onto raw wood. It works with the tannins in the wood and it gives the wood an aged appearance. It works best on hard woods like oak because they have more tannins.
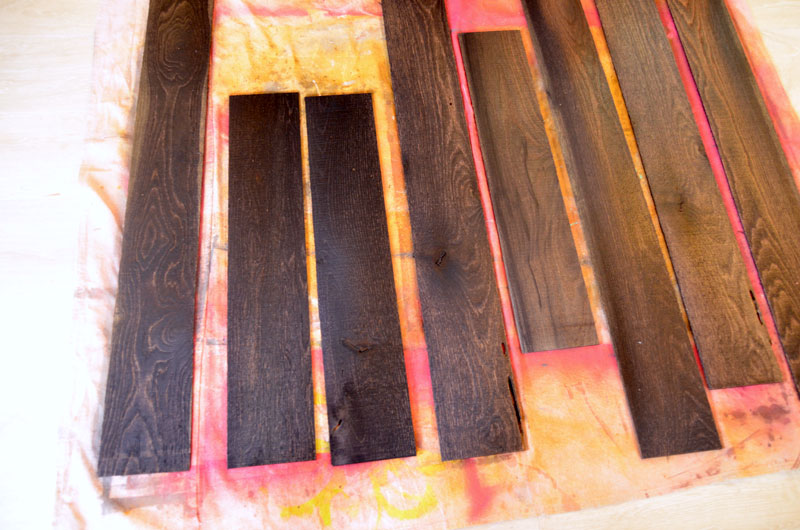
Now at this point I could have used the wood as it was which was an dark, aged appearance.
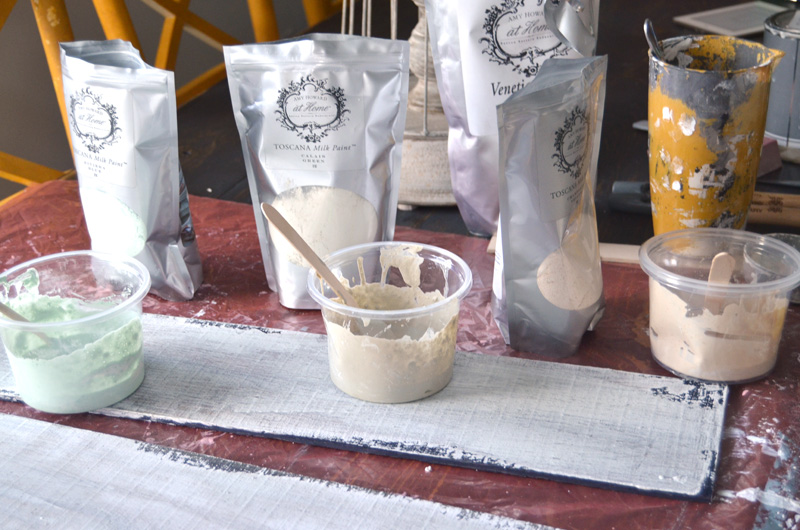
But I wanted to this project to have a lighter, aged, and chippy look. So what I did next was mix up a batch of Amy Howard at Home Toscana Milk Paint and added some of Amy’s Venetian Plaster to it. I used three different colors. With a putty knife, I “scraped” the milk paint/plaster mixture across the planks so that it settled into the grain of the wood. This gives the wood a beautiful aged appearance.
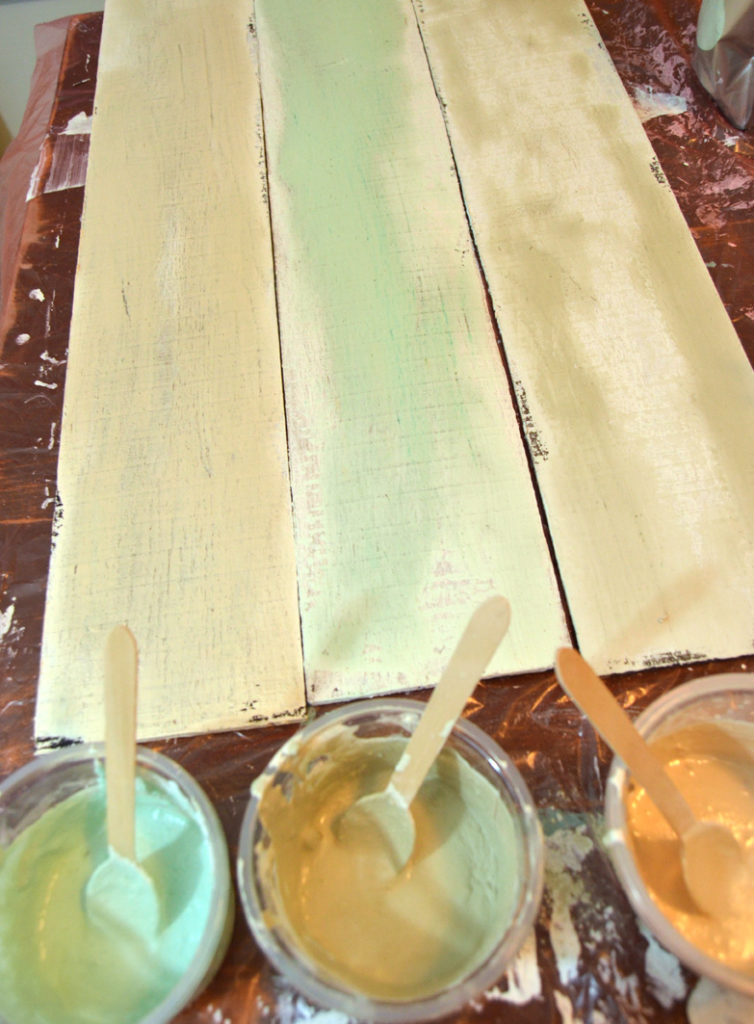
Look at those wonderful colors! As you’ll see in the finished bench, the color lightens as it dries. While the pallet wood was drying I got busy making the “skeleton” for the entryway bench. I loosely followed these plans for the base of the bench. I customized it to fit the size of the my wall.
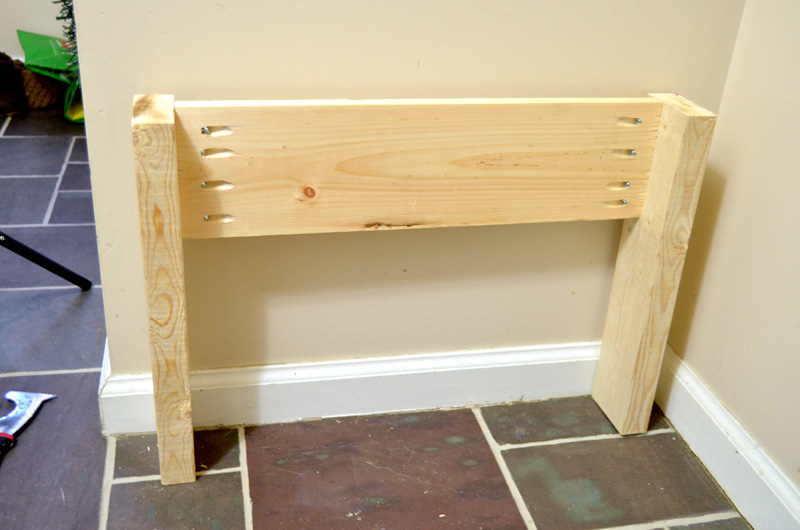
First I made the front and back of the base with 2 x 4’s and a 1 x 6. I put them together with pocket screws using my Kreg Jig to make the pocket holes.
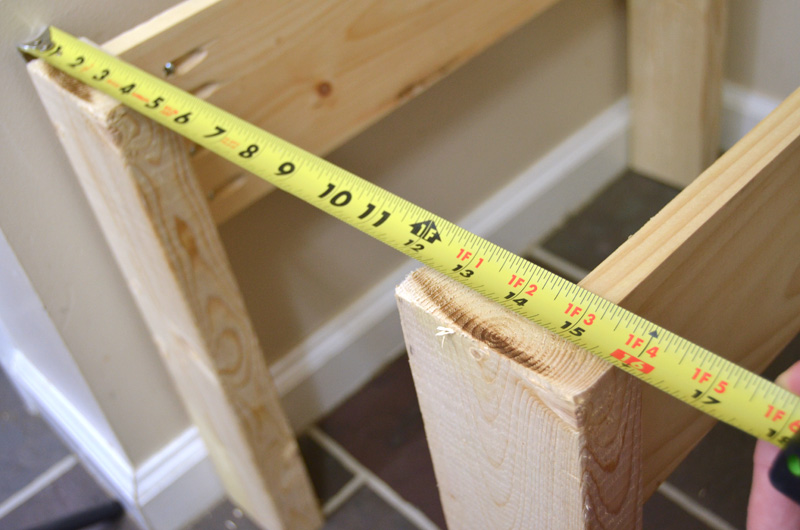
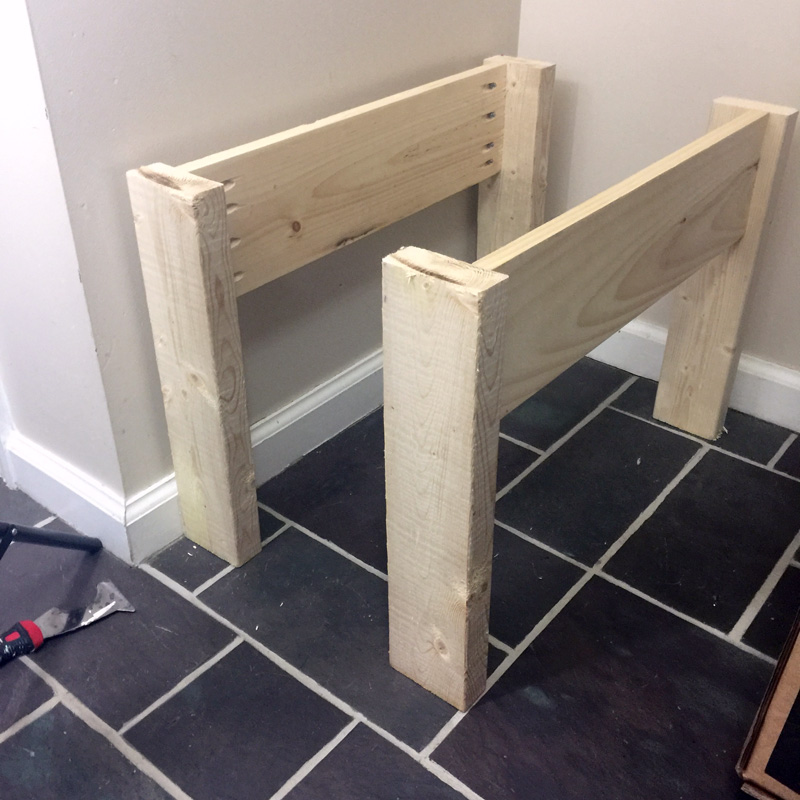
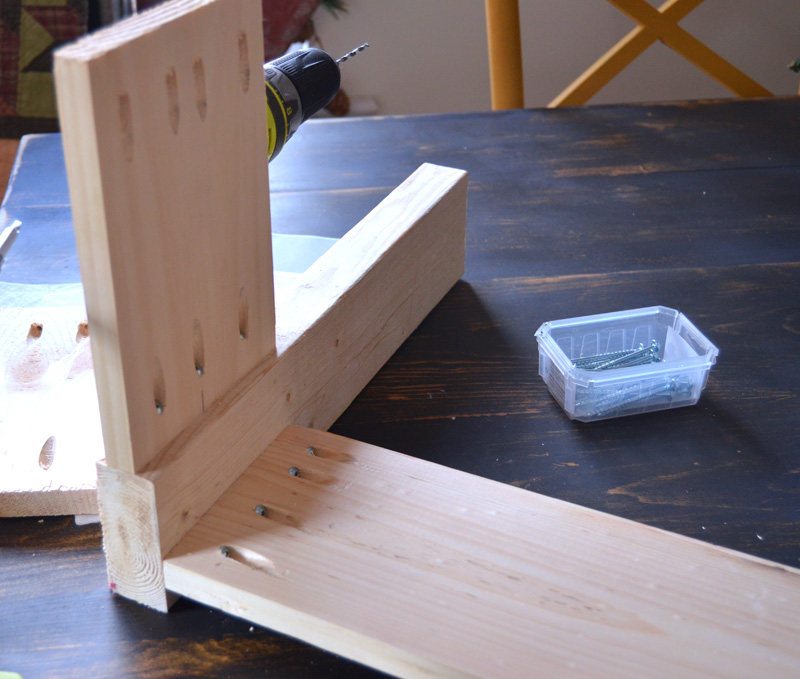
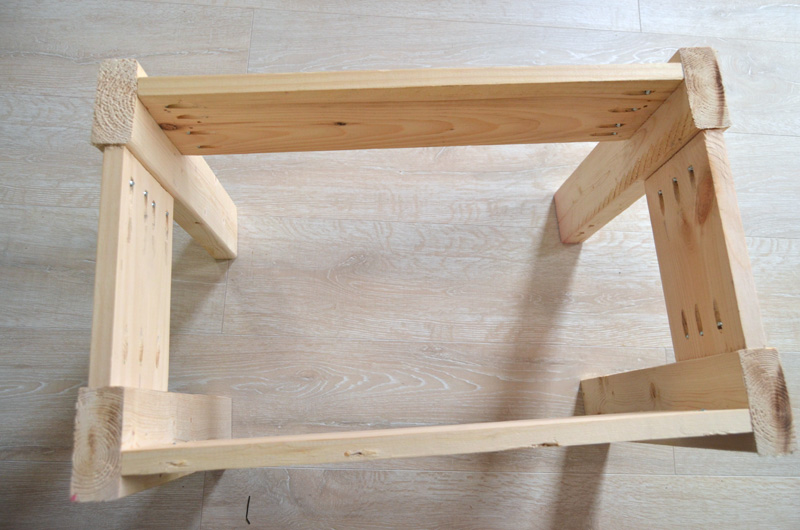
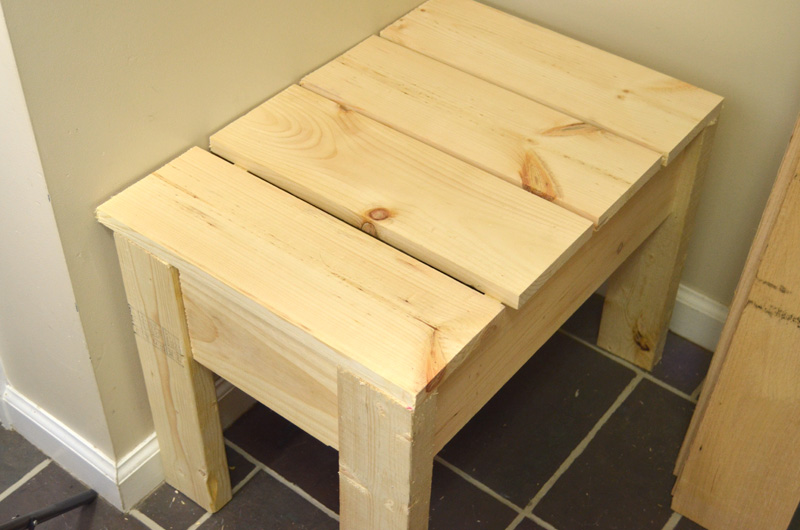
Once the base of the bench was complete, I added slats of 1 x 6’s to add strength and stability to the bench. The pallet wood is very thin and would not hold up with out the slats.
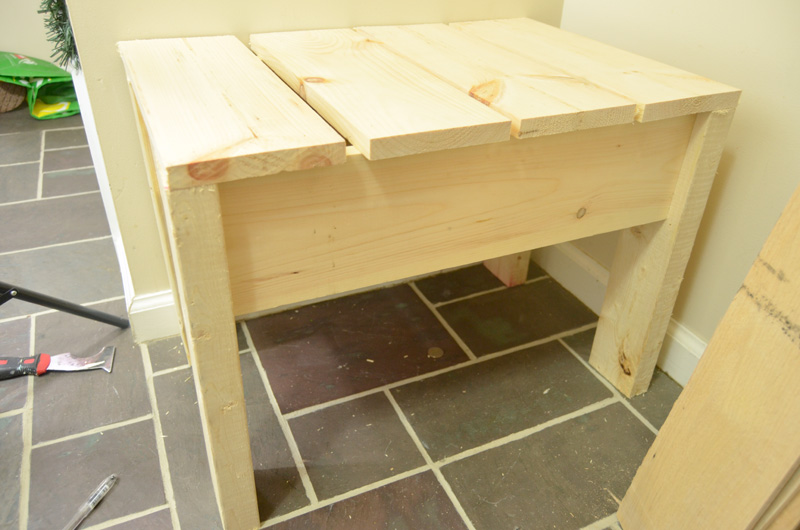
At first I thought I would remove the baseboard but in the end decided not to remove it. The entryway bench still looks like it’s built in but will be easy to remove if we decide to move in the future and want to take it with us.
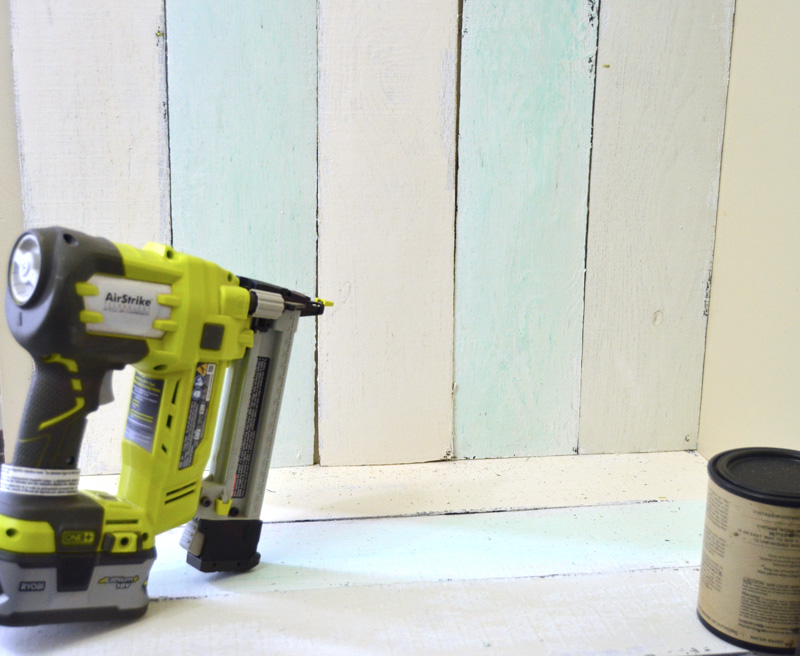
Now all that was left to do was attached the painted pallet boards to the wall above the bench and also on the bench top, sides and front. I used my Ryobi Miter Saw to cut all of the wood in this project. I used my Ryobi Airstrike Stapler and Brad Nailer to attach the pallet boards to the wall and bench frame.
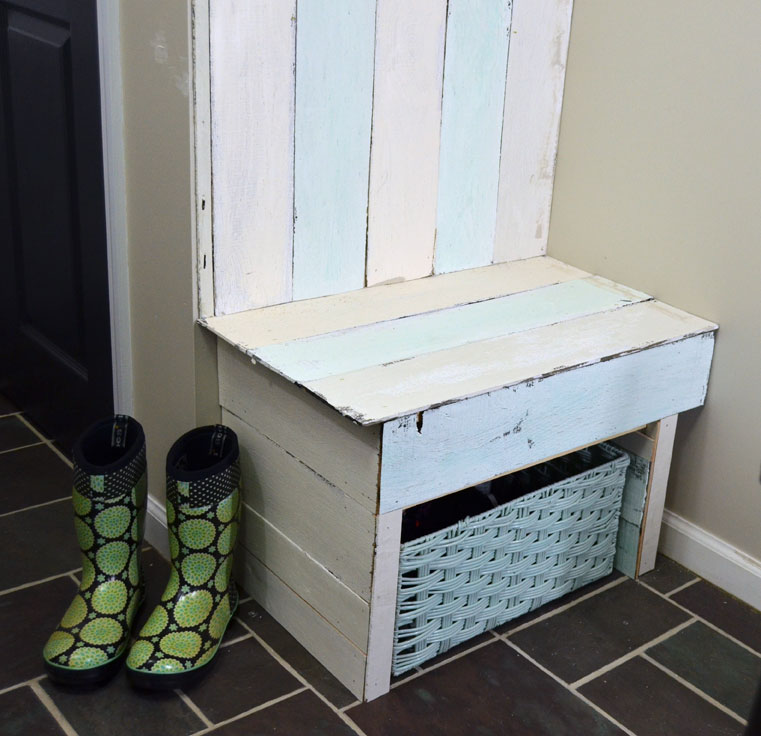
At the last minute I decided not to cover the front of the bottom of the bench but to keep it open to store shoes. I found the perfect sized basket at Home Goods because I remembered to take measurements this time. I have tried eye-balling these kind of things in the past but that method never works out for me!
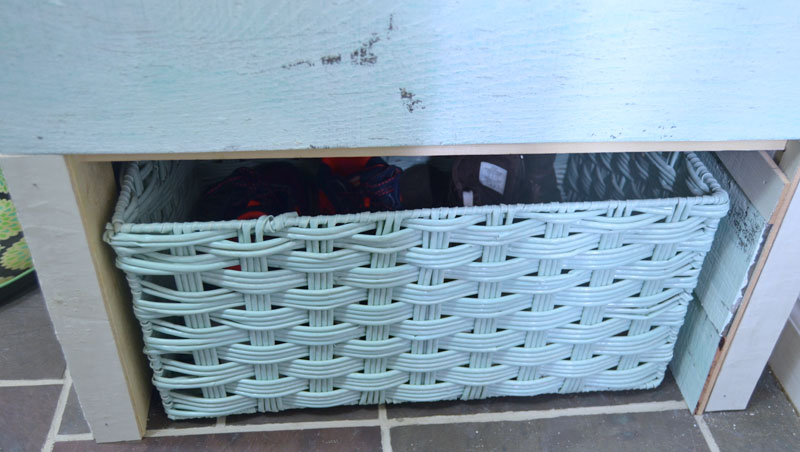
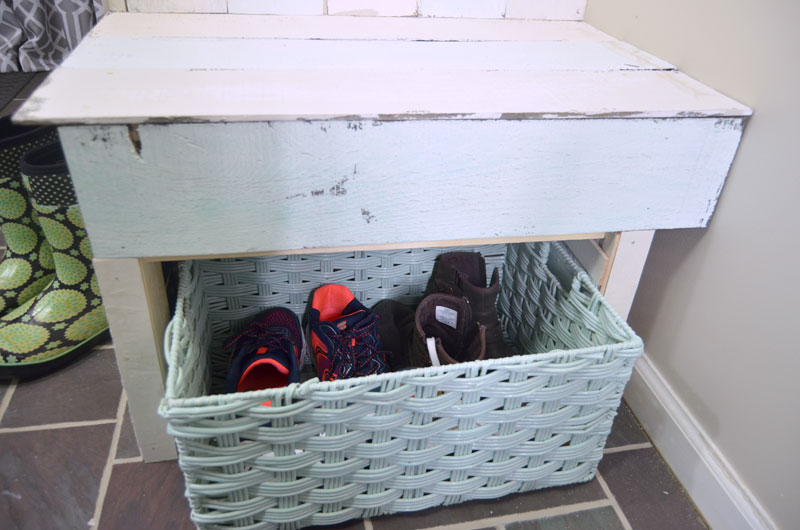
The basket slides in and out easily and is a great place to keep my shoes handy!
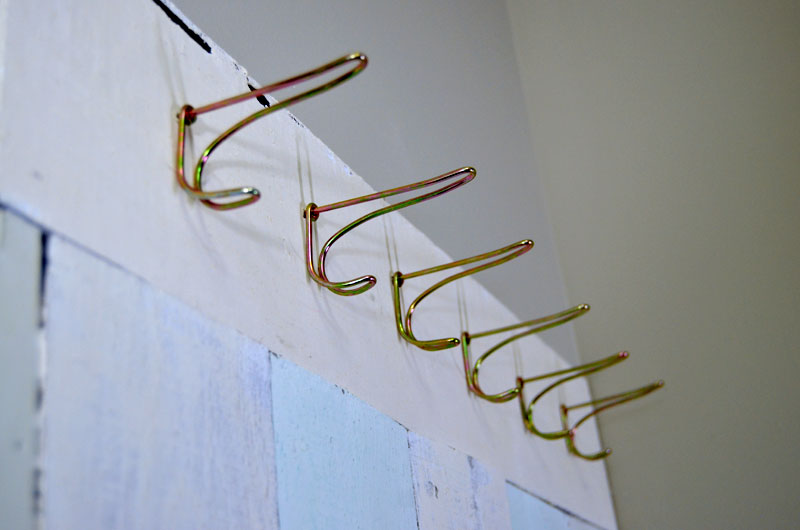
Lastly, I added these screw-in wire hooks to the top to hang coats, etc. I looked everywhere for these type of hooks. I didn’t want the modern-looking ones that they sell at Home Depot. I wanted these old-fashioned looking wire hooks and I finally found them at an Amish hardware store. I knew they would have them and they were only $1.59 for a pack of 2 of them!

Disclosure: I received either product and/or monetary compensation from Amy Howard at Home for this post. All words are my own. As I always, I only recommend products that I use and love.
So that’s my DIY Entryway Bench with shoe storage. Please feel free to pin it. Now let’s see what my friends have made:
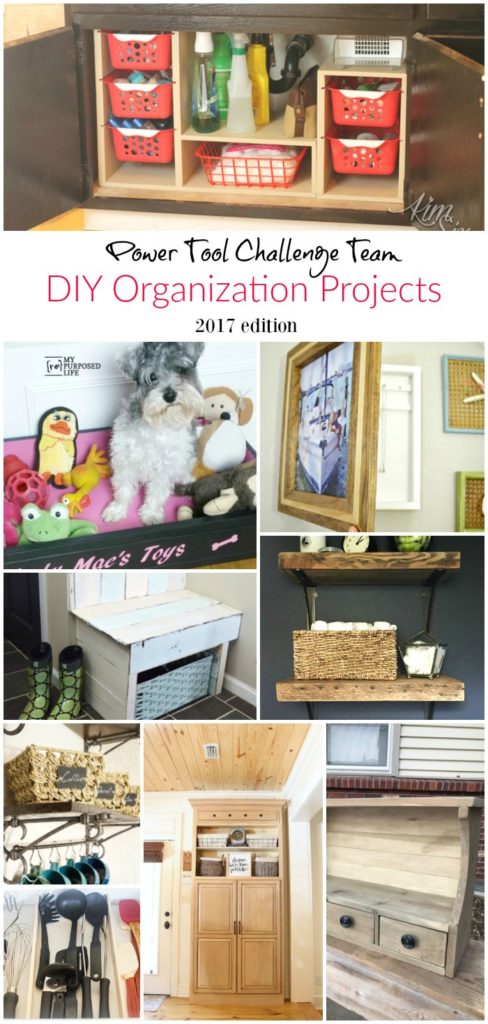
The Kim Six Fix – Under Cabinet Storage
My Repurposed Life – Repurposed Drawer Dog Toy Box
H2OBungalow – DIY Hanging Jewelry Organizer
Create And Babble – Pallet Wood Entryway Bench with Shoe Storage
The DIY Bungalow – Reclaimed Wood Shelves
Designed Decor – Repurposed Radio Cabinet Coffee Bar Drink Station
Domestically Speaking – Easiest DIY Drawer Organization
Refresh Restyle – Mudroom Storage Idea
My Love 2 Create – Drawer Storage Shelf
Virginia Sweet Pea – 2 x 4 DIY Shelving Unit Storage Shelf
Thrift Diving – DIY Pegboard Organizer


Awesome bench and I’m loving the pallet wood. I need to build one of these for the North House, we always need a place to store our shoes and boots at the door. Pinned & shared!
Super entryway bench Jeanie!
I’m a little confused about the build… trying to figure out where the overhang of the 1×6 slats are…
Love the color.
pinning!
Thanks Gail! The slats are covered with the pallet planks. If you look closely at the photo of the planks you can see that the first and last slats are flush with the legs of the bench so there was no overhang on the front. Thanks for pinning!
I love this, Jeanie! We have this problem in our house where the shoes just pile up. I’d love to hide them away like this and just pull out a basket! The wood is so pretty, too. My favorite turquoise colors. I am seriously going to have to try these Amy Howard products. I feel like she came out with so much more since we were there last!
Thanks Serena! My only change would be to make it bigger to hold more coats and shoes but I was restricted by the size of that wall. You know we all have more shoes that can fit in that basket, lol! And yes, Amy keeps adding more wonderful products to her line.
That is gorgeous! I love the color. Our front entry is so cluttered with shoes and soccer gear – we need this!
Having a spot in your entryway to sit down to put on or take off shoes is so handy. And having coat storage makes this piece that much more useful. You created a useful piece that also looks great in your space. I know you guys are going to enjoy this!
What a great build and perfect for that space.
I need one of these in my front entryway for guests to hang coats. I too am very limited with space, so I need to build one just like you did. It looks great!
This is awesome Jeanie! I need to try some Amy Howard paint, but I too love the vintage wood! Great job, it is perfect for your space!
Oh my word, how did I not even know you can get pallets in a box like this? Your project turned out really great. I love the paint colors too!
Realllly cute. First time reading your blog and this darling project caught my eye. Love how it looks like it’s been around forever!
I’ve never heard of pallets in a box! Sign me up, because I vowed never to take another pallet apart again. Jeanie, this is awesome! I’m swooning over the pretty colors too.
This is a little more difficult that your other DIY projects. I’ll get some help but really nice idea! visit this article
let’s join our site, luck is always on your sideSenopatibola