


Disclosure: I received free product from Quick-Step in exchange for an honest review. All opinions are my own.
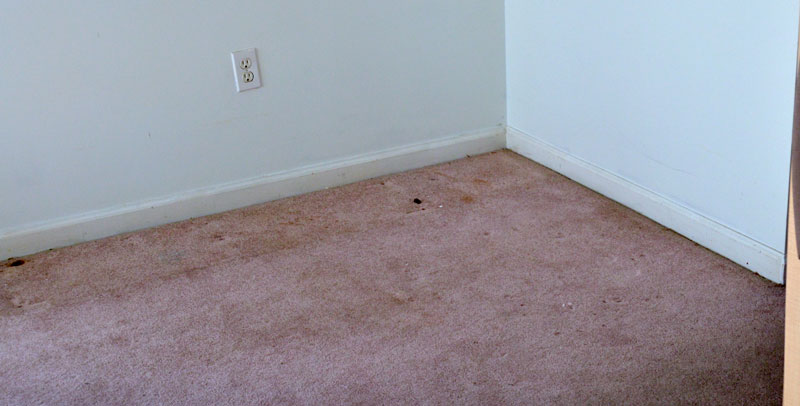
The old, dingy, worn-out carpeting that has been in my family room since the beginning of time is gone! I’ve been wanting to replace it since I bought this house so when Quick•Step sent me some samples and I asked if I had any flooring projects coming up . . . did I ever!
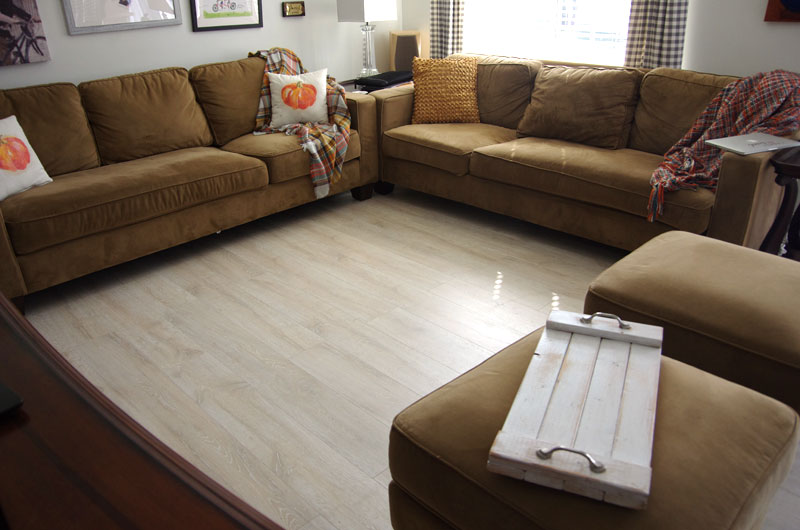
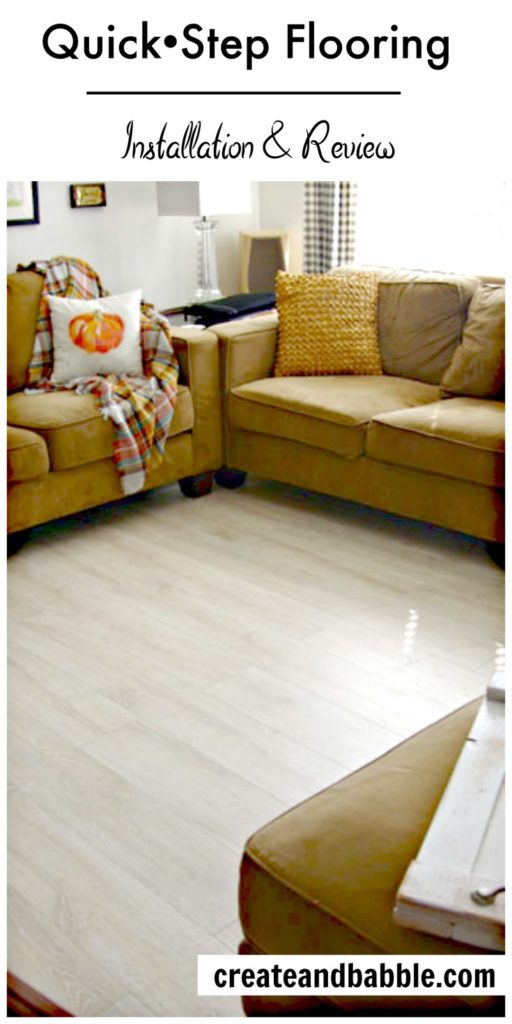
When I received the samples, it took me about two seconds to decide on the Reclaimé White Wash Oak Planks for my family room. I just adore the light, bleached appearance.
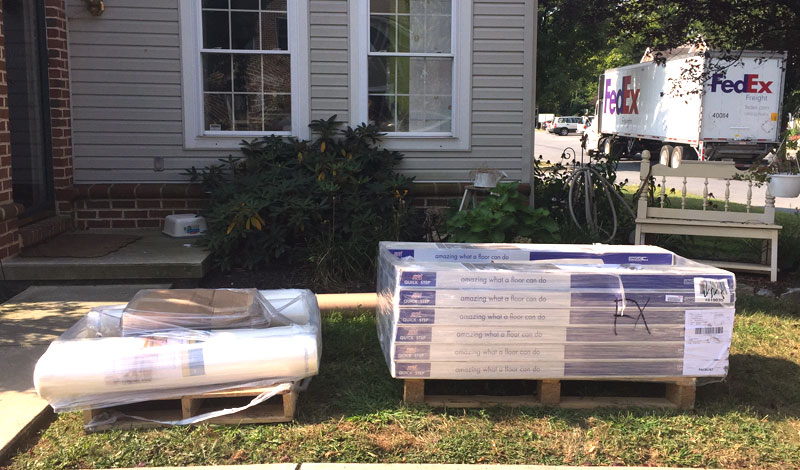
Once I made my decision and the flooring arrived it was time to get to work! I enlisted the help of my oldest son. We made quick work of removing the old carpet and padding.

I remembered reading a tip to cut the carpet and padding into strips, roll it up and tape it to make transport to the trash easier. That is a tip worth remembering!
One of the downsides to townhouse living is that there’s no where to go with furniture other than the room that it’s in! We had to work on the room one side at a time. That was probably the biggest challenge of the whole project.

Luckily it only took two days to install the flooring!
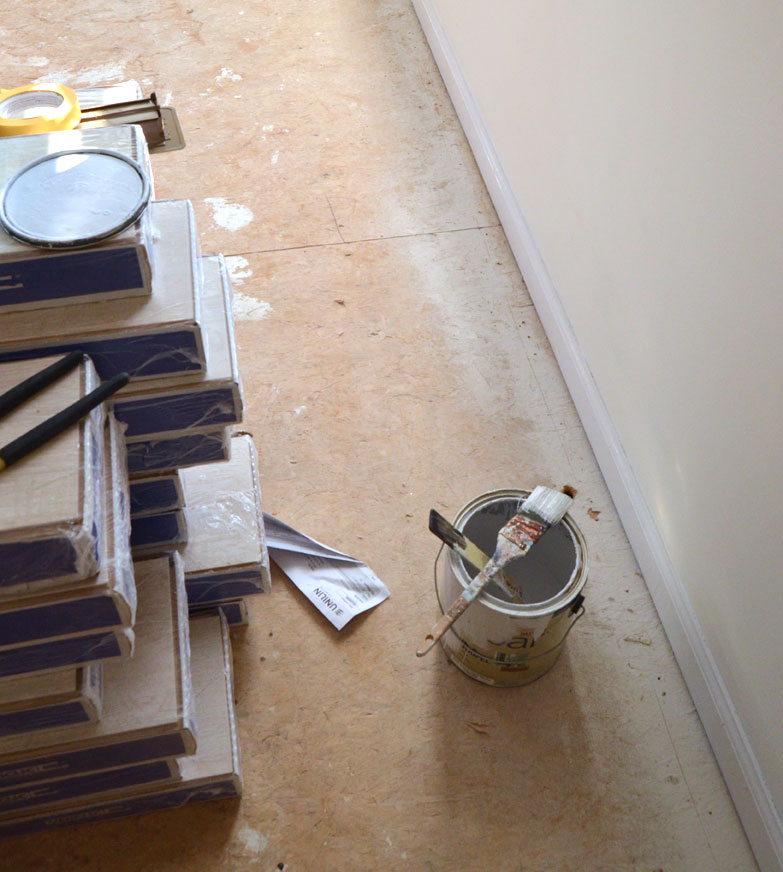
Before we got started laying down flooring, I grabbed my trim paint and gave the baseboards a fresh coat while I had the chance!
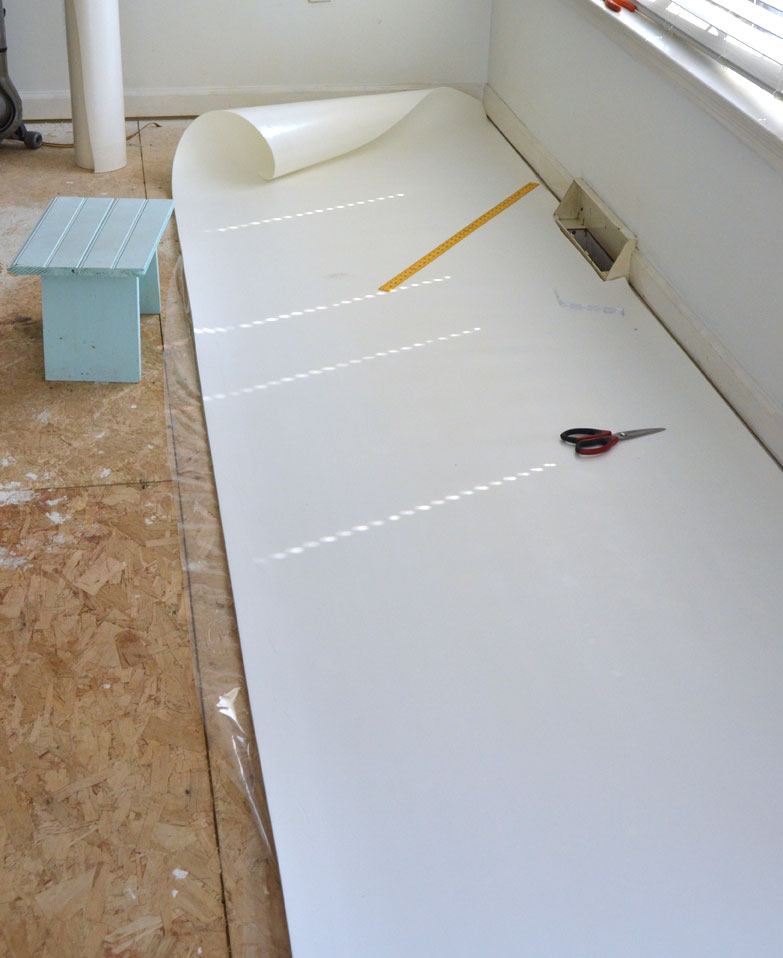
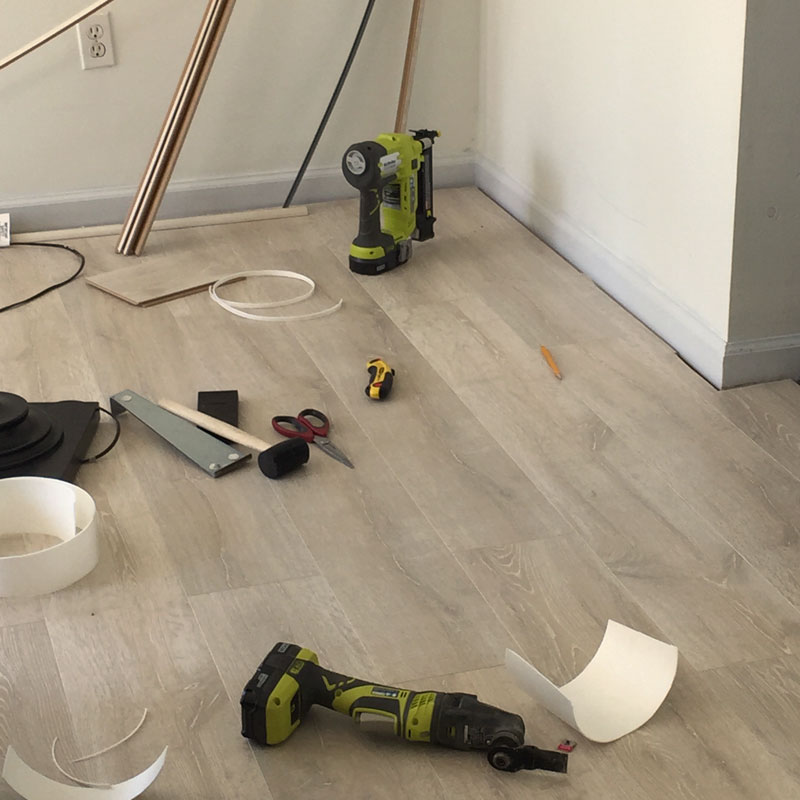
After watching the Youtube videos and reading the installation articles on the Quick-Step blog, we got started with the underlayment and quickly moved on to installing the first few rows of planks.
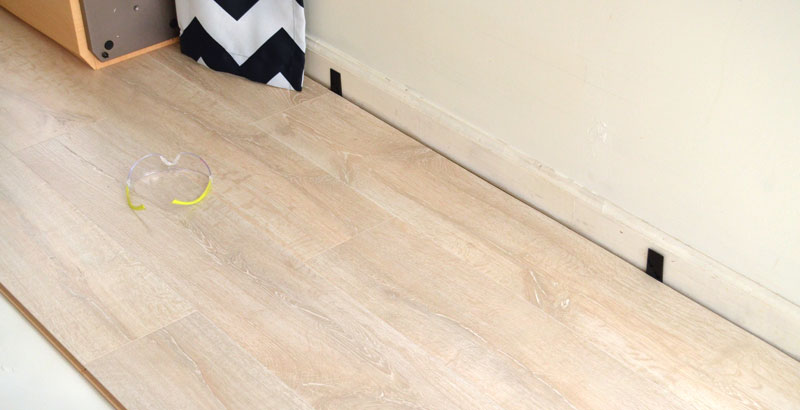
We started out with both of us working together, but my son quickly got into a “rhythm” and practically installed the whole floor by himself! He did say there were a few tips and tricks that he learned along the way. When you get started, because the boards are fairly thick, you need to place some heavy objects (we used the stereo speakers and hand weights) to keep the first few boards flat on the floor.
We also noticed that each row must be installed exactly straight with the seams perfect or else the next row will not install properly. This is actually a good thing – it keeps the flooring lined up and even along the way. We must say that the Uniclic technology makes installation a snap!
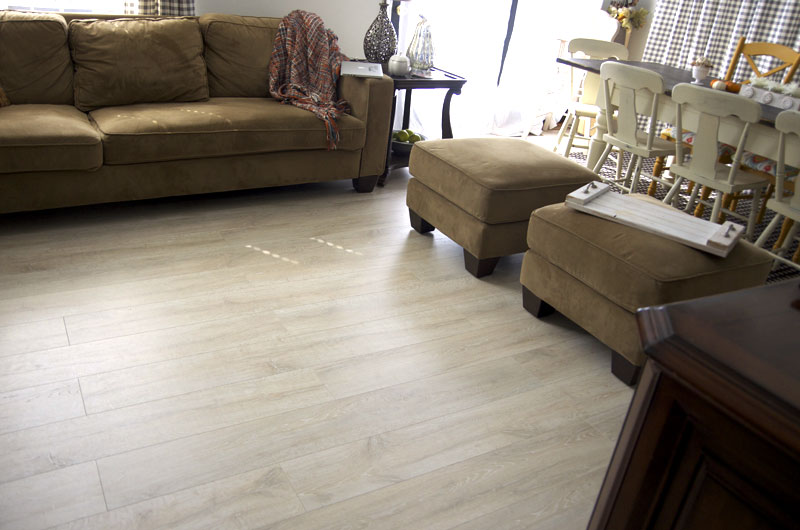
By the way, the photo below is the same corner as above. Quite a difference!
I cannot get over what a difference this flooring makes in this space. I absolutely love it!
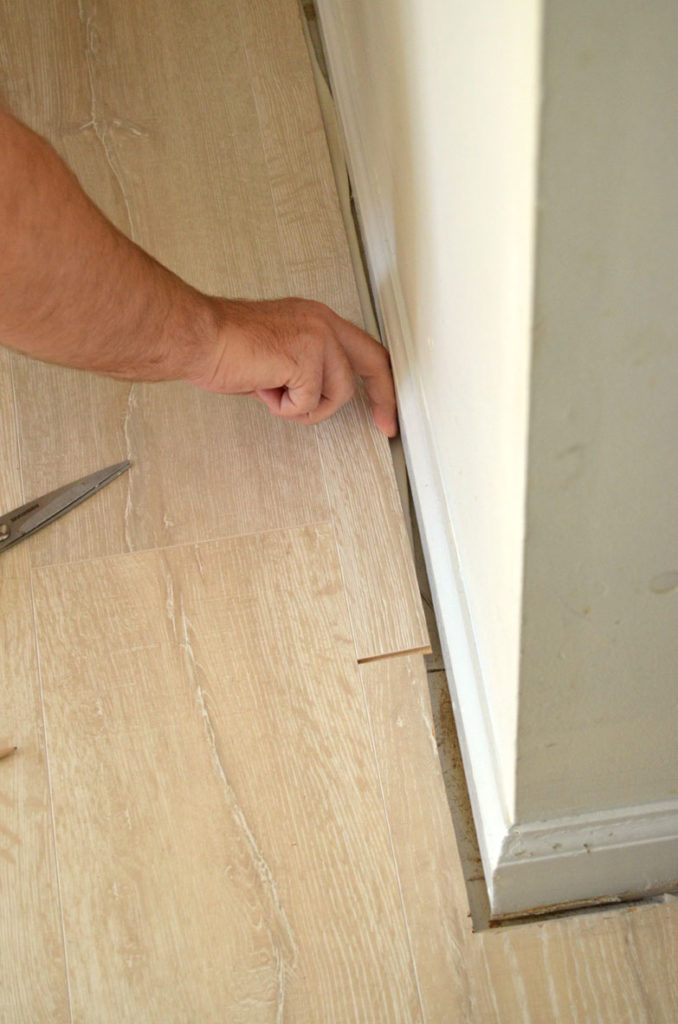
Here is the last row going in.
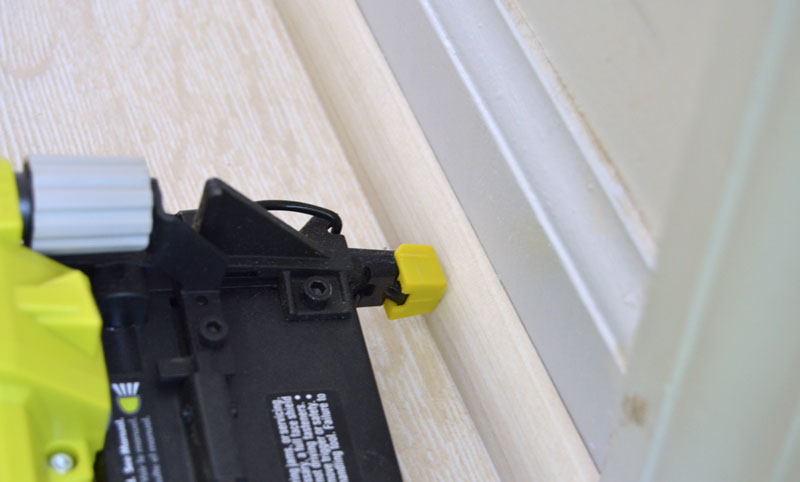
All that’s left to do is install the quarter round trim around the perimeter of the room and it’s done!
Be sure to visit Quick – Step Style for more flooring projects, inspiration and ideas! There is a very informative Flooring 101 article that I highly recommend. Quick-Step is also on Facebook, Pinterest, and Twitter.
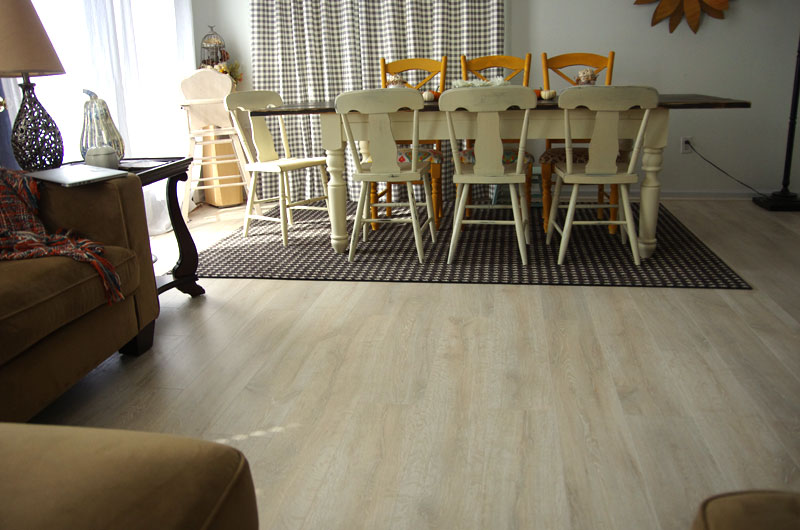
Before my new Quick Step flooring, I always had to be sure to crop out the flooring in any of my blog photographs that were taken in the family room. Not anymore!
Now I love showing it off!
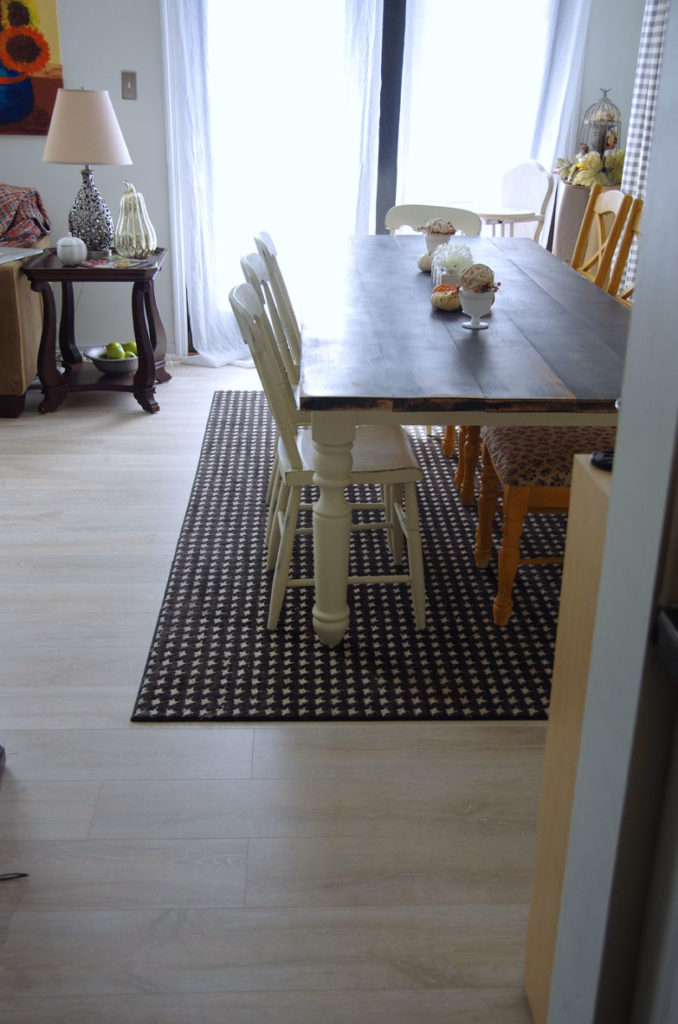


I love the color! It’s so light and bright, I know y’all love it!! I also love that you can do it yourself!
Debbie
I put a floor down in Jamie’s attic room years ago and found that it was so much easier than I could have imagined, so it looks like this floor is even easier!
Your room looks fabulous Jeanie, and I love that table!
gail
Wow Jeanie!!!! It looks incredible! I love the finish that you chose and that it was a mother son project. You are making me want to tackle my kitchen floors.
It looks absolutely beautiful! I LOVE the transformation!!
Gorgeous floor! I LOVE that color. It brightens up your room! We may be needing a new floor in the future I’ll be sure to check this brand out! Love how the boards lock together too.
This is GORGEOUS!! The white wash oak is so lovely and modern looking.
Great job! I agree with you. That color would have been my first choice too!
We have done our floors a couple of times. They came so pretty. Enjoy them.
Wow! What a transformation! That flooring is beautiful.. it changes the entire look of the room!
I love it!
It’s beautiful! Really brightens the space.
Thank you Melanie. Yes, it feels like a new room!
I love the light and clean look of your pretty floor! You did such a Great Installation. Lucky you!You have such patience.
Maria
I love the colour! It really opens up the space and makes it feel bigger!
A most beautiful floor! Great job!
Recently, I have been thinking about getting laminate flooring and wanted to see what my options were. I really appreciated how this article talked about deciding on a price range before shopping. I agree that knowing your budget is always super important before you start looking around.
Thanks for such an informative post with us. great explained about flooring installation.
Good day. A high-quality floor can transform any living space, which is why every homeowner strives to find the best flooring options. To buy quality flooring, many people visit the BuildDirect online store, which can satisfy the needs of any buyer. Users write more about the company’s products in BuildDirect reviews studying which everyone will understand that this online store can offer something for everyone.