


What is Saltwash™ you ask? I have never heard of it either. Saltwash™ is a powder paint additive created by the owners of Saltwater Salvage Designs, that creates a unique weathered look on any piece of furniture or surface.
I partnered with Saltwash™ for this post. Please read my disclosure policy.
Since this months Themed Furniture Makeover Day is “Coastal”, this fits right in!
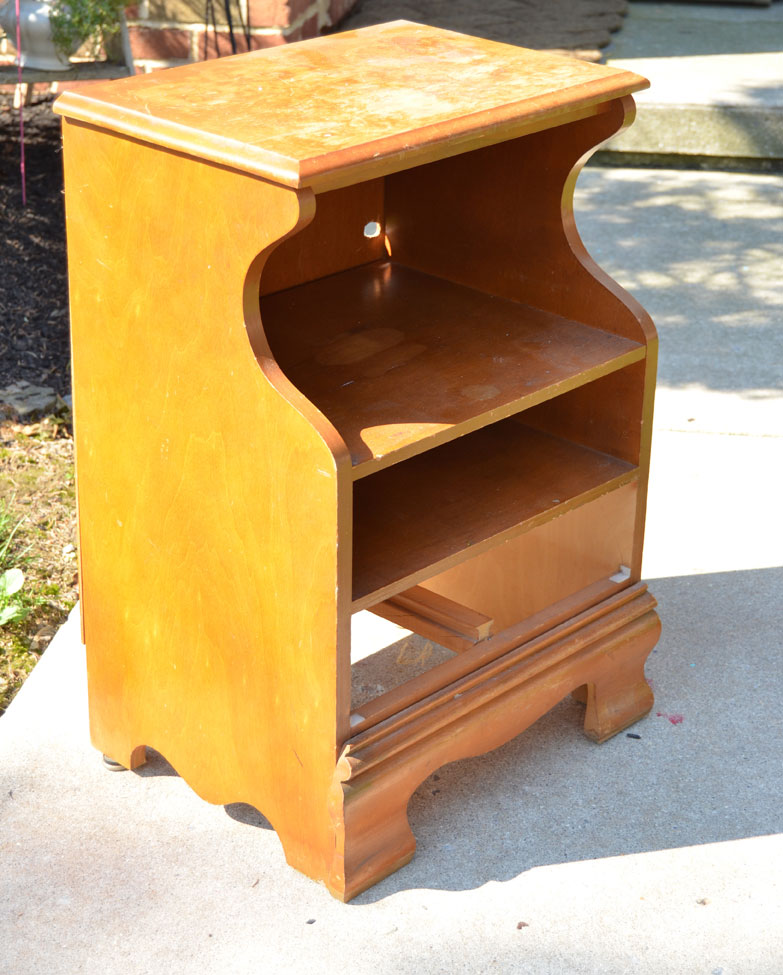
This is how my side table started out. Old, dusty, and missing a drawer! Perfect for trying out a new product!
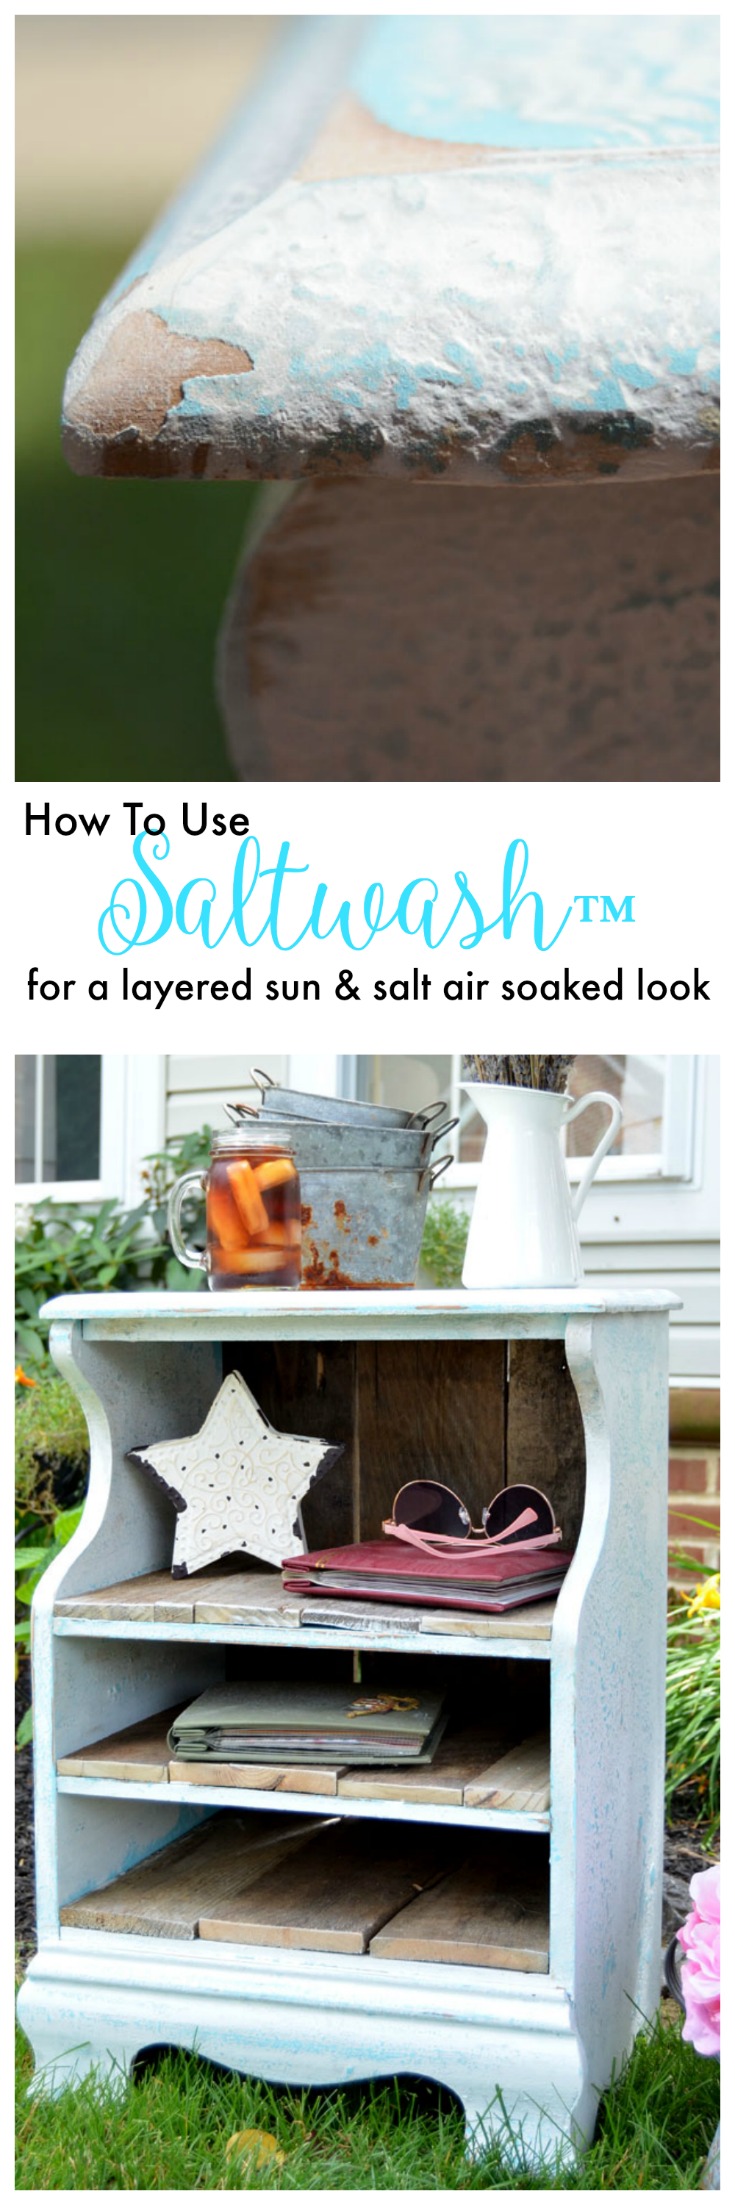
“Saltwash™ has an active ingredient that when added to any type of paint and applied to a surface it begins to dry throughout all at one time. This differs from other paint texturing agents which typically dry from top to bottom.”
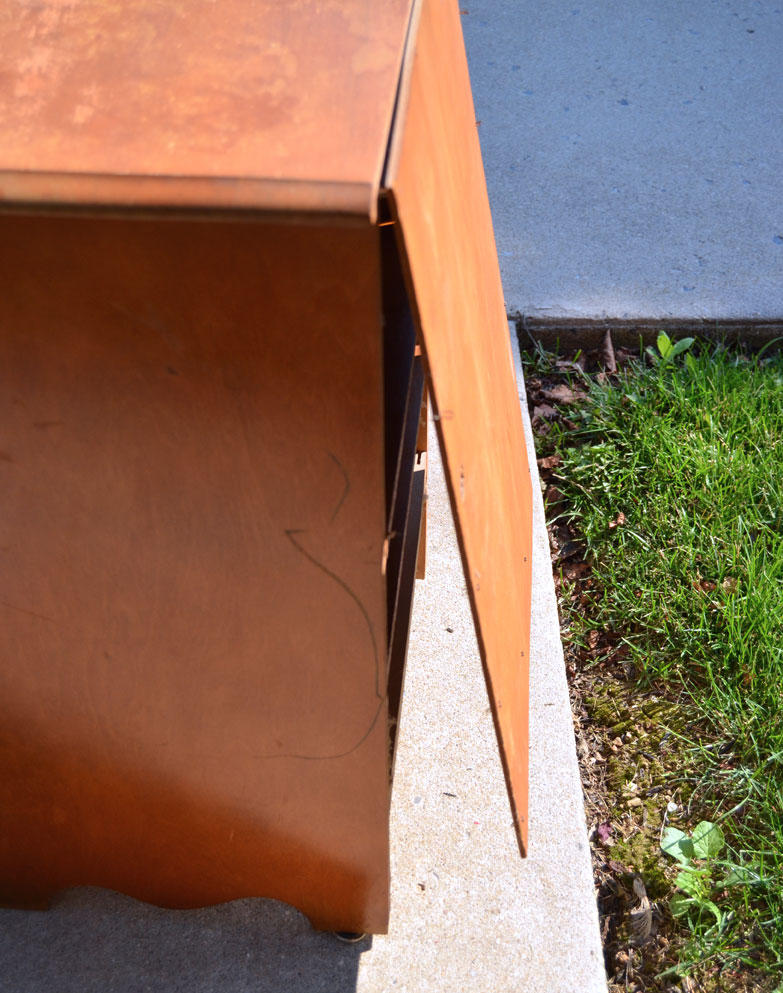
Since the plywood backing was coming off the back of the side table, I removed it completely. I had other ideas for the back!
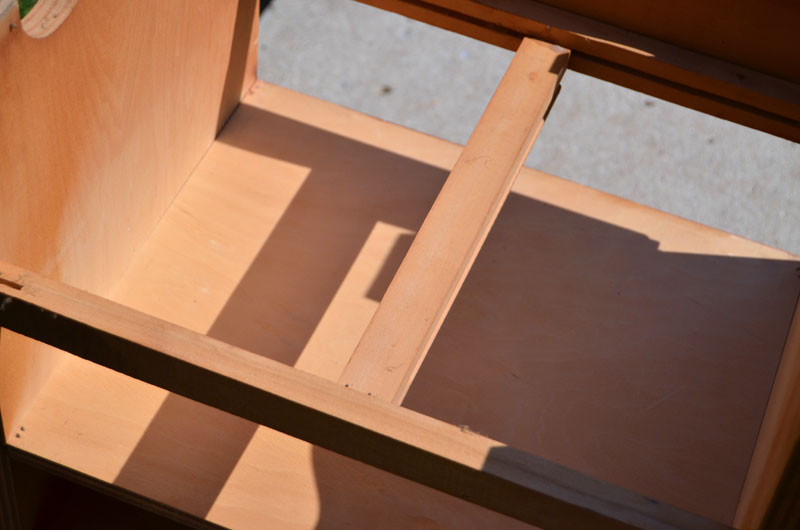
As you can see the drawer was missing from the side table so I went ahead and removed the drawer guide. I few taps of a hammer took care of that. I also wiped down the table to remove the dust, grime, and cobwebs. It had been in the basement for years.
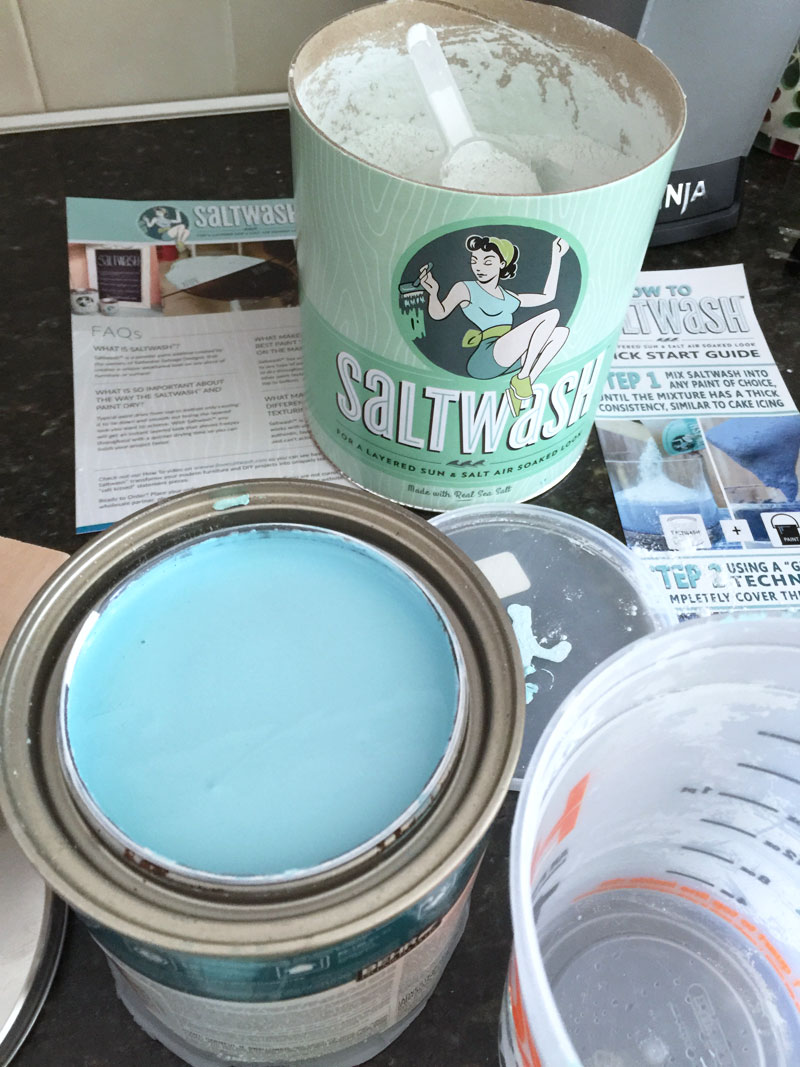
Next I mixed the Saltwash™ into 24 ounces of a can of oops paint that’s been hanging out for while – in my basement, too ; ) I followed the directions and stirred until the mixture had a thick consistency, similar to cake icing.
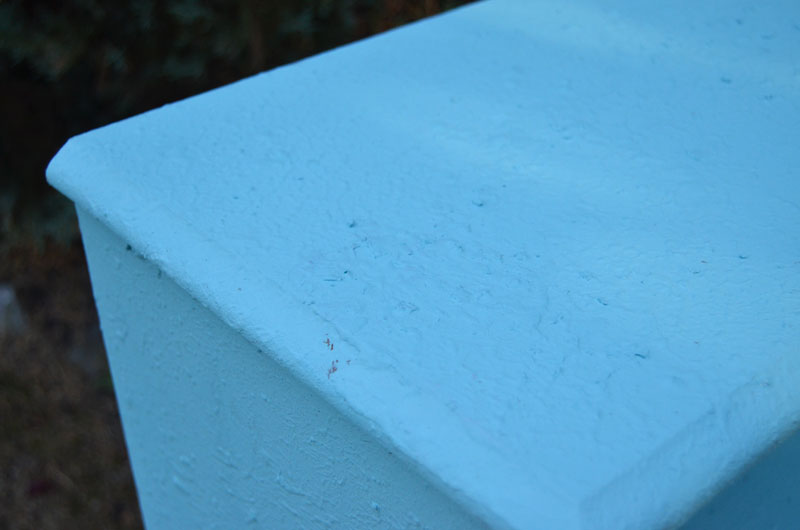
Then using a “globlike” technique, I completely covered the surface of the side table. I showed this process on my Facebook page with a live video. You can find that here. When the Saltwash layer is tacky to the touch, gently brush down the peaks. I also made a video of that step here. After the saltwash layer is completely dry, apply a topcoat using any paint of your choice. I used a white latex paint.
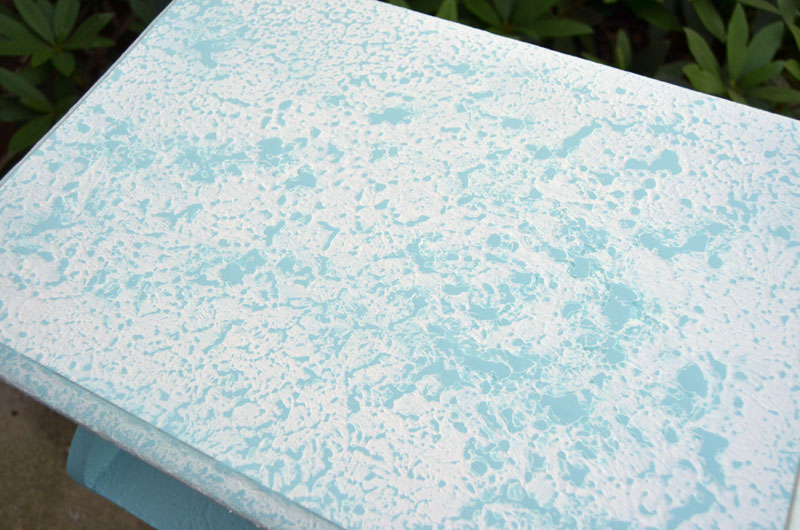
After the top white layer was completely dry, it was time for some light sanding to reveal the saltwash layer beneath the white top layer. Yes, you guessed it: there’s a video here ; )
Now here’s where I messed up. Against my better judgement (and I do know better!), I applied an antiquing wax to the entire table to tone down the white. BIG MISTAKE! It was so horrible looking that I didn’t even take a picture. What I did do was paint on another coat of white paint to cover that hideous mistake! Note to self: antiquing wax should only be used on the edges of pieces and ONLY SPARINGLY! I know this! I just had to push the envelope I guess!
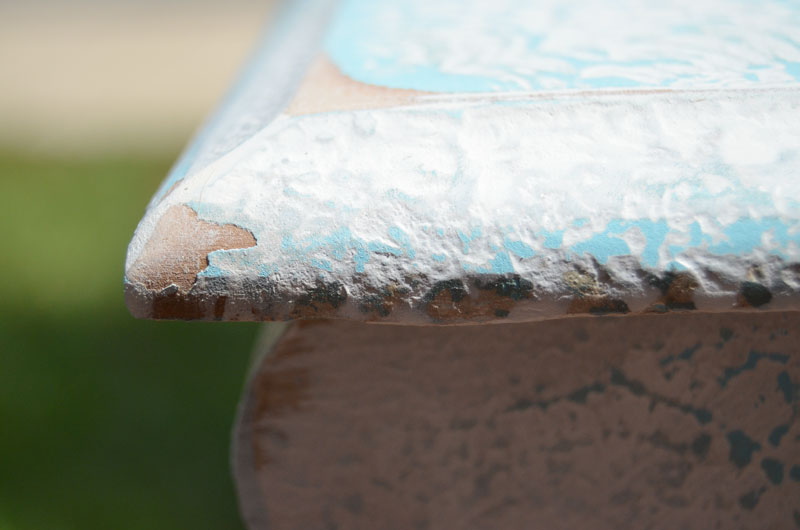
Once that layer was dry, I brushed on a little liming wax. When the wax was dry, I buffed it to a nice, soft finish.
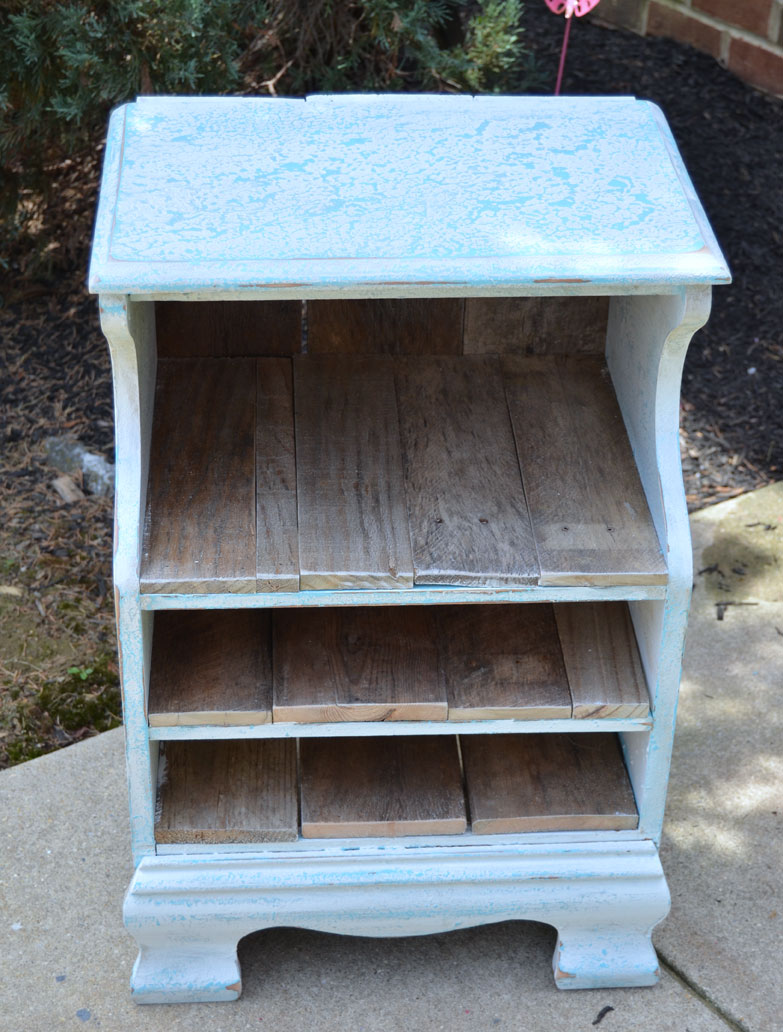
You can see that I added a shelf where the drawer used to be. In fact, I used pallet wood scraps to cover the other two shelves and also the back of the table.
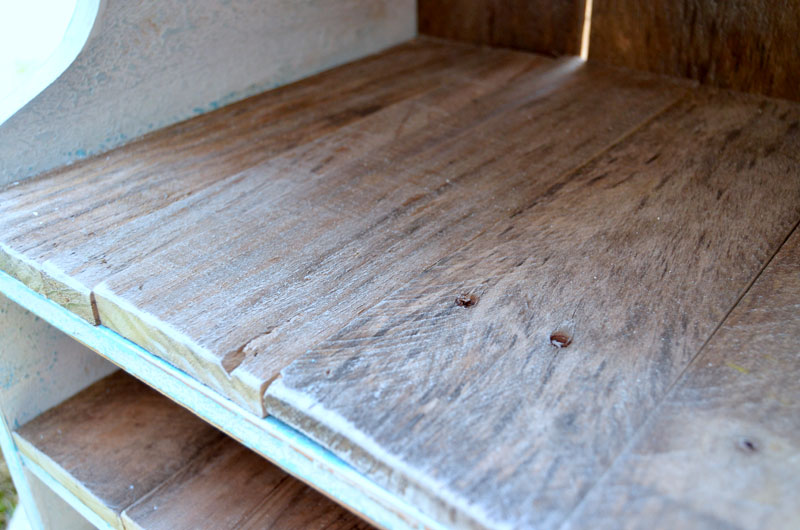
These pieces also received a light coat of the liming wax. I love how it gives the pallet wood a white-washed look. Almost like driftwood. Very coastal, right? (Do you remember the baskets that I antiqued with paint and liming wax?)
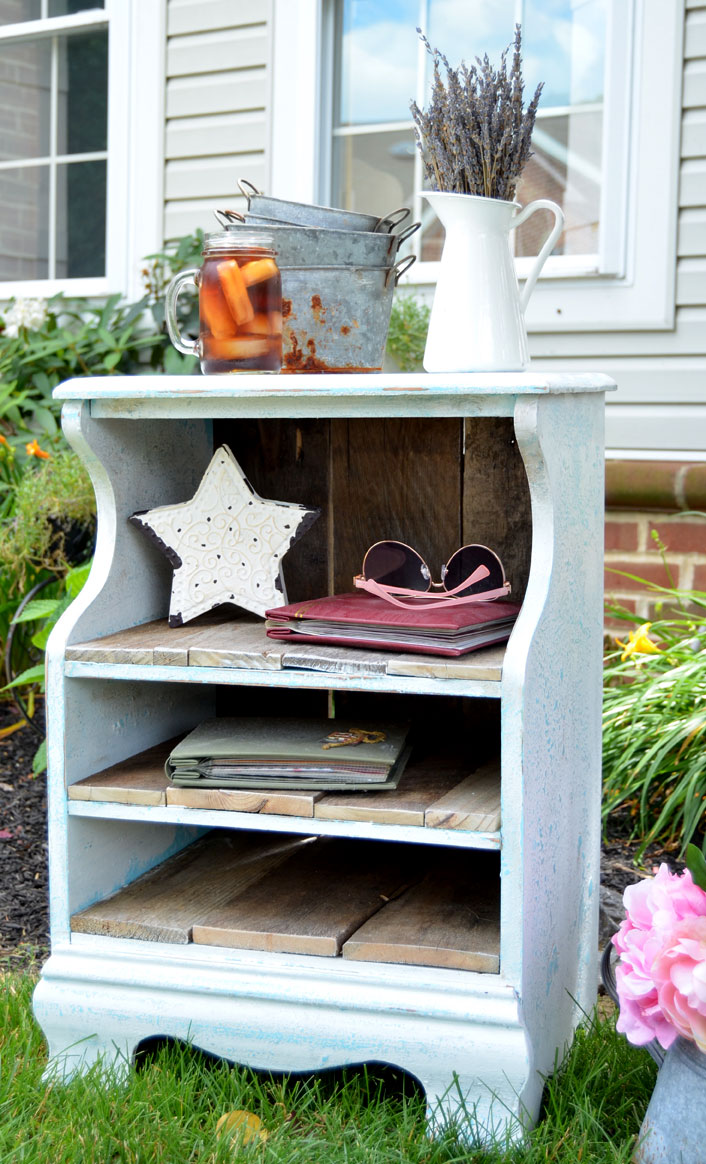
This cute little coastal side table is a far cry from where it started!
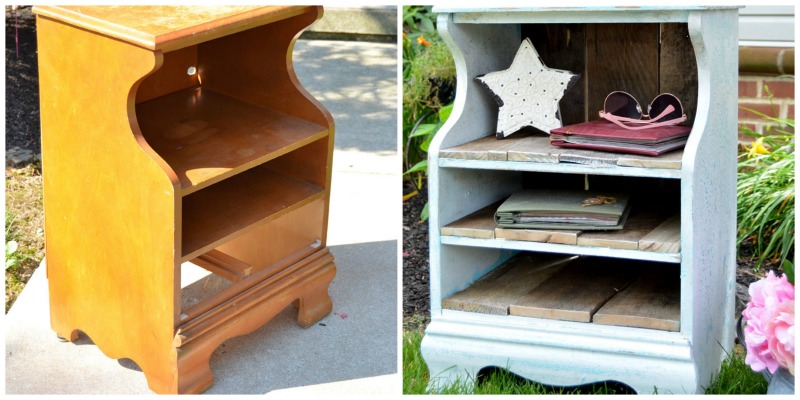
BEFORE and AFTER!

This post is doing double duty! Not only is it part of the Themed Furniture Makeover Group, it’s also entered into the Fab Furniture Flippin’ Contest!
Note: bloggers should contact info@fabfurnitureflippincontest.com if interested in participating in future contests

See a coastal cabinet done by 58 Water Street using Saltwash™
See a driftwood dresser by 38th Street using Saltwash™


This is an amazing piece. I am so impressed with how you used the Saltwash and LOVE the inlayed planks on the shelves. Congrats on a great makeover!!
Soooo coastal! LOVE the raw wood inserted. The paint technique is spot on for your theme. Fabulous job!
LOVE this makeover! What a great technique. Love the label on that Salt Wash too. THe boards you put on the shelves are perfection. Such a cute little piece now!
Much better! Love the texture the salt wash added! XO
I love what you did with the piece. I have a table just like this awaiting a saltwash transformation. The pallet wood top layer is just perfect for the beachy look!
Wow! I love all of it! I really love the added touch of the pallet wood to make it feel even more rustic!
JUST BEAUTIFUL!
Hugs,
Karin
That is a very cool finish and now I want to give it a try. Adding the pallet wood totally transformed this piece. Beautiful coastal makeover!
I’ve been dying to try this paint! It looks so cool. Love the texture and the color!
Salt wash adds such an interesting texture to the paint. I’ve never heard of this product and I enjoyed learning about it. I like how you lined the shelves of your cabinet with pallet wood. The piece looks great!
I love how it turned out. Saltwash is certainly a fun product to use.
Jeanie,
I love the Salt wash look. You took a tired piece and gave it life with a purpose.
Happy Creating,
Karen Marie
This is such a great update & I just love the color. It is very serene!
What a beautiful texture, I just love the look that the Saltwash gave this piece! Great job!
~Tami
I’ve been dying to try Saltwash! I’ve seen it all over Instagram and haven’t seen an actual piece finished with it. Love your little shelf, especially with the palletwood. Pinned! Good luck in the Flipping Contest too!
What a neat finish! Pinning to my Before & Afters board!
The transformation of your piece is like night and day. Love the new finish and the boards make it look so much more coastal!
What a lovely makeover!! The color and the texture is amazing, and the planks you added give it a total new look! Congrats!
Such a great little table Jeanie! I just love the wooden inserts …. totally coastal!
Maxine
Jeanie…isn’t it funny how we know better but gotta try anyway?? LOL! Love this transformation and those pallet inserts are the bomb! Way to make it your own!
Everyone knows my love for aqua, so of course I adore your color choice but the addition of the grey wood planks really sets this one apart for me achieving that perfect coastal vibe, sweet makeover!