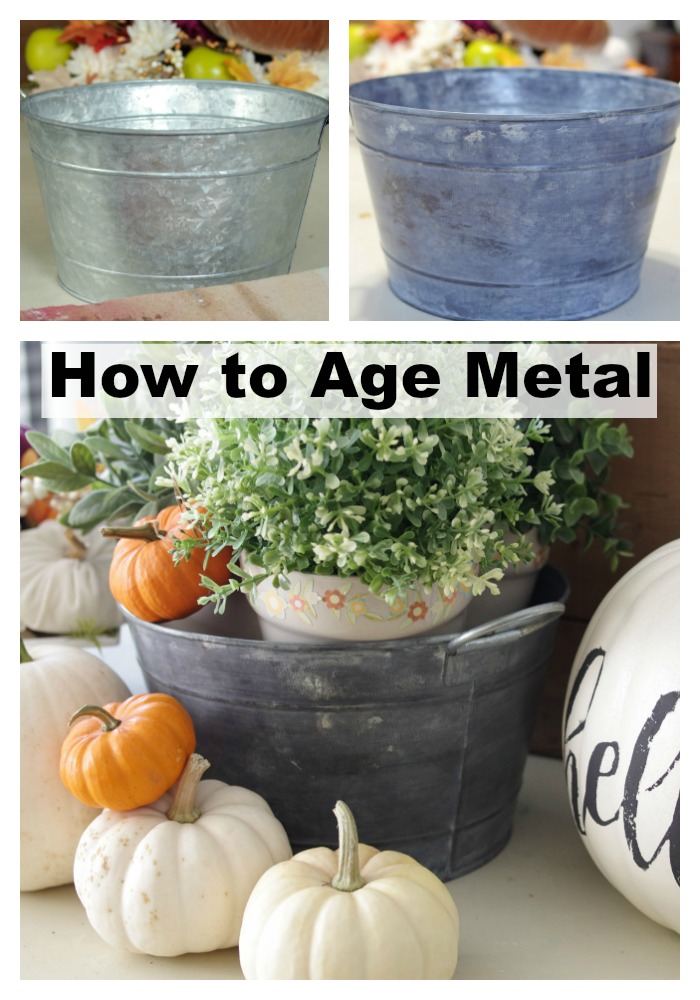
A lot of times I show how to use old items and give them a new purpose, like this headboard bench or this kitchen island made from an old desk. Today is a little different. I’m going to show you how to make a new metal bucket look old. Have you seen the collection of these galvanized steel or metal trays and buckets that are in the dollar store for $3, $5, or $7? I really like them except for one thing. They’re a bit too shiny for my taste. I was wishing they weren’t so “new looking”. I like old, chippy, worn, and well-loved pieces so much more.
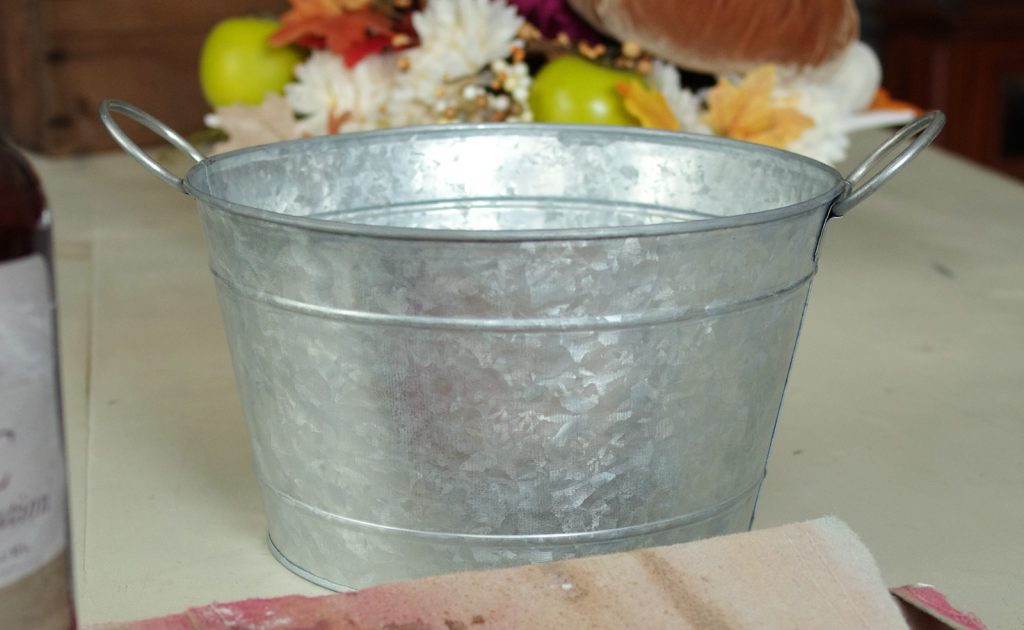
How to make a new metal bucket look old
I was holding on to a bucket, a tray, and an organizer in my office all summer long. I’d look at them from time to time trying to come up with a way to make them fit into my decor. And then it hit me! I had a bottle of some kind of zinc antiquing solution that I had forgotten about. I wondered if that would work. The bucket is first!
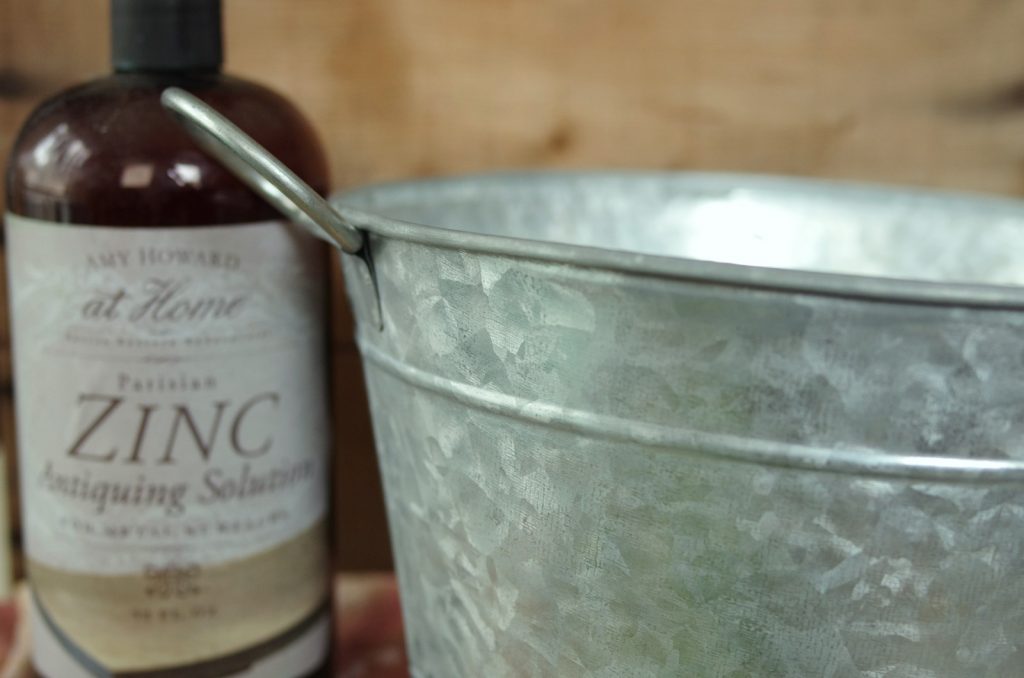
Following the directions on the bottle of zinc antiquing solution, I applied a small amount of the solution to the bucket with a sponge-type brush.
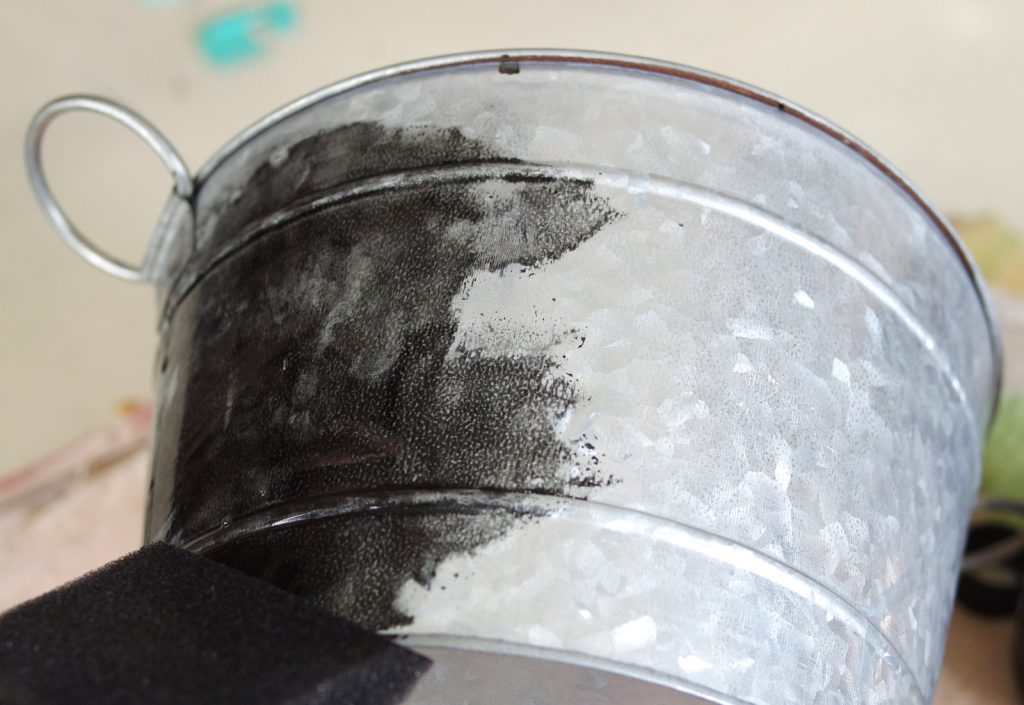
The bucket darkened immediately.
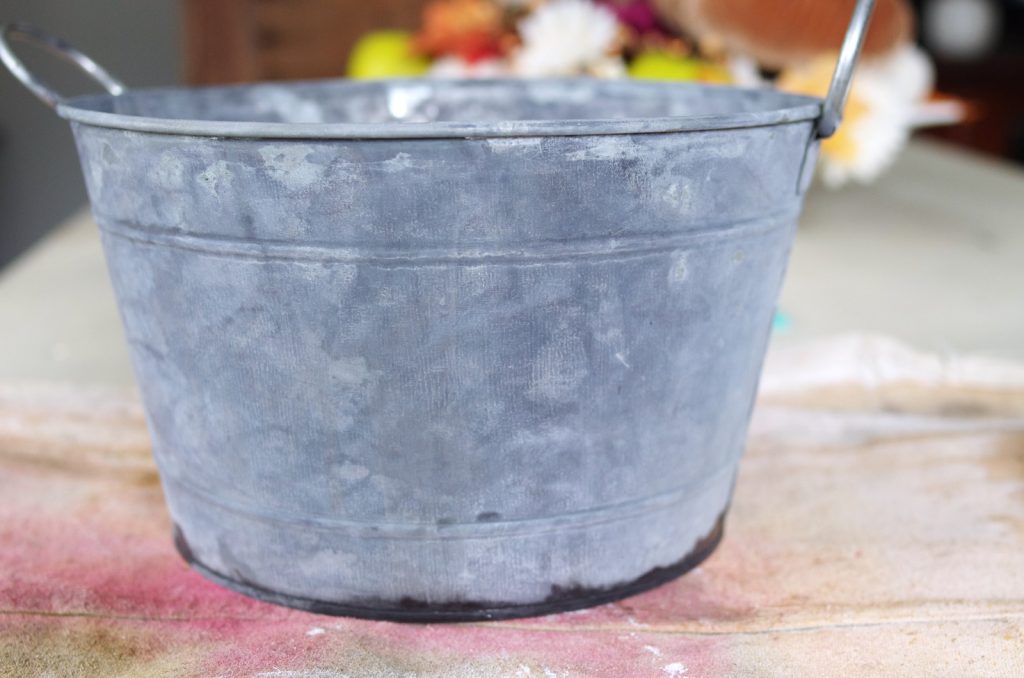
This photo was taken as the solution was drying on the metal bucket.
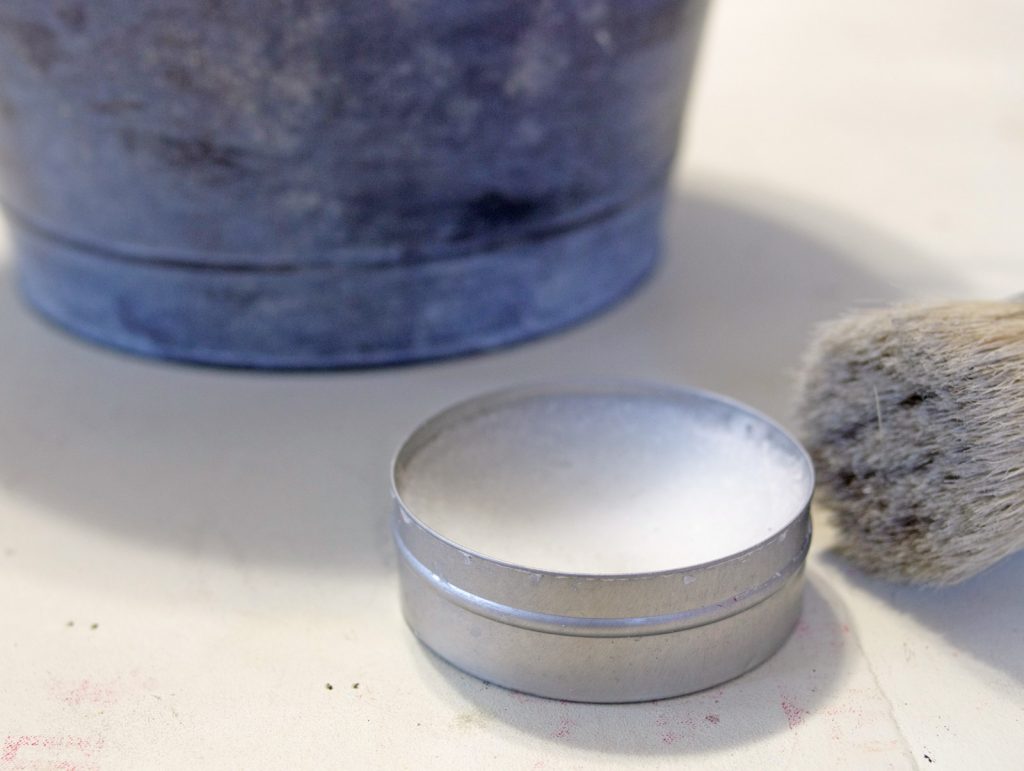
Once the solution was completely dry, I applied some clear wax and then buffed.
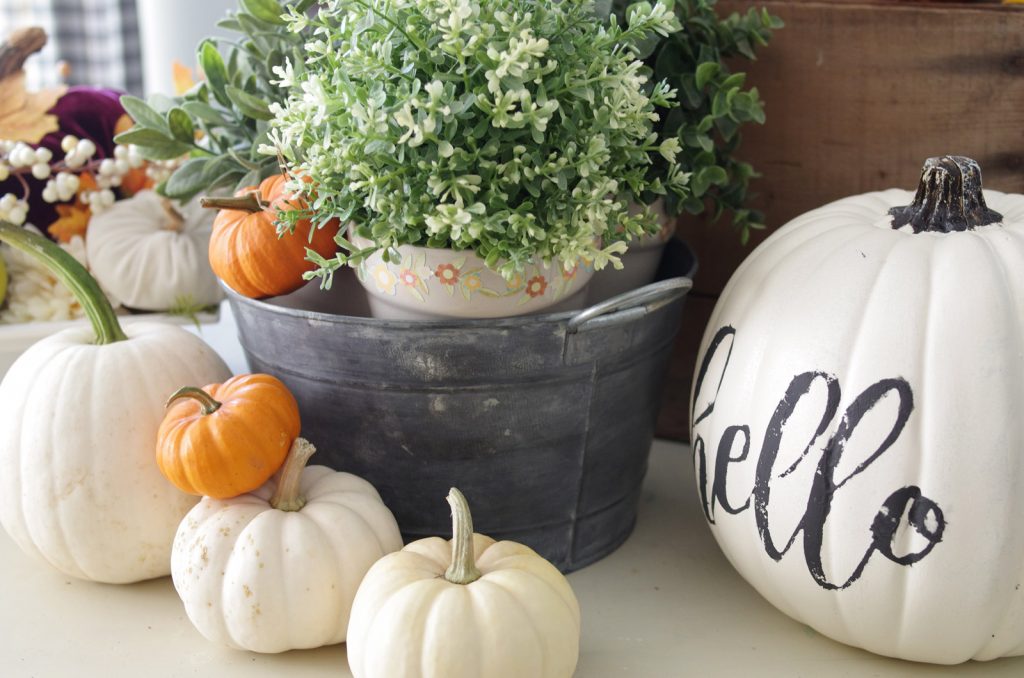
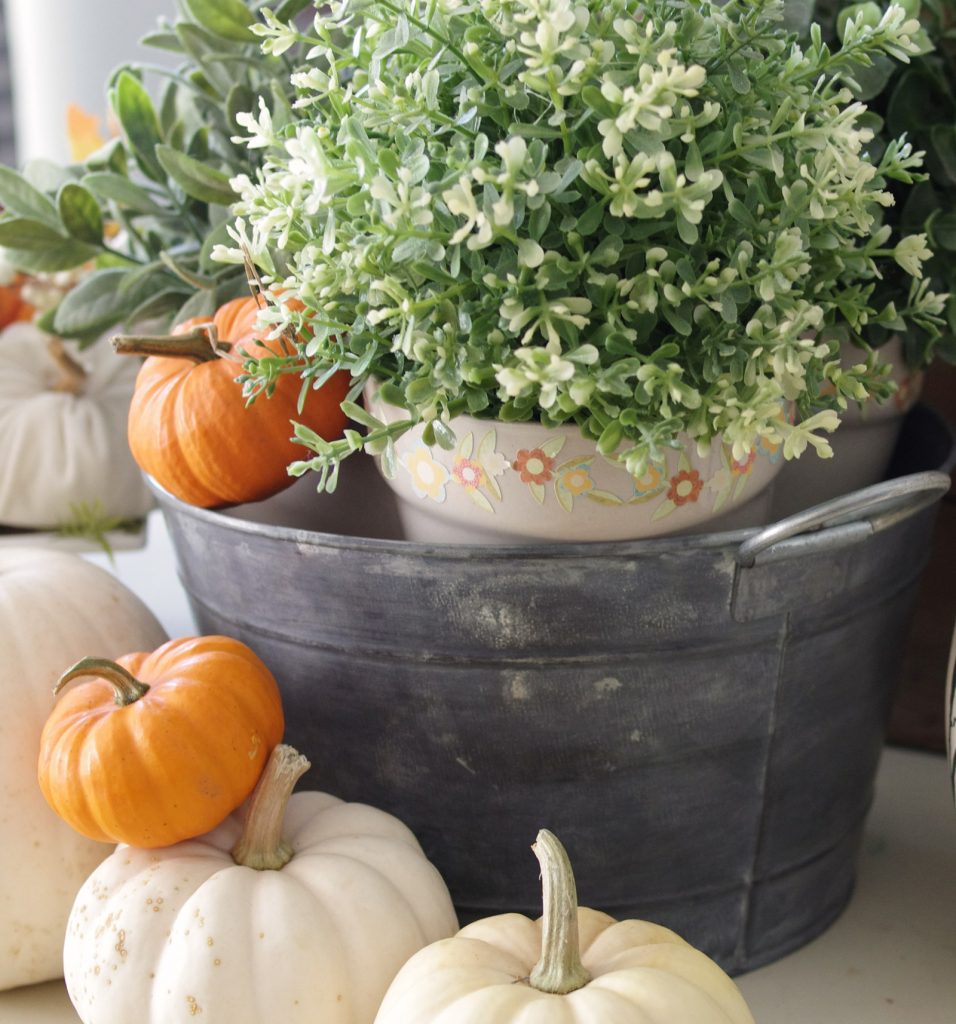
It worked beautifully! I’m very happy with the results and will definitely use this solution on the other new metal pieces.

Now it’s time to see what my friends have done with their dollar store purchases:
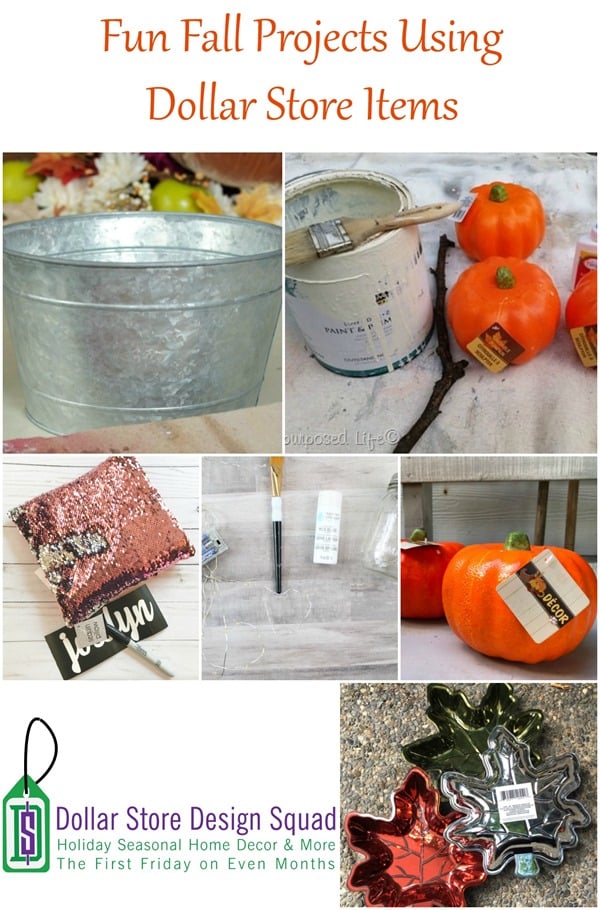


I love the look of aged galvanized buckets! Thanks for the tutorial!!
Awesome job Jeanie! I love the way your bucket turned out. I’ve often wanted to age buckets but didn’t have an easy way to do it.
pinned!
That is great stuff…Thank you for sharing at Party In Your PJs!
Thank you for such a fun tutorial! I will be giving this a try! Nancy
I actually have a bucket similar to this that my Great Grandmother used in her garden. I use it for Artificial flower arrangement that is in my living room.
Although this bucket has sentimental value that can’t be duplicated, the process you are using gets the same look! I am scheduling this to post on Pinterest because I just might need it!
#OurMiniLinkyParty
I prefer the aged look also! Your tip is one of my features s at this weeks OVER THE MOON Link Party which goes live this evening, Sunday, at 5 pm central. Please sto by to see your feature and link up again.
🙂 Gwingal
Love this look! I don’t think I’ve ever seen the antiquing solution. Where did you find it? Have a great one!
That was a good idea! I’ve really wanted to age buckets but none really works. Thanks for the tutorial!
How cool! Somehow I haven’t seen articles like that on the net before. Although I saw pretty much of those who wanna make their bucket look new. Thanks for sharing!
Very Great and helpful article, Thanks for sharing.
I really like this project!!! Good Idea!!! I thought about using clay and designing flowers and leaves!! Once it’s dry….. paint and seal it!
Nice Idea. I will try to make one