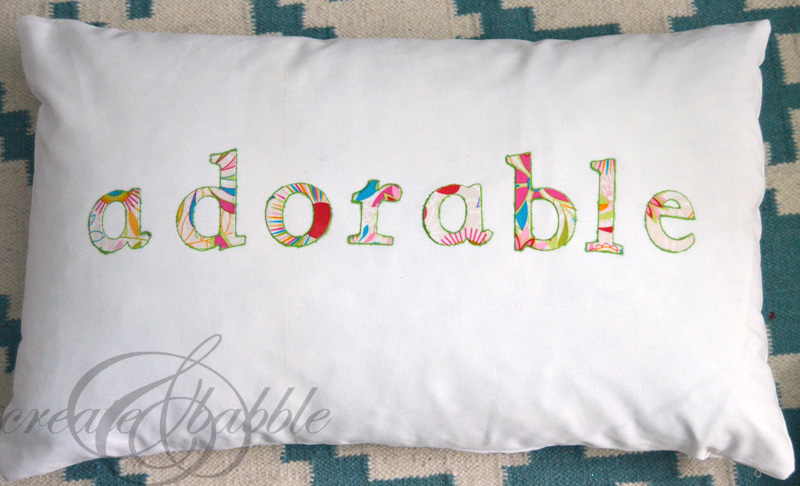
As I was walking through the aisles of HomeGoods yesterday looking for decorative pieces for the floating shelves that I recently built and installed in my powder room, I came across an applique pillow in the baby girl section that was so adorable. I almost bought it for my granddaughter’s nursery room makeover, but then thought, “hey, I can make that”. Especially knowing how well the Silhouette cuts fabric, I knew it would be easy to make an applique pillow using my Silhouette. And it was.
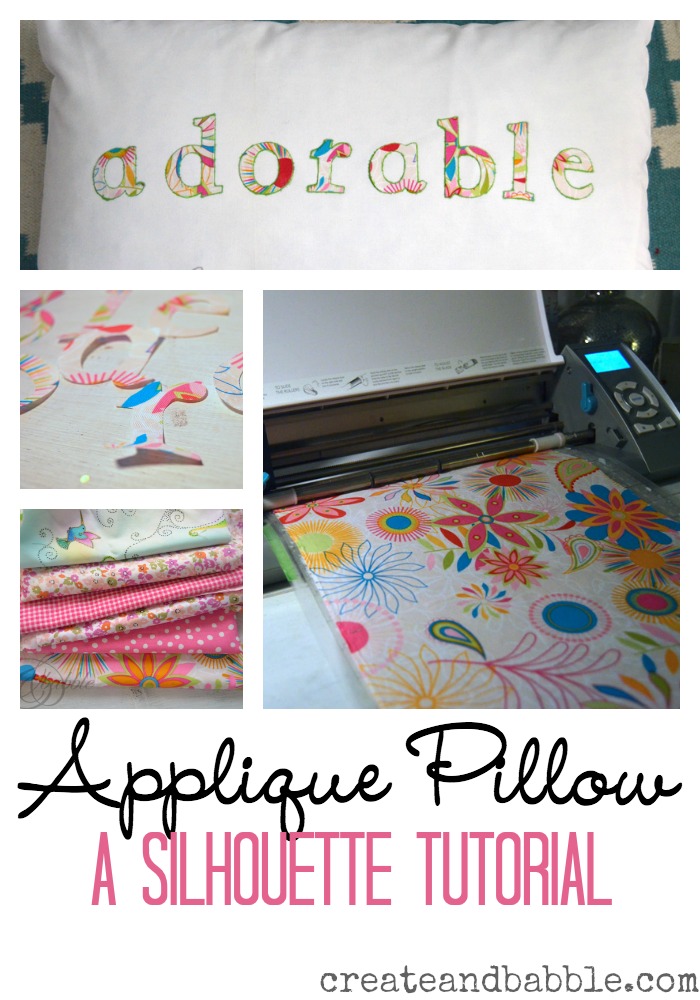 As soon as I got home, I went through my fabric stash to look for appropriate light-weight cotton.
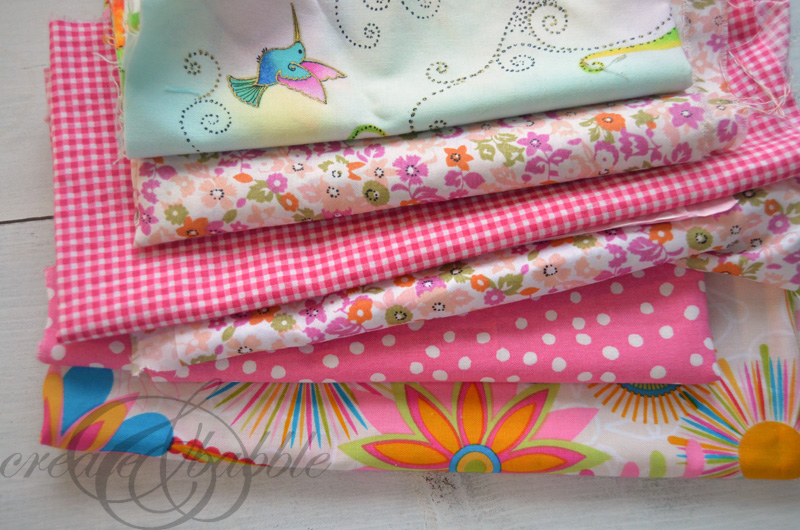 I had quite a few fabric scraps with pink in them that would work with the color scheme in the nursery.
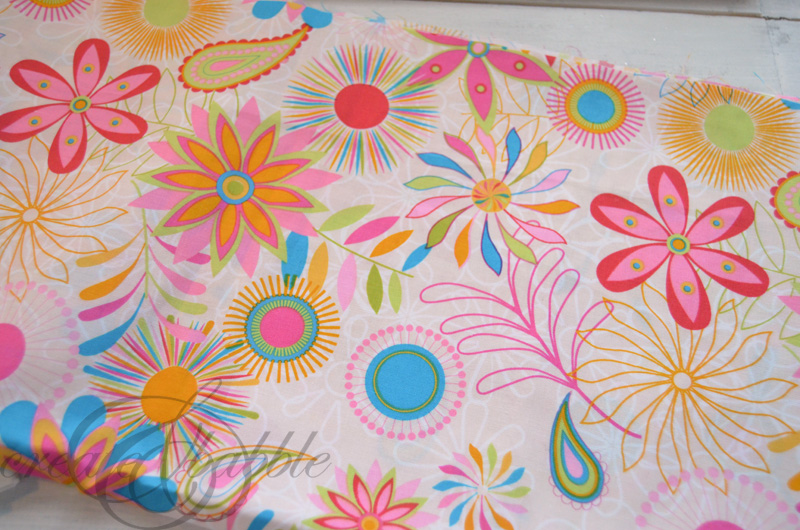 In the end, I decided to go with this overall print. With the letters in “adorable” spread out, I could catch many of the different colors and patterns in this fabric.
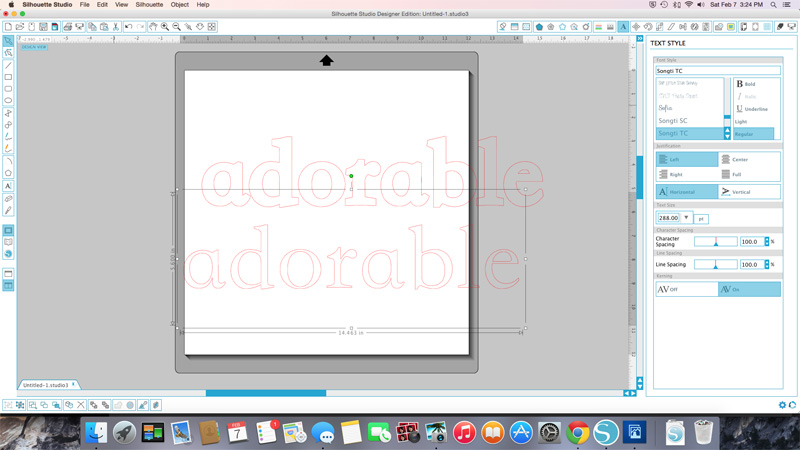 I typed out “adorable” using the Songti TC Font and offset the shape to create thicker letters.
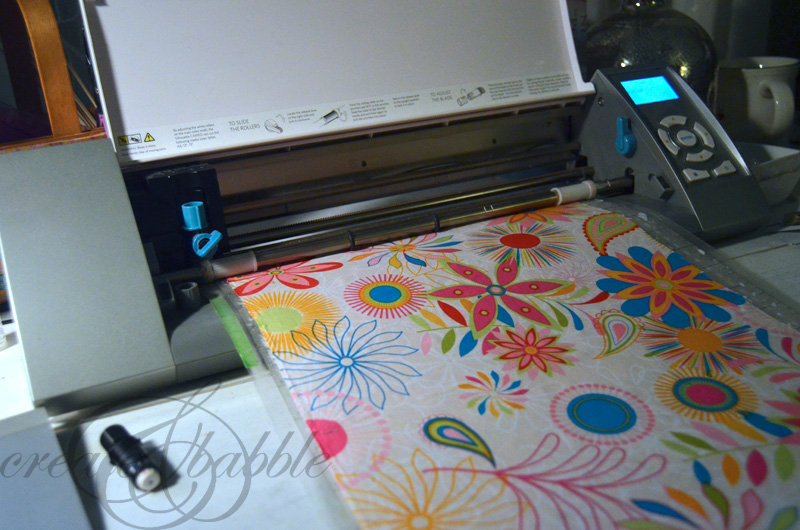 After ironing Silhouette Clean Cut Fusible fabric interfacing the wrong side of the fabric, I removed the backing of the interfacing and laid the fabric (interfacing side down) on the cutting mat. Then I switched out the regular blade for the blue fabric cutting blade and cut.
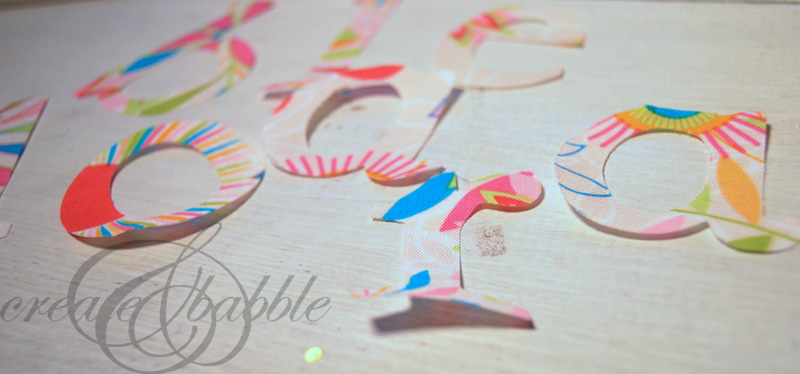
My Cameo did an excellent job of cleanly cutting out the letters.
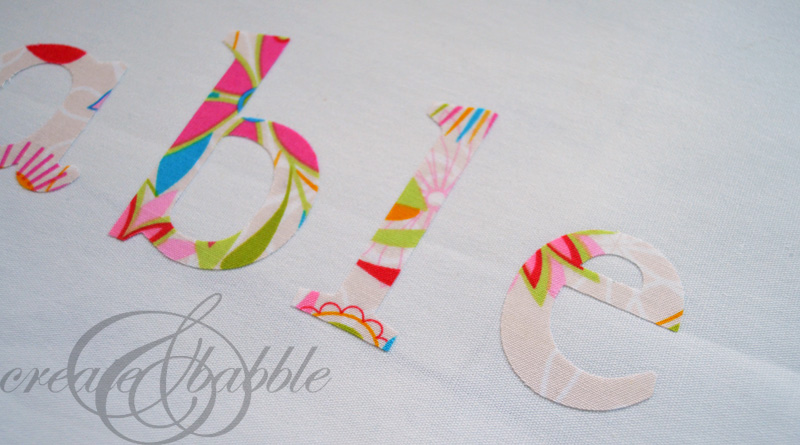 But once I laid the letters out on the white fabric for the pillow cover, it became clear that the letters weren’t “popping” off the white fabric. I thought about sewing a tight zig-zag, satin-type stitch around the edges, but since I used the fusible interfacing I wasn’t sure that the sewing machine needle would be able to get through.
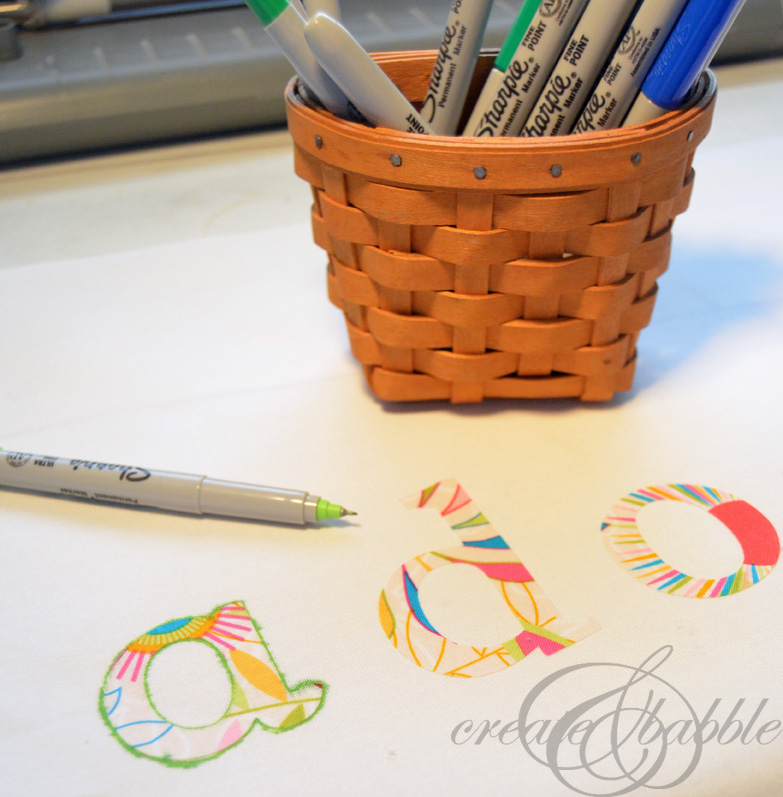 Enter Plan B. Sharpie markers! I couldn’t believe that I didn’t have a hot pink Sharpie, so lime green would have to do.
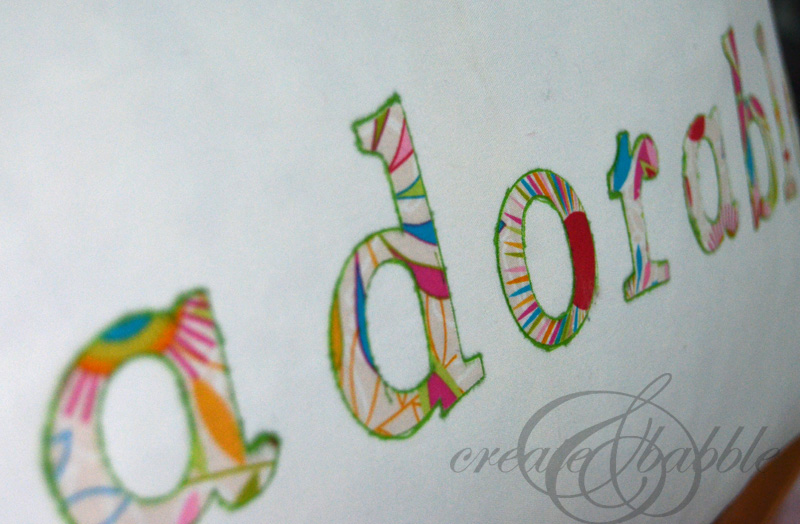 It worked! The letters pop off the white pillow cover fabric just like I hoped they would. That’s much better!
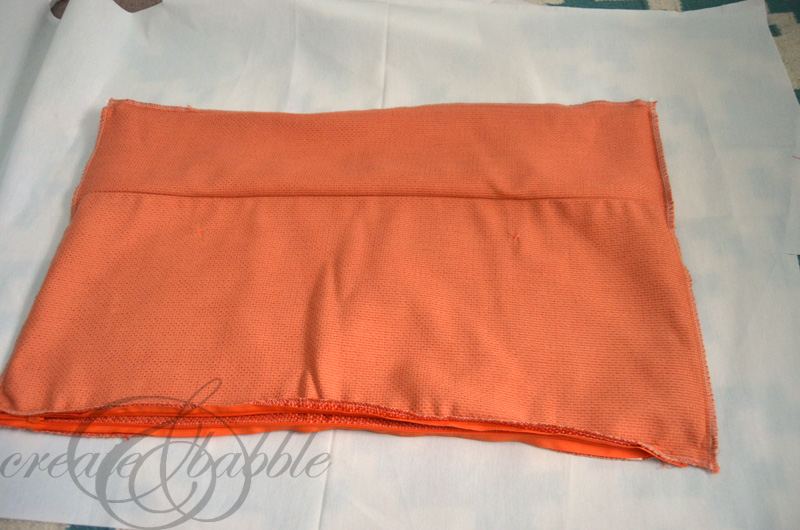 I grabbed a HomeGoods clearance aisle pillow that I’ve had for a while, removed the cover and it used it as the pattern for cutting out the white fabric.
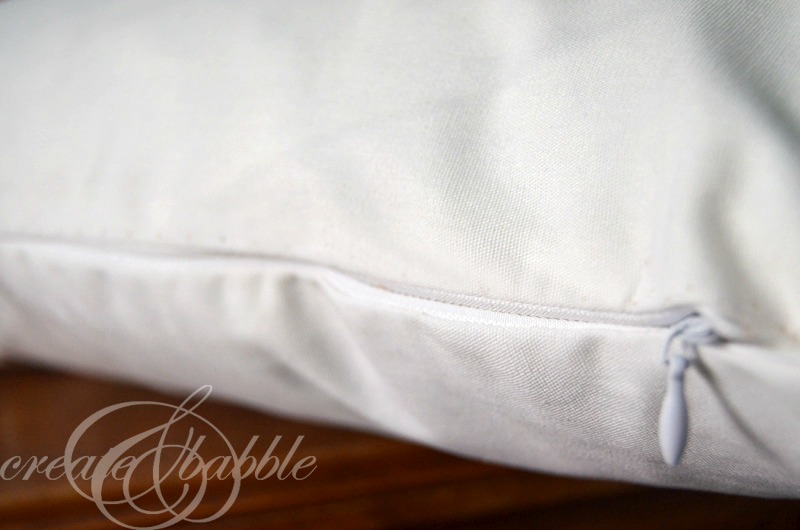
Since that pillow cover had an invisible zipper, I thought I’d take a chance and try to sew one in this new cover. It took a bit of head-scratching and studying of the original cover, but I got that zipper sewn in. It’s not the best-looking invisible zipper, but not too bad!
Once the zipper was in, I sewed up the other 3 edges WITH THE ZIPPER CLOSED!!! Yes, yes I did.
So I pulled out my often-used seam ribber, opened up a seam, opened the zipper, and proceeded to sew up the ripped-open seam. THEN I turned the cover right side out and inserted the pillow form ; )
Adorable, right?
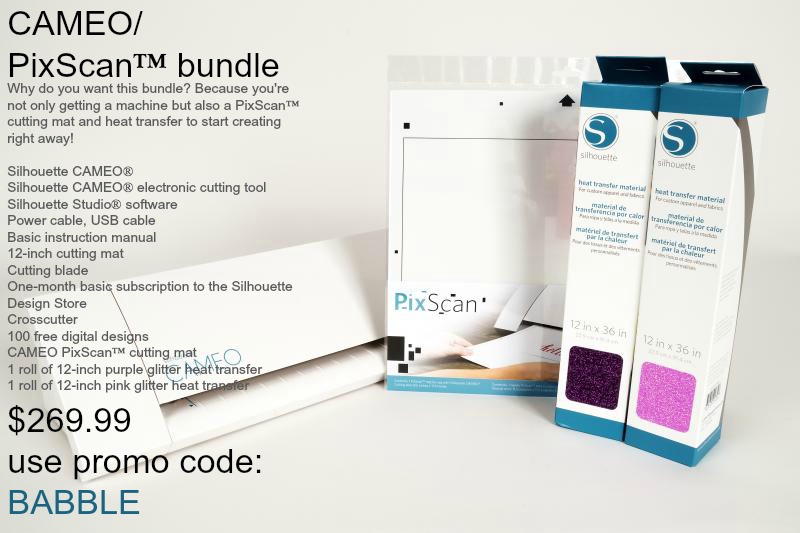
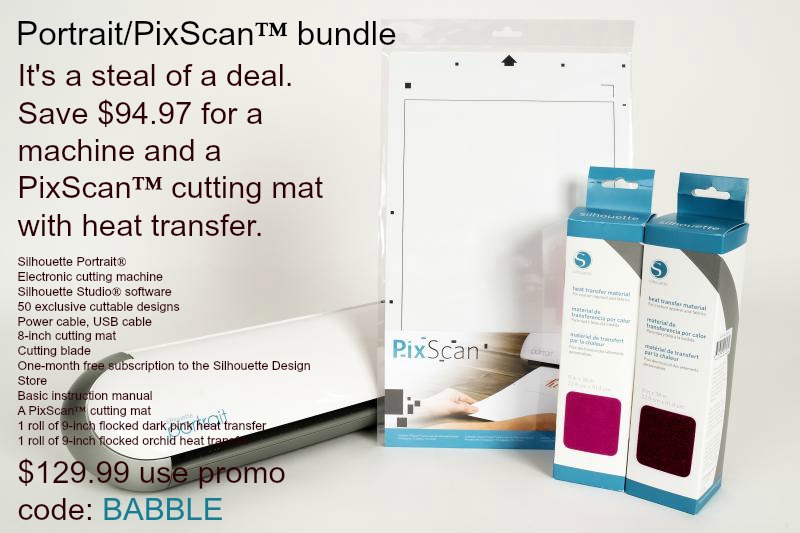
Speaking of adorable, Silhouette just informed of a couple of pretty sweet deals:
Disclosure: This post contains affiliates links. If you make a purchase using these links, I may make a small commission at no additional cost to you. As always, I only recommend products and services that I use and love.




I love my Silhouette machines! In fact that reminds me that I need to go do some work with my Portrait right now…
Love your website. Definitely a new follower 🙂