


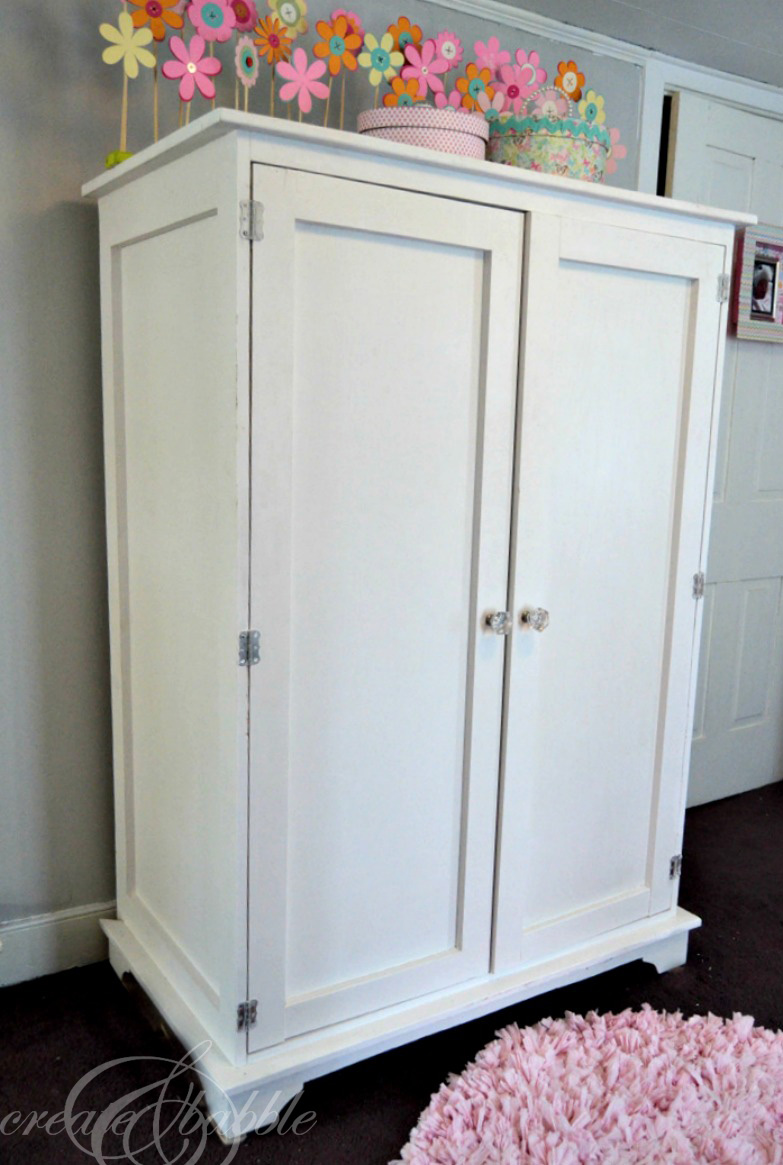
I am extremely happy and excited to say that at last the armoire is done! If you follow me on Instagram, you know that I’ve been working on what I lovingly refer to as the “beast”. Building an armoire for my precious granddaughter has been my biggest building project to date. I can’t wait to show it to you so I won’t!
The armoire was built using a plan from the ever-so-talented Ana White. Shanty2Chic provided the instuctions. I made just a few modifications to my armoire.
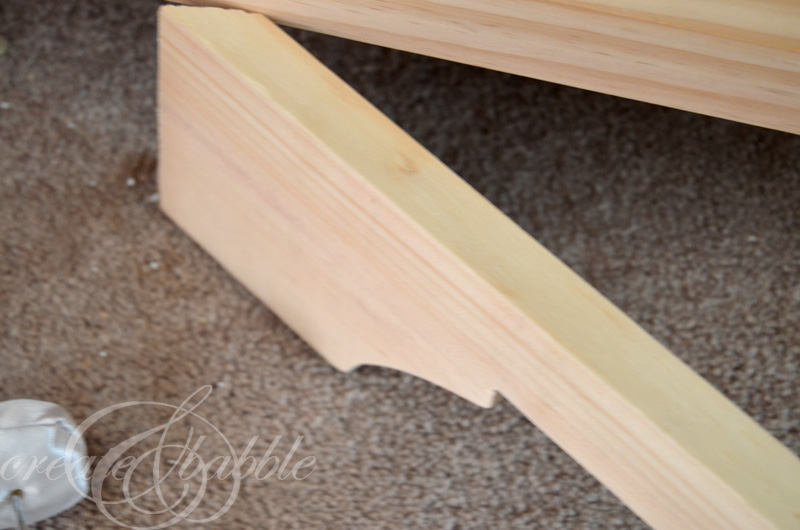
First, I want to say that this armoire was not hard to build. You just have to have the right tools. And time.
It takes time to build a piece of furniture of this size. I worked on the “beast” over the course of the last three months. But keep in mind that I work full time in addition to working on this blog.
There were many, many days that I didn’t work on it at all. And other days when I spent an hour or so working on it. And there were a couple of 4 or 5 hour days as well.
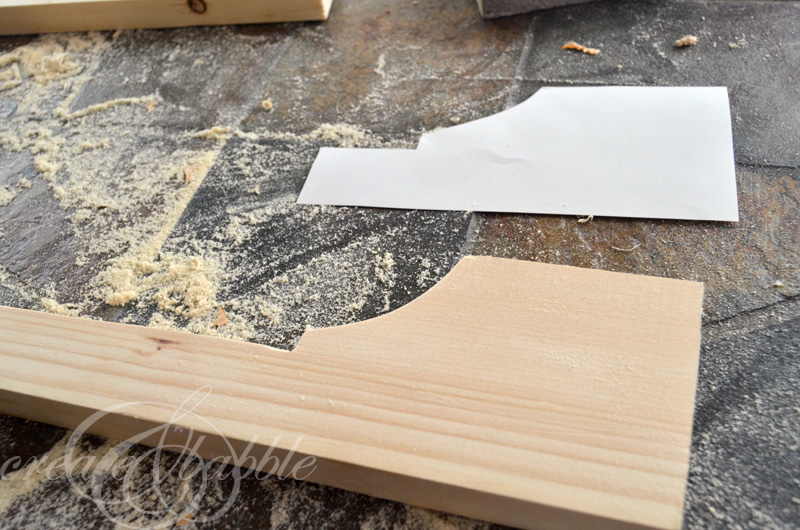
I generally try to cut wood outside, but the weather . . . . well, you know! So I cut all of the wood in the basement and hauled it upstairs to a corner of my living room for assembling.
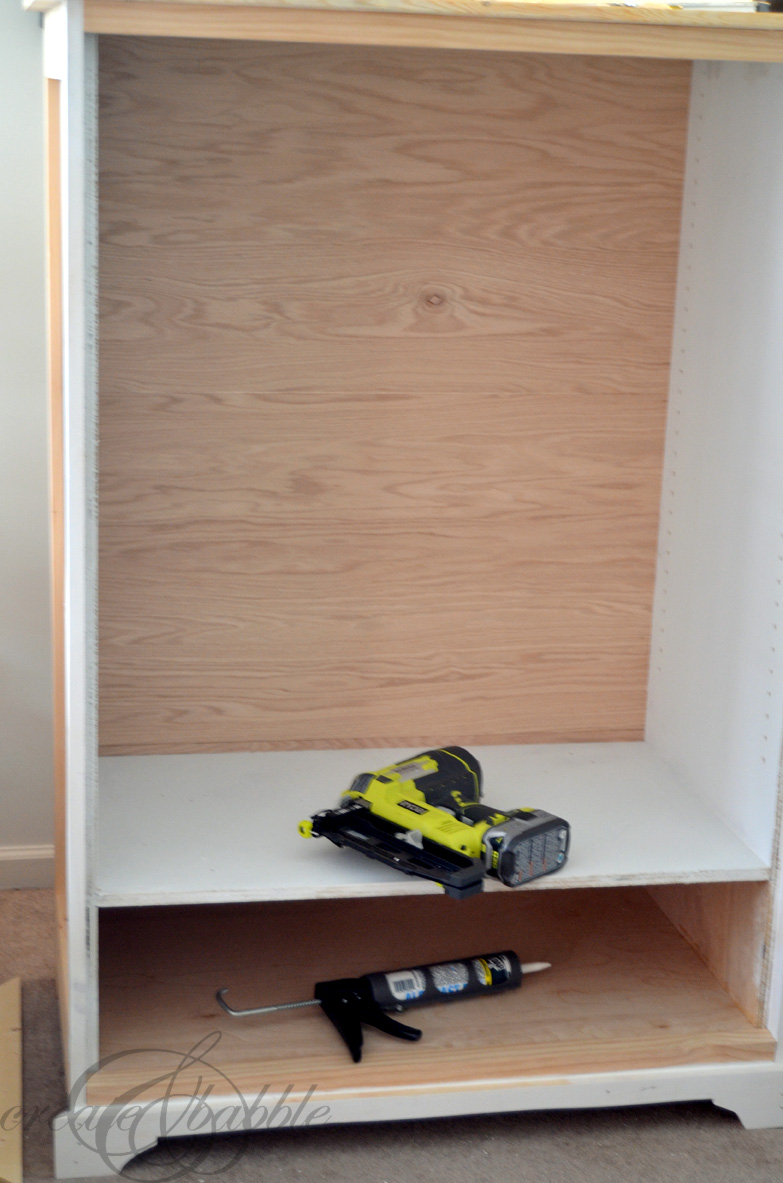
The wood I used is PureBond birch plywood and select boards that I purchased at Home Depot. PureBond® is Columbia Forest Products’ exclusive formaldehyde-free innovation hardwood plywood.

PureBond is made right here in the US and Canada. PureBond is cost competitive, yet delivers so much more in quality.
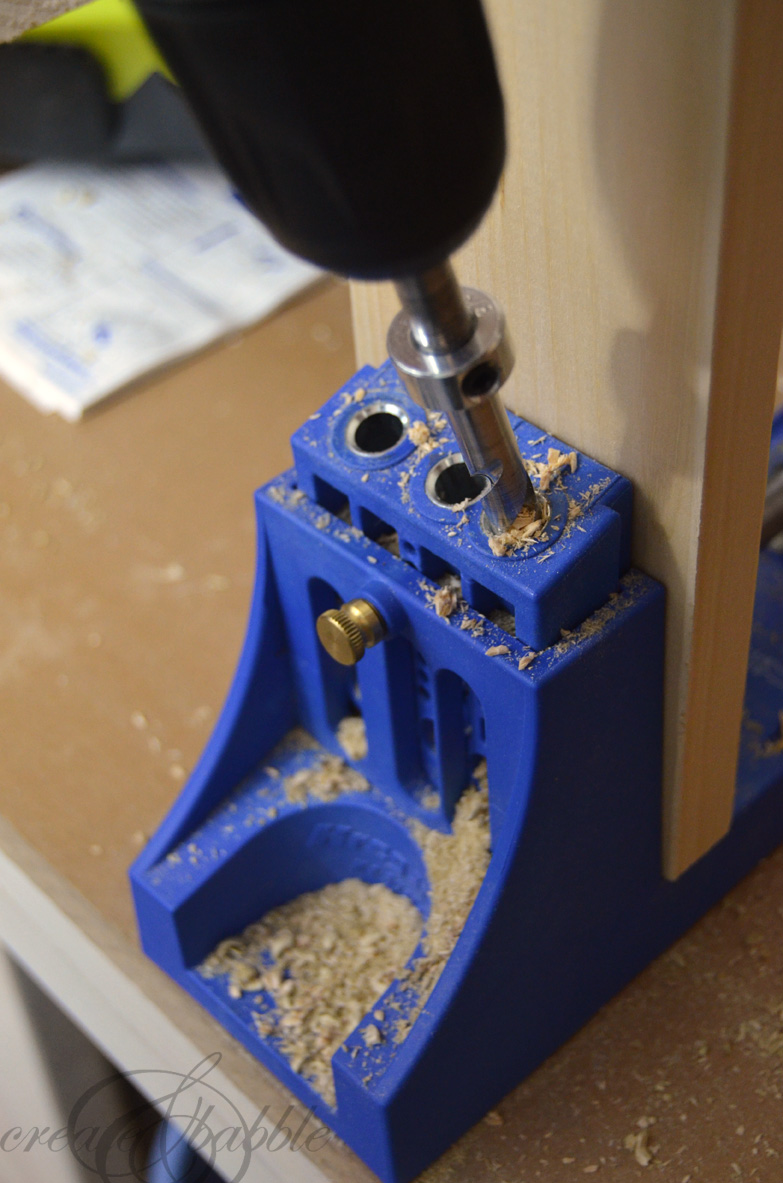
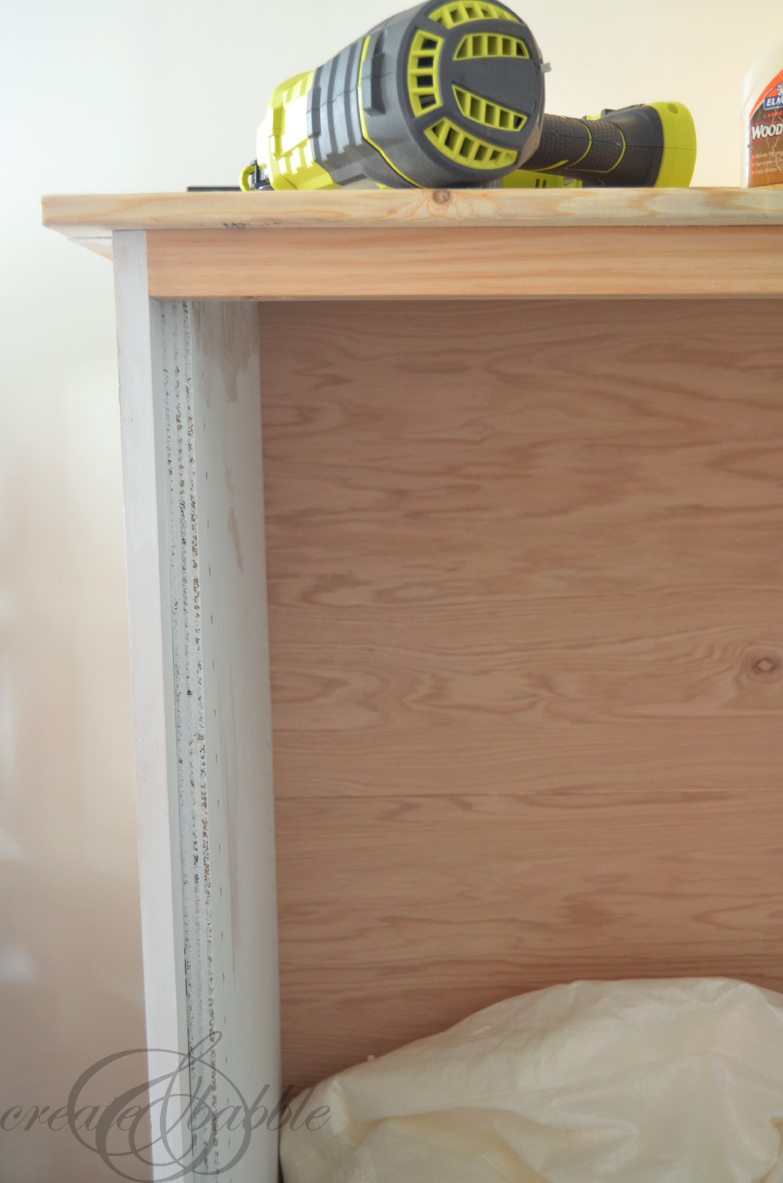
The armoire was put together with pocket screws, wood glue, and finish nails.
My Ryobi tools got quite a work out. I used my table saw, miter saw, circular saw, jig saw, finish nailer and drill.
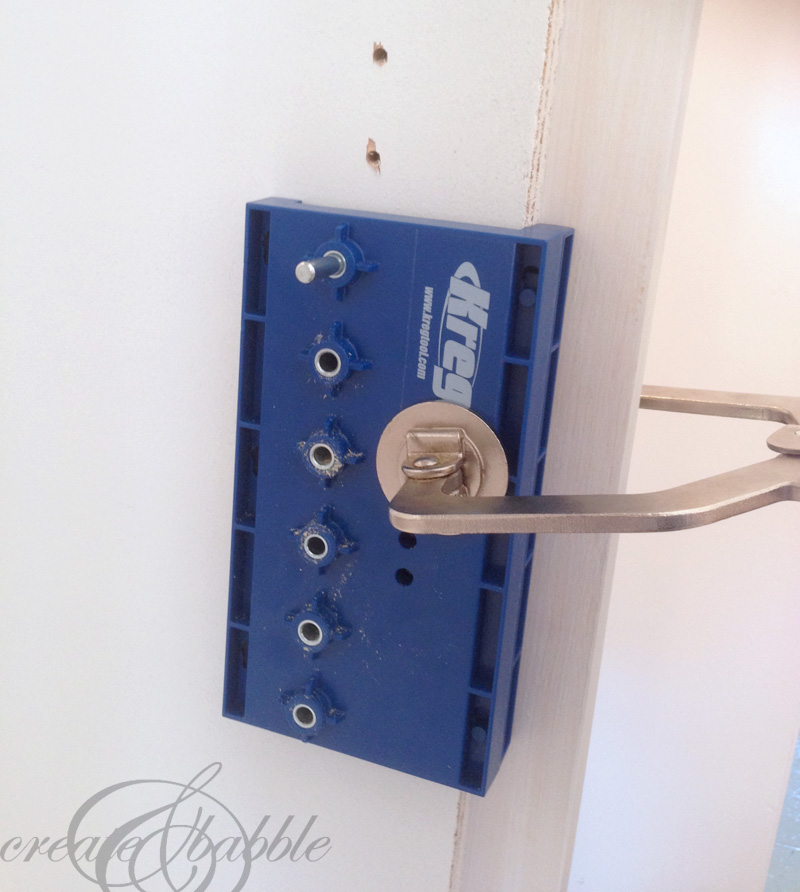
And I couldn’t have put it all together without my Kreg pocket hole jig and shelf pin jig. That shelf pin jig is awesome, by the way!

The bottom shelf is attached permanently with pocket screws (they’re screwed in from underneath so you can’t see the pocket holes). But the other two shelves are resting on shelf pins which make the armoire totally customizable. Which is perfect for the baby. As she grows and her future clothes are longer, that middle shelf can be moved down. (I attached a mirror to the inside of one of the doors with Liquid Nails. The painter’s tape will come off tomorrow ; )
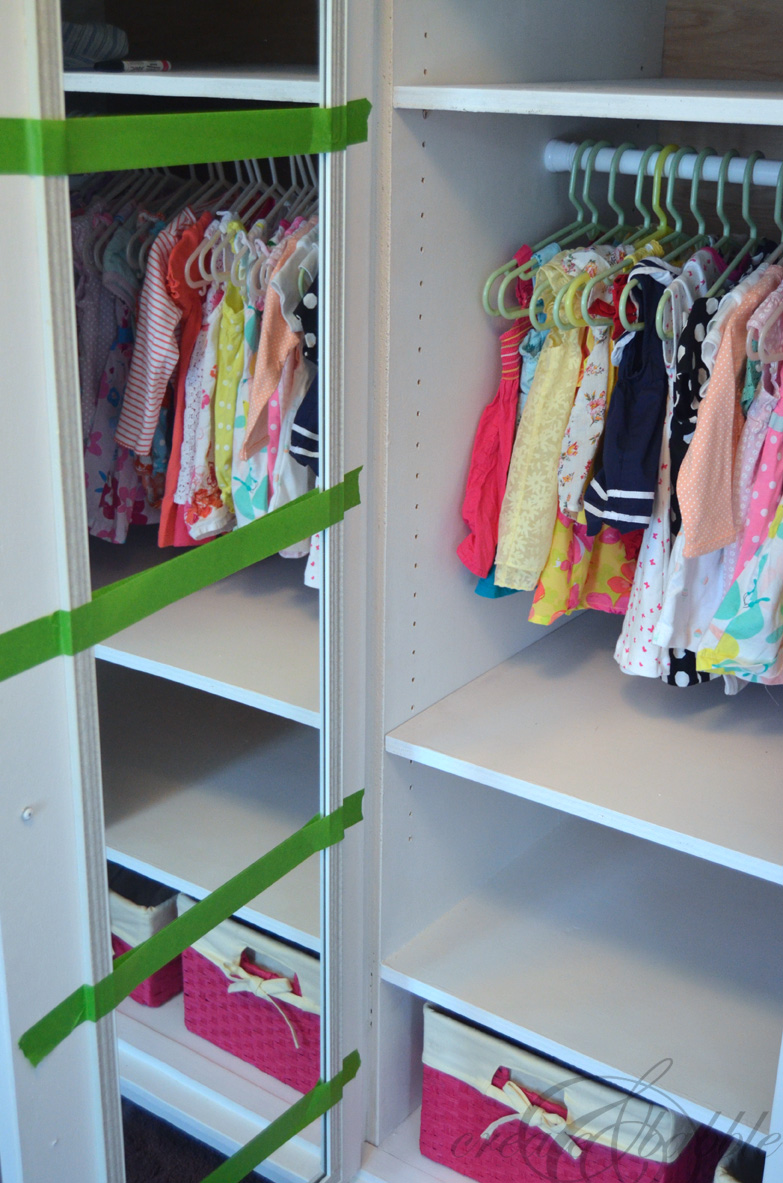 At first I thought I would install a permanent hanging rod, but then it hit me that a tension rod would work out better since that could be moved in the future, too. It’s actually a tension rod for hanging a shower curtain, but it works! And if Mommy and Nanny keep buying lots of sweet, little girl clothes, we may have to buy another rod and remove that shelf ; )
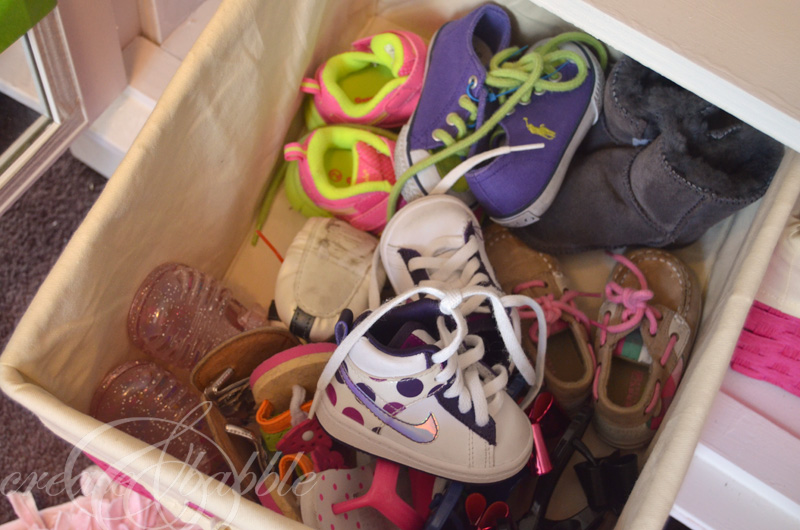
The pretty pink baskets are from HomeGoods. I bought those before I installed that permanent bottom shelf so I would know where to place the shelf. Points for me for thinking ahead ; ) And yes, that’s a lot of shoes for a one-year old! (My daughter’s new hobby is shopping at thrift sales for baby clothes.)
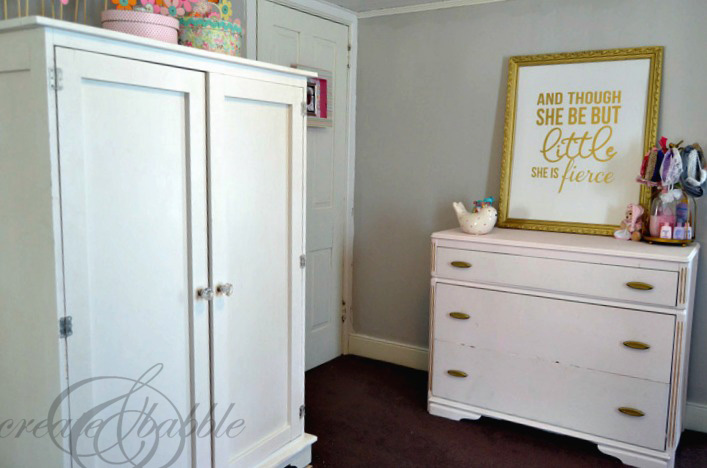
My daughter wanted the armoire to be painted.
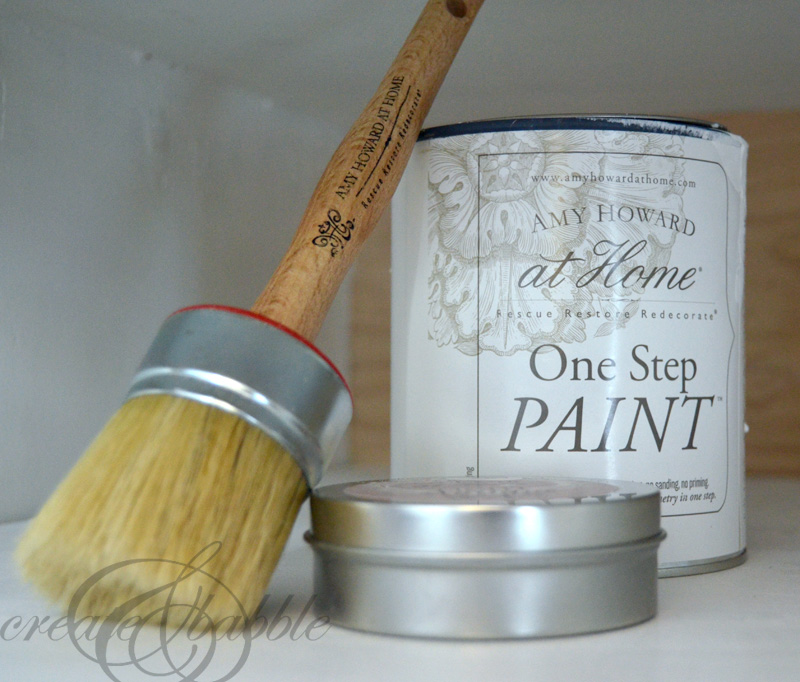
So when the folks at Amy Howard at Home contacted me about trying out their One Step Paint, it was perfect timing. They sent me two quarts of Bauhaus Buff, brushes, a light wax, and a dark wax.
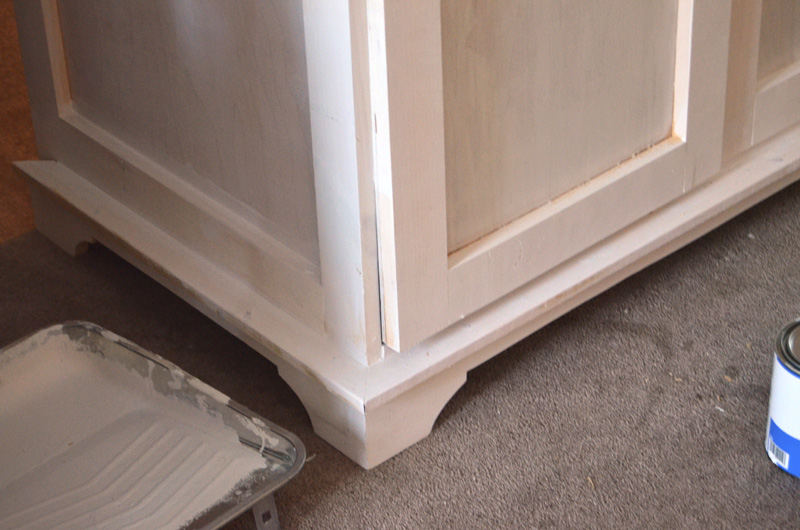
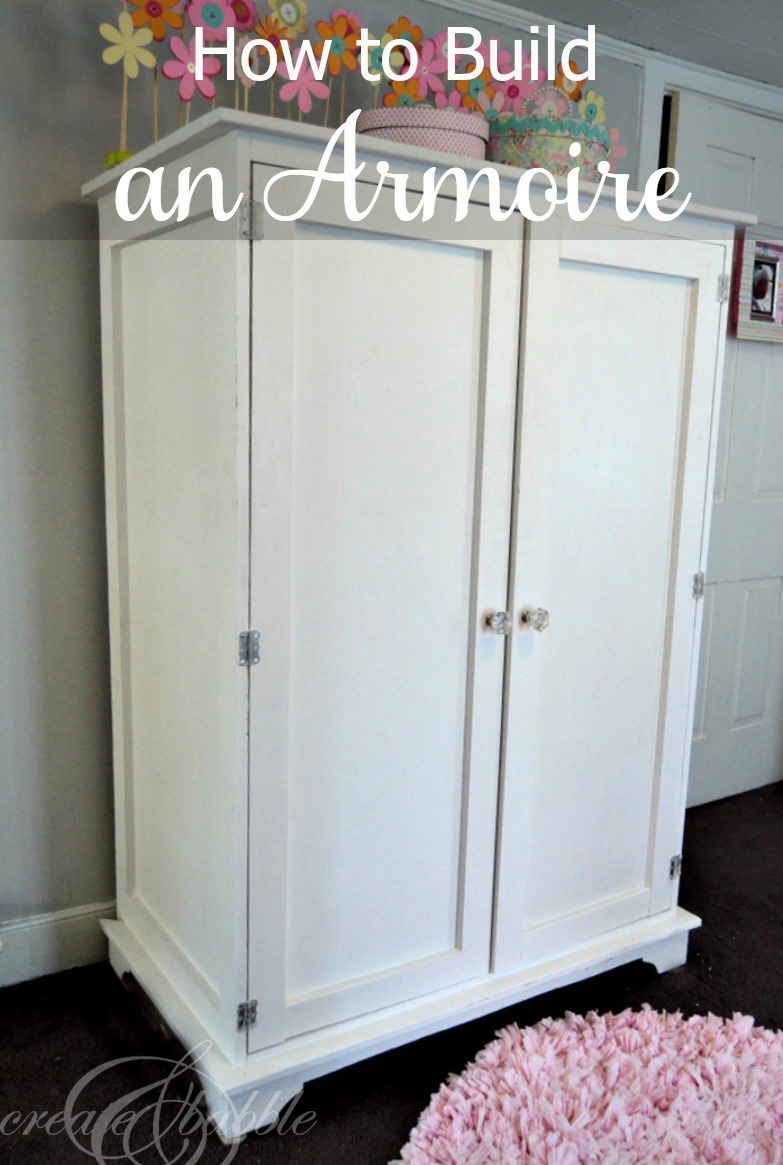
You may be thinking what I thought: I spent countless hours and about $300 on wood building this armoire. Do I really want to use a paint I never tried before? So I tried it out on a piece of scrap wood. I followed their recommendation of applying the paint with the brushes provided. After the paint was dry I could see the brush strokes. So I tried it again with a foam roller. Perfect! I know it looks bright white in the photos, but it’s really a pretty, soft, off-white color. I applied about three coats and then brushed on two coats of the light wax, buffing between coats. The armoire now has a nice, smooth finish. Exactly what we wanted. I love chippy, shabby furniture, but this piece was different. We wanted full coverage, with no flaking or chipping and we got it!

After the armoire was delivered, set up, and filled, there was one last finishing touch. I used a paint market and wrote “made with love for Melanie by Nanny” on one of the shelves. I hope that this armoire lasts a lifetime and more. I hope Melanie hands it down to a daughter she may have some day.
I should have a full reveal of the entire nursery later this week. I hope you’ll come back to see it. I’ll have pictures of “moving day”. Moving the armoire was quite the challenge and my fear of it not fitting up my daughter’s staircase became a reality. Let’s just say for now that tears were almost shed and some demolition had to take place. But not to the armoire ; ) Hint: I think my next DIY project is a bannister installation ; )
![]()
![]()
For Melanie,
XXXOOO
Nanny
I link to these great parties:
Making Monday / Monday Funday / Bewitchin’ Projects Block Party / Inspire Me Monday / Skip the Housework / Inspiration Monday / Project Inspired / Creative Spark / The Scoop / Hit Me With Your Best Shot/ One Project at a Time / Whimsy Wednesday / Wow Us Wednesdays / This Is How We Roll / Weekly Creative / / The Creative Circle / Freedom Fridays / Feathered Nest Friday / Link Party Palooza / The Party Bunch / Furniture Feature Friday / Party Junk / Think Pink Sunday / Finding The Pretty & Delicious / Making Monday / That DIY Party /


Well done Jeanie! You did a great job. I love all the tiny little clothes hung inside. You have one lucky (and adorable) granddaughter!
Thank you so much Maureen. I know…those little clothes! I love having grandchildren ; )
This is beyond amazing! You are so talented! I love it!
Thank you Sam! It was a labor of love for sure ; )
Jeanie I am so impressed you sure have kept busy! Between your work bench and the armoire you are becoming quiet a furniture maker I love it. I just got some Amy Howard paint can’t wait to try it out.
Thanks Michelle! I do love building furniture and can’t wait to start the next piece! By the way, I think you’re going to like that paint – what color did you get?
What a stunning piece of furniture! Kudos to you and your talent for building furniture! I love your flower sculpture on top too!