• Home
  • About
  • Contact
  • Partner
  • Privacy Policy
    • Facebook
    • Instagram
    • Pinterest
    • Twitter
    • YouTube

Create and Babble

  • DIY
    • Home Improvement
    • Upcycle
    • Furniture Makeovers
    • Build It
  • Craft
    • Silhouette
    • Sewing
    • Wedding DIYs
    • Seasonal
    • Gifts
  • Lifestyle
    • Bicyling
    • Travel
    • shopping

STAY UP TO DATE

Get the latest crafting and DIY tips, tricks and tutorials delivered straight to your inbox!

DIY Farmhouse Bench

July 6, 2015

If you like it, please share it!Share on pinterest
Pinterest
Share on facebook
Facebook
Share on twitter
Twitter
Share on stumbleupon
Stumbleupon
Share on google
Google
Share on linkedin
Linkedin
Share on reddit
Reddit

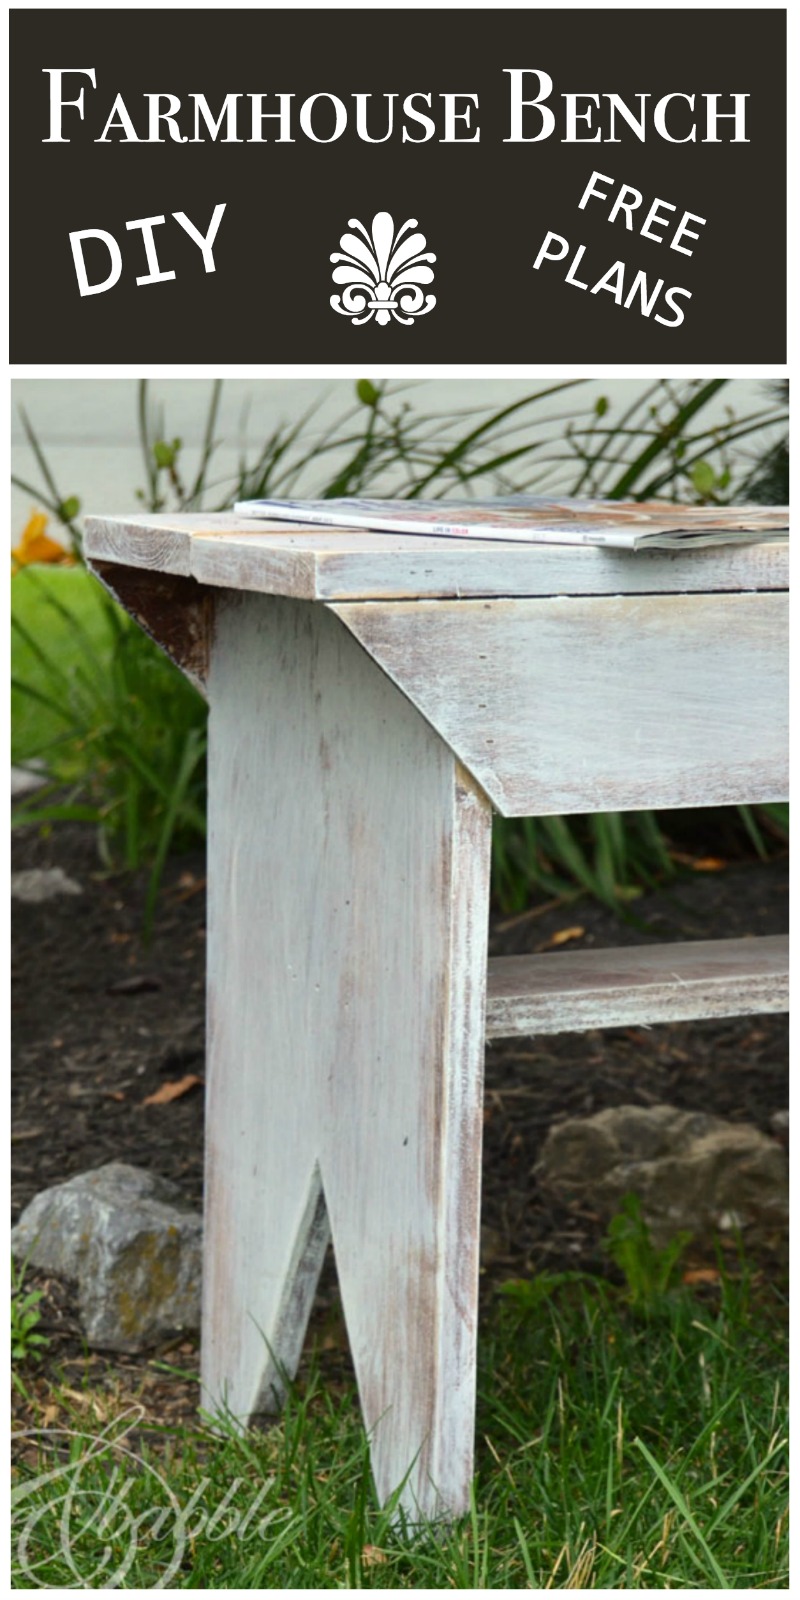
The wood scrap piles in the basement are getting a little out of hand so I want to make some quick, little DIY projects to use up some of that wood. The first thing I made was this DIY Farmhouse Bench. I’ve been wanting to make one and this was a good opportunity to challenge myself to use up some of that wood, but also to make a drawing in Sketchup so I could share the plans with you.

FARMHOUSE BENCH

My plan is based on using 1 x 3’s, 1 x 4’s, and 1 x 12’s because those are the sizes of the wood scraps that I had. Feel free to alter the plans to make your bench. Also, the plans are for a bench that is 48″ long. Again, these plans can be altered to make a shorter bench, too. In fact, I’m going to be making a 2-1/2′ bench next. *NOTE: I did not enough length of the 1 x 12 and 1 x 4 so I cut down some 3/4″ plywood that I had left over from other projects for the legs and brace.

shopping-cut list for bench

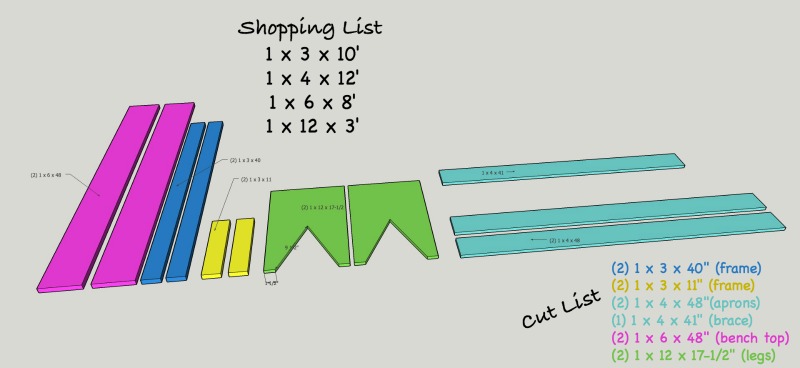
If you don’t have any scrap wood, the image above has a shopping list for you.

 In addition to the wood, you will need:

  1. wood glue
  2. wood screws
  3. brad nails
  4. jig saw
  5. wood filler
  6. stain/paint or both

This post contains affiliate links. If you make a purchase using one of these links, I may make a small commission at no additional cost to you.

frame for bench

STEP 1: Assemble the frame using the 1 x 3’s as shown above.

farmhouse-bench-pocket-holes

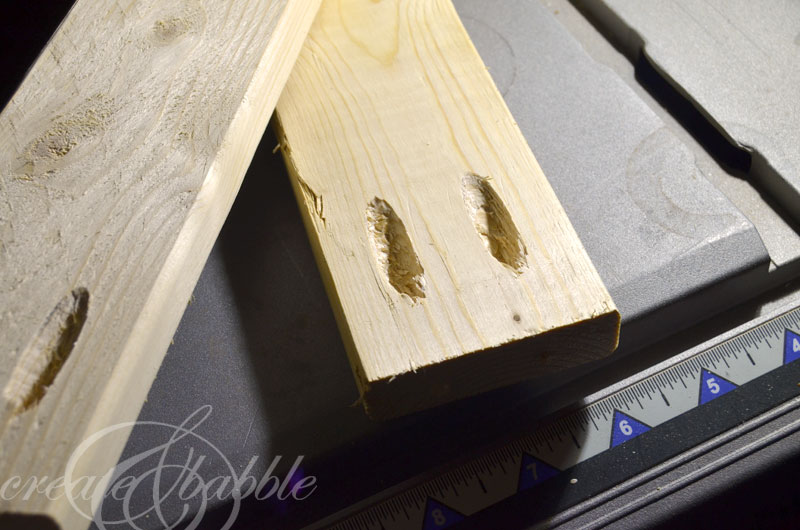
I put my frame together using wood glue and pocket holes with 1-1/2″ pocket screws.

farmhouse-bench-legs

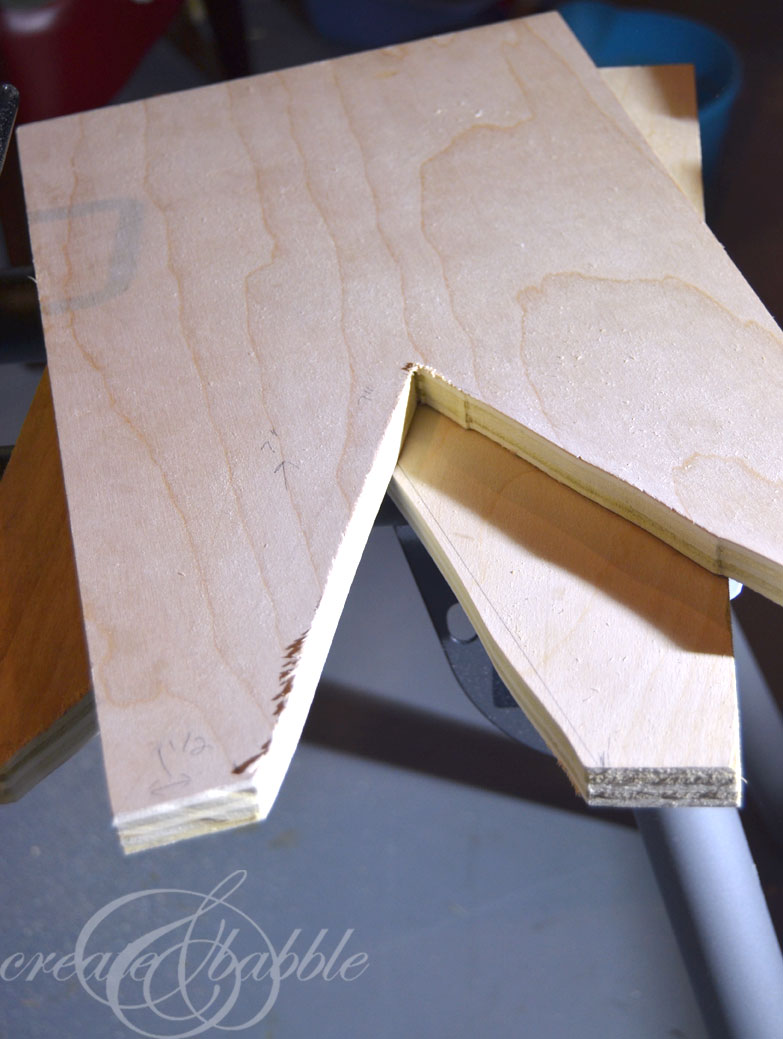
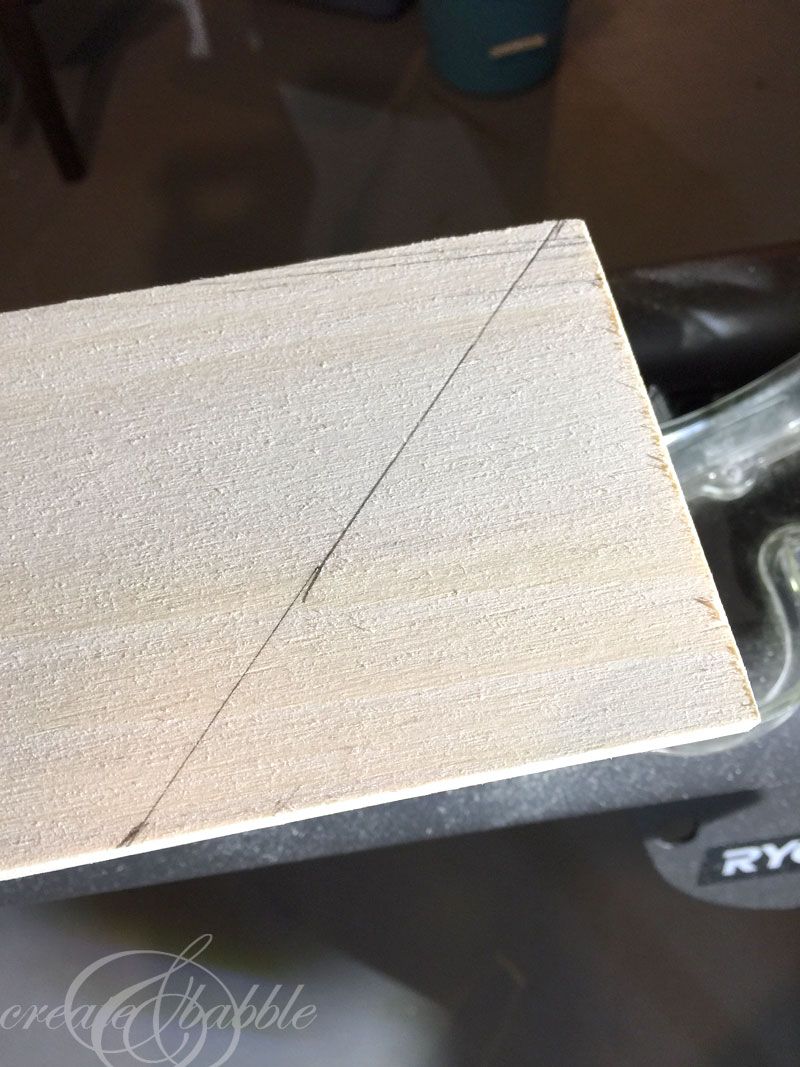
STEP 2: Cut inverted “V” shapes out of the two pieces of 1 x 12’s using my Ryobi Jig Saw.

farmhouse-bench-2

I definitely need to improve my jig saw cutting skills ; ) but after some sanding, it looks just fine.

farmhouse-bench-one-end

Step 3: Attach the 1 x 6″ boards with glue and nails.

farmhouse-bench-angle-cut

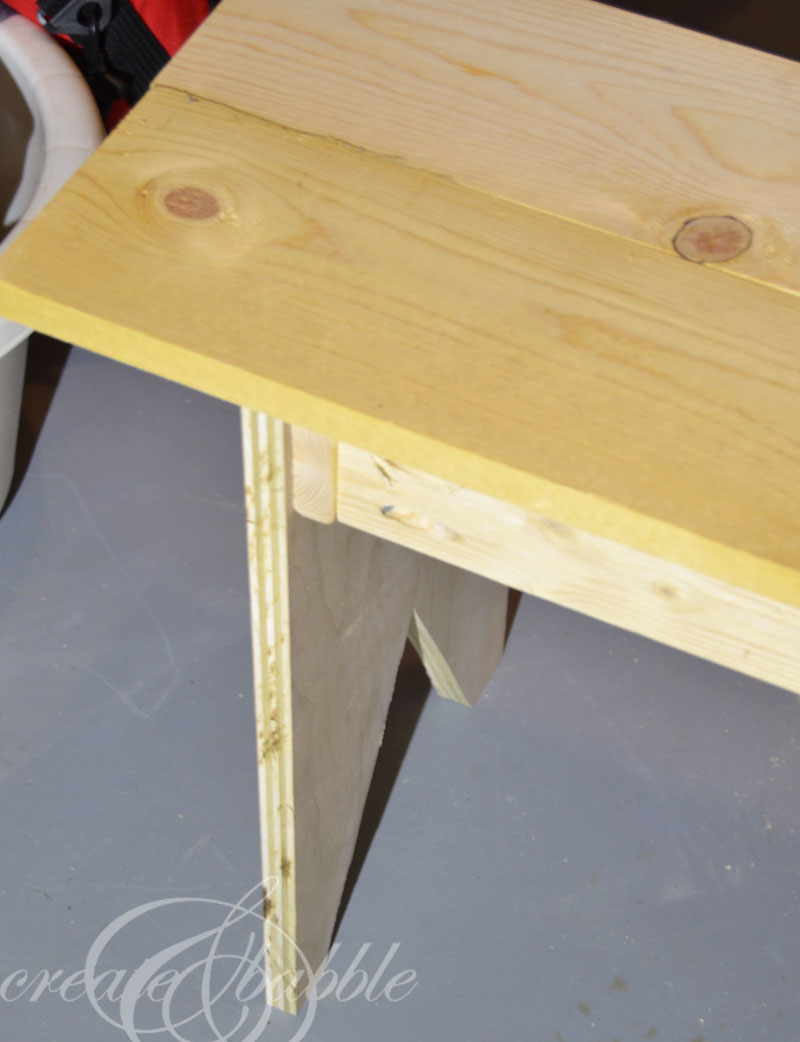
STEP 4: Make a angle cut at each end of the two 48″ 1 x 4’s. These will be the front and back “aprons” of the bench.

farmhouse-bench-clamped

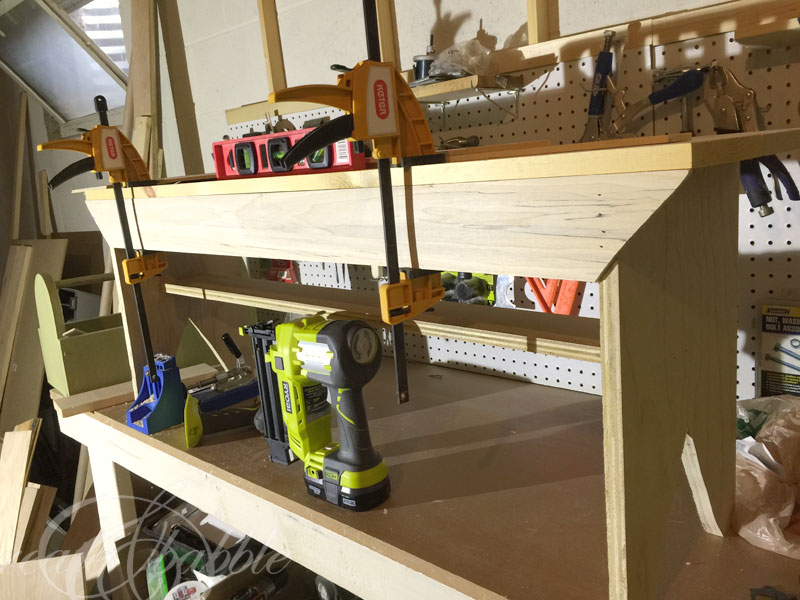
Step 5: Glue and nail the apron pieces to the front and back of the bench. I used my Ryobi Brad Nailer – what a time-saver! Also, glue and nail the brace in place as shown in the image above.

farmhouse-bench-2

Step 6: Fill the nail holes, then stain or paint as desired.

IMG_2401

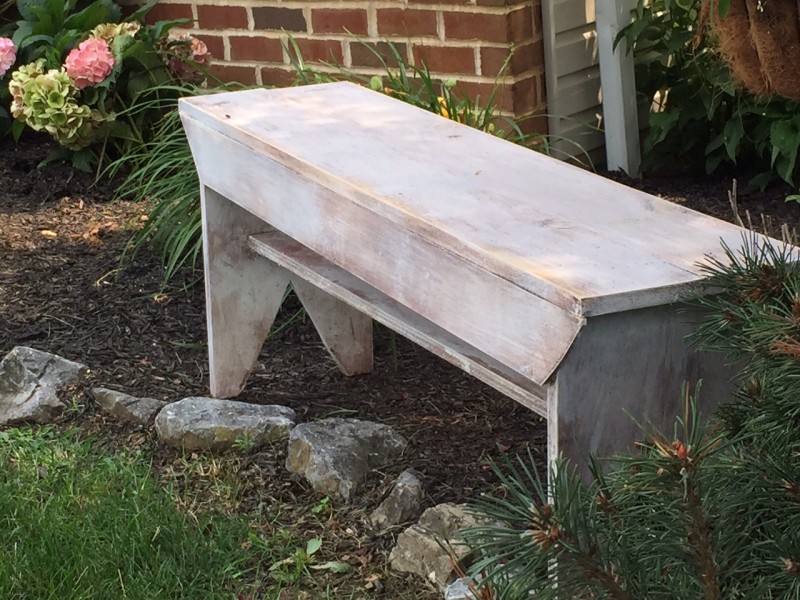
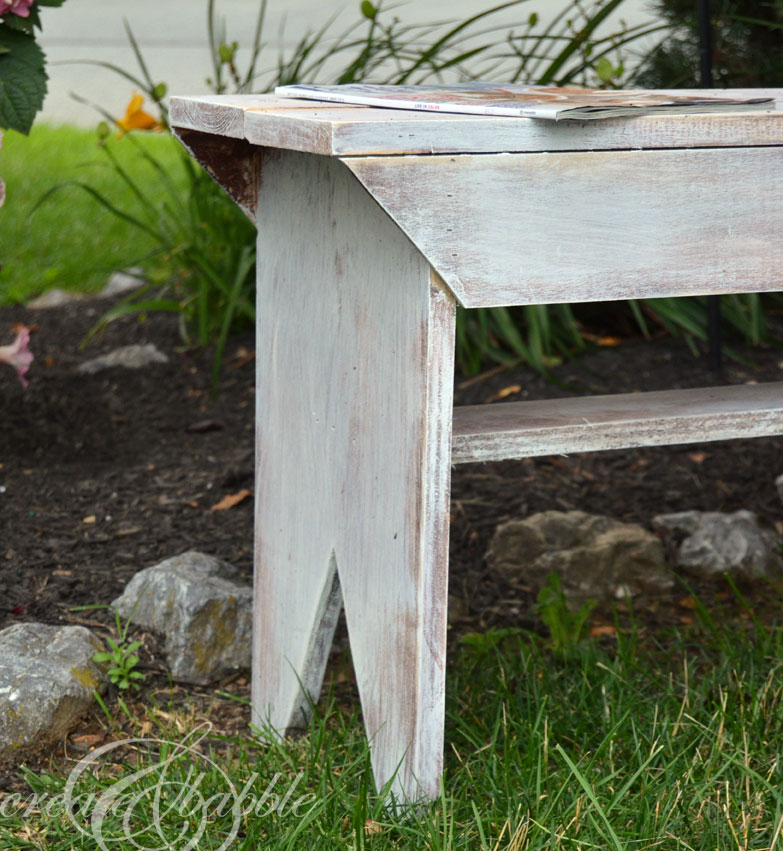
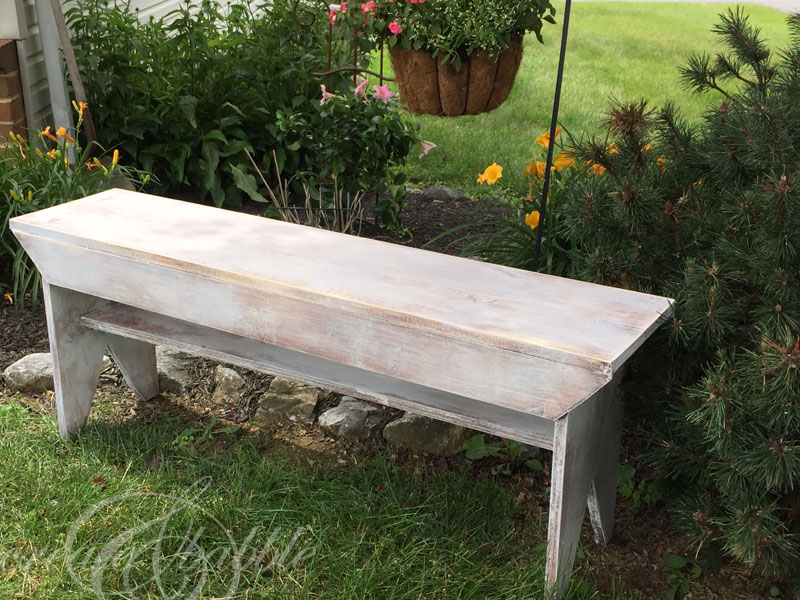
I was going for an, old, been-hanging-out-in-a-barn-for-years-look.

IMG_2411

I think I nailed it. I sanded, stained, and sanded. Then I painted, sanded, and stained. Then sanded some more – in that order – to get the old, worn look ; )

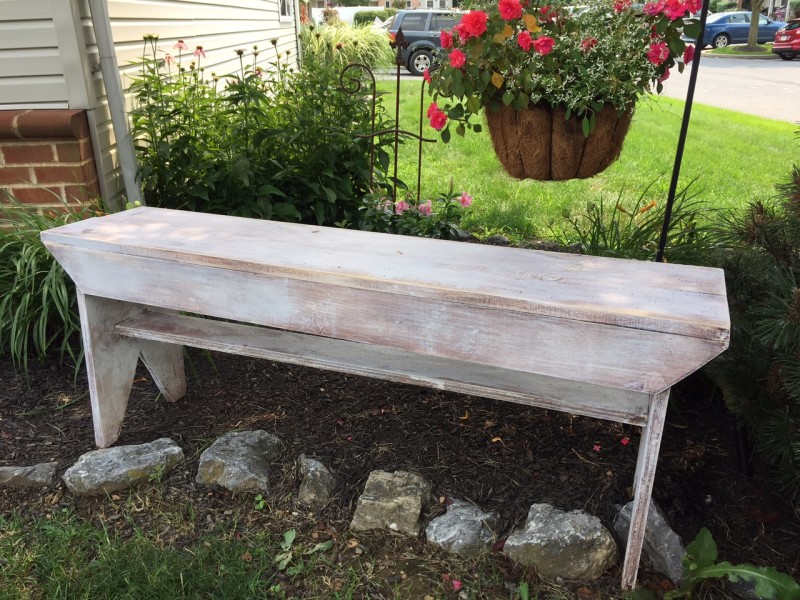
What do you think? Could you use a little farmhouse bench at your house? I didn’t actually know exactly where I would put mine, but I love it outside in the flower garden.

Please, feel free to pin this post to save for later.

pin-this-post

I link to these great parties:

Monday Funday / Inspire Me Monday / Inspiration Monday  / Project Inspired  / Something to Talk About / Creative Spark / Tweak It Tuesday / The Scoop / Tutorials & Tips / Hit Me With Your Best Shot/ One Project at a Time / Show & Share / Whimsy Wednesday /  Wow Us Wednesdays / This Is How We Roll / Weekend Retreat / Creativity Unleashed / The Creative Circle / Freedom Fridays / Feathered Nest Friday / Link Party Palooza / Foodie Friends Friday / The Party Bunch / Furniture Feature Friday / Party Junk / Think Pink Sunday / Finding The Pretty & Delicious / Making Monday  /  That DIY Party /


If you like it, please share it!Share on pinterest
Pinterest
Share on facebook
Facebook
Share on twitter
Twitter
Share on stumbleupon
Stumbleupon
Share on google
Google
Share on linkedin
Linkedin
Share on reddit
Reddit

Filed Under: Build It, DIY, Tutorials

« Easy and Fast $5 Patriotic Pillows
Card Catalog from a $5 Yard Sale Find »

Comments

  1. Wendy Bellino says

    July 6, 2015 at 9:18 am

    I’m not much of a carpenter but you make that look so easy! That looks so cute in your garden.

    Reply
    • Jeanie says

      July 6, 2015 at 5:59 pm

      Thank you Wendy! Trust me, you don’t have to be a carpenter to make one ; )

      Reply
  2. Maureen says

    July 8, 2015 at 1:22 pm

    I have been looking for a little bench/stool for my kitchen! And, that is a serious workshop you have there!! Pinned 🙂

    Reply
  3. Jamie says

    July 14, 2015 at 9:50 pm

    I think you definitely nailed it! I love that you showed us the plans as well! I’m pinning this for future reference!

    Reply
  4. KariAnne says

    August 23, 2015 at 8:56 am

    What an awesome idea! Love the bench my friend!

    Happy day!
    karianne

    Reply
  5. Jame says

    November 20, 2017 at 11:02 am

    Even i have no idea on how to make this, but after read this post, i definitely will make one.

    Reply
  6. Mark says

    September 14, 2018 at 1:19 pm

    I made this bench, thanks for the plans it looks great, two minor tweaks.
    Measure the center support before cutting my came out to be 41 9/16 long. Also to get a straighter cut on the legs for the V use a 1/2 inch spade bit or what ever size you like at top center then cut the V with a circular saw. The half circle in the center don’t look bad.

    Reply
  7. Deirdre says

    November 30, 2021 at 9:41 pm

    Have the plans been removed? All I see is the cut list.

    Reply
  8. Ted says

    May 11, 2025 at 9:25 pm

    It would be helpful to know the angle to cut the apron ends. If the frame is made of 1×3’s, is a 2 1/2screw correct?

    Reply

Trackbacks

  1. 25 Fixer Upper Style DIY Projects | Making Lemonade says:
    March 20, 2017 at 12:11 pm

    […] a farmhouse bench to sit outside or at your table. Personally, I love bench seating for the kids. It makes seating […]

    Reply
  2. DIY Farmhouse Bench – Create and Babble – Handmade Thingy's says:
    August 9, 2017 at 8:11 pm

    […] Source: DIY Farmhouse Bench – Create and Babble […]

    Reply
  3. Tweak It Tuesday #150 says:
    January 6, 2018 at 4:28 pm

    […] Create And Babble made this farmhouse bench. […]

    Reply
  4. 2stuffed says:
    January 12, 2022 at 5:19 pm

    3worthiness

    Reply
  5. 15 Outdoor Bench Project Ideas To Make A Sturdy Built For Your Outdoor says:
    June 19, 2022 at 6:44 am

    […] Instructions at Create and Babble […]

    Reply

Leave a Reply Cancel reply

Your email address will not be published. Required fields are marked *

About Jeanie

About Jeanie

Welcome to Create & Babble. This is where I share my loves: crafting, hiking and camping

Read more about me here

Categories

Archives

AntiqueFarmHouse
Zots Craft Adhesive Dots

Amazon Associates Disclosure

Jeanie Hevener Emmert is a participant in the Amazon Services LLC Associates Program, an affiliate advertising program designed to provide a means for sites to earn advertising fees by advertising and linking to amazon.com.


hobby lobby

Copyright © 2025 · Site by Pretty Pink Studio

Copyright © 2025 · Glam Theme on Genesis Framework · WordPress · Log in

This website uses cookies to improve your experience. We'll assume you're ok with this, but you can opt-out if you wish.Accept Reject Read More
Privacy & Cookies Policy

Privacy Overview

This website uses cookies to improve your experience while you navigate through the website. Out of these, the cookies that are categorized as necessary are stored on your browser as they are essential for the working of basic functionalities of the website. We also use third-party cookies that help us analyze and understand how you use this website. These cookies will be stored in your browser only with your consent. You also have the option to opt-out of these cookies. But opting out of some of these cookies may affect your browsing experience.
Necessary
Always Enabled
Necessary cookies are absolutely essential for the website to function properly. This category only includes cookies that ensures basic functionalities and security features of the website. These cookies do not store any personal information.
Non-necessary
Any cookies that may not be particularly necessary for the website to function and is used specifically to collect user personal data via analytics, ads, other embedded contents are termed as non-necessary cookies. It is mandatory to procure user consent prior to running these cookies on your website.
SAVE & ACCEPT