


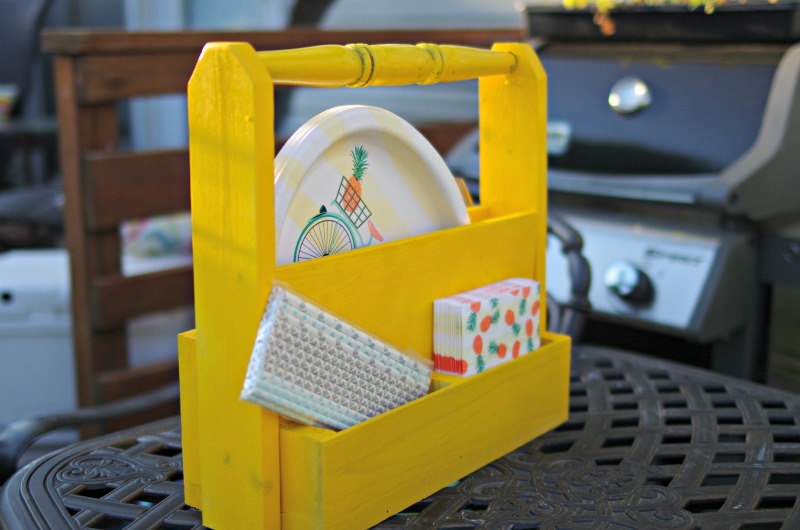
The theme for this month’s Power Tool Challenge is Porch/Patio. I didn’t need anything big built for my outdoor area that I just made over last month, but I did need a picnic caddy!
This post contains affiliate links for your convenience.
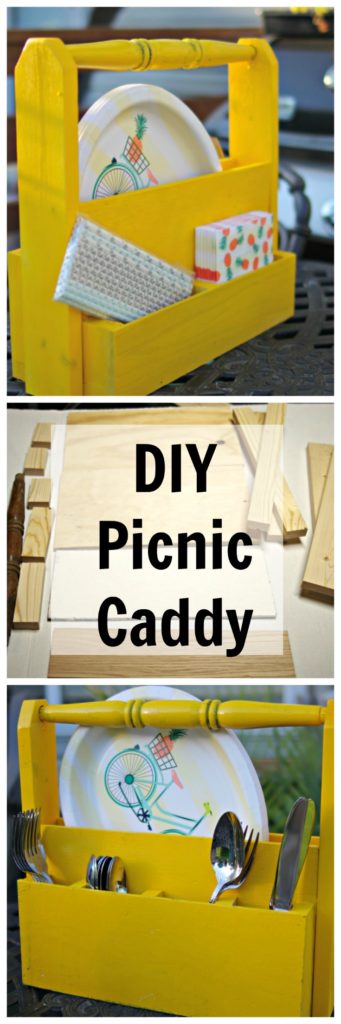
A caddy is such a useful way to hold the paper plates, napkins, and utensils that are needed to dine al fresco, plus it makes it easy to carry all of those items outdoors.
The best thing about my picnic caddy is that I didn’t have to buy a thing to make it! I used scrap wood, wood glue, and brad nails to build it.
This DIY Picnic Caddy is quick and easy to make. I made it in one afternoon.
Want to make one? Here’s what you’ll need:
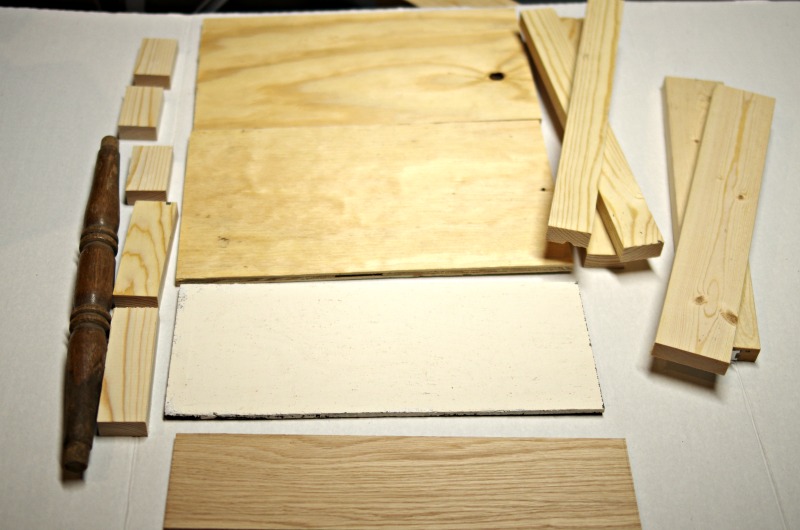
- 1/4″ plywood scraps cut to: 2 @ 8″ x 14″, 1 @ 3-1/2″ x 14″, 1 @ 5-1/2″ x 14″
- 1″ x 2″s cut to: 3 @ 14″, 3 @ 3″, 5 @ 4-3/4″
- 1″ x 3″ x 15″ (2) for the sides
- old chair rung or dowel rod
- wood glue
- brad nails
Power Tools I used:
- Brad Nailer
- Sander
- Band Saw
- Miter Saw
- Drill
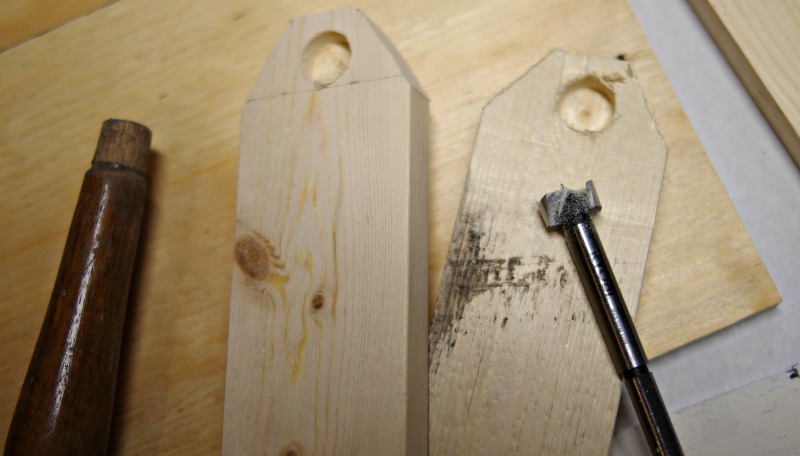
After all of the pieces were cut, I used a 3/4″ forstner bit to drill the holes in the two side pieces to hold the chair rung that would be the handle.
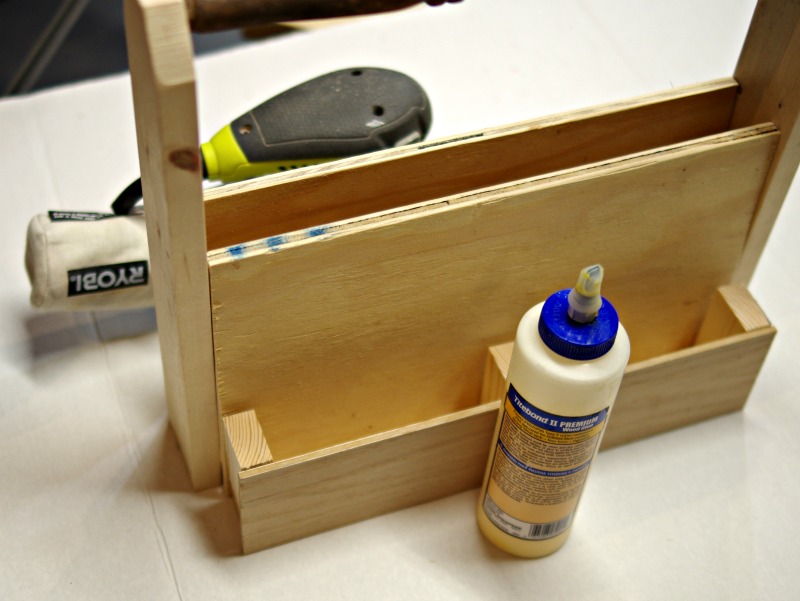
I put all the pieces together with wood glue first. Once the glue was dry, I reinforced it all with brad nails.
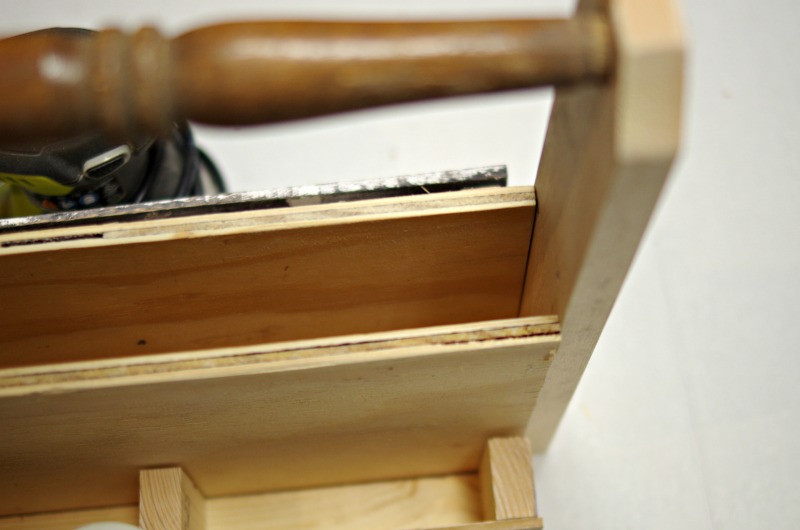
Then I sanded the entire piece and filled the holes and gaps with wood filler.
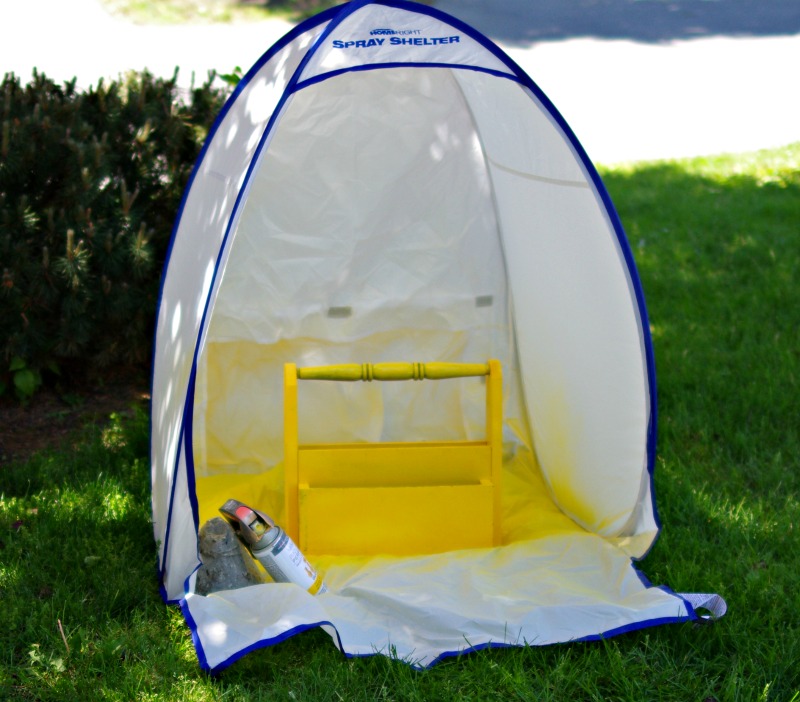 After a last sanding, I took the caddy outside and spray painted it in my small HomeRight Spray Shelter. If you don’t have one of these I highly recommend that you get one. It was a windy day but with this shelter it didn’t matter.
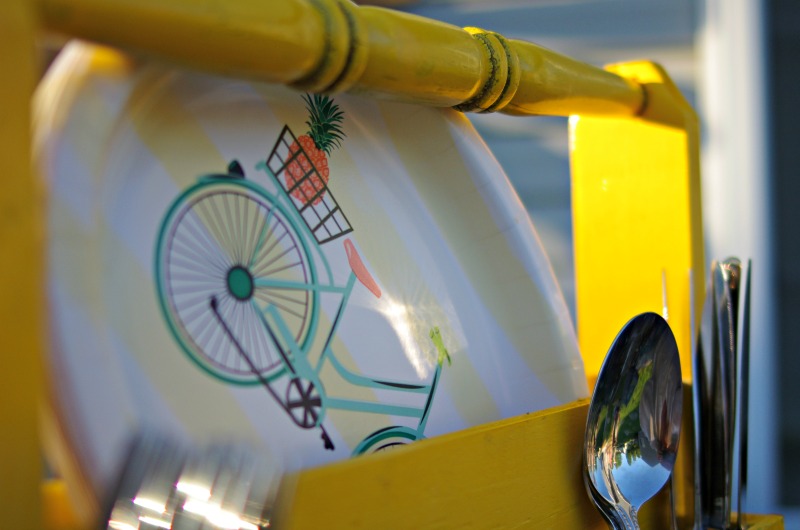
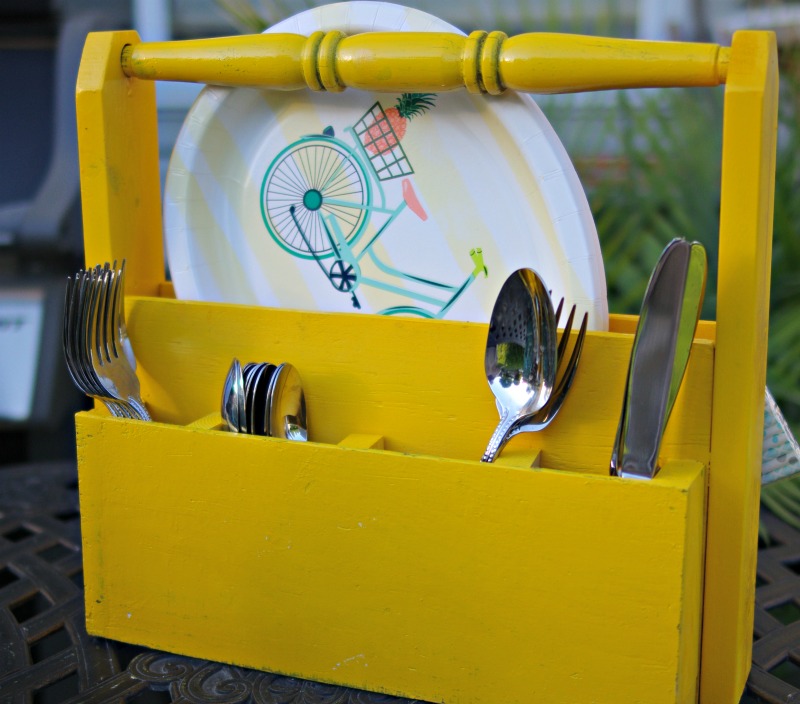 I just love my bright, cheery (and useful!) picnic caddy! If I make another, (and I probably will) I will make the side pieces longer so that the handle is higher. I would also make the center area wider to hold more paper plates. But this one is perfect for a small get-together and we’ll probably use it a lot this summer – especially since it’s usually just the two of us!
I’m just glad I finally found a use for that old chair rung!
Now it’s time to see what my friends have made for their outdoor areas!
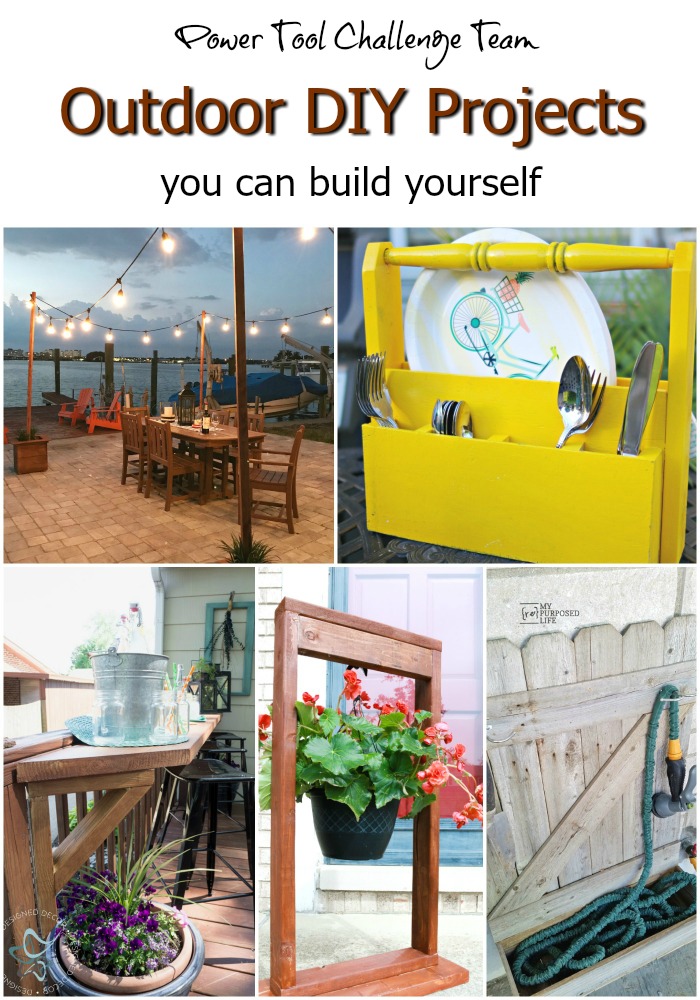
H2OBungalow – Outdoor String Lights on Poles
Create and Babble – Picnic Caddy
Designed Decor – Flip up Deck Bar
The Weathered Fox – DIY Hanging Plant Stand
My Repurposed Life – Patio Garden Hose Organizer


What a god idea and your caddy is so festive and colorful! I’d use one of these with our new outdoor are we are working on! Pinned!
Jeanie! I love your yellow picnic caddy. It makes me smile! It’s so cheerful looking and very useful. Great tute!
Pinned
gail
Jeannie, I love this project. What a fun way to carry the picnic items outside! Love the pop of yellow!
What a cute little caddie! Perfect for picnic’s and cookouts! It looks pretty easy to make. Thanks for sharing your tutorial! Pinning!
I just love what can be done with scrap wood. My husband always laughs at me when I see scrap wood being thrown out….he knows I’m envisioning a new projects! Great caddy – love it!
Super cute! And practical. Love the color and the use of the spindle as a handle. The plates you have in there are fun too. Visiting from Creatively Crafty party.
You just gave me a great idea for my wooden garden caddy! I have a similar caddy that I made last year but it’s currently collecting dust on top of my pantry because I use it on my tablescape during holidays and special occasions. All I need to do is tack in dividers like yours and I can use it all summer for dinners alfresco. Thanks for the inspiration, Jeannie! I love the color you painted yours. Pinned 🙂
What a clever and colourful caddy and I love that you made it from Scratch Jeanie
Love this project! It turned out great and I hope it brightens your summer cookouts 🙂 Thanks for sharing with us at Creatively Crafty #ccbg 🙂
I have something similar to this that I won years ago through work. i absolutely love mine. Its wonderful for picnics. I have a plastic set of dishes I keep in it year around and when we decide to go its all ready. It even has a wine bottle opener in it. Great idea.
Jeanie, this is the cutest picnic caddy I’ve ever seen! Thank you so much for sharing this with us on The Creative Circle Link Party! I’ll be featuring it this week for my readers. 🙂
Thank you Iris!
So cute, Jeanie! Love the color too!
That pop of yellow is enough to brighten up any one’s day. It’s such a happy picnic caddy and the tutorial is super easy to understand too. Thank you Jeanie
I LIKE this! Thank you for the specs, too!
I love the name of your blog. This is my first time here, so I’ll take a look around.
That’s such a great idea. Very cute and practical.
Thanks for sharing at Waste Not Wednesday.
Thanks so much for sharing your creativity with us at the Waste Not Wednesday link party. So happy to choose your Picnic Caddy as my favorite of the week and can’t wait to see what else you share. Keep coming back!!!
What a great idea! The yellow is just perfect!