• Home
  • About
  • Contact
  • Partner
  • Privacy Policy
    • Facebook
    • Instagram
    • Pinterest
    • Twitter
    • YouTube

Create and Babble

  • DIY
    • Home Improvement
    • Upcycle
    • Furniture Makeovers
    • Build It
  • Craft
    • Silhouette
    • Sewing
    • Wedding DIYs
    • Seasonal
    • Gifts
  • Lifestyle
    • Bicyling
    • Travel
    • shopping

STAY UP TO DATE

Get the latest crafting and DIY tips, tricks and tutorials delivered straight to your inbox!

DIY Pretty Framed Pegboard – Part 2

September 4, 2015

If you like it, please share it!Share on pinterest
Pinterest
Share on facebook
Facebook
Share on twitter
Twitter
Share on stumbleupon
Stumbleupon
Share on google
Google
Share on linkedin
Linkedin
Share on reddit
Reddit

I am participating in a sponsored campaign hosted by Advil®. I received compensation for this post. All opinions stated are my own.

Welcome to Part 2 of my pretty framed pegboard DIY. Remember where we left off in Part 1? I was saying that I decided on how I was going to finish the frame and the pegboard part.

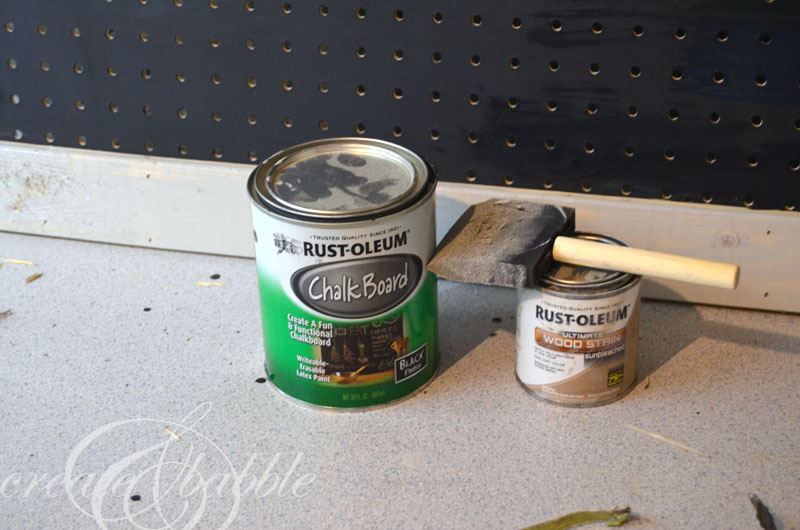
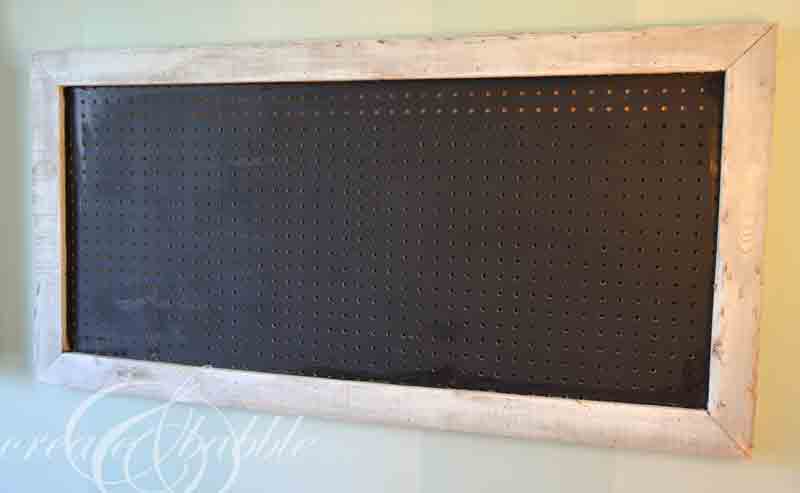
I decided to paint the pegboard with chalk board paint. (Not to be confused with chalk paint). I had said I wanted the frame to have the look of old, aged, worn barn wood.

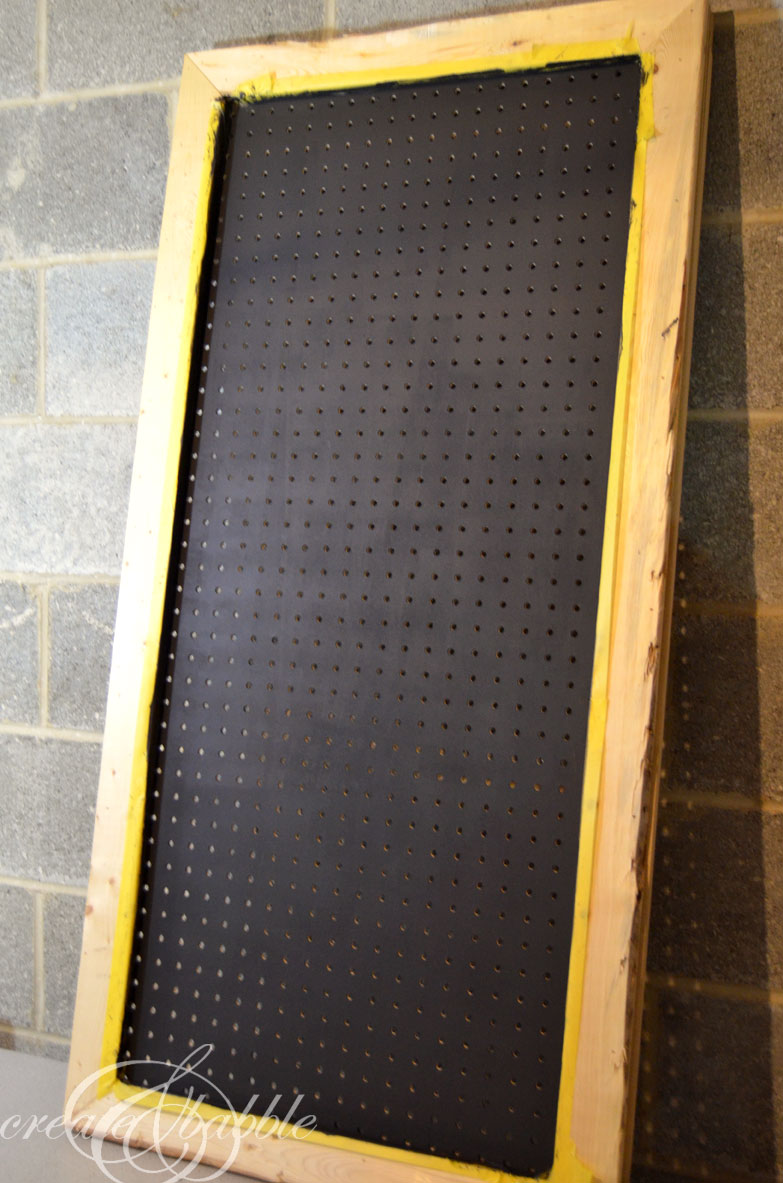
Here’s how I achieved that look. After taping off the painted pegboard, I applied a light coat of wood stain in a color called “sun bleached”

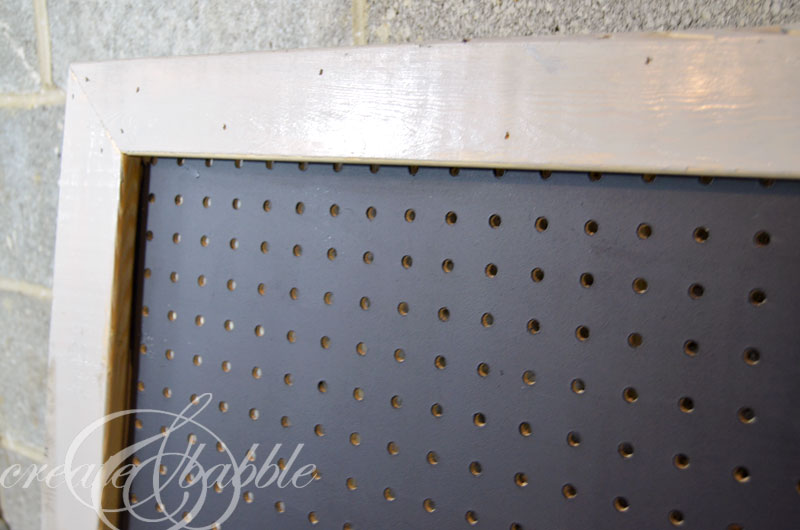
The sun bleached looks gray to me ; )

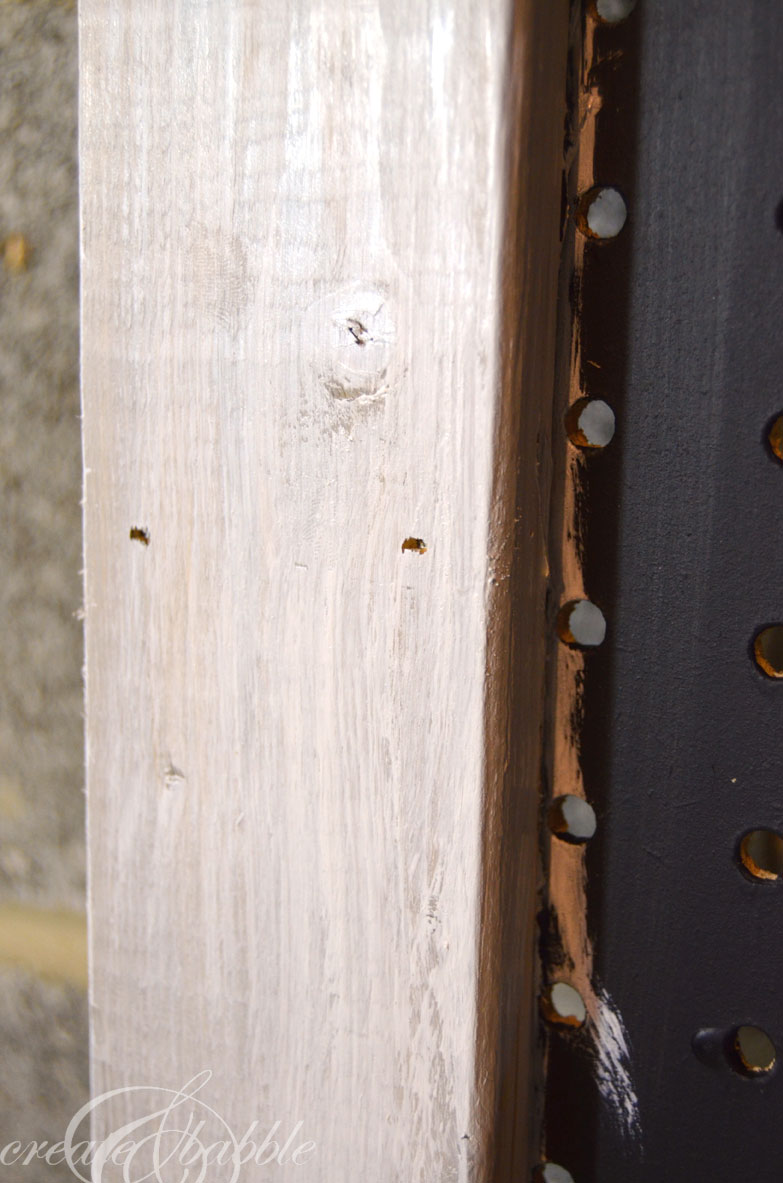
After the stain was dry, I dry brushed on a very tiny amount of white paint mixed with a clear glaze. (You can see in the photo above that I’ll need to do some touch up with the chalk board paint.) I think I’m loving how the worn white washed wood looks next to the black chalkboard pegboard!

Next, we have to hang this beauty.

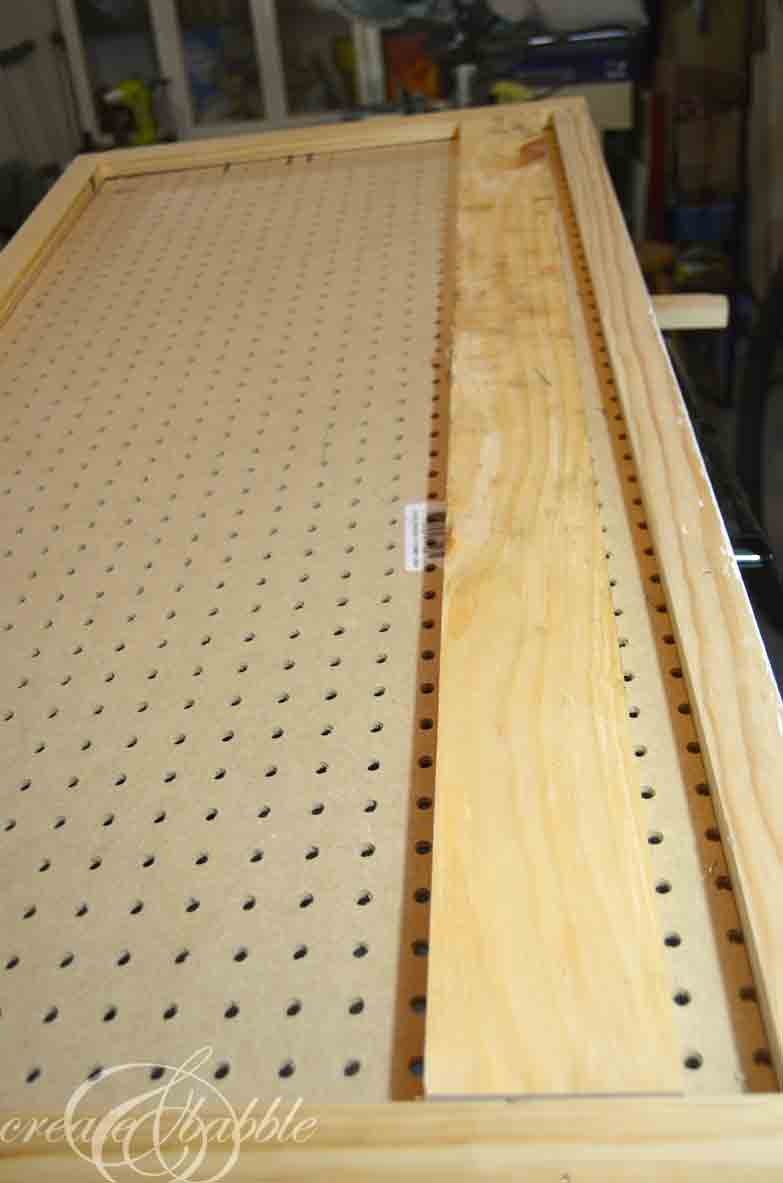
I cut a 1″ x 3″ board to fit inside of the frame on the back of the pegboard.

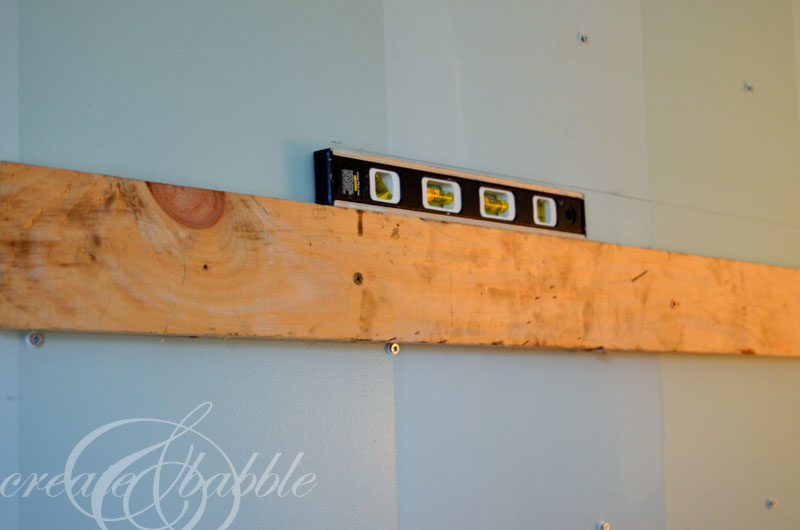
This board will be screwed into studs on the wall and the pegboard will fit over it. As you can see above, I used a level before screwing it into the studs.

It fits perfectly and is completely level. I used a brad nailer to secure pegboard to the anchor board.

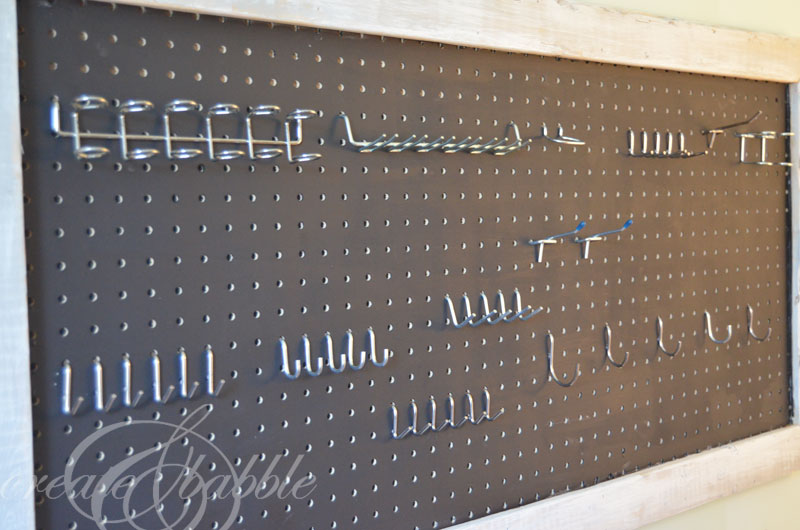
Now for the fun part – well I find it all fun ; ) It’s time to add the pegboard hooks. I had a bunch left over from my workshop pegboard.

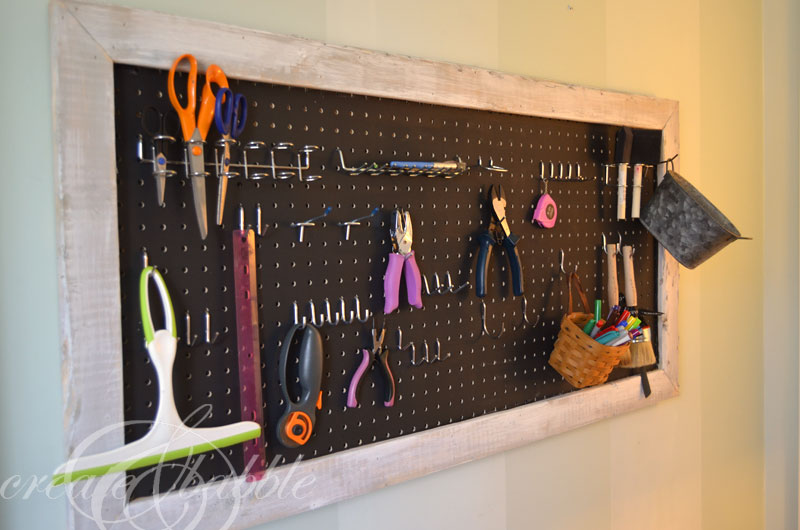
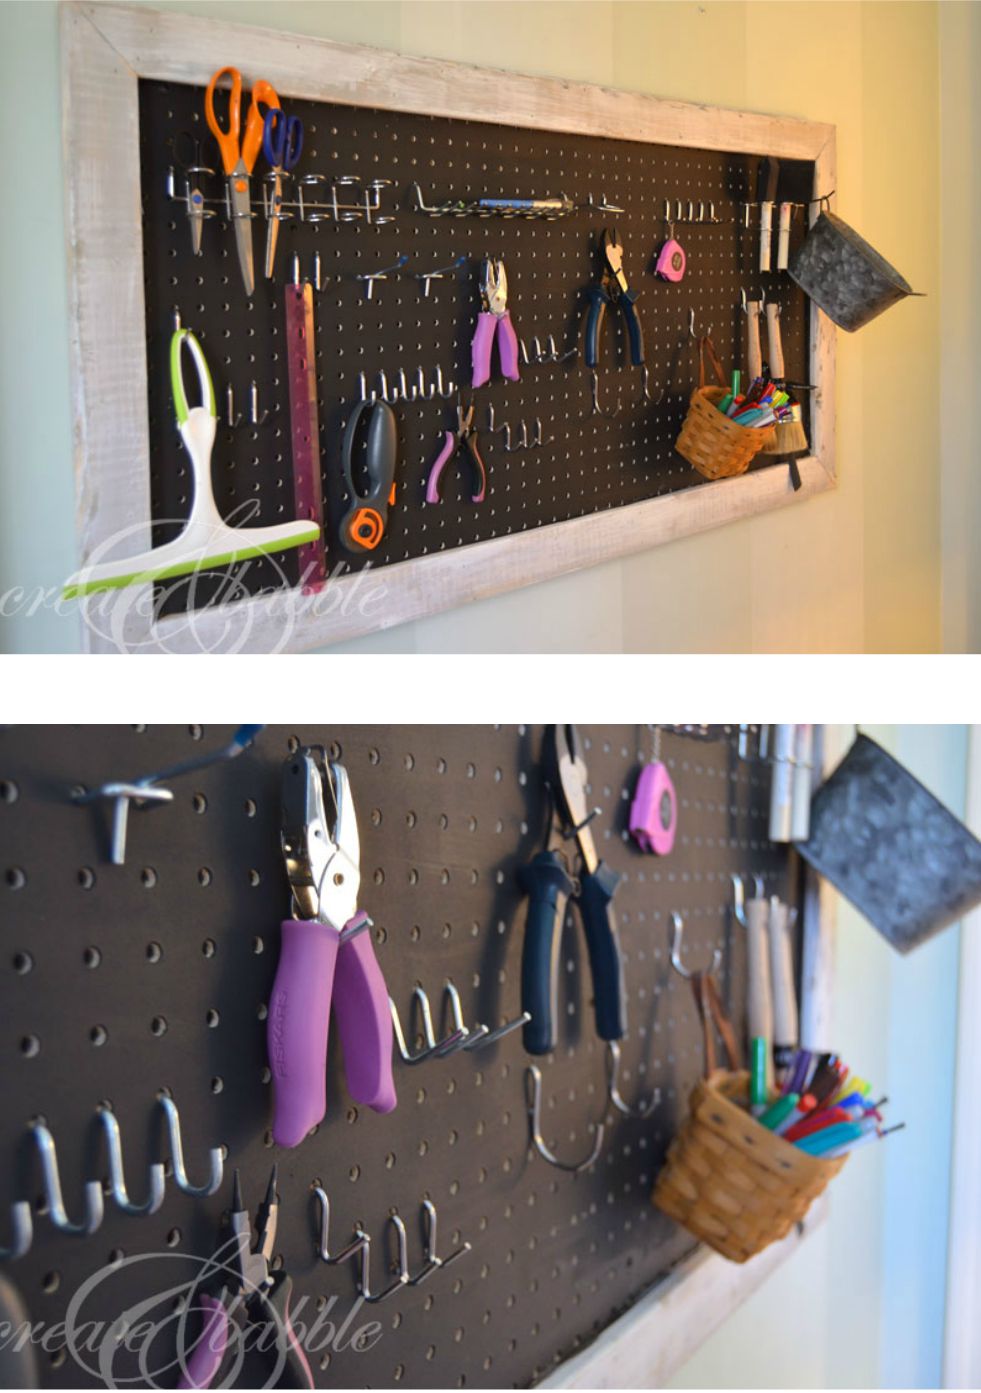
These tools are just the beginning. I wanted to take pictures and show you the final reveal of the finished framed pegboard. I’ll be adding lots more tools and doing a lot of tweaking in the next few days.

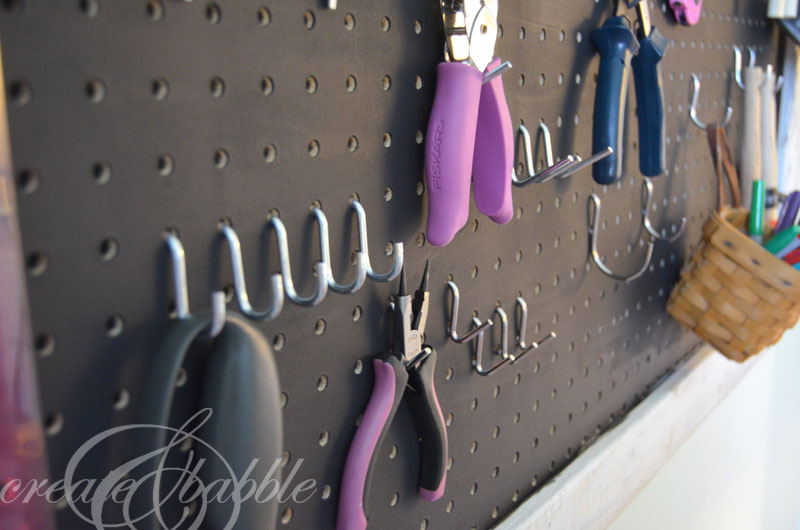
As you can see, there’s still a lot of empty hooks that need filled!

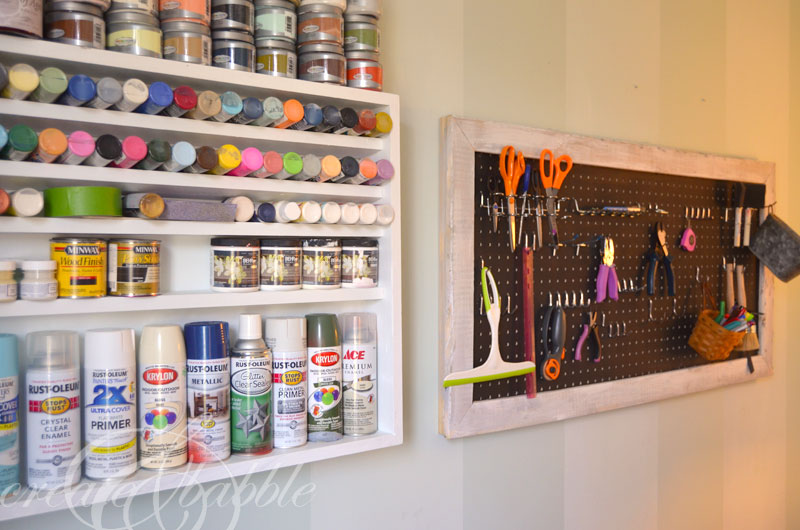
Here’s how it looks next to the paint storage shelf. It looks great next to it!

Framed Pegboard

Of course I gotta keep a bottle of Advil® Liqui-Gels® nearby! Don’t forget about the sweepstakes: 

This summer home improvement expert Carter Oosterhouse is teaming up with Advil® to help consumers get through their toughest DIY projects. Upload photos of your DIY project to Twitter or Instagram from now until September 7th using both #DIYrelief and #AdvilSweepstakes to enter for daily prizes. A grand prize winner will win a video conference call with Carter, where he’ll help you plan a DIY project for your home as well as $15,000 CASH to use toward a tough DIY project. Visit Advil.com for more information on how Advil® can take the pain out of DIY.

Visit Sponsors Site

If you like it, please share it!Share on pinterest
Pinterest
Share on facebook
Facebook
Share on twitter
Twitter
Share on stumbleupon
Stumbleupon
Share on google
Google
Share on linkedin
Linkedin
Share on reddit
Reddit

Filed Under: Build It, DIY

« DIY Pretty Pegboard
DIY Kitchen Step Stool »

Trackbacks

  1. 2selective says:
    January 12, 2022 at 8:03 pm

    1persuasive

About Jeanie

About Jeanie

Welcome to Create & Babble. This is where I share my loves: crafting, hiking and camping

Read more about me here

Categories

Archives

AntiqueFarmHouse
Zots Craft Adhesive Dots

Amazon Associates Disclosure

Jeanie Hevener Emmert is a participant in the Amazon Services LLC Associates Program, an affiliate advertising program designed to provide a means for sites to earn advertising fees by advertising and linking to amazon.com.


hobby lobby

Copyright © 2025 · Site by Pretty Pink Studio

Copyright © 2025 · Glam Theme on Genesis Framework · WordPress · Log in

This website uses cookies to improve your experience. We'll assume you're ok with this, but you can opt-out if you wish.Accept Reject Read More
Privacy & Cookies Policy

Privacy Overview

This website uses cookies to improve your experience while you navigate through the website. Out of these, the cookies that are categorized as necessary are stored on your browser as they are essential for the working of basic functionalities of the website. We also use third-party cookies that help us analyze and understand how you use this website. These cookies will be stored in your browser only with your consent. You also have the option to opt-out of these cookies. But opting out of some of these cookies may affect your browsing experience.
Necessary
Always Enabled
Necessary cookies are absolutely essential for the website to function properly. This category only includes cookies that ensures basic functionalities and security features of the website. These cookies do not store any personal information.
Non-necessary
Any cookies that may not be particularly necessary for the website to function and is used specifically to collect user personal data via analytics, ads, other embedded contents are termed as non-necessary cookies. It is mandatory to procure user consent prior to running these cookies on your website.
SAVE & ACCEPT