


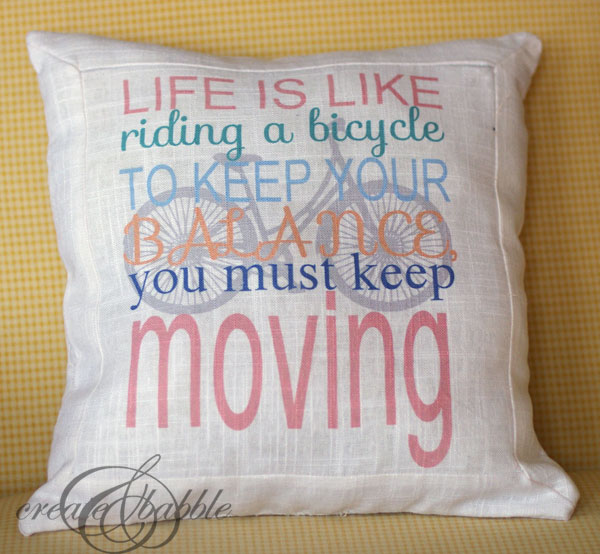
I finally got around to using my printer to print on fabric for the first time. What took me so long?!? This is so easy! Have you printed on fabric yet? If not, I’ll show how I made this subway art pillow.
Supplies I used:
- wide format color inkjet printer
- 12″ x 12″ cardstock
- spray repositionable adhesive
- fabric
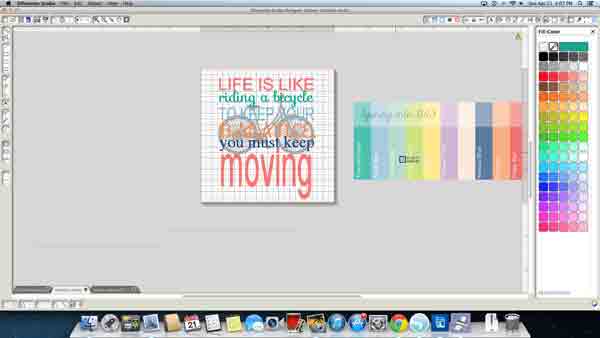
And of course you’ll need a graphic to print. Here’s a little tutorial for using the Fill Color window in Silhouette Studio.
The subway art I used is a vinyl cutting file that I purchased from Vinyl-Ready Designs a while back. I downloaded the file into my Silhouette Studio software and opened the file into a new page.
Next, I needed color. I did a google image search for “Spring Colors 2013”. After finding one I liked, I copied and pasted that image into the same page as my cutting file so that I could use the color picker in the Fill Color window to fill in the words in the subway file from that color swatch. You can see the color swatch and the Fill Color Window in the image below.
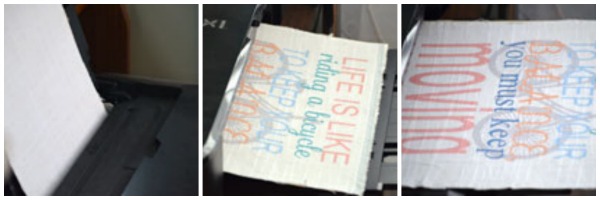
Now back to the printing part:
I lightly sprayed the repositionable adhesive onto a piece of 12″ x 12″ cardstock and adhered my fabric (also cut to the same size) to it. Be sure to firmly smooth down the fabric, especially around the edges. I then just put the fabric-covered cardstock in the printer and hit print! I admit I was a little nervous, hoping it wouldn’t jam. It didn’t – whew!
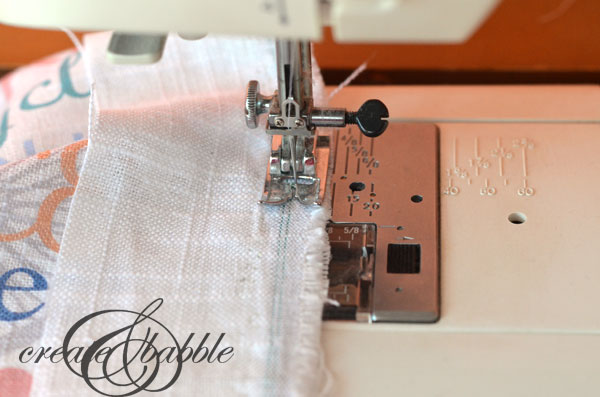
Since the size of the square of fabric was only 12″ and I wanted a larger pillow, I cut four 2 1/2″ strips of the same fabric and sewed each strip to each side of the square.
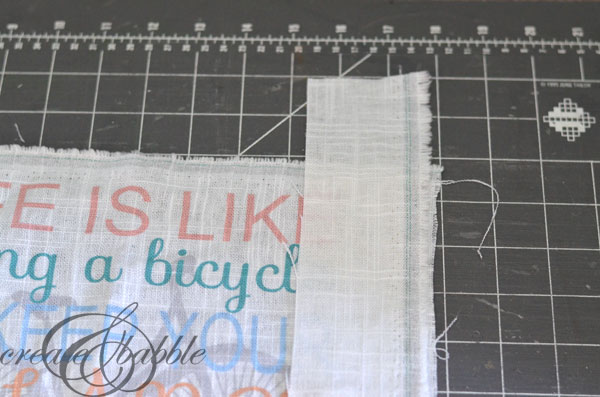
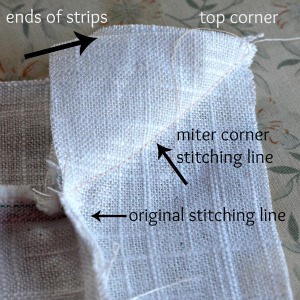
As you can see from the image above, that meant I had to miter the corners. Yikes! Well, I’ve never done that before, but there’s a first time for everything, right? After all, my mother was a sewing teacher; I can do this! I am sure that this isn’t the “correct” or best way to sew mitered corners, but it worked for me! When I sewed on each strip to a side of the square, I stopped the stitching 1/4″ for each end. I matched up the ends of two adjoining strips and stitched from the top corner diagonally down the the orignal stitching line. I hope that made sense!
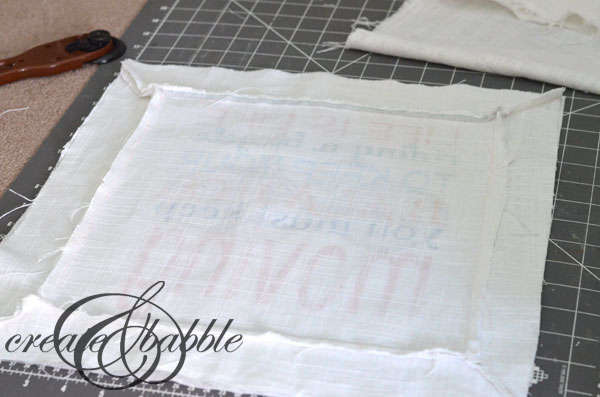
So now I have a 14″ square. And my pillow form is 16″?!?! What??? I thought the package said 14″. I could have removed the four 2 1/2 strips and started over with 4 1/2″ strips. But I didn’t. I remembered that I had a bag of Poly-Fil. Yay!!!!
All that was left to do was a cut out a 14″ square from the same fabric, lay the two pieces together (wrong sides facing) and sewing around the edges leaving an opening for turning and stuffing.
Finally, I stuffed the pillow with Poly-Fil and hand stitched the opening closed!
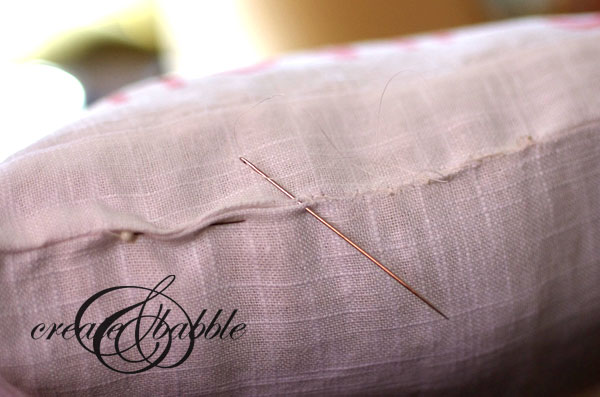
And it’s done!
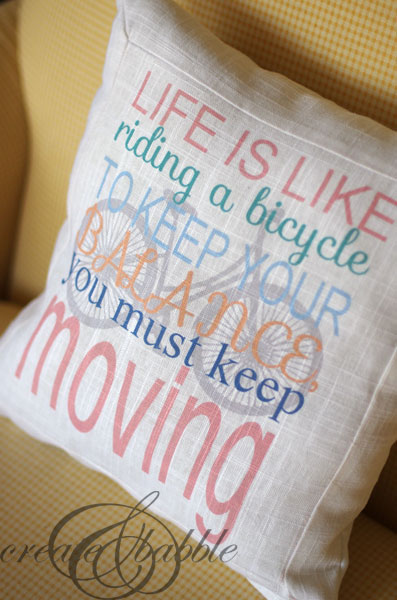
I am really happy with the way this pillow turned out. The reason I chose this design is because Dan and I are avid bike riders. We are so looking forward to pedaling our bikes soon. We were hoping it would be warm enough this weekend, but riding a shady trail in 50 degrees with 10 MPH wind is no fun! Maybe next weekend!
Linking to these great parties:
Monday Funday, DIY Showoff, Making the World Cuter, Made by You Monday, Made with Love, Watch Out Martha


I love the way this project turned out. Thanks for sharing an idea that really has me inspired!
I love it. The bike in the background is great
Thanks Cassi! Before I printed it, I was afraid it wouldn’t show up, but I was pleasantly surprised!
Super cute ~ I love how this turned out.
I’m visiting you today from CRAFT. I’m co-hosting a Link Up today; I hope you get a chance to stop by Link Up and comment, too!
~ Megin of VMG206
My Mom Frame ~ Printables
Thanks Megin!
Jeanie, Your pillow is so cute. I, too, love the bike in the background. It pulls the whole thing together. And I love the saying and the colors. I guess I just could have said, “I love this whole pillow.” 🙂
That turned out amazing! You made it look so easy! I’ve never printed on fabric, but I’ve been wanting to try it. We’ll see if mine gets stuck in the printer…..
I love Subway art. This pillow turned out fabulous and I LOVE the colors you used! 🙂
Nancy
Thank you so much Nancy!
Jeanie, saw your pillow over at Project Inspired and just LOVE it! Thanks so much for sharing! Am pinning and looking forward to following you on Bloglovin. Have a wonderful week!
Thank you Cindy! How sweet!
I adore this quote!!! and your pillow is fabulous.
Thanks for sharing (saw this on Looksi)
Thanks Anne! I love Looksi, too! Come back to Looksi on Thursday. I’ll be taking over Looksi for the day with DIY Kitchen Makeovers!
What!! It looks fantastic! I absolutely love it.
Thank you Rachel!
LOVE it! So adorable! I have been wondering if printing on fabric would work…. great idea! And such a fun quote:)
Krista
Thanks for the sweet comment Krista!
Thank you for sharing on the Blog Stalking Thursday! I have featured your project on facebook!
Check it out!
Thank you so much!
Cute pillow!!!
I’m not blessed with craft skill…would love to hire you to make one for me if you’re interested! Just email me! Thanks. 🙂
I’m having trouble printing the bicycle subway art print. Help!
What part is giving you trouble?
Great idea! It looks awesome! I completely love it.