Some people take their cornhole playing very seriously. I was surprised to find out that there are even cornhole tournaments! To win money!!! To me it’s just a backyard game that just about everyone seems to enjoy. Especially my grandson ; ) Since his birthday is next week, I thought it would be fun to make a cornhole game set for him while I’m making a set for us. There are plenty of tutorials on how to make cornhole game boards set all over the internet. I chose to follow this one.
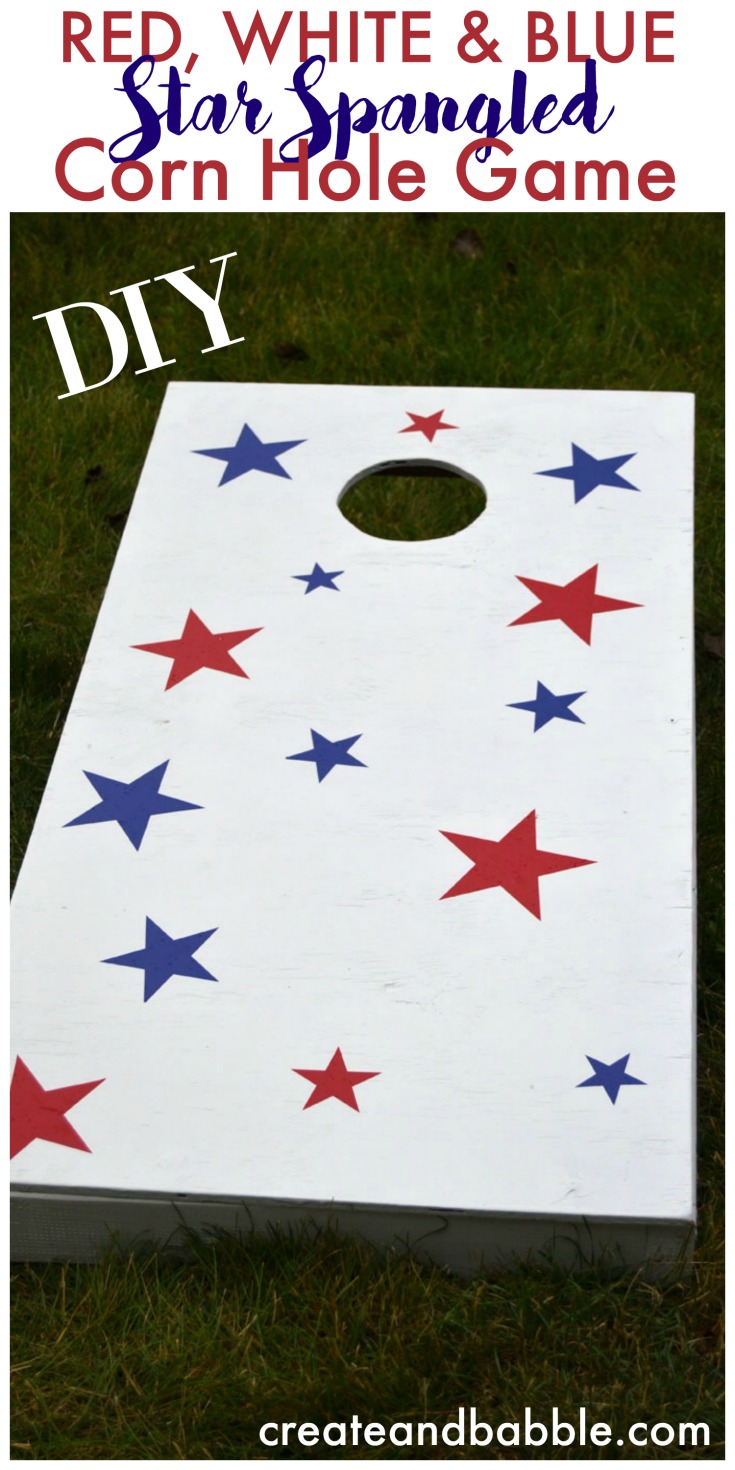
I decided to make my cornhole game boards a little patriotic with red and blue stars on a white background.
This DIY project is part of this month’s power tool challenge hosted by Wendi from H2O Bungalow. Our theme this month is Summer. I love these challenges. The purpose is to inspire you to pick up those power tools and make something. If you’re new to power tools and feel a little intimidated, you are NOT alone.
I remember being scared to death when I was trying out a circular saw for the first time. You can listen to that story on this podcast when Gail and I were talking about dealing with the fear and safe use of power tools.
Make sure to scroll all the way to the bottom to see everyone else’s SUMMER PROJECT!
How to make cornhole game boards:
If you are thinking about making your own cornhole boards, I recommend following the very clear and easy-to-follow directions that I followed.
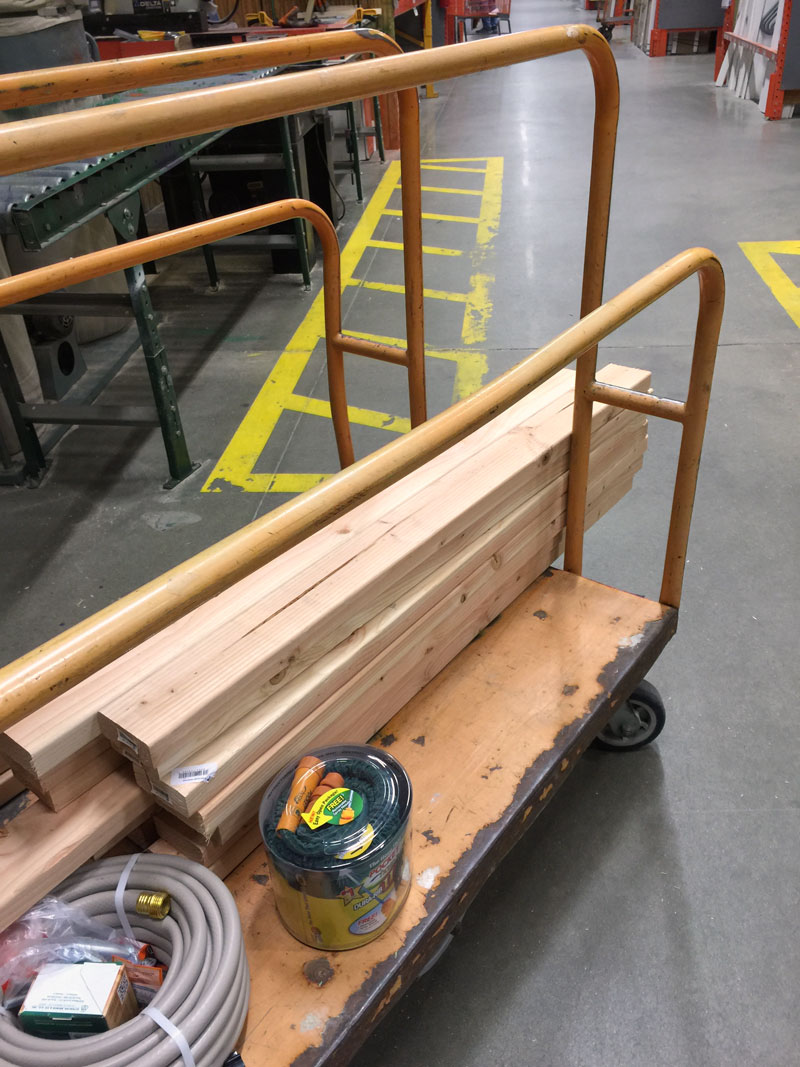
I bought my wood at Home Depot. And since I have a small car I let the nice man there cut the 2″ x 4″ x 8s” in half.
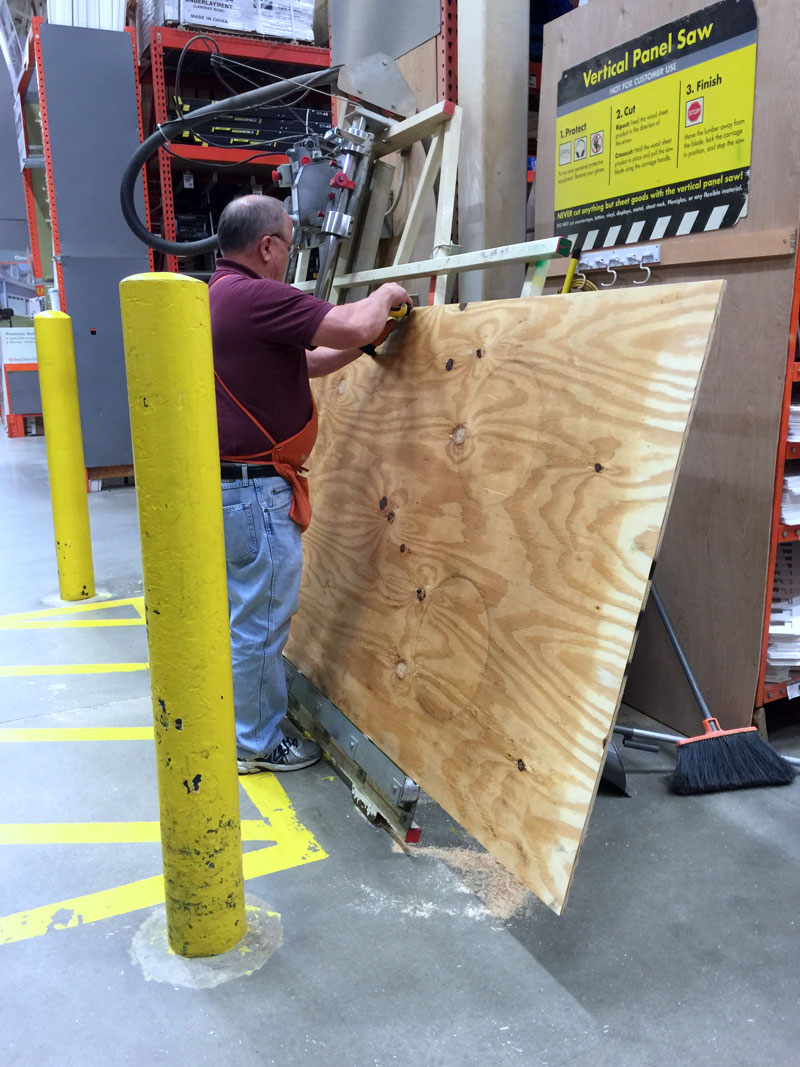
To save money, I bought a whole sheet (4′ x 8″) of plywood and had him cut that down into four 2′ x 4′ pieces. It was just over $17 and I have enough to make two sets of cornhole game boards – way, way cheaper than buying the pre-cut boards.
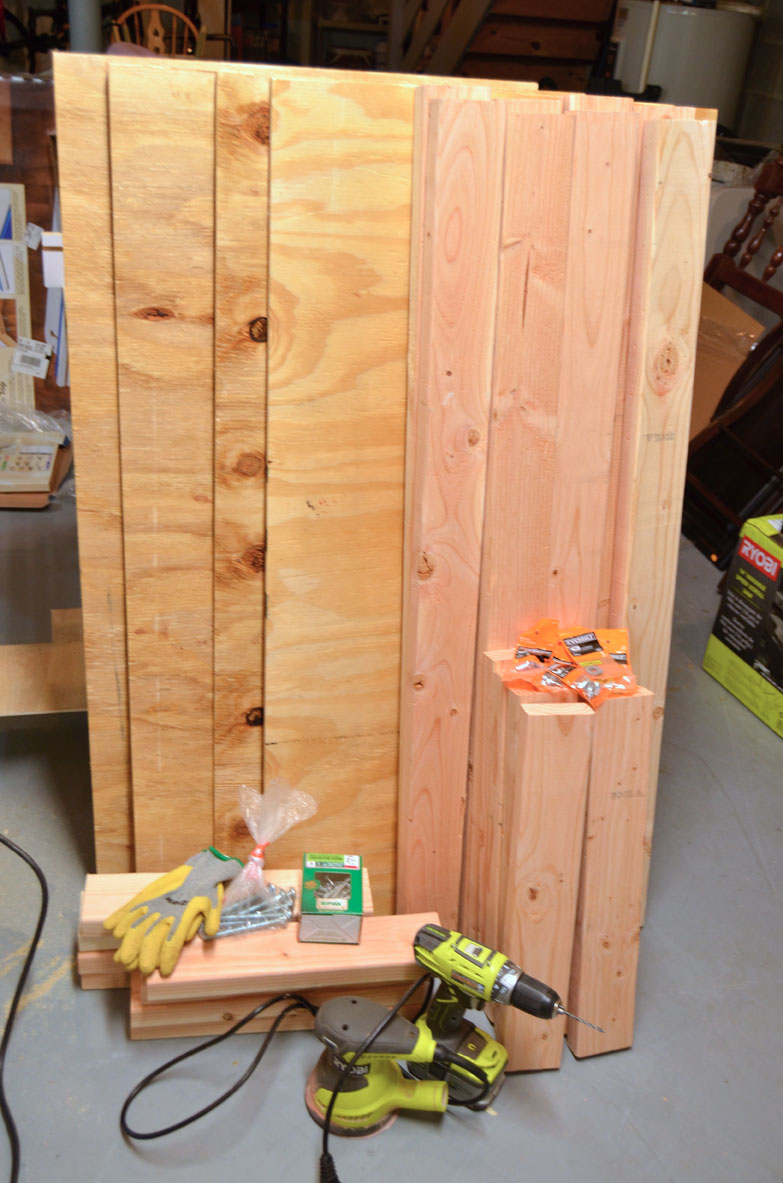
Once I got all of the wood into my basement workshop, I got busy making the rest of the cuts.
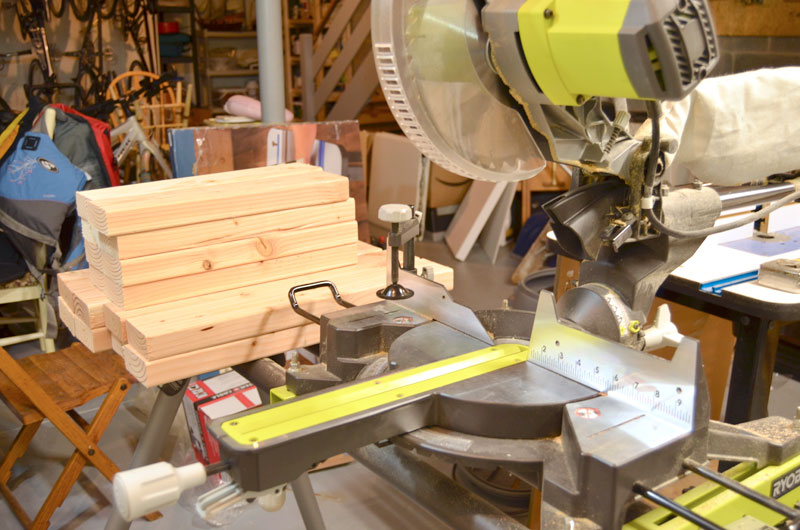
There’s my pile of 21″ and 16″ lengths of the 2″ x 4″s. I have the 12″ Ryobi Compound Miter Saw and also the stand. That stand is invaluable when cutting long pieces of wood like this.
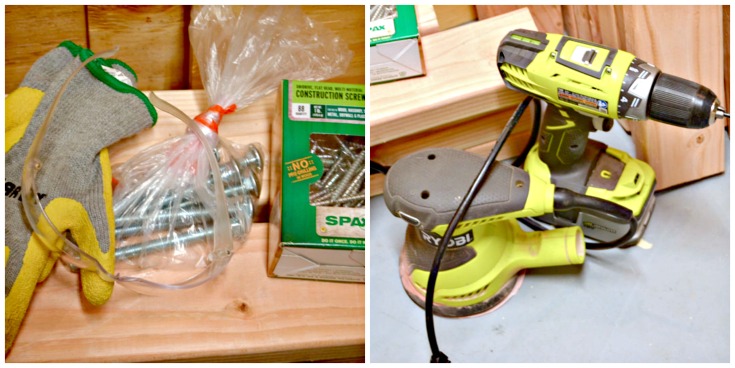
Besides the miter saw, I also used my Ryobi Orbital Sander, Drill/Driver, and Jig Saw.
Following the directions pretty much exactly, I assembled the boards.
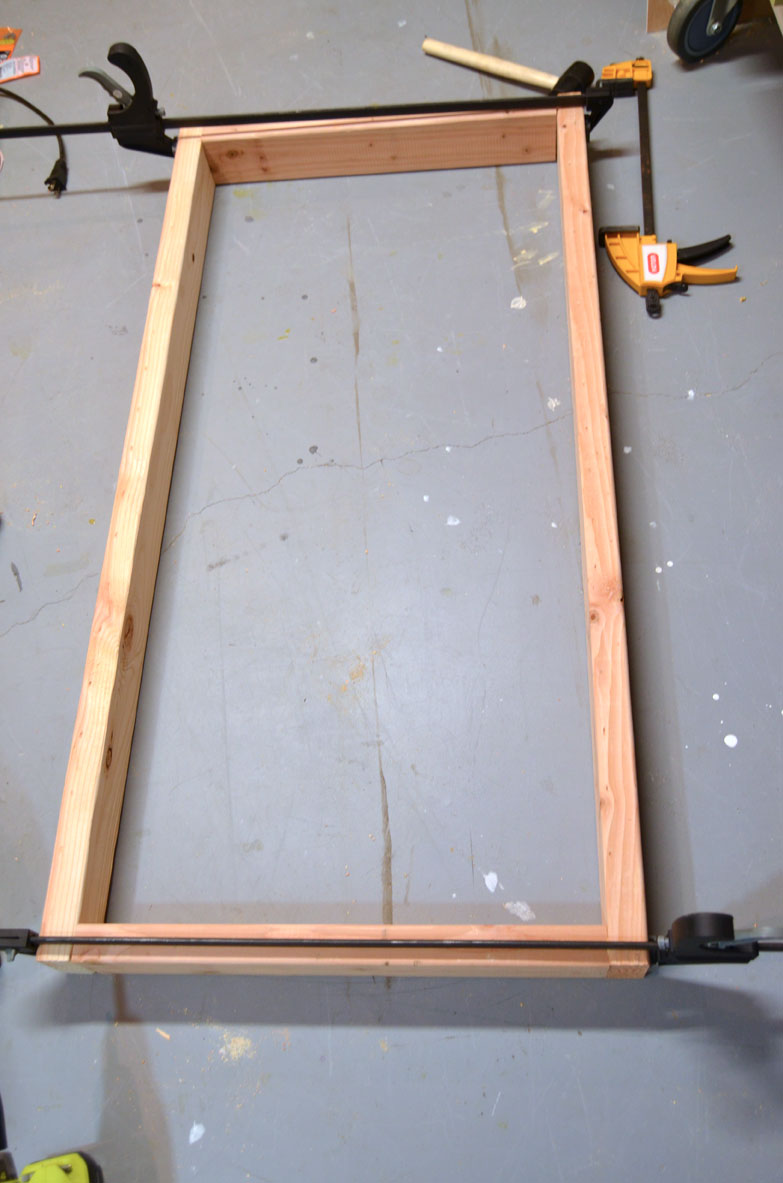
Long clamps (or a friend!) are a huge help when assembling the 2 x 4 frames.
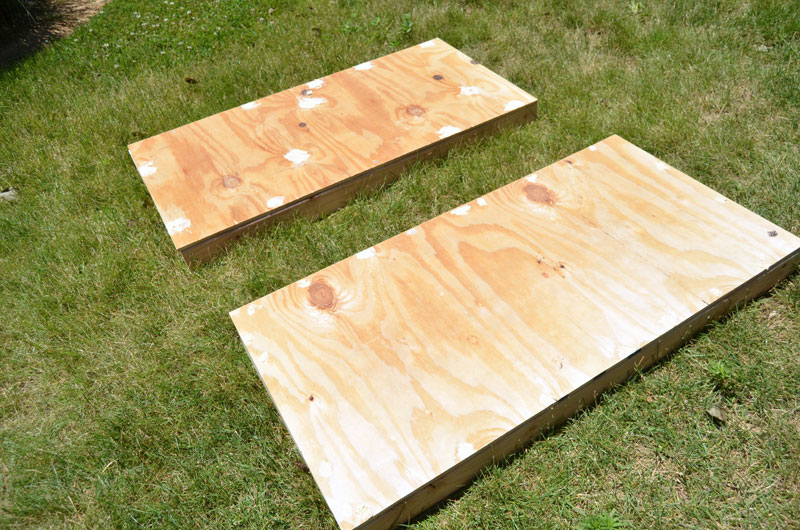
The assembled corn hole boards were carried outside. (It was a beautiful day and I didn’t want to miss it!) There I filled any holes with wood putty and then sanded the entire board.
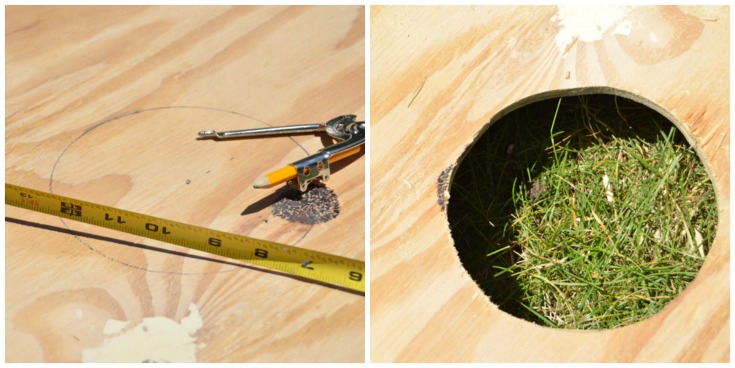
Next, I drew the 6″ hole with a compass and then cut the circle out using a jig saw. After the hole was cut, I painted the boards with two coats of white paint. I don’t know why I chose white. At this point I still didn’t know what design or color scheme I was going with. The stars idea hit me after they were completely done.
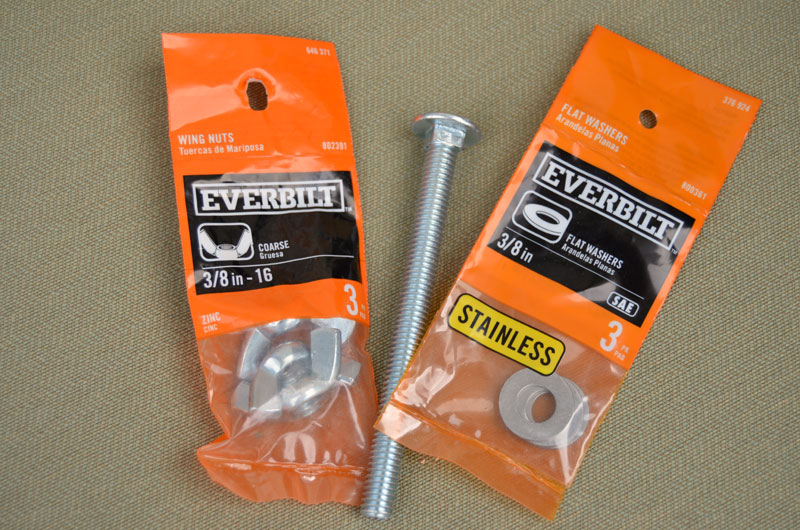
The carriage bolts, wing nuts, and flat washers shown above are needed to attach the legs to the corn hole boards. This is probably the most difficult part of the build and it wasn’t even that hard – just follow the directions. I promise it will come together perfectly.
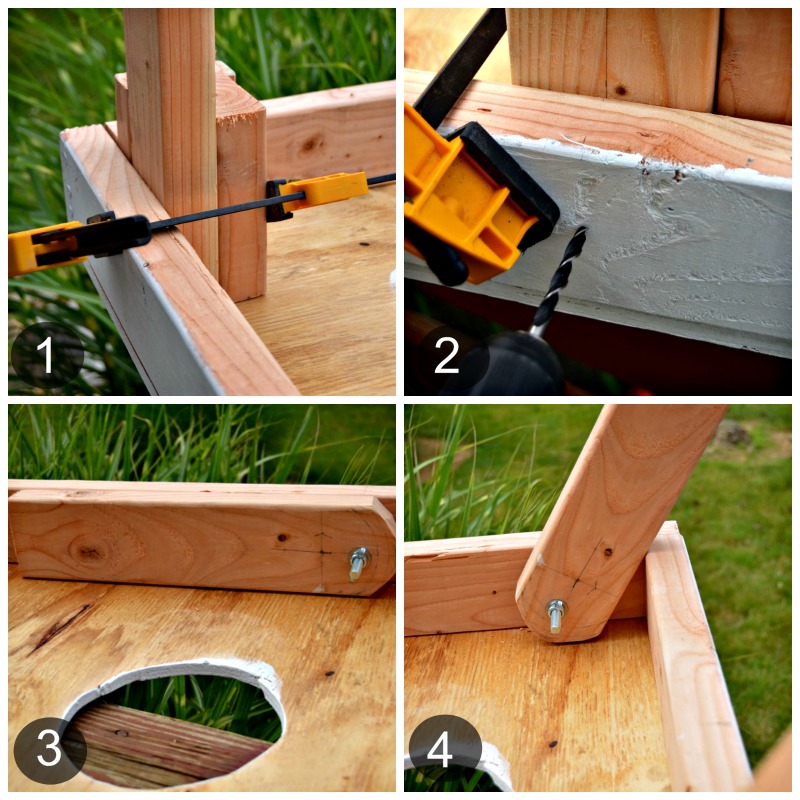
- Take the advice from the directions and use clamps and pieces of scrap wood.
- Start drilling with a smaller bit then gradually work up to a 3/8″ bit.
- Attach leg with the flat washer and wing nut.
- Legs should be able to move up and down.
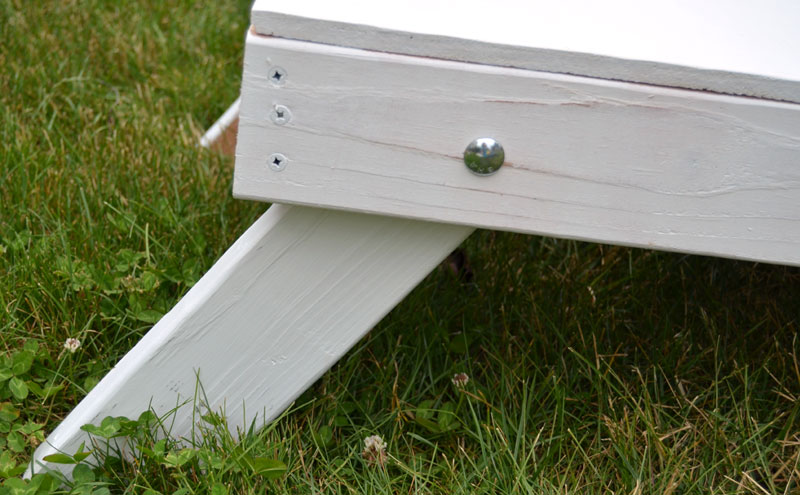
Success! The legs work! I love that the fold inside the frame when not in use.
Now for the fun part: how to paint or decorate the cornhole boards.
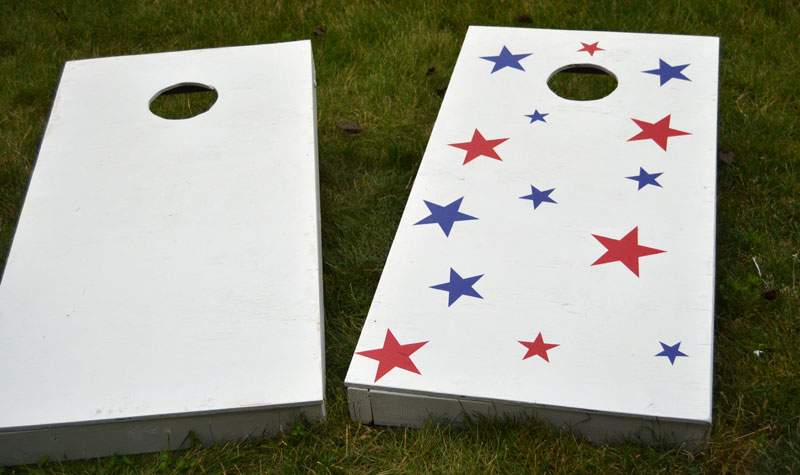
As I was staring at the big, white, blank boards it hit me! Stars! Red and blue stars. At first I thought I’d buy or make star stencils and paint the stars on. Up to the craft room I went and as I spotted red and blue vinyl on that wonderful vinyl storage tower I knew right away that I would just make vinyl star stickers. No more painting required!
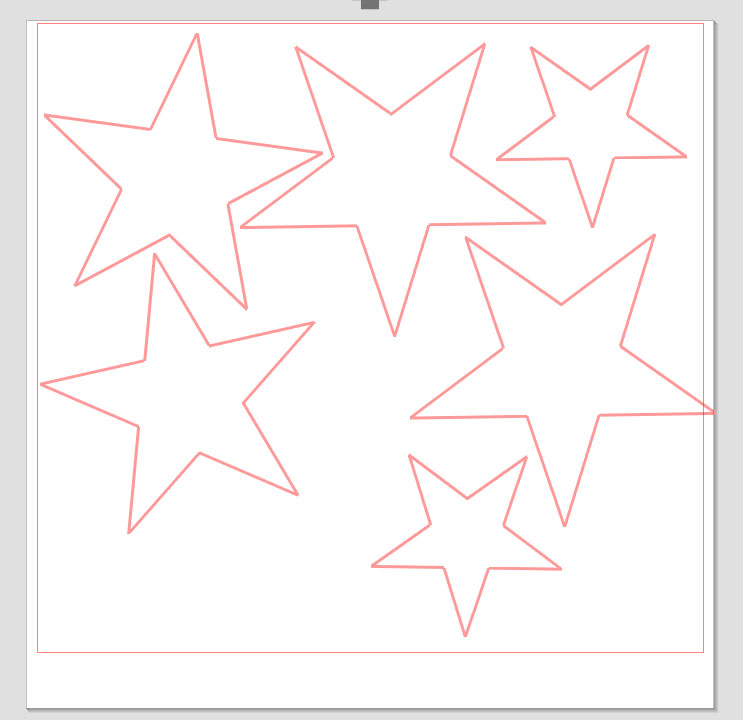
So easy! I cut out a bunch of red and blue stars and scattered them randomly on the boards.

Right now I’m sewing up four red and four blue cornhole bags. Dan stopped at a feed store on the way home and picked up the feed corn for the bags. After some investigation Dan found out that it is recommended to freeze the corn to kill off any bug larvae (eewww!). Maybe there’s an alternative to the feed corn???
Now I need to get to work on the second set! And maybe a third! My neighbor saw what I was making and asked if I would make him a set ; ) He loves playing with the outdoor lawn dice!
Now check out these awesome Summer Projects from my friends:
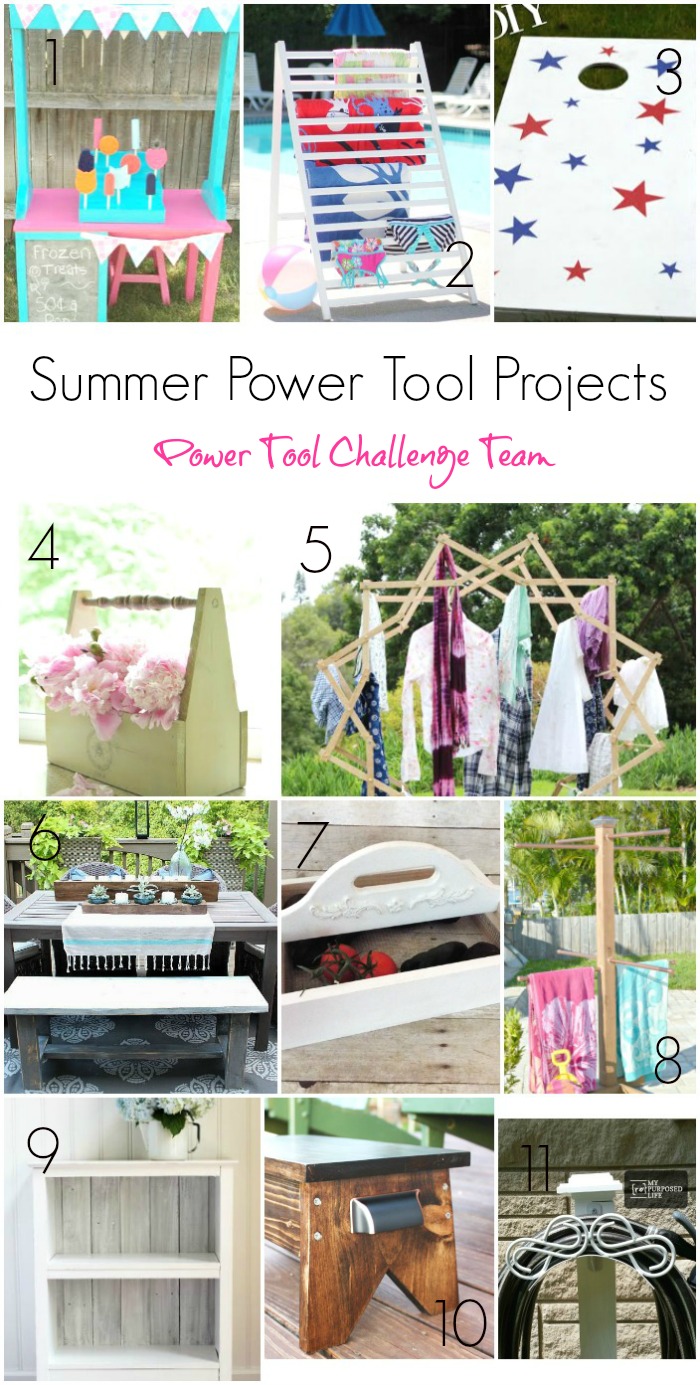
Frozen Treat Stand by My Love To Create
Red White And Blue Cornhole Game by Create And Babble
Drying Rack From Old Crib rail by The Kim Six Fix
Chair Spindle Wooden Garden Caddy by Interior Frugalista
Star Clothes Drying Rack by A Piece Of Rainbow
Farmhouse Bench Building Plans by Refresh Restyle
Vegetable Gathering Basket by Designs By Studio C
DIY Standing Towel Rack Tutorial by H2OBungalow
Reclaimed Wood Bookcase by Confessions of A Serial DIY’er
DIY Footstool by Virginia Sweet Pea
DIY Hose Hanger by My Repurposed Life
Linking up here, at Wow Us Wednesday, and at Remodelaholic Anonymous.


I love this! We need one for our backyard…and the beach! This is a popular beach game I see them all the time, but none as pretty as yours! Love the red white and blue theme:)
Awesome outdoor summer project Jeanie! Who doesn’t love a great game of corn hole!
Super tutorial, pinning for later!
gail
Fun fun fun Summer backyard game, Jeanie! Your easy to follow tutorial makes it look doable!
Cornhole is such a popuar game and I love your board! This would be super fun at any barbecue or party!
Such a classic game and hours of family fun! Love the patriotic theme! XO
This is going to provide hours of family fun. I love that you used a patriot theme for the paint.
You also could bake that corn at 200 degrees for an hour or so and that should kill the larvae inside.
Oh girl I need to make some of these!! Love them and we love a good corn hole game!
Debbie
So fun, I love the stars! Super great tutorial too, I made one of these but have never finished it, I think you motivated me to pull it out! 🙂
I would recommend aquarium gravel to fill the bags. I’ve used it before for something similar. You might want to put two layers of fabric on each side of the bag depending on what weave you are using. I used it to fill gardening gloves that we used as frame weights for needlepoint. We put the gravel into those plastic medical gloves first and then into the garden gloves. Worked like a charm!
Mission accomplished. It’s cool!
A massive collection of tools, but I don’t see where the air compressor. I often have problems with the tires, so I think we need it in the garage.
I love the stars! Super great tutorial too, I made one of these but have never finished it. un Summer backyard game, Jeanie. your easy to follow tutorial makes it look doable. I used it to fill gardening gloves that we used as frame weights for needlepoint. this is a popular beach game I see them all the time, but none as pretty as yours!
It is a useful detailed blueprint. We play this game all the time but especially during the summer. Thank for sharing it.
My kids love playground adventures. They add extra fun to their activities.
A great opportunity to make your leisure time much more interesting. It is for the variety of games that I love the roblox platform, the main thing is to additionally use fps unlocker https://fpsunlocker.io/ . It allows gamers to set the frame rate of the Roblox game according to their system requirements so that they can play without lag.
My kids love playground adventures. They add extra fun to their activities.
I often use emulators and download roms of my favorite games here: https://techtoroms.com/
Great guide on making cornhole game boards! The step-by-step tips made building easy and fun. Plus, doing hand gripper exercises beforehand really helped with handling tools better. Definitely recommend this for anyone wanting a solid DIY project that combines skill and a bit of strength.
Great step-by-step guide on building cornhole boards! I appreciated the clear measurements and materials list. While browsing, I found similar DIY gear at a muay thai shop—surprisingly handy for tools too. Thanks for making the process feel simple and fun to follow!
Thank you for sharing this post with bat smash game.