About three weeks ago I was live on my Facebook page showing I transferred images onto wood with an iron. Did you see it? If not, you can catch it here. Ever since I made that video, I’ve had these three wooden pictures that need frames.
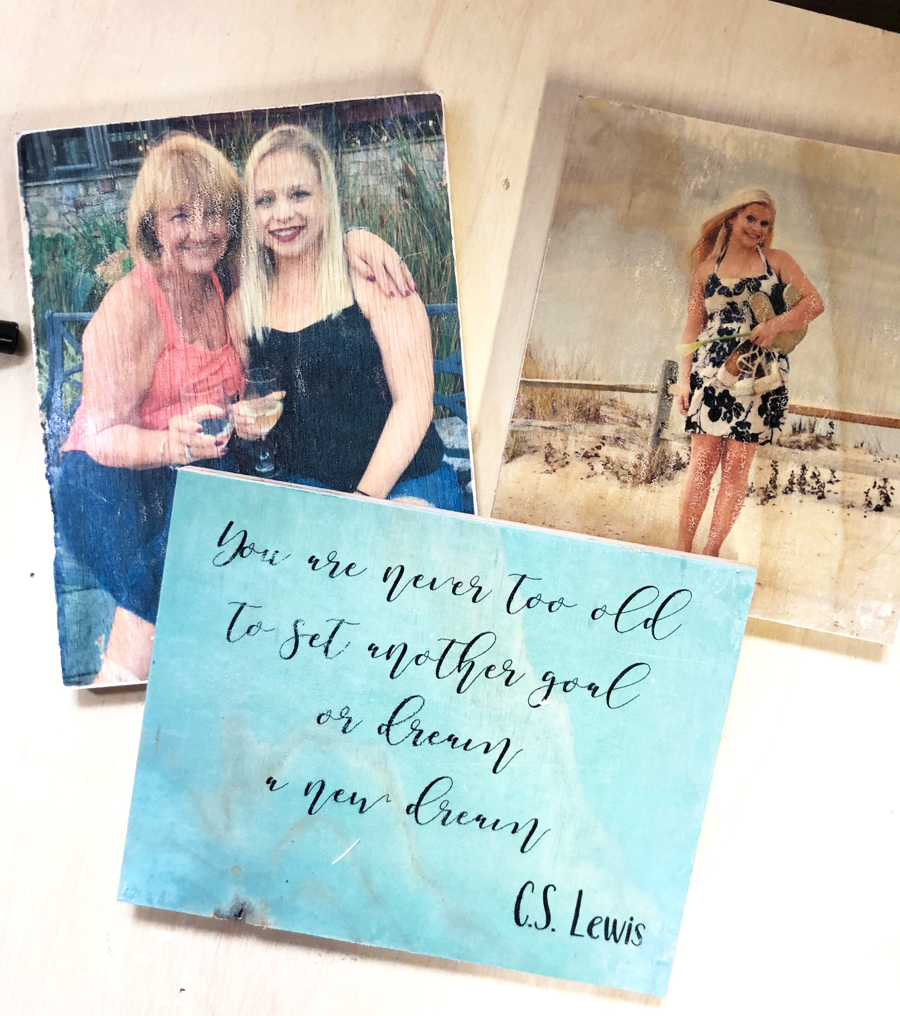
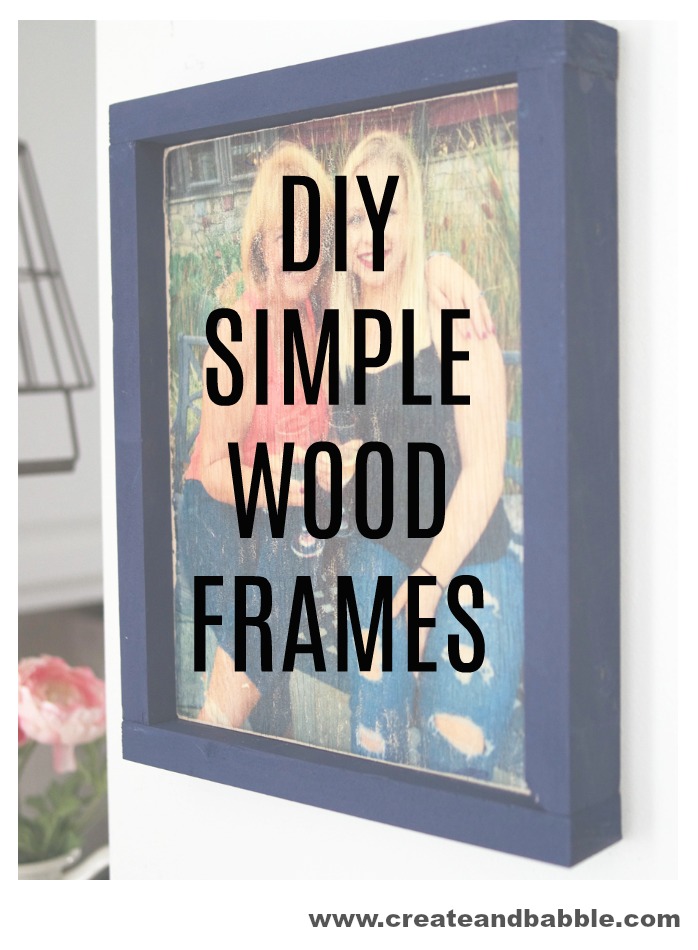
Until now. Now they are framed. And I want to show you how I did it. It’s so easy. Easy, fast, and affordable. My kind of project!
This post contains affiliate links.
How to Make Simple Wood Frames
Supplies to make Simple Wood Frames
- 1 1″ x 2″ board
- measuring tape
& pencil
- wood glue
- shims or paint stir sticks
Tools Used to make Simple Wood Frames
Step One – Cut the wood
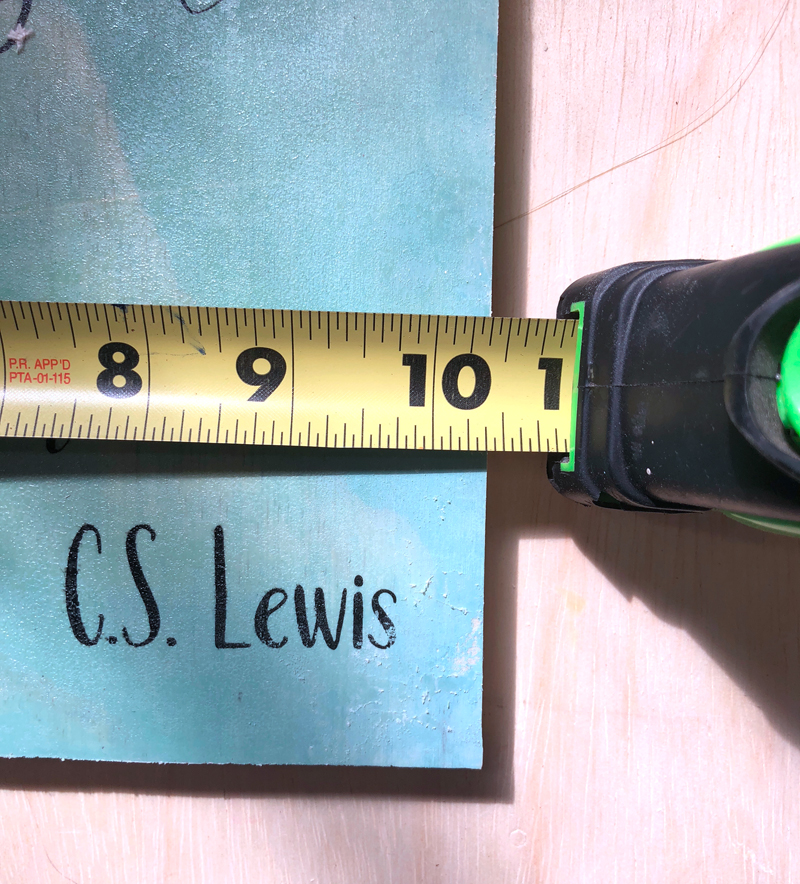
Measure the width or length of the piece to be framed. Cut two pieces of the 1″ x 2″ board to this length.
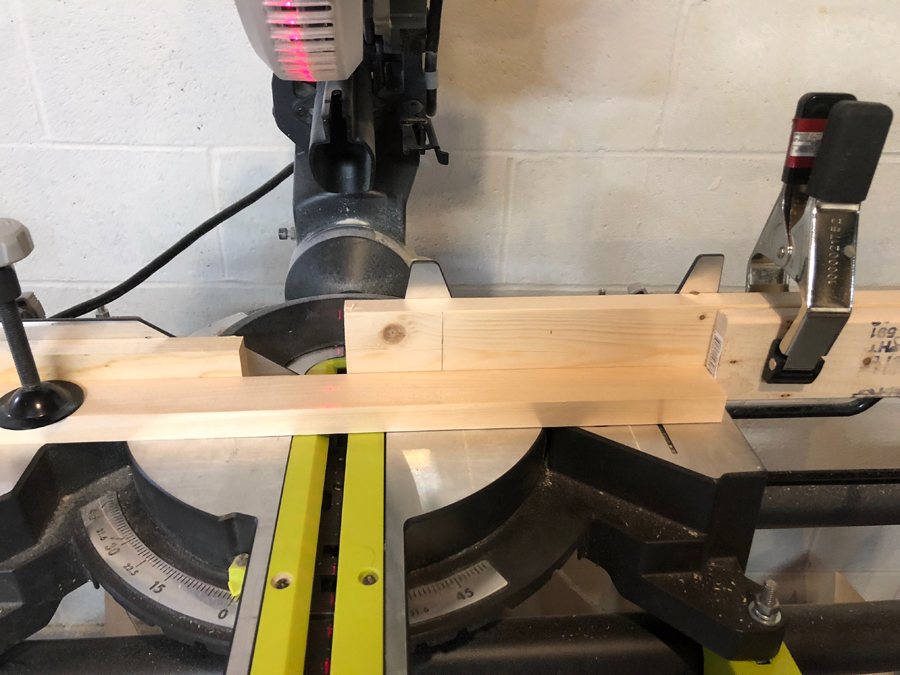
Tip: whenever I am cutting more than one piece of the same size for a project, I screw a piece of scrap wood to the fence on the miter saw and set up a stop block. This ensures that all the pieces are cut to the same exact length. (See image below. The clamp on the right is holding the “stop block”. Remember to wait until the blade stops spinning before lifting the blade when using a stop block or the wood might shoot out at you!)
Now measure the width or length (whichever wasn’t used for the first two pieces) and cut those to length. Be sure this measurement includes the depth of the two 1″ x 2″s. (1-1/2″) See image below.
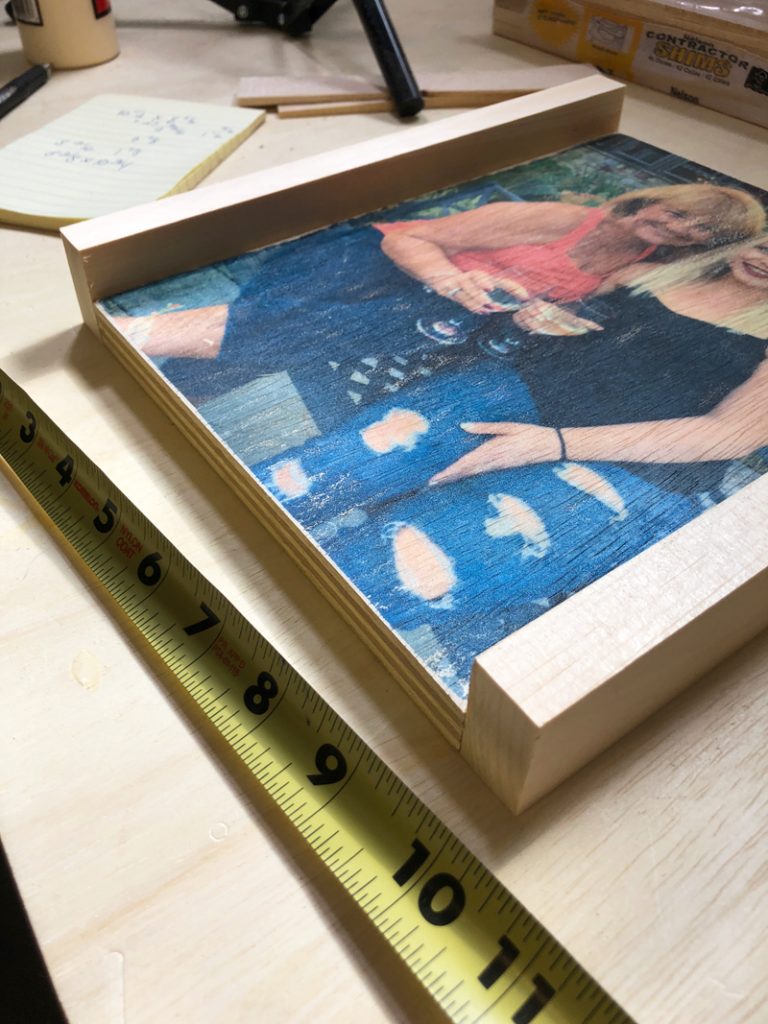
Step 2 – Glue and Nail Frame Pieces
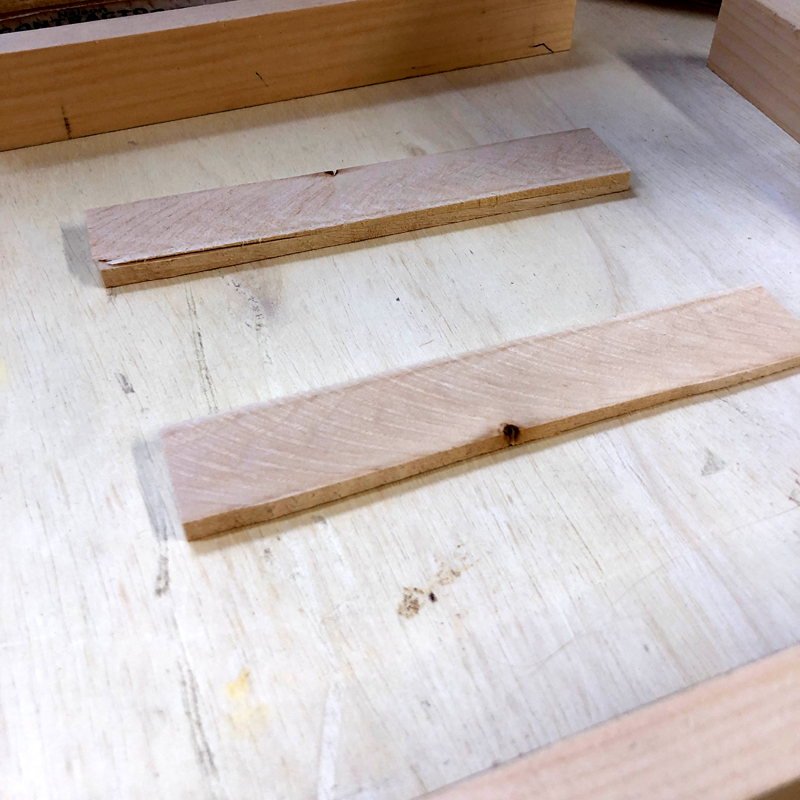
Before attaching the frame pieces, place either two sets of shims or two paint stir sticks down on your work surface under the plywood picture piece.
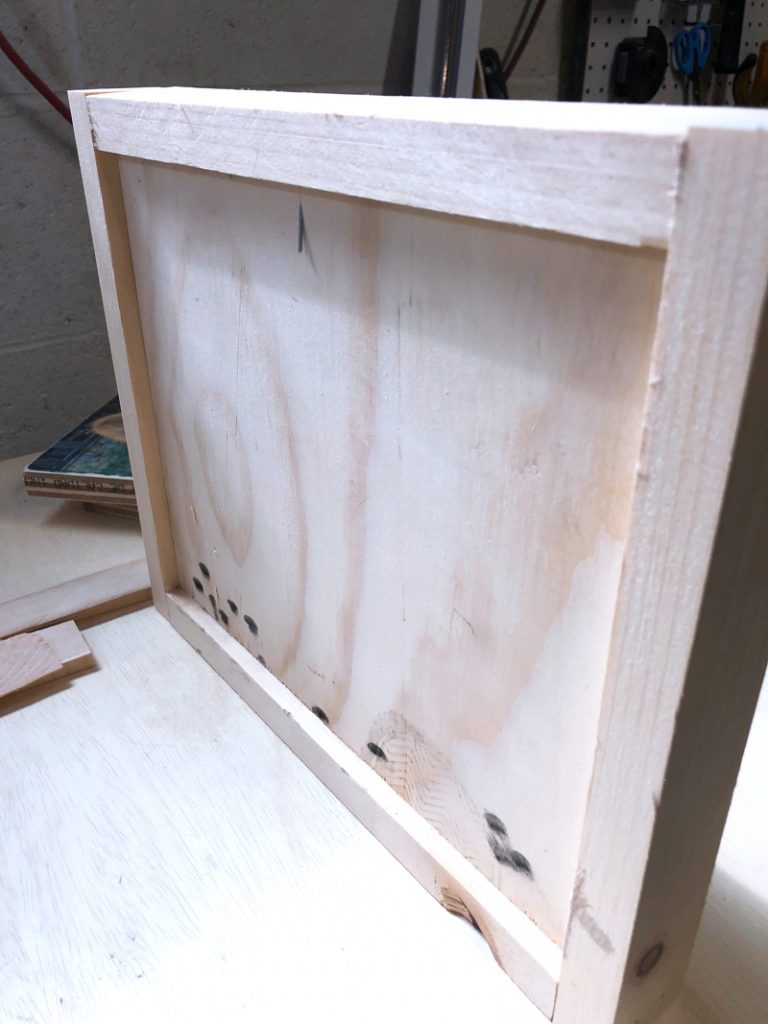
This is so that there is a “lip” on the back of the piece. (see image above – and ignore that rogue nail sticking out ; ) That was an oops!
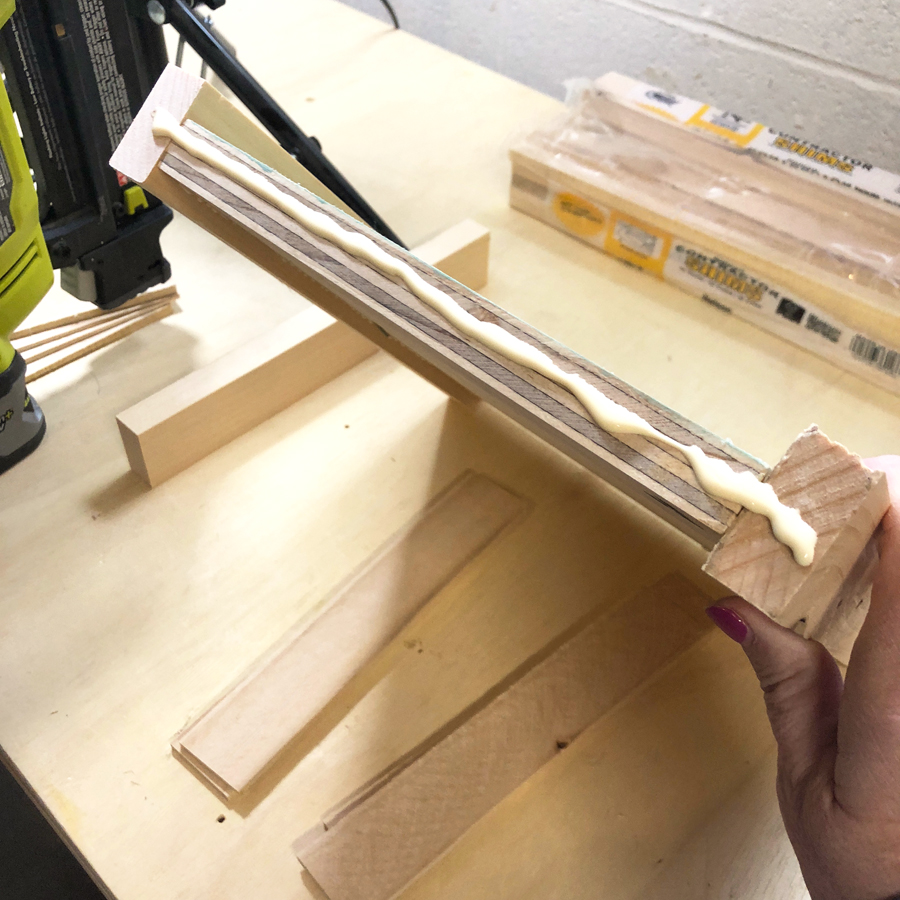
Apply glue to the edges before nailing frame pieces together.
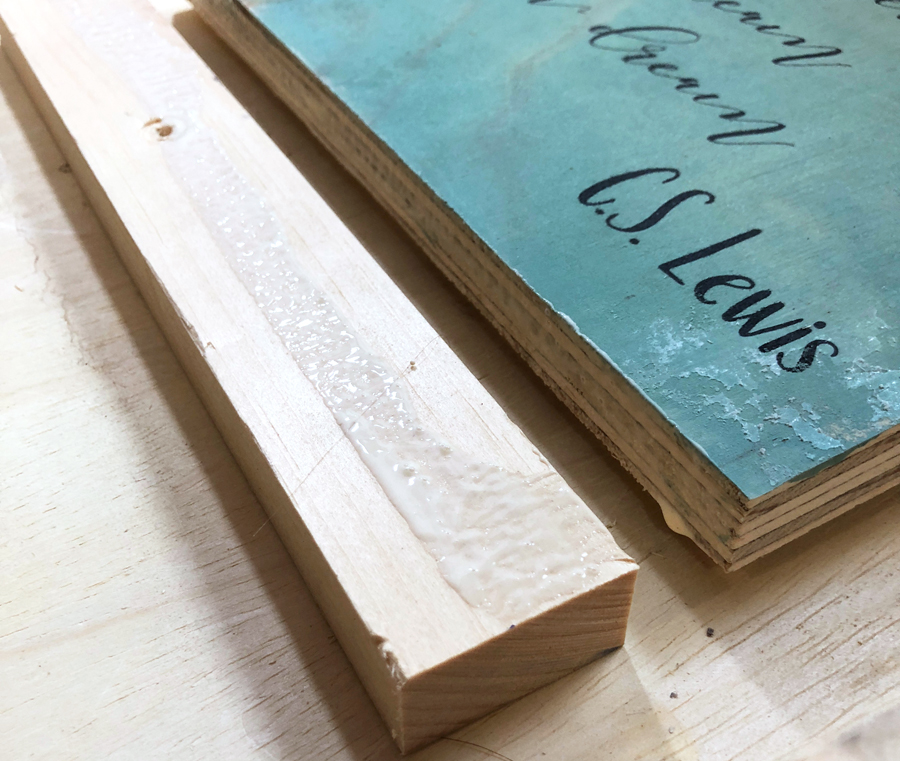
Use nailer to put it all together.
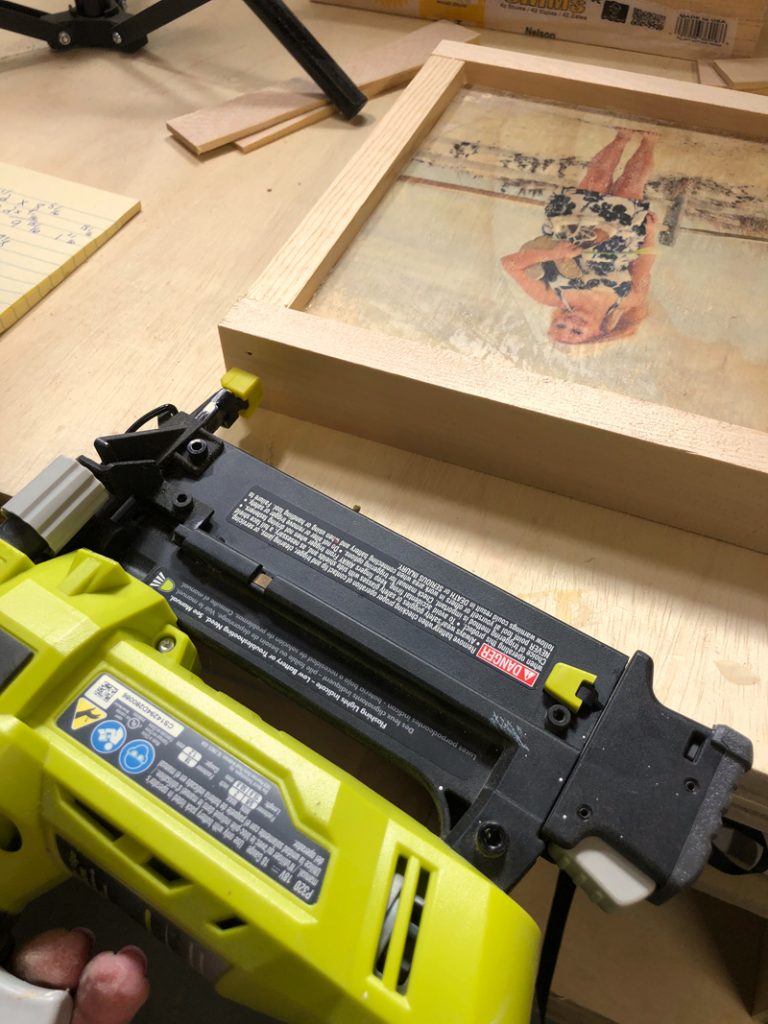
It wasn’t until I had the frames attached to two of the pictures that it occurred to me that it would be easier to paint or stain the pieces of the frame before attaching them!
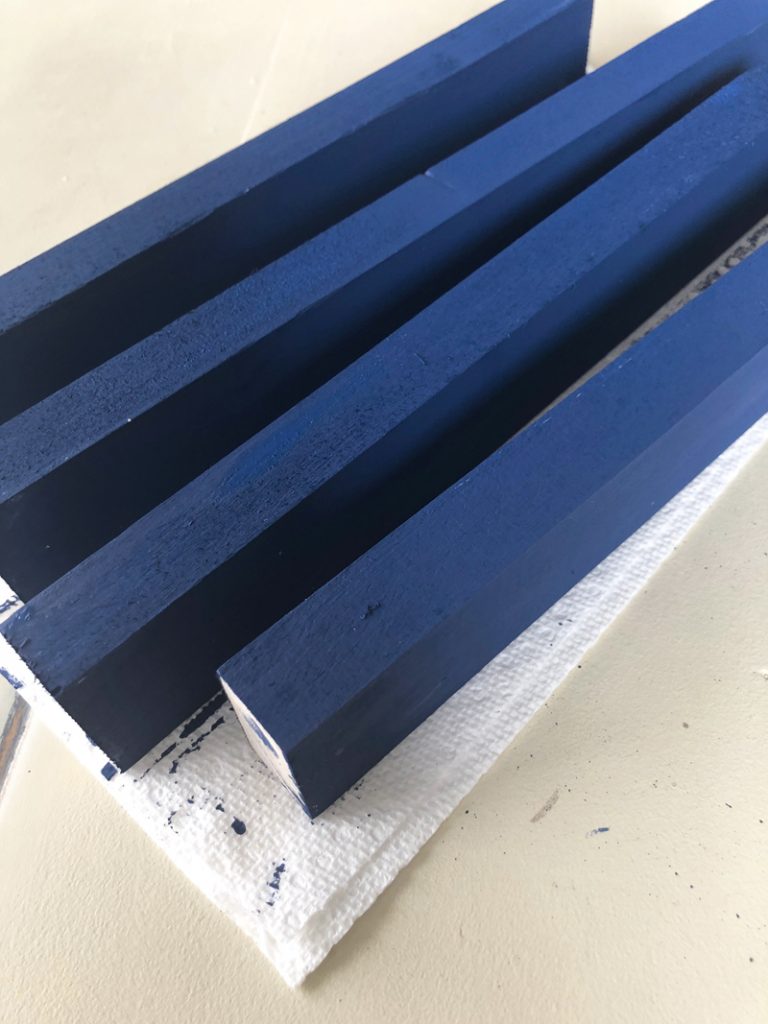
So that’s what I did with the last one. I used this pretty blue paint called Nautical. It’s a chalk paint by Folk Art.
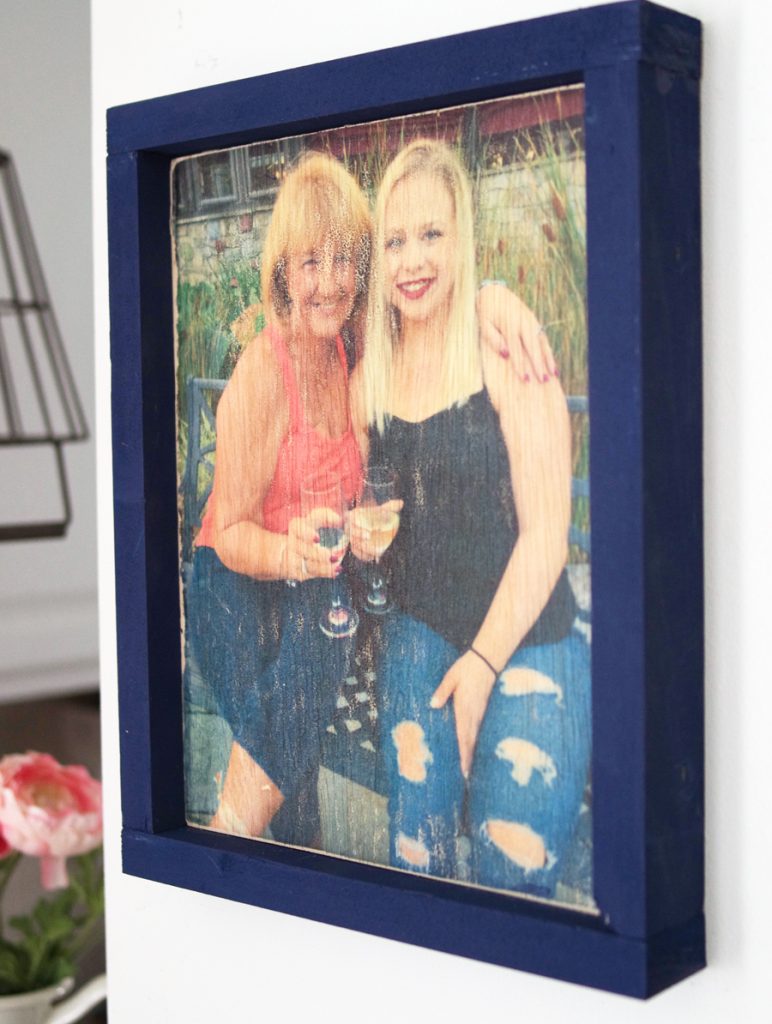
I think the blue frame suits this picture. What do you think?
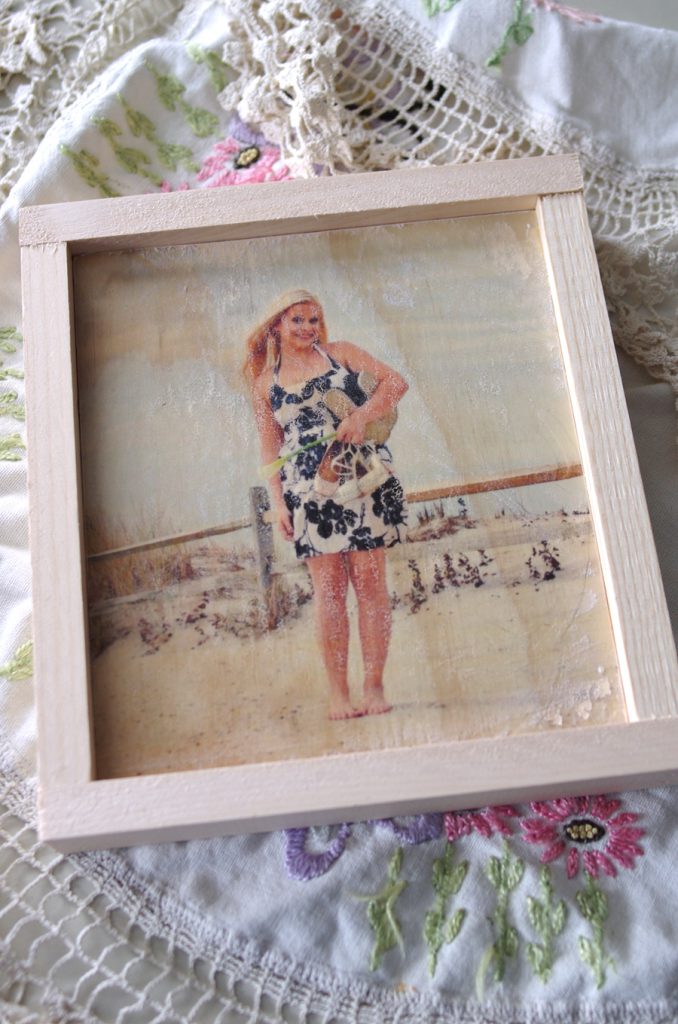
I chose to leave the wood bare for this beach shot.
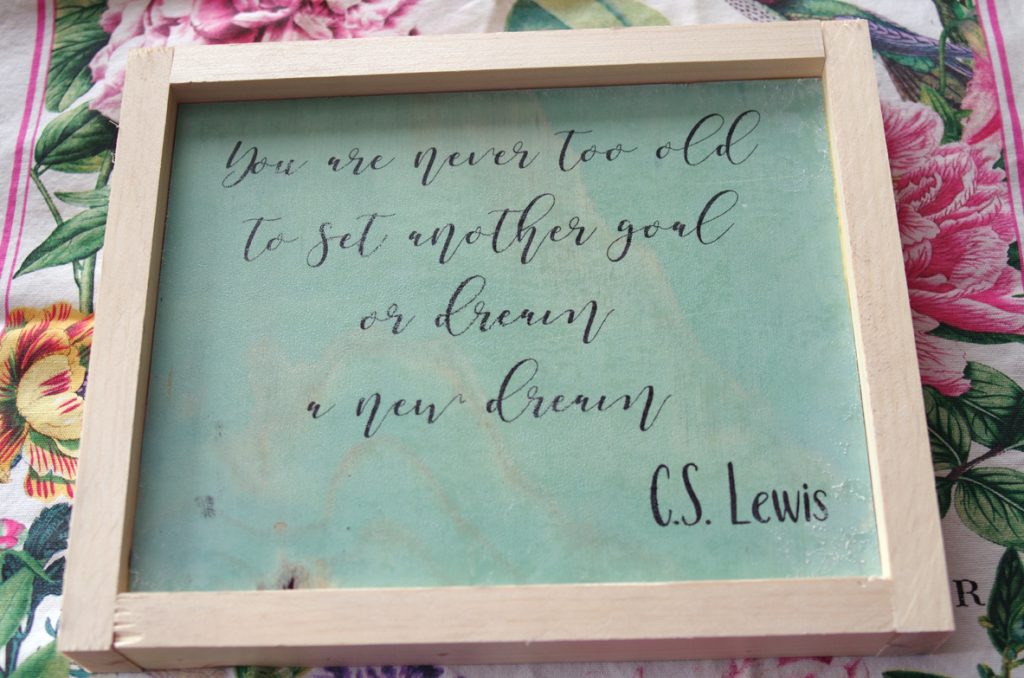
And I’ll probably paint this frame. Maybe black? This one is going in my office. I adore this quote.
Today’s post is my submission to the monthly Power Tool Challenge.
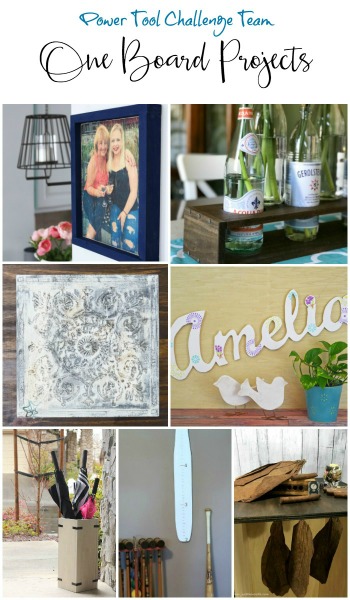
See all of the Power Tool Challenge Team projects in this collection of One Board Projects.
I link to these wonderful parties!


This is my kind of project, simple and easy just like you said! I love the quote!
I love a project that looks great and is inexpensive and easy to complete. I am going to try this!
I love that quote too Jeanie!
Fun pictures – so cool you ironed them onto the wood. The frames are the perfect solution to those images.
pinning!
gail
That looks like something even I could do and it looks great as well. I love the colour you painted it too.
Thanks for the great tutorial! They really look professional. Thanks for sharing with SYC.
hugs,
Jann
Hi Jeanie,
You did a fantastic job. I love the color blue.
It was really insightful.
Thanks for such a nice content.
Cheers
BTW if anyone interested more have a look source thanks
Great article on making wood frames! You have shared great tutorial, this guide has been very helpful, thank you!
Thank you very much for this post, I agree with what is written paymetodoyourhomework reviews there and I read something about it on the I also advise you to read to better understand this topic
Love your writing style. Always so clear and engaging. Solar