Welcome to the 2018 Ornament Exchange Handmade Ornament Link Party, our third year of the blogger ornament exchange! This link party is only for handmade ornament tutorials and will run from November 15th through December 15th.
This year, we have 50 talented bloggers sharing their Christmas ornament tutorials and helping to host the handmade ornament exchange link party! Let’s meet the hosts of this year’s 2018 Ornament Exchange Link Party!
My Pinterventures • Northern Feeling • A Purdy Little House
Create and Babble • 2 Bees in a Pod • Across the Boulevard
Simply Beautiful by Angela • The Inspiration Vault • Faeries and Fauna
Home on the Corner • This Autoimmune Life • Our Unschooling Journey
Rosewood and Grace • Shoppe No.5 • Domestic Deadline
Made In A Day • Intelligent Domestications • Cookies, Coffee and Crafts
Tales From Home • Munofore • Super Mom – No Cape!
Raggedy Bits • Christmas Tree Lane • C’mon Get Crafty
Making Manzanita • Mom Home Guide • From Evija with Love
Red Cottage Chronicles • Coastal Bohemian • Our Crafty Mom
Girl, Just DIY! • Halfpint Designs • Prim and Propah
Purple Hues and Me • Farm Girl Reformed • Eye Love Knots
Try It – Like It – Create It • Teadoddles • Two Purple Couches
Inside the Fox Den • Keys to Inspiration • Our Home Made Easy
Charleston Crafted • The Quiet Groove • Chicken Scratch NY
Jordan’s Easy Entertaining • Mom Envy • Sparkle Living
The Good Hearted Woman • For the Love of Food
My ornament exchange partner is Debra from Shoppe No. 5. I’ll show you the ornament that Debra made for me a little further down. But first let me show you what I made for Debra.
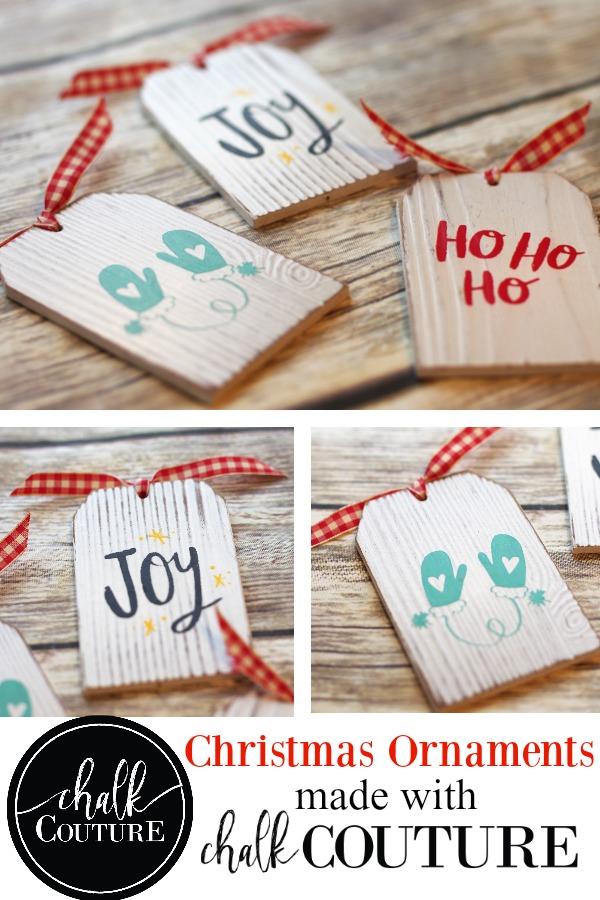
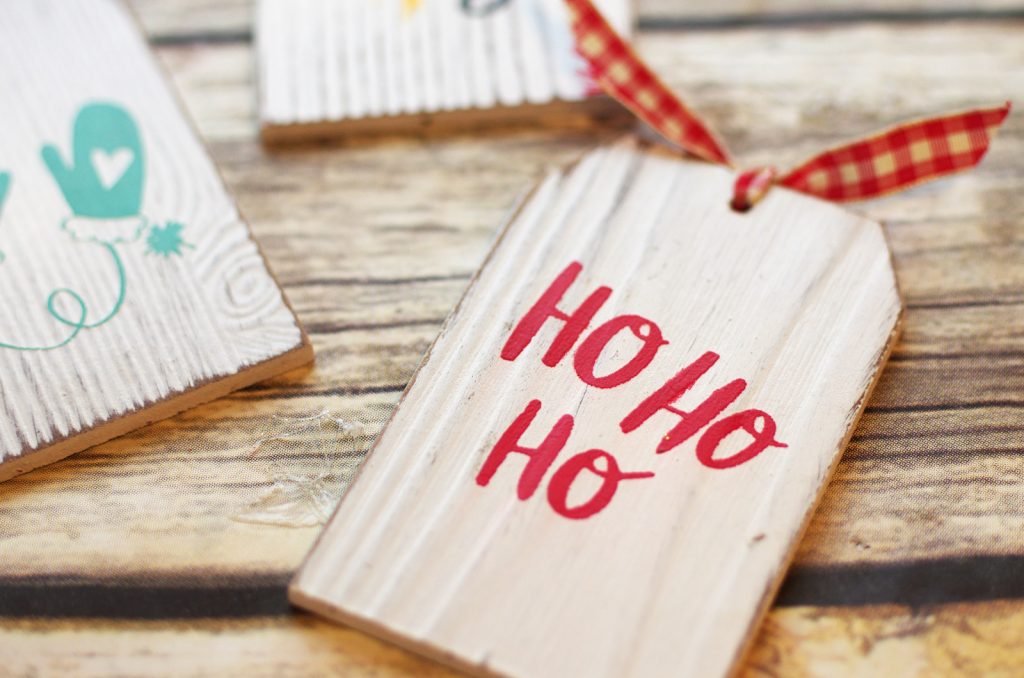
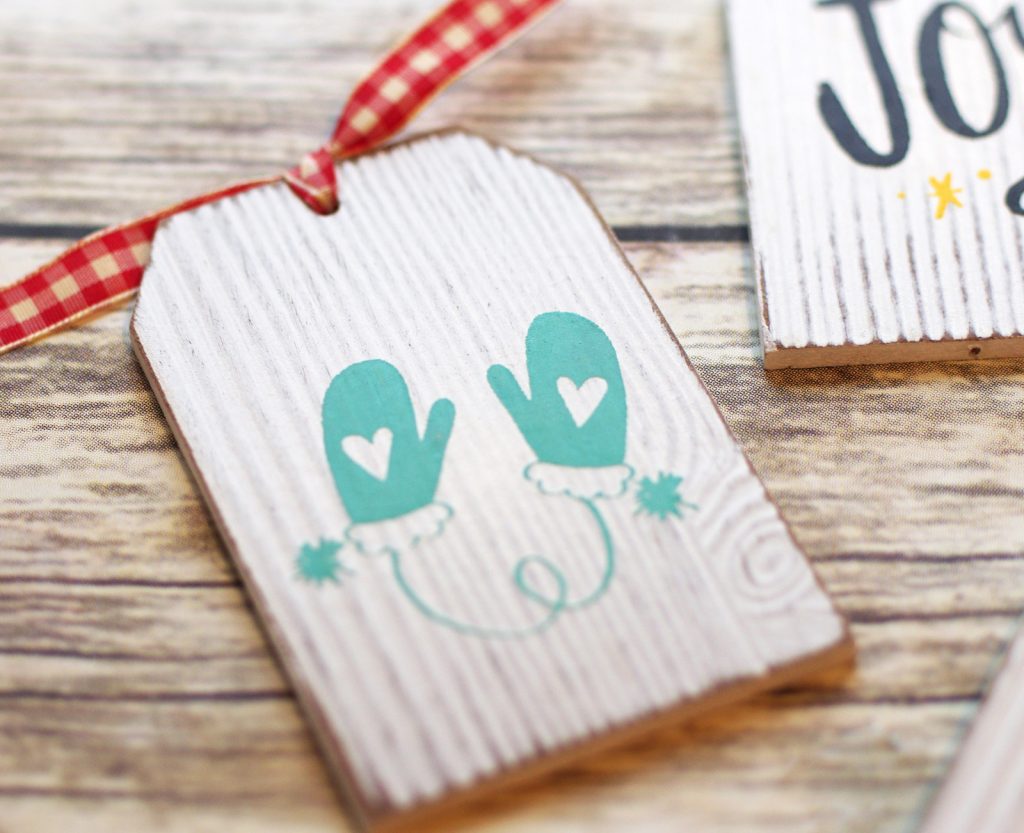
I used the Chalk Couture Mini Holiday Icons Transfer and small wooden tags that I found at Michaels to make these adorable ornaments.
Haven’t heard about Chalk Couture yet? Chalk Couture is DIY chalk art for the artistically challenged. By using specially formulated, non-toxic Chalkology Paste and revolutionary reusable, adhesive silkscreen transfers, anyone is able to produce perfect images every time! It’s perfect for children, anyone like with unsteady hands, craftaholics, or anyone who thinks they “can’t” or “aren’t crafty”, Chalk Couture is the perfect product for perfect DIY home decor every time! Read more about it here.

How to Use Chalk Couture to Create Beautiful Christmas Ornaments
- Open transfer packaging and write “Back” on the back of your transfer pieces(s).
- Cut up transfer if it is a transfer that has more than one element.
- Peel transfer from white backing sheet carefully.
- “Fuzz” the back of the transfer is applying to a hard non-porous surface
- Apply transfer to the surface.
- Open Chalkology Paste and stir. It should be a yogurt-like consistency. Add a drop or two of water if necessary.
- Apply Chalkology paste to your transfer using a squeegee. Scrape excess Chalkology paste and put back into the jar.
- Close Chalkology paste to keep from drying out.
- Peel off transfer while Chalkology paste is still wet and then place transfer into a pan of water to clean. Use a disinfectant wipe to clean both front and back of transfer. Allow to dry with sticky side up. When dry, place transfer back on it’s backing sheet.
- The transfer is now ready to be re-used again and again
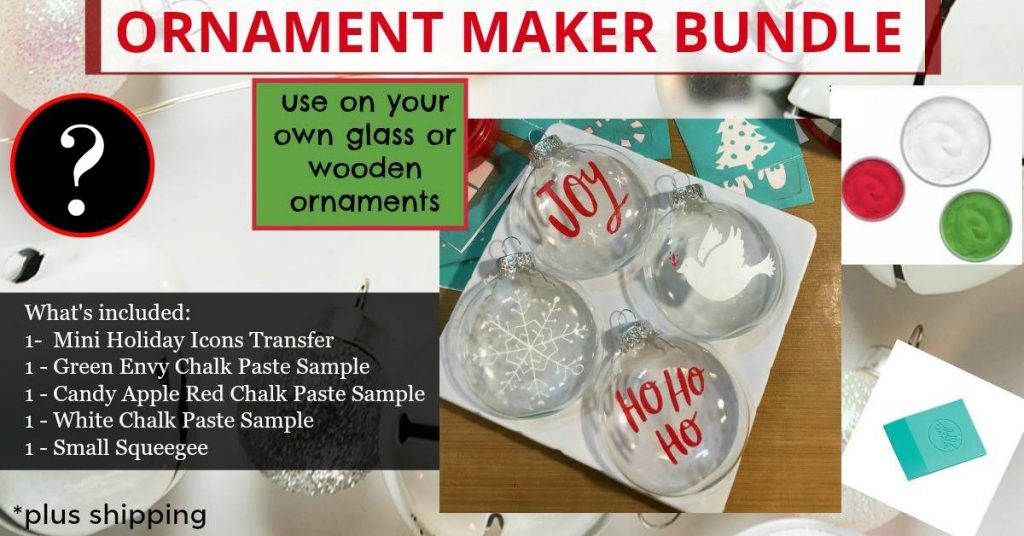
Here is a Chalk Couture beginner’s tutorial video to watch. This transfer is currently out of stock, HOWEVER, I have a few Ornament Making Bundles available for a special price that you can only get if you’re a member of the Create & Babble Chalk It Over VIP Facebook Group. Ask to join here. *While supplies last!
Chalkology Paste dries hard but is not permanent unless sealed. I sealed the ornaments that I sent to Debra.
As promised, here is the ornament that I got from Debra:
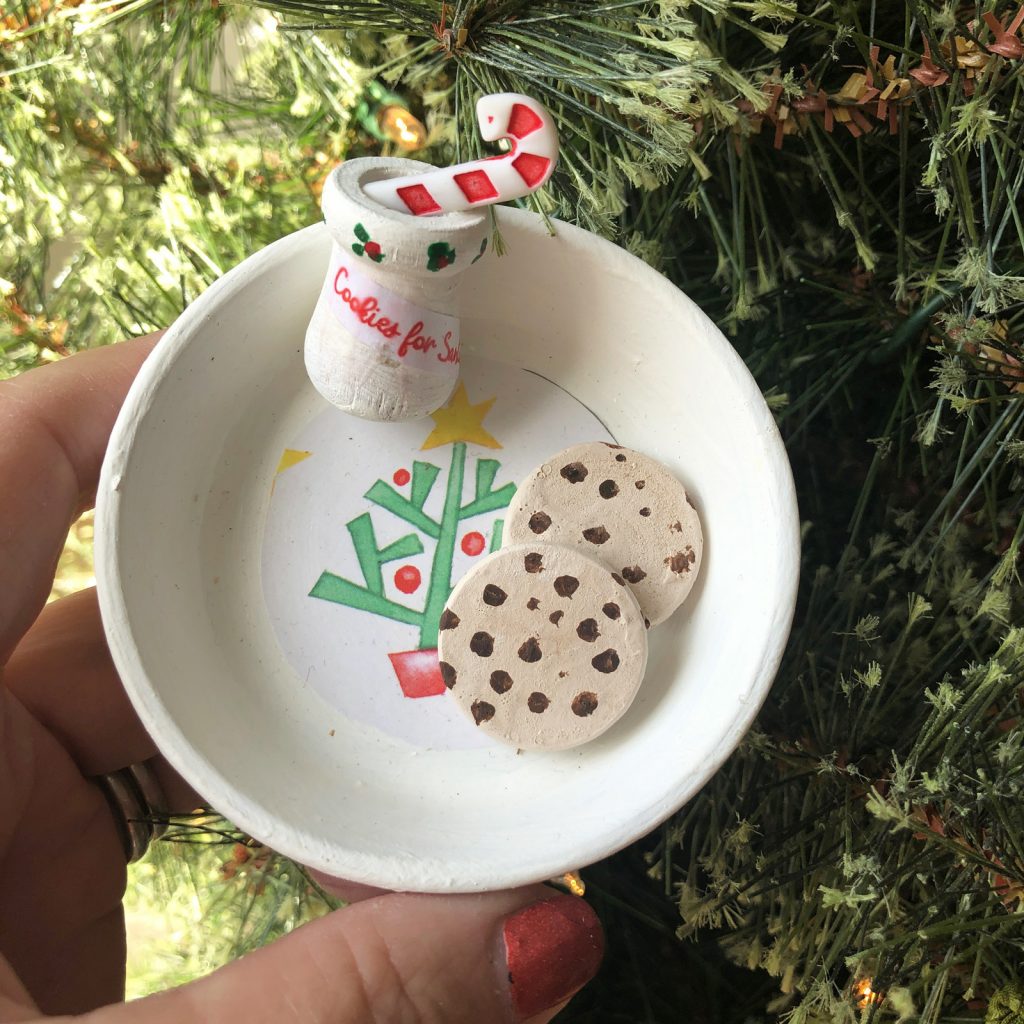
Isn’t it adorable?!? I can’t wait to read about how she made it!
Now let’s take a look at all of the wonderful ornaments!
 If you have a handmade ornament tutorial, we would love for you to share it on the link party below ⇓⇓ Add as many ornament tutorials as you like until December 15th.




These are So so adorable! I love them. Pinned.
Adorable ornaments. Those stencils are so cute!
Absolutely gorgeous!!!!! Pinned them your exchange partner must be so happy with them.. #2018ornamentexchange
This Chalk Couture is very cool. Your ornaments turned out great!
I have not looked at Chalk Couture! I need to do that! These turned out super cute!
Kim
These will make great neighbor gifts. Thanks for sharing!
I love these, they look so beautiful!!
Now how cute are those ornaments! Love them!
So cute! I really love how these look!
So cute! I haven’t tried chalk couture, but looks like a fun craft item to have in my stash 🙂 Thanks for sharing your tutorial on the ornament exchange. Pinned.
These are so cute! I have never tried this product before but it seems so simple I will have to give it a try for sure!
I have the same package of mini stars and am still deciding on what to do with them. I like your idea of making mini ornaments to be enjoyed year-round. They are adorable. I just simply cut a strand of gold thread and sandwiched it between two stars using a hot glue gun. Its rich, thick, creamy texture ensures smoothly brushable for exceptional blending, highlighting, and shading on a wide variety of porous surfaces, such as wood, canvas, tin, terra cotta, fabric, and paper mache.
Hello,
Awesome ornaments. Those stencils are so pretty!