I love to decorate my home with red, white, and blue decor items for summer. I guess because summer kicks off with Memorial Day and I decorate with red, white, and blue and then keep it up all summer long. Those patriotic colors just say “summer” to me.
But I also love bright, pretty, floral-like colors in summer also.
So when the folks from Nancy’s Notions asked me to create a project using their Dresden Template I couldn’t decide between those two color palettes: patriotic or pretty and flowery. So I made both ?.
Patriotic Dresden Plate Quilted Wall Hanging
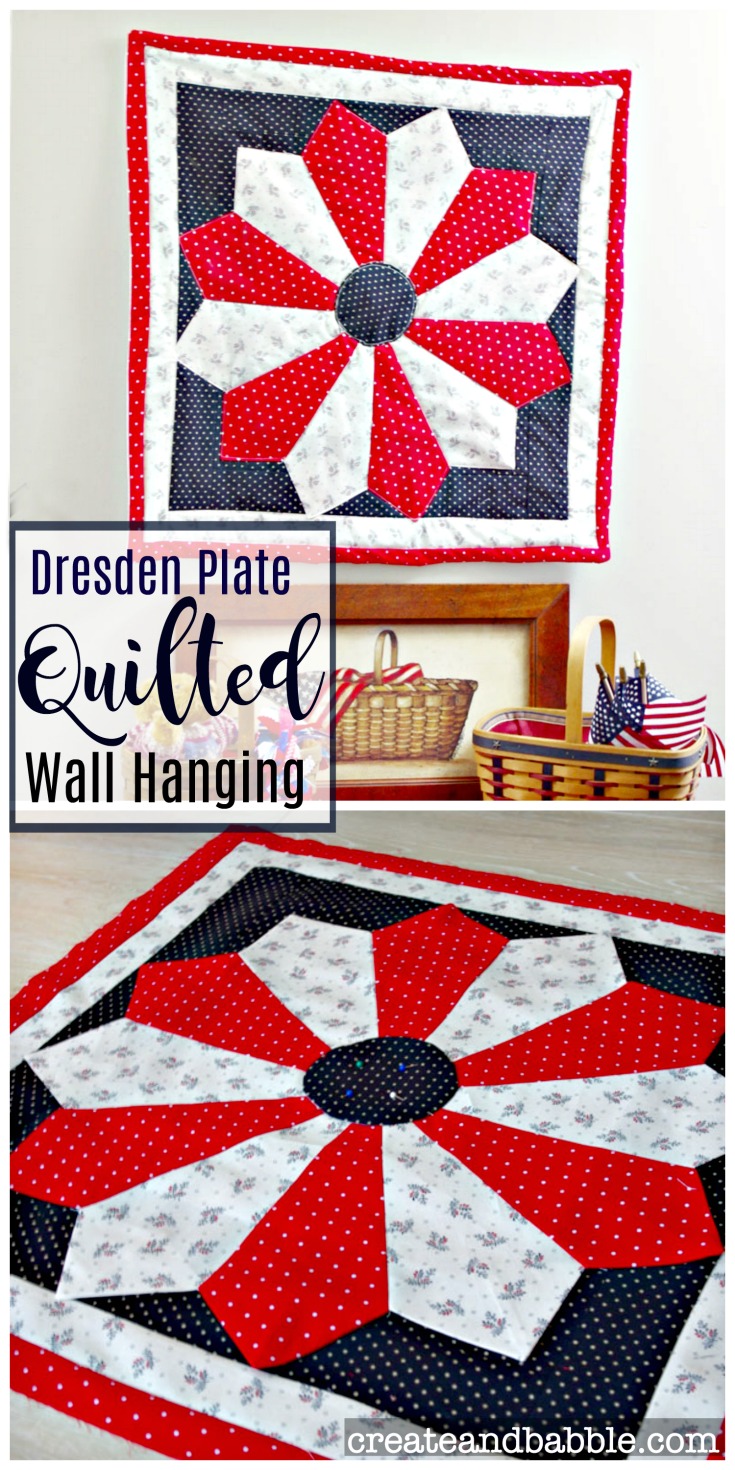
I was sent the Sewing With Nancy Dimensional Dresden Template. I was so excited to try it. I immediately ran to my small fabric stash and found a few possibilities but I also welcomed the excuse to visit one of the many quilt shops here in Lancaster County to beef up my stash ?. And of course I bought way more fabric than what I needed but I just couldn’t help myself!
The kit includes a dresden acrylic template ruler for cutting out all sorts of sizes of dresden fans, plus instructions on how to create dimensional dresdens, with little fans of fabric between the regular fans! I can’t wait to try those in the future, but since I consider myself a beginner when it comes to all things “quilting” I stuck with the basic dresden without any additional dimension added in this time. Although the instructions did make it seem very easy! Next time for sure.
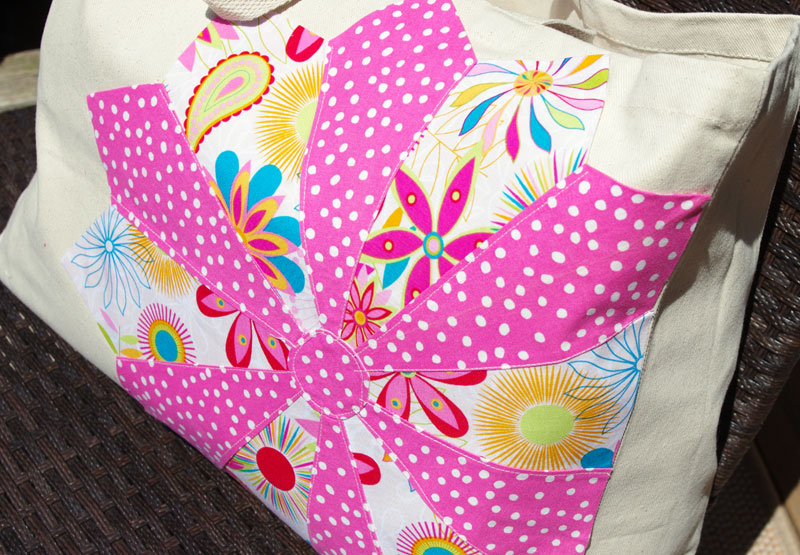
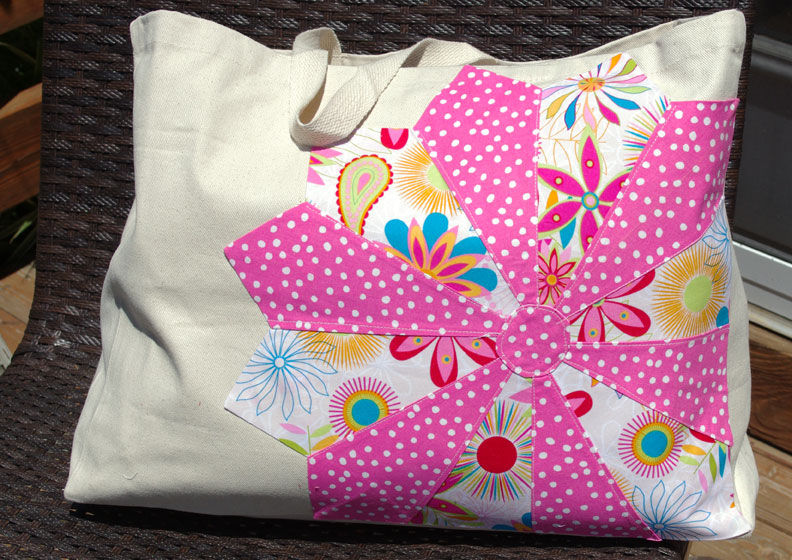
This is the tote bag that I embellished with a dresden plate made out of fun, bright colors. I’ll show you how I attached it later on in this post.
Materials:
- Dimensional Dresdens Template and Patterns – On sale for 44% off now through July 30!
- Assorted prints for dresden wedges
- circles of fabric for centers
- interfacing
- square of white fabric for background
- border fabrics
- batting
- backing fabric
First let’s start with how the dresden plate is made.
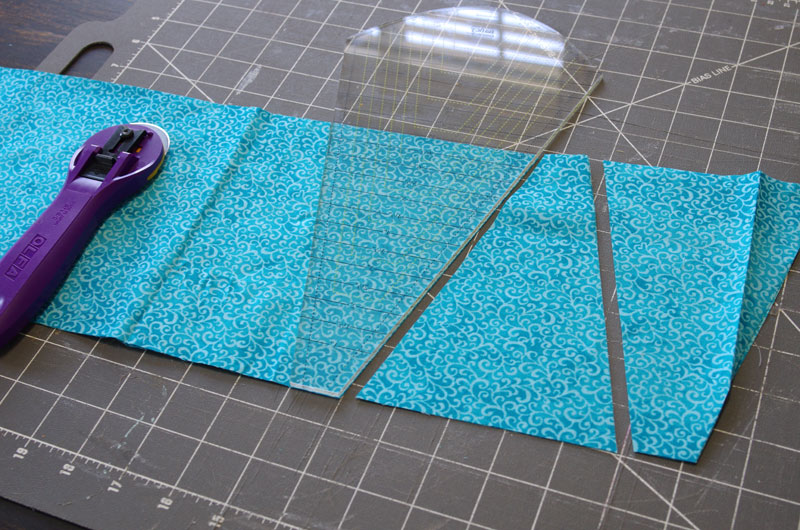
I followed the directions in the instruction book and cut out 8″ wedges using the template. You may have seen me doing this during a Facebook Live video last week.
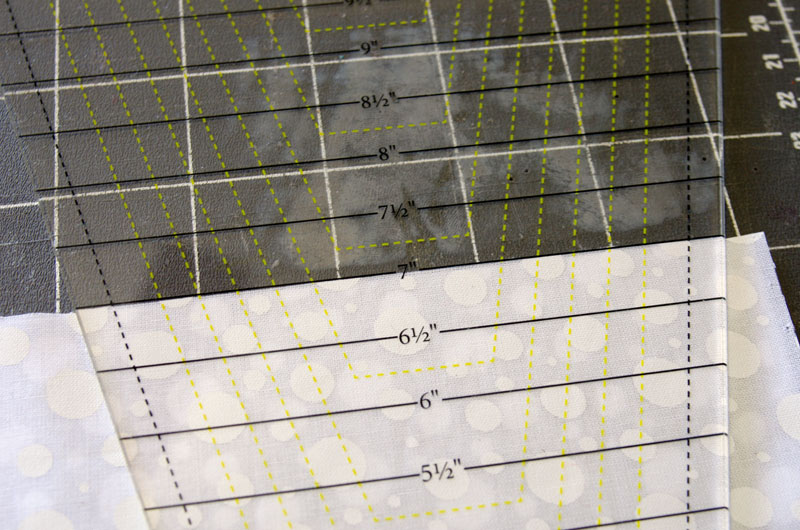
Then you use that same template to create the rounded (or convex) styling option. The other styling options are pointed, straight and concave.
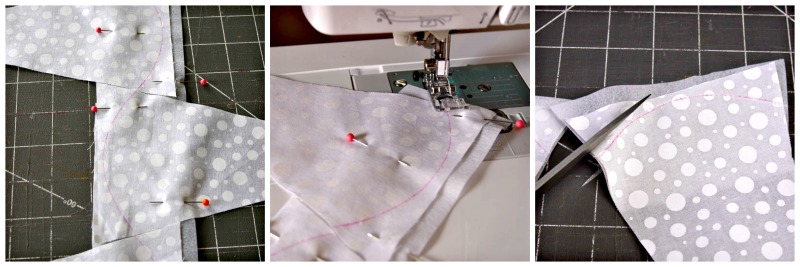
I created the convex wedges by following the instructions in the booklet. You can see the steps in the images above and below. The booklet offers wonderful tips and tricks for making this process so easy!
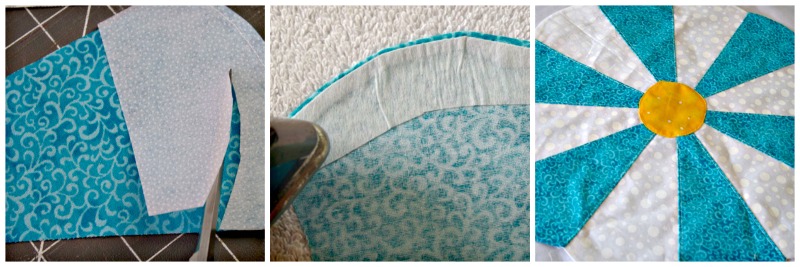
Once the wedges were all made, I simply following the instructions in the booklet once again and sewed it all together.
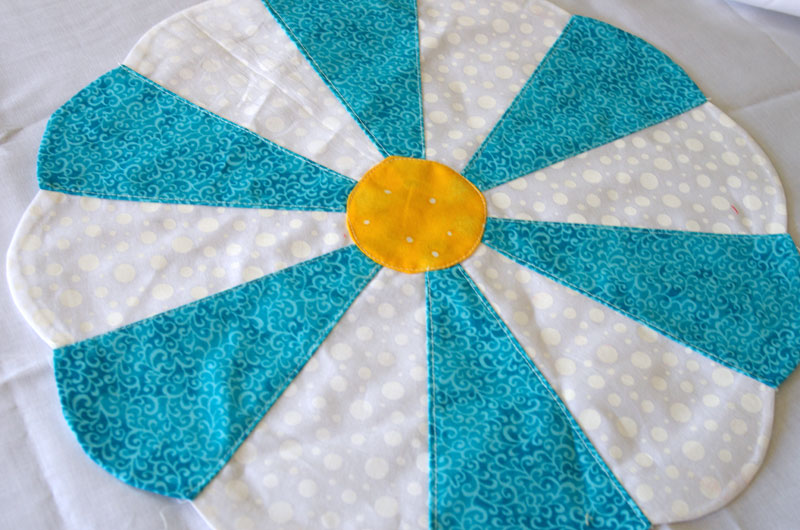
Is it just me or are you reminded of a beach ball, too? ? I’ll get back to that!
But first let’s get back to putting together the Dresden Plate Quilted Wall Hanging.
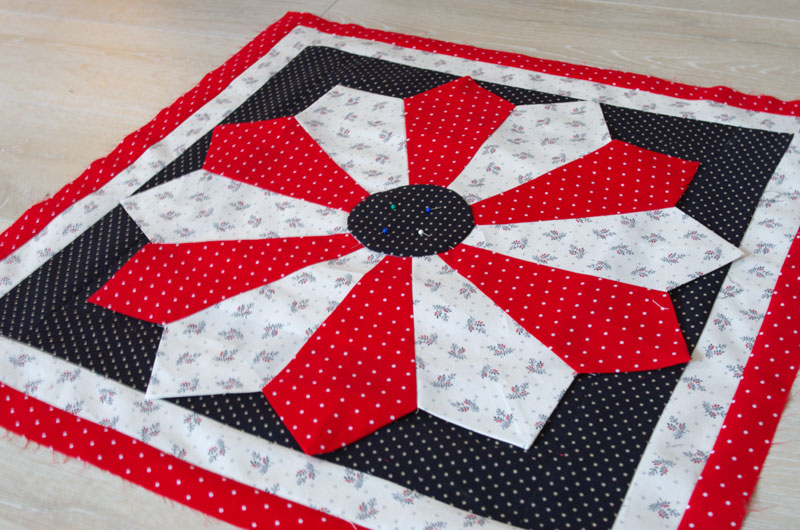
As you can see, I went with the pointed wedges for this dresden plate design. I also did a Facebook Live on how you do that. It is so easy – just remember “right sides together”!
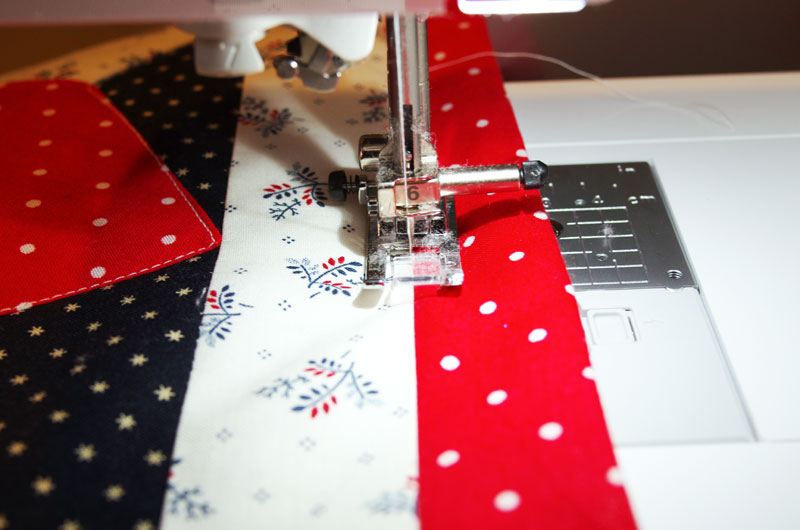
I sewed strips of the same fabric used in the dresden plate to a white square base to create the borders for my wall hanging. Then I machine-quilted the wall hanging by “stitching in the ditch” (where quilting stitches are sewn directly in the seam or placed just beside the seam approximately 1/8″ to ¼” away).
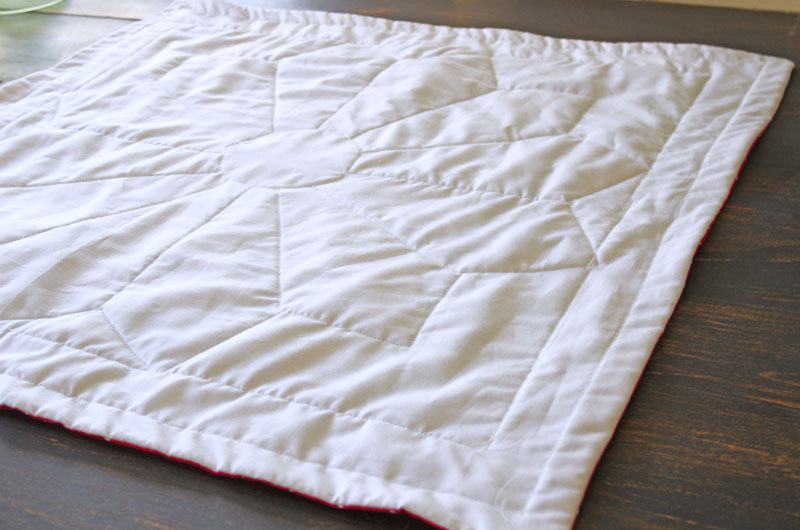
I finished the quilt by sewing the backing and batting together first, then sewed it right sides together to the quilt square, leaving an opening for turning. This way I didn’t have to fuss with binding. This way it has a self-binding.
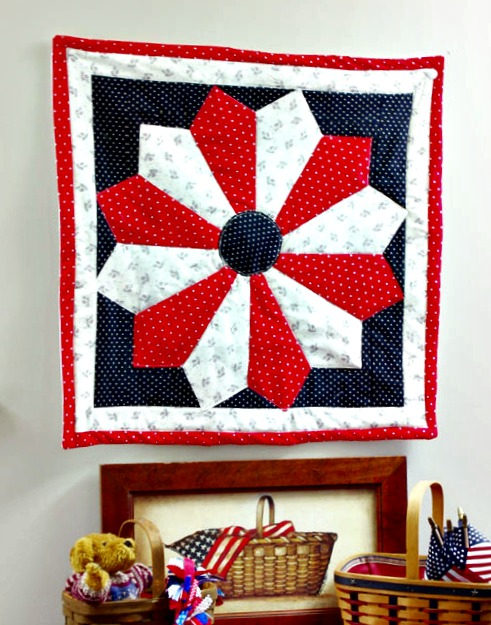
I just love it! Wouldn’t a whole quilt made up of these square be incredible?!?
And as promised, here’s what I did with that other dresden plate square:

I made a pretty tote bag! Well I didn’t actually make the bag. I bought a plain one.
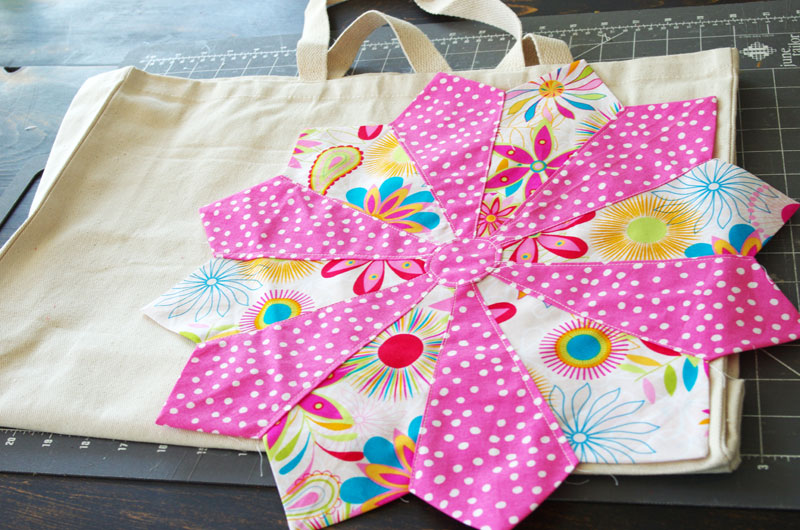
But by trimming two sides of the dresden plate, and then ironing it onto the canvas tote bag with Heat ‘n Bond, I now have a pretty cool stylin’ beach bag!
Don’t forget to check out the Dimensional Dresdens kit for 44% off now through July 31!


These are great! Love the pink one and I’d love to have a patriotic themed quilt with the squares you made! Love!!
Wow! I’ve always wanted to learn to quilt. I LOVE LOVE LOVE how the tote came out.
I love how you used the dresden plate on a tote bag! So neat!
This is beautiful! I want an entire quilt of dresdens!
So pretty!
When I was done, I stitched the quilt square to the backing and batting, right sides together, and left a gap in the seam for turning. I avoided the hassle of binding by doing it this way. By doing so, it binds itself.