• Home
  • About
  • Contact
  • Partner
  • Privacy Policy
    • Facebook
    • Instagram
    • Pinterest
    • Twitter
    • YouTube

Create and Babble

  • DIY
    • Home Improvement
    • Upcycle
    • Furniture Makeovers
    • Build It
  • Craft
    • Silhouette
    • Sewing
    • Wedding DIYs
    • Seasonal
    • Gifts
  • Lifestyle
    • Bicyling
    • Travel
    • shopping

STAY UP TO DATE

Get the latest crafting and DIY tips, tricks and tutorials delivered straight to your inbox!

Pretty Shadow Box

January 14, 2015

If you like it, please share it!Share on pinterest
Pinterest
Share on facebook
Facebook
Share on twitter
Twitter
Share on stumbleupon
Stumbleupon
Share on google
Google
Share on linkedin
Linkedin
Share on reddit
Reddit

I wrote this post as part of a paid campaign with Plaid Crafts, Michaels and Blueprint Social. The opinions in this post are my own.

I have a fun project to share today, thanks to the folks at Plaid Crafts, Michaels and Blueprint Social!

pretty-shadow-box

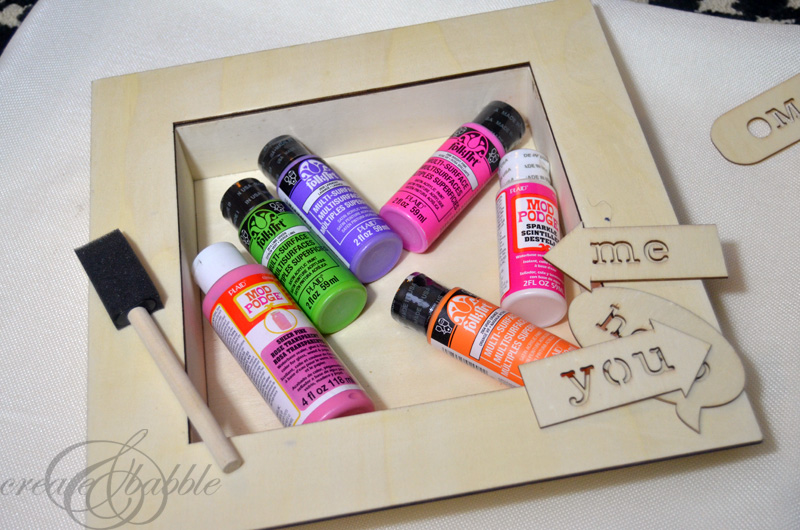
The timing was perfect. As you may know, I’ve been busy helping my daughter makeover the baby’s room and when I received my package of goodies that included a shadow box from the Spring Wood Surfaces line at Michaels, I knew what I wanted to make.

pretty-shadow-box

I could have just painted the wooden shadow box but then I thought how pretty it would look if I covered it with scrapbook paper.

pretty-shadow-box

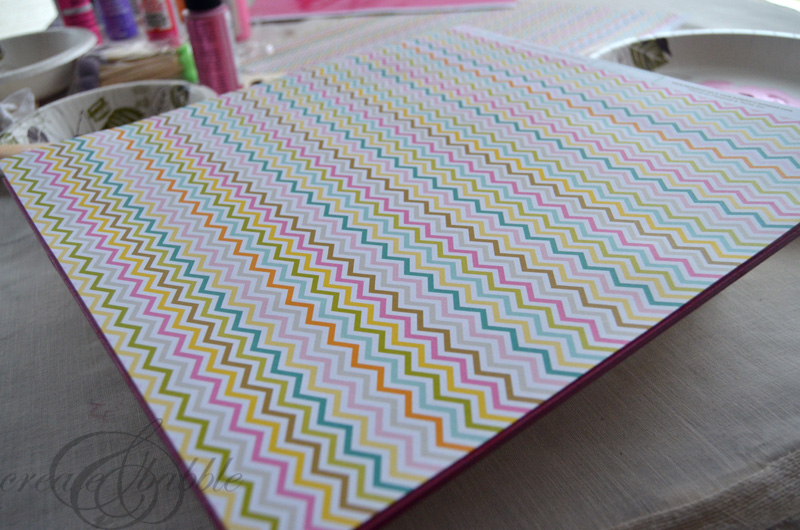
I found some pretty card stock in my stash and cut it to the sizes I would need to cover the inside surfaces of the shadow box.

pretty-shadow-box

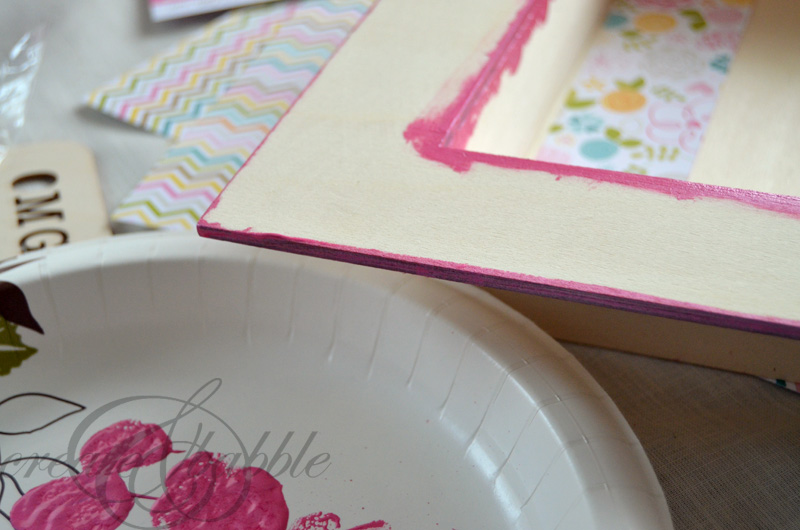
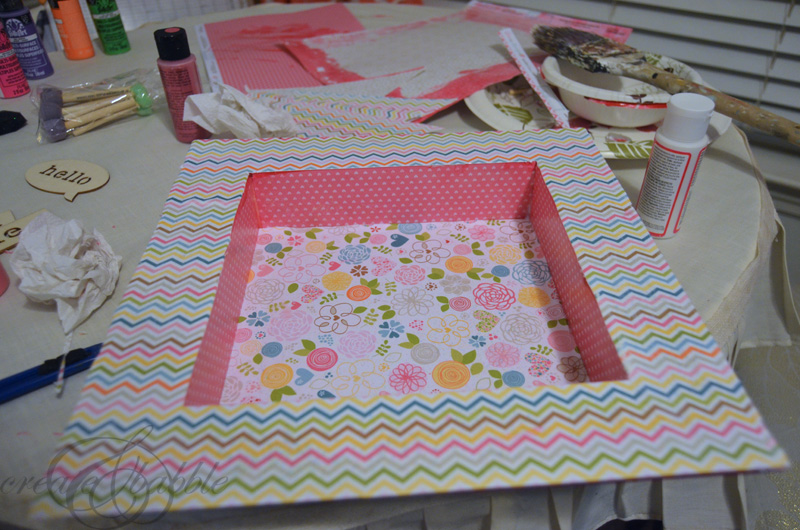
Since I didn’t want the wooden edges to show, I painted them with a few coats of the Folk Art Multi Surface acrylic paint so they would blend in with the colors of the card stock.

pretty-shadow-box

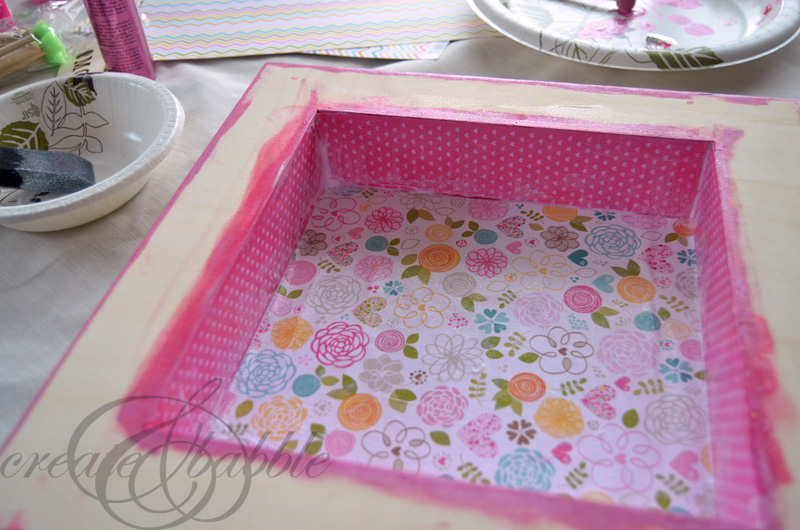
To attach the card stock, I applied a generous amount of Mod Podge both to the back of the card stock and to the shadow box. Then I brushed on another coat of Mod Podge to make sure the card stock was well adhered.

pretty-shadow-box

A little trick I used to cover the face frame of the shadow box was to take the entire sheet of 12″ x 12″ card stock and lay it over the frame.

pretty-shadow-box

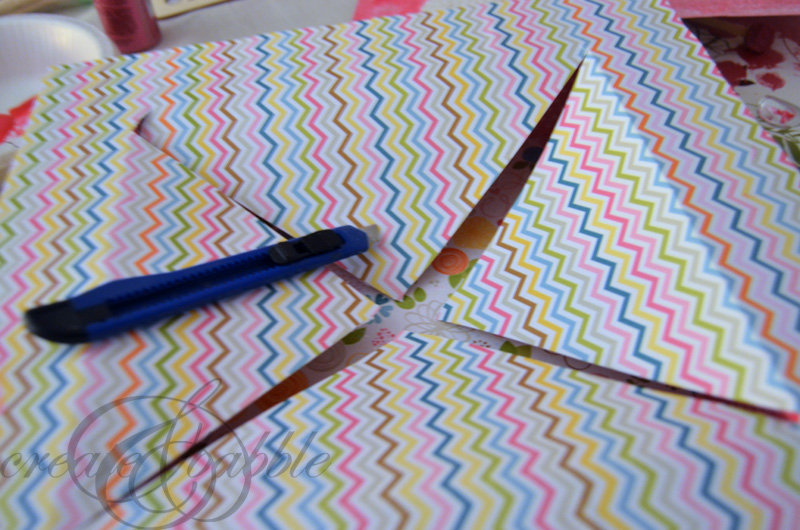
Then using a craft knife, I cut an “X” into the middle and then trimmed to fit. This avoided having seams on the front of the shadow box.

pretty-shadow-box

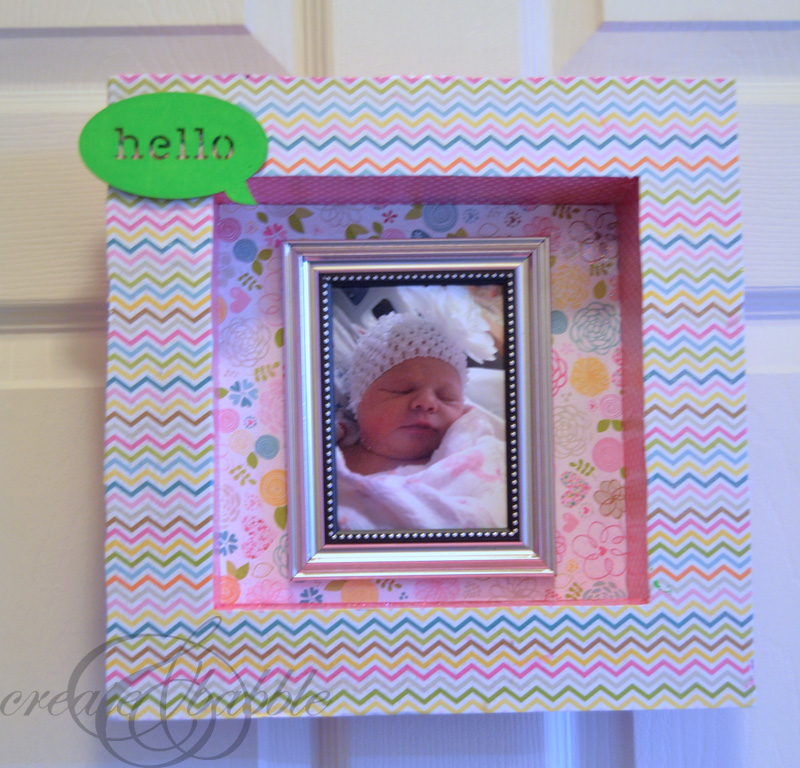
All that was left to do was decide what to put in the shadow box. A few ideas came to mind but I finally decided to adhere a framed photo of the baby taken shortly after she was born.

pretty-shadow-box

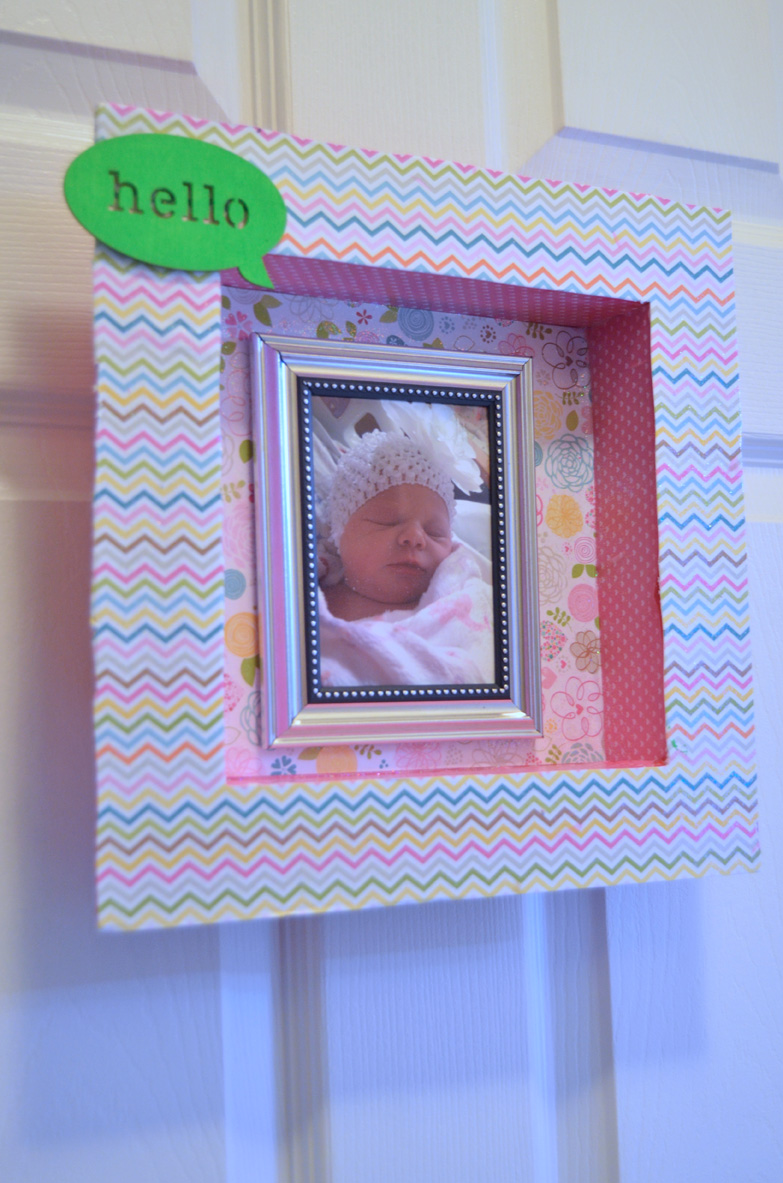
It makes such a pretty and unique door decoration for the baby’s room.

You can find more project ideas and inspiration from Plaid Crafts online here:

Plaid Website

The Plaid Palette Blog

Plaid Newsletter

YouTube

Pinterest

Facebook

Instagram

Twitter

Google+

And wait! There’s more projects and tutorials to be found right here!

If you like it, please share it!Share on pinterest
Pinterest
Share on facebook
Facebook
Share on twitter
Twitter
Share on stumbleupon
Stumbleupon
Share on google
Google
Share on linkedin
Linkedin
Share on reddit
Reddit

Filed Under: Uncategorized

« Filling Grooves in Paneling
Baby Nursery Update »

Comments

  1. Rachel says

    January 15, 2015 at 2:36 pm

    Your shadow boxx is just precious. I love seeing what everyone made with their box. They are all so different.

    Reply
  2. Marilyn says

    January 16, 2015 at 10:34 am

    I absolutely LOVE the color/papers you chose….so springy and fun!

    Reply

Leave a Reply Cancel reply

Your email address will not be published. Required fields are marked *

About Jeanie

About Jeanie

Welcome to Create & Babble. This is where I share my loves: crafting, hiking and camping

Read more about me here

Categories

Archives

AntiqueFarmHouse
Zots Craft Adhesive Dots

Amazon Associates Disclosure

Jeanie Hevener Emmert is a participant in the Amazon Services LLC Associates Program, an affiliate advertising program designed to provide a means for sites to earn advertising fees by advertising and linking to amazon.com.


hobby lobby

Copyright © 2025 · Site by Pretty Pink Studio

Copyright © 2025 · Glam Theme on Genesis Framework · WordPress · Log in

This website uses cookies to improve your experience. We'll assume you're ok with this, but you can opt-out if you wish.Accept Reject Read More
Privacy & Cookies Policy

Privacy Overview

This website uses cookies to improve your experience while you navigate through the website. Out of these, the cookies that are categorized as necessary are stored on your browser as they are essential for the working of basic functionalities of the website. We also use third-party cookies that help us analyze and understand how you use this website. These cookies will be stored in your browser only with your consent. You also have the option to opt-out of these cookies. But opting out of some of these cookies may affect your browsing experience.
Necessary
Always Enabled
Necessary cookies are absolutely essential for the website to function properly. This category only includes cookies that ensures basic functionalities and security features of the website. These cookies do not store any personal information.
Non-necessary
Any cookies that may not be particularly necessary for the website to function and is used specifically to collect user personal data via analytics, ads, other embedded contents are termed as non-necessary cookies. It is mandatory to procure user consent prior to running these cookies on your website.
SAVE & ACCEPT