Everyone loves a good upcycle project, am I right? I know I do. Especially ones that have humble thrift store beginnings. Like this Thrift Store Picture Frame Upcycle that I’m sharing today.
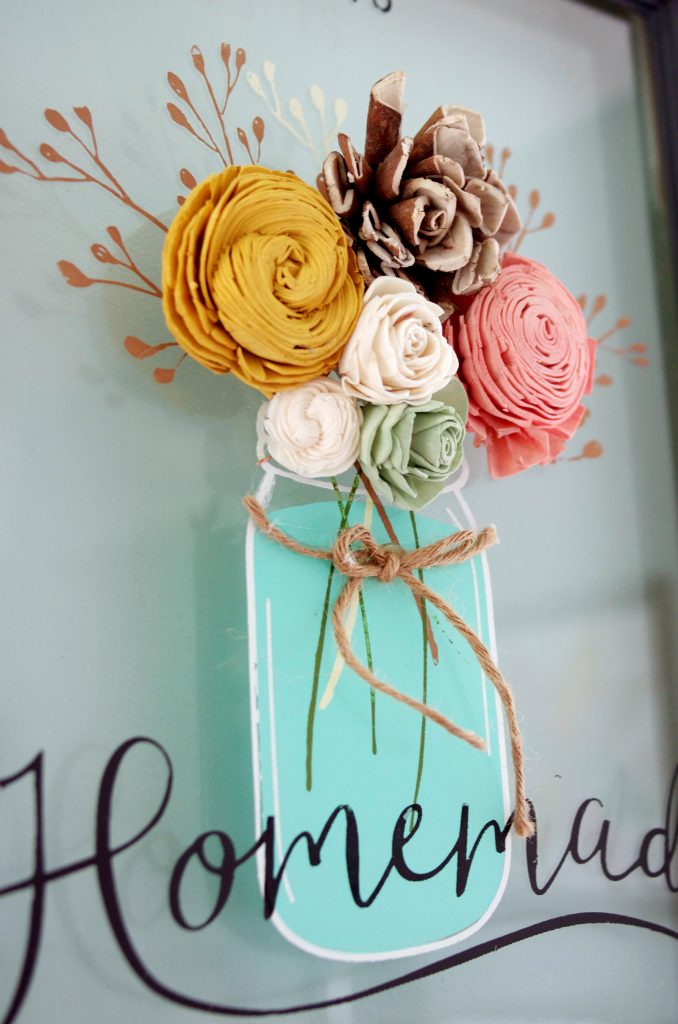
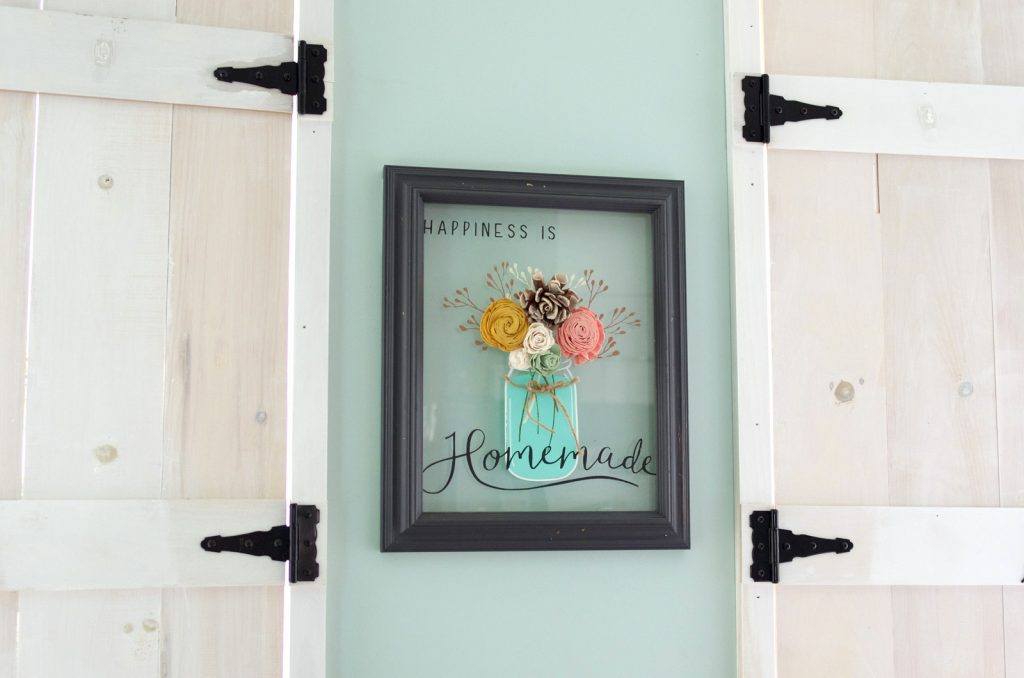
I found a wooden picture frame at my local Goodwill Store for .99 and gave it a whole new look with some milk paint. I also used Chalk Couture on the glass to make it a pretty, framed piece of chalked art for my kitchen. I love how it turned out. I’ll show you how I did it. But first let me explain this challenge and how you can join:

The Rules:
- Upcycle an item(s) from a thrift store, resale store, or garage sale into a new piece of decor.
- There’s no monthly theme.
- There’s no budget to stick to.
Meet the Hosts
Angela | Simply Beautiful by Angela
Jennifer | Cookies Coffee and Crafts – Marie | The Inspiration Vault
Debra | Shoppe No. 5 – Michelle | Our Crafty Mom
Habiba | Craftify My Love – Ali | Home Crafts By Ali
Jeanie | Create and Babble
Make sure you follow our board on Pinterest for more upcycled decor inspiration!
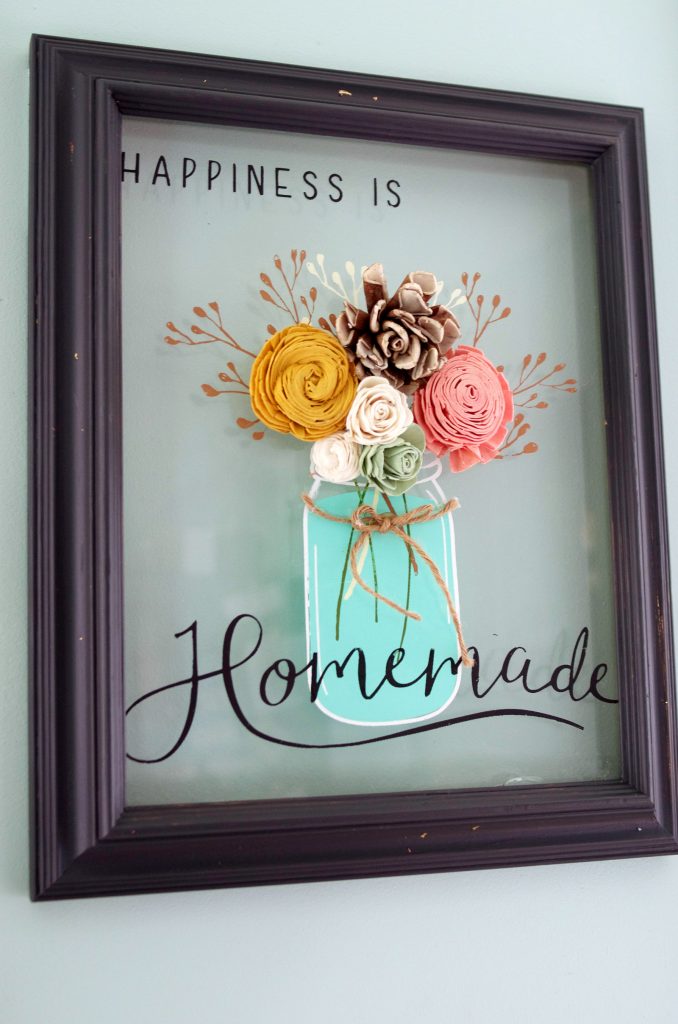
This was such an easy makeover. I started with a plain, boring frame that only came with the glass and cardboard backing. There was no picture or print inside. I guess that’s why it was only .99. Which was fine – I was only interested in the frame and the glass.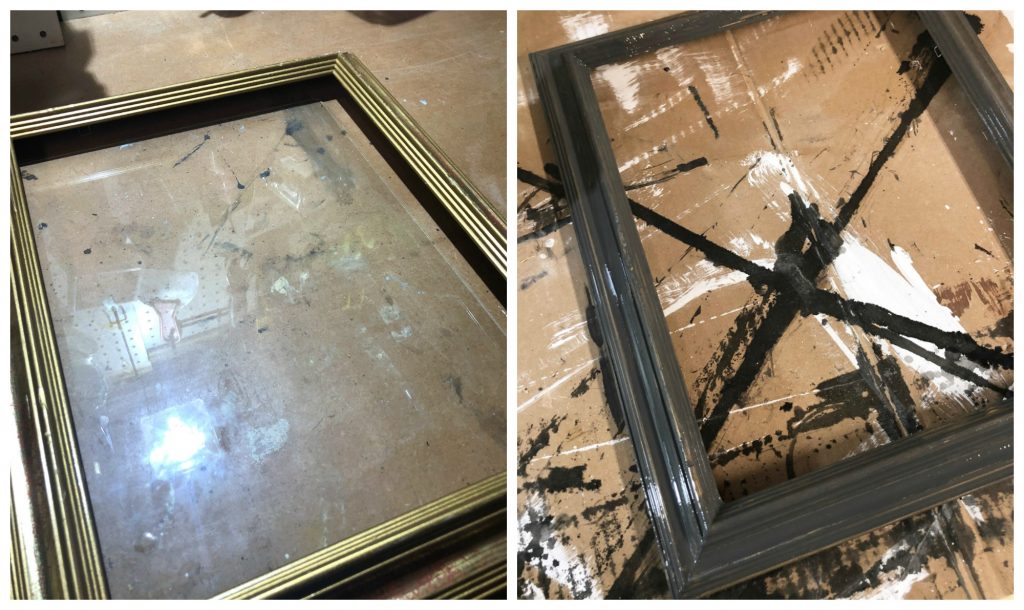 It took a few coats of milk paint to cover the shiny gold. While the paint was drying, I got to work on the glass.
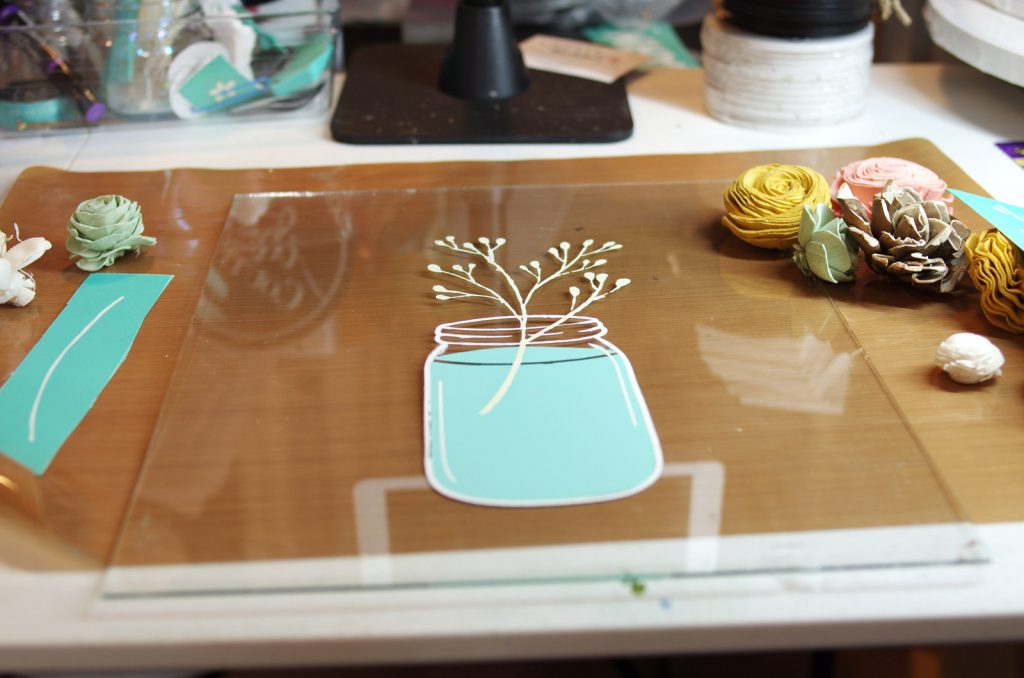
I used the Happiness is Homemade transfer from Chalk Couture. If you’re not familiar with Chalk Couture, please read this article that will tell you all about it, but here’s a quick explanation:
Chalk Couture is DIY chalk art for the artistically challenged. By using specially formulated, non-toxic chalk paste, and revolutionary reusable, adhesive silkscreen transfers, anyone is able to produce perfect images every time! It’s perfect for children, anyone like me with unsteady hands, craftaholics, or anyone who thinks they “can’t,” or “aren’t crafty”, Chalk Couture is the perfect product for perfect DIY home decor! And I love it! To see lots of demos and project ideas using Chalk Couture, please join my Facebook page. I’d love to see you there!
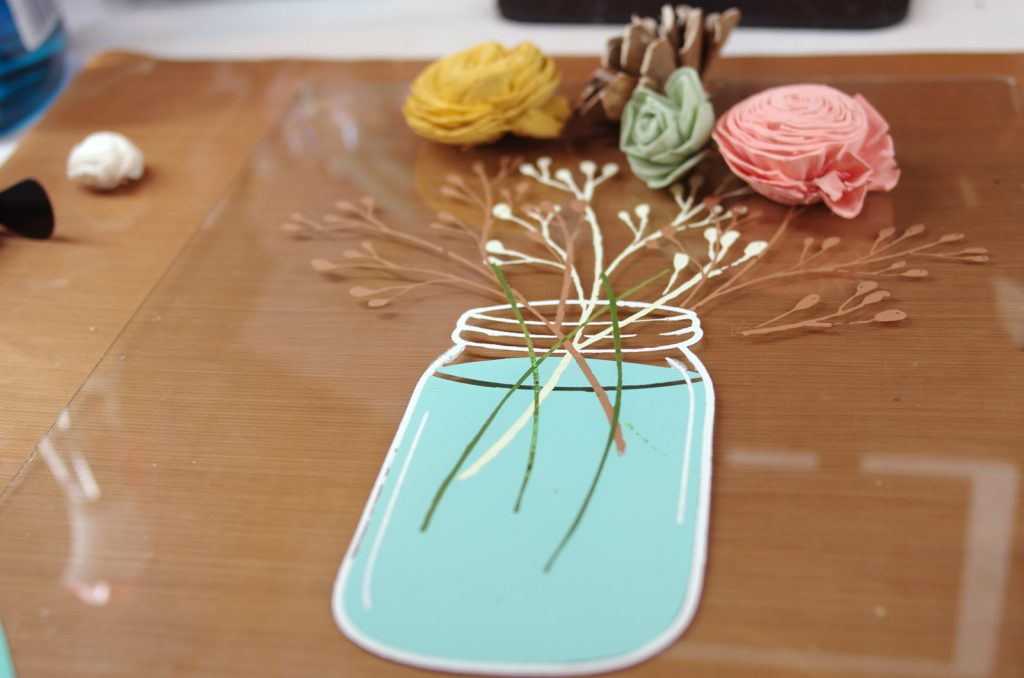
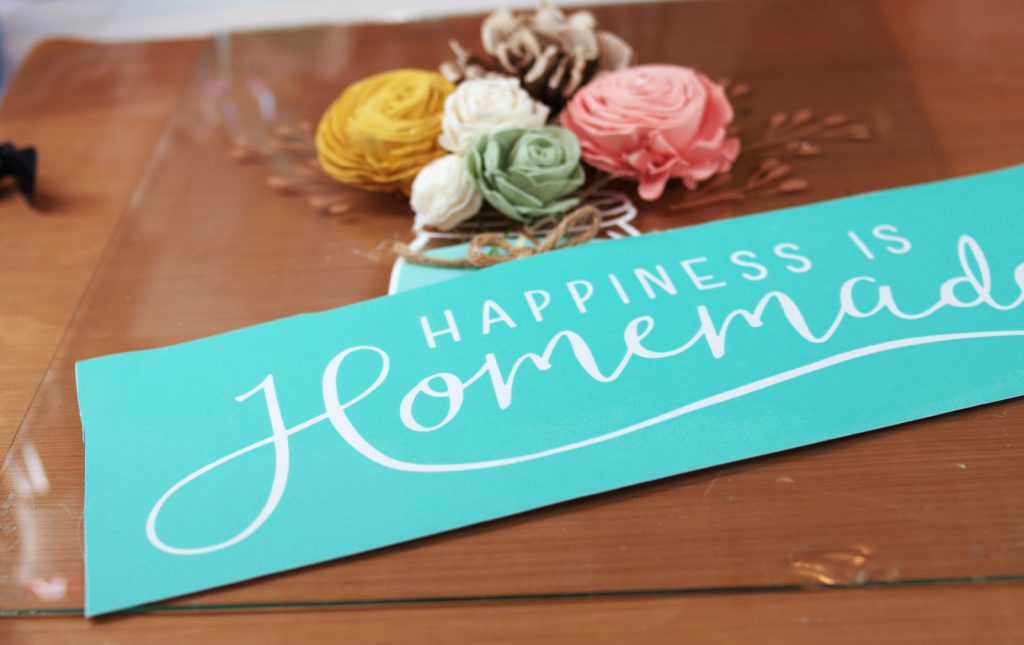
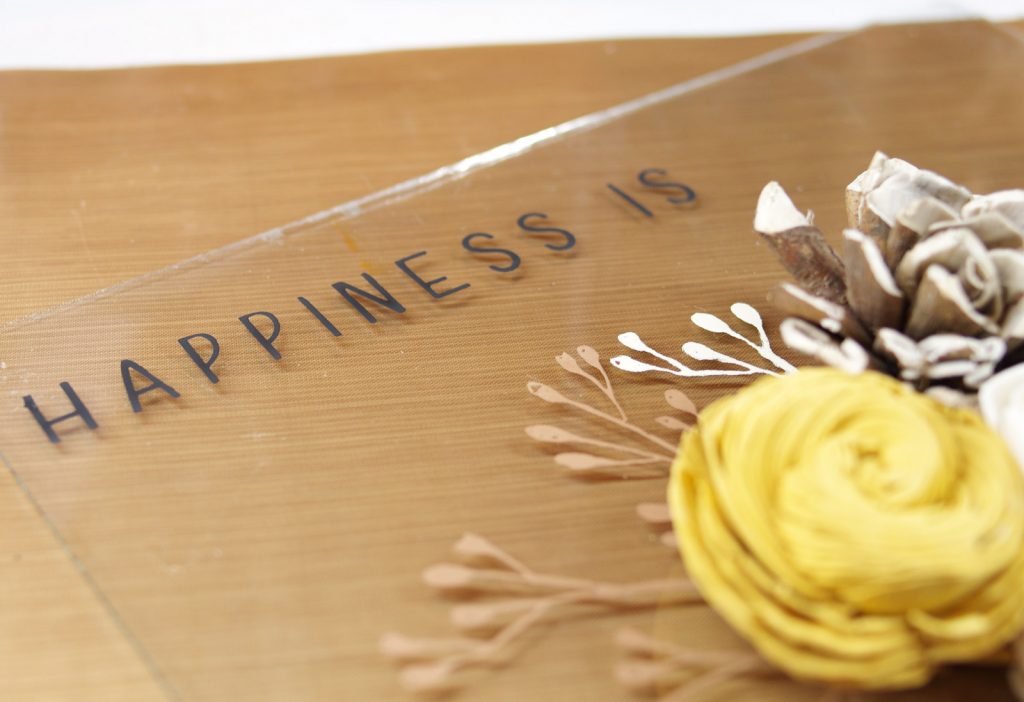
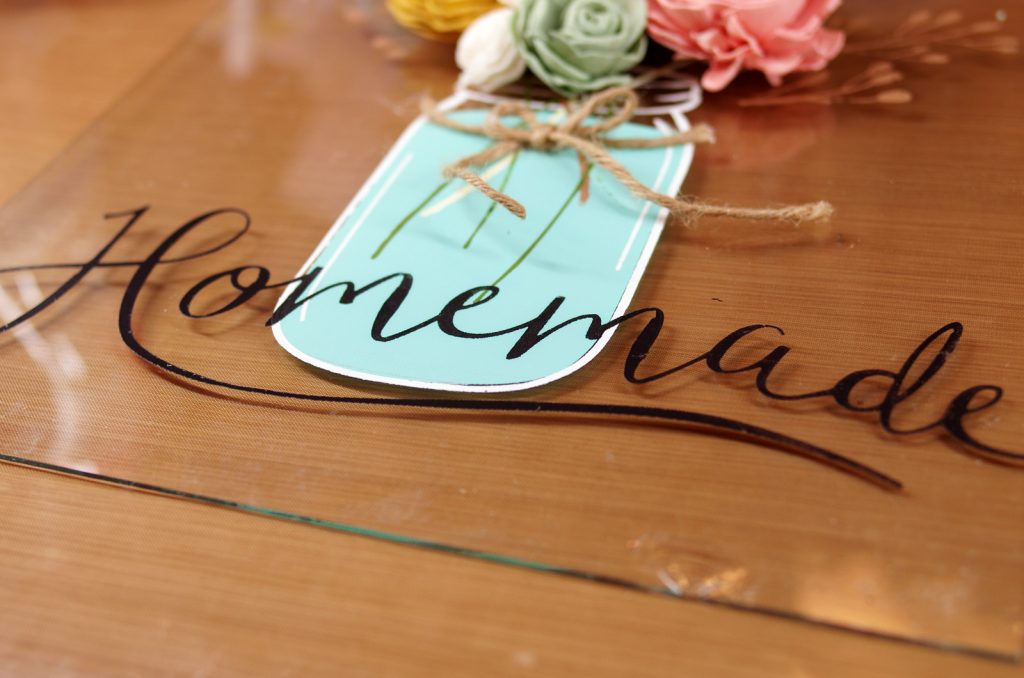
After the chalk paste was dry, I started playing around with the placement of the flowers. Once I decided where I wanted the flowers, I hot glued them in place.
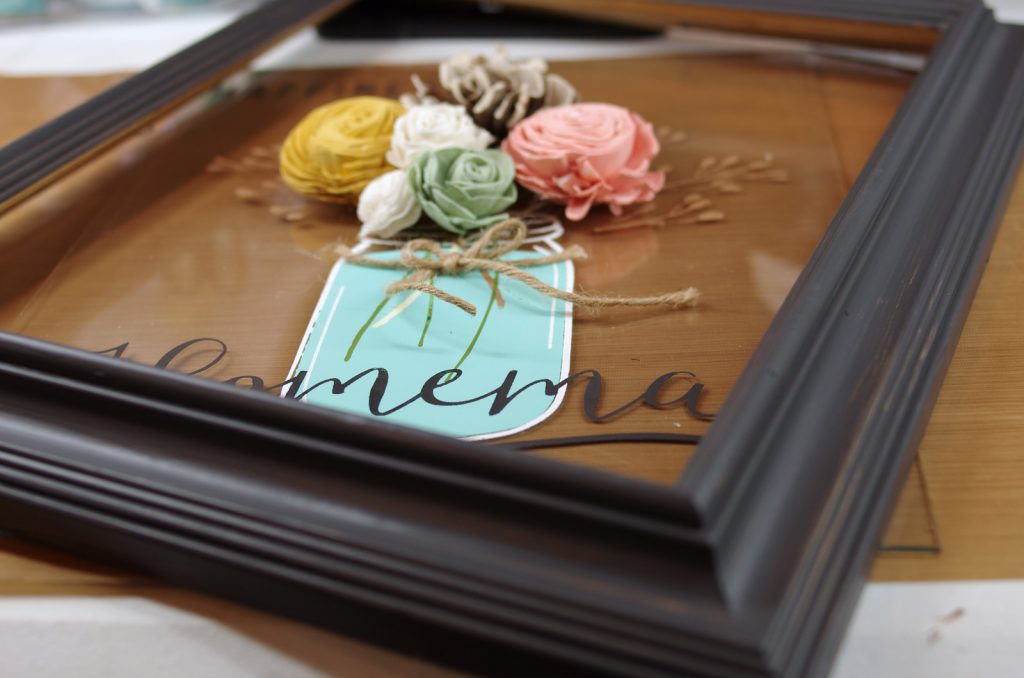
Then it was time to get the frame and put it all together. And get it up on my kitchen wall between the two shuttered windows. I love how it looks!
And now for more thrifty goodness!
Check out what my fellow upcyclers created below!


What a beautiful idea for the frame. I love the chalk couture image.
That turned out absolutely beautiful! It looks perfect in that spot 🙂
This turned out so lovely. I love how it is a 3 D picture, giving it dimension and texture.
I love how this little upcycling project turned out. And with me, you’ve found another lover of everything upcycling. Thank you for introducing chalk couture to me. I’ve never heard of it bevor. Currently I am having a giant and empty chalk board at home that I DIYed. I’ll try to write on it on my own, but if I fail epicly I’ll give the chalk paste and stencils a go. The flowers are super cute, too! Did you make them yourself?
Chalk Couture will be perfect for your giant chalkboard! I didn’t make the flowers, they were purchased. Thanks for pinning!
Oh, and pinning of Course!!
Very pretty! I’ve been hearing a lot about Chalk Couture so will have to look into it. Visiting from Style Showcase.
Very beautiful! Thanks for sharing at To Grandma’s House We Go DIY, Crafts, Recipes and More Wednesday Link Party. I pinned this!
Hope to have you join again next week!
This is a very lovely project I love the 3D flowers in the jar.
Nice frames. I like the design and the simplicity but still really appealing. Great.
I don’t know why I haven’t upcycled my own picture frames yet. i have some that i don’t like they way they look anymore and I think a fresh coat of paint and to stencil something awesome on them would make for a great DIY. Thanks for inspiring me yet again to craft something new out of something old!
it is a very lovely product, thanks for sharing
The frame is an intermediary between the painting and the surrounding environment. Sometimes a correctly selected baguette makes even the most seemingly inappropriate piece of art appropriate for this interior. Here you can always find custom frame and mat http://customframingwholesale.com . An important rule is that the larger the painting, the wider the baguette. But there are some exceptions. Sometimes a miniature picture in a disproportionately large baguette looks much more impressive and attractive.
Thrift Store Picture Frame Upcycle is always important, and we can use it when we face issues. To Read More Here we can see how the people are getting these updates that provide amazing solutions to us.