Happy February friends! So, the groundhog did not see his shadow and that means that Spring is right around the corner! Yeah, tell that to the six foot piles of snow in my neighborhood ; ) I think we’ll still be wearing winter jackets around here for another couple of months (unfortunately). BUT I have a pretty, new place to hang those jackets. I recently upcycled a cupboard door into a coat rack. Which we totally needed.
This post contains affiliate links.
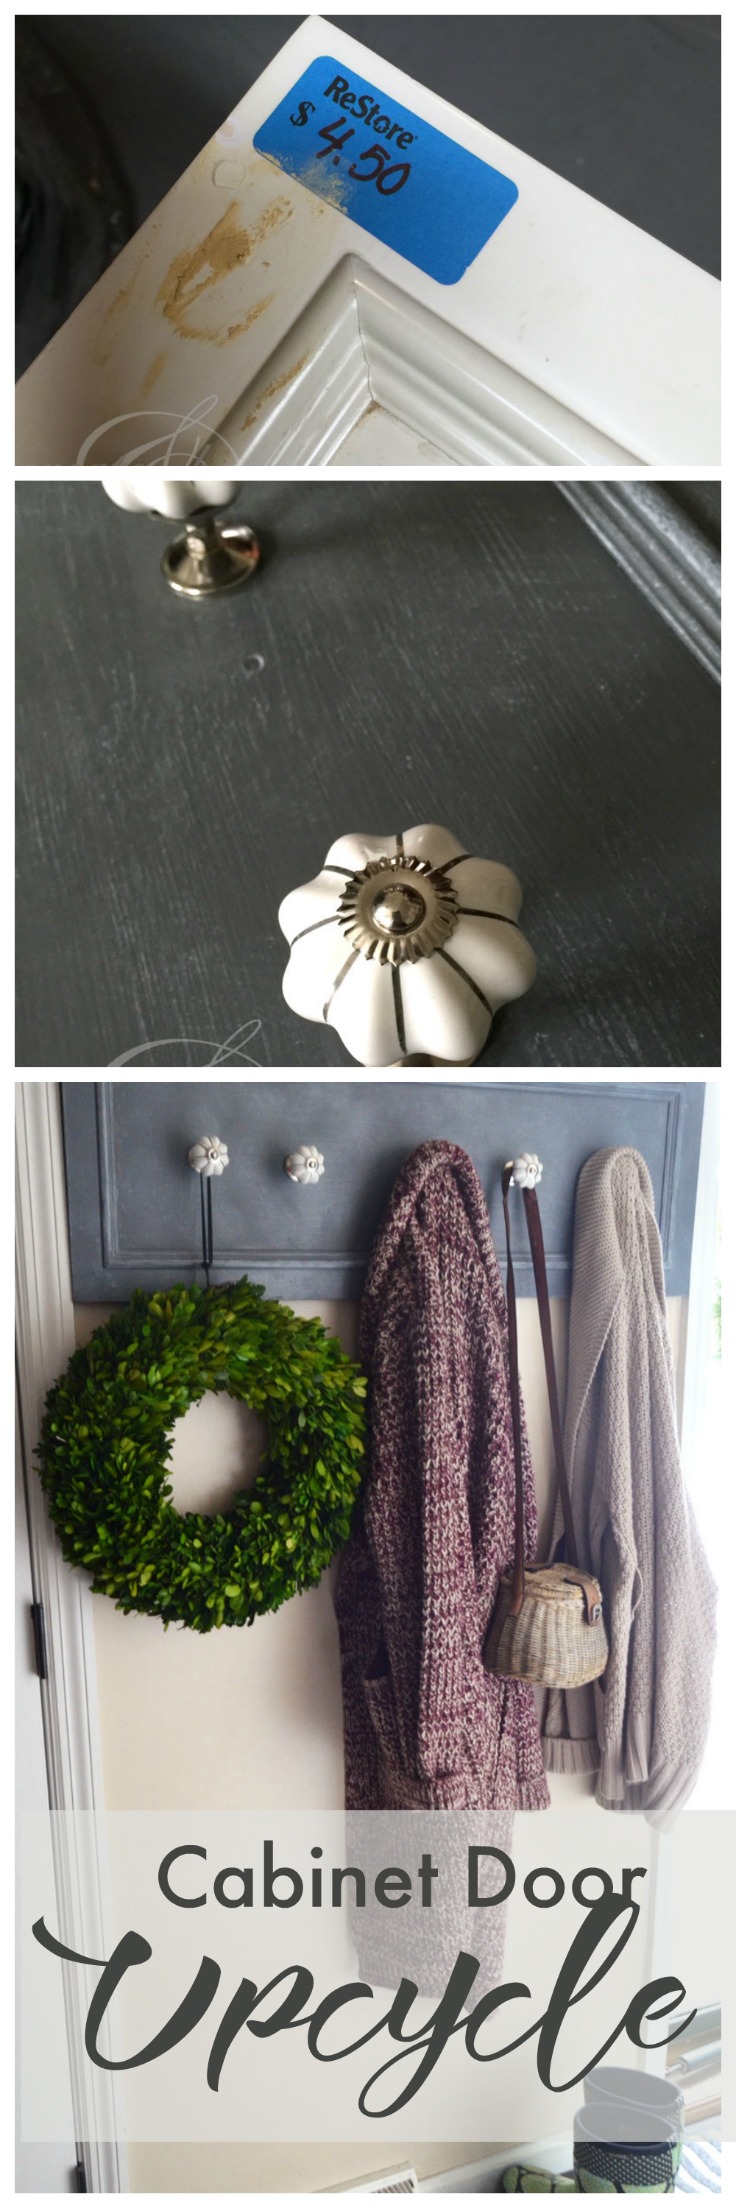
Why did we need this coat rack??? It’s only the two of us living here. Shouldn’t there be enough room in the coat closet? No there’s not. And I can tell you why in one word: obsession.
Yep. Dan is obsessed with coats and jackets. And so now am I. It’s his fault. For some people, it’s shoes. (Well it’s shoes for us, too. But they don’t take up as much room as the jackets.)
If your coat closet is overstuffed with coats and jackets, this is an easy DIY.
Upcycled cupboard door into coat rack
First you’ll need an old (or new) cupboard door.
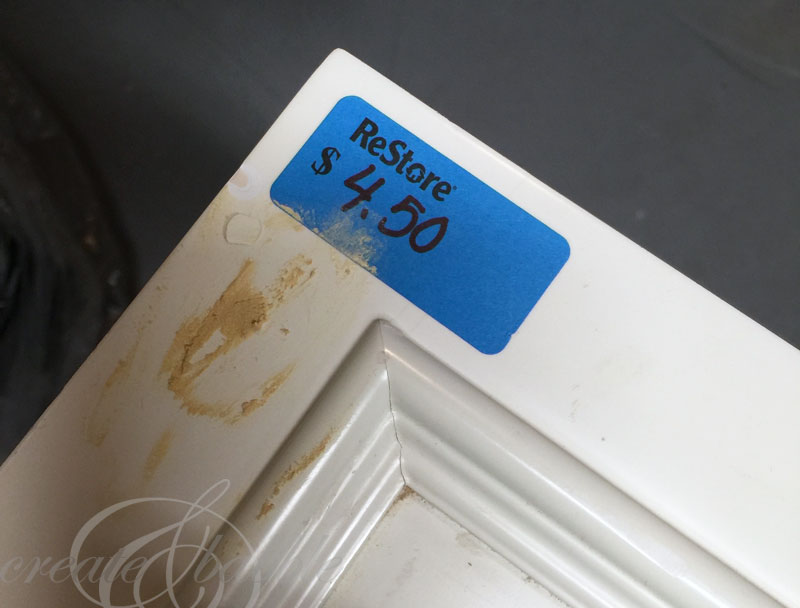
This white door is just one of the many cupboard doors I picked up at the ReStore.
Wipe it clean, then fill any holes with wood filler. Allow the wood filler to dryer, then sand smooth.
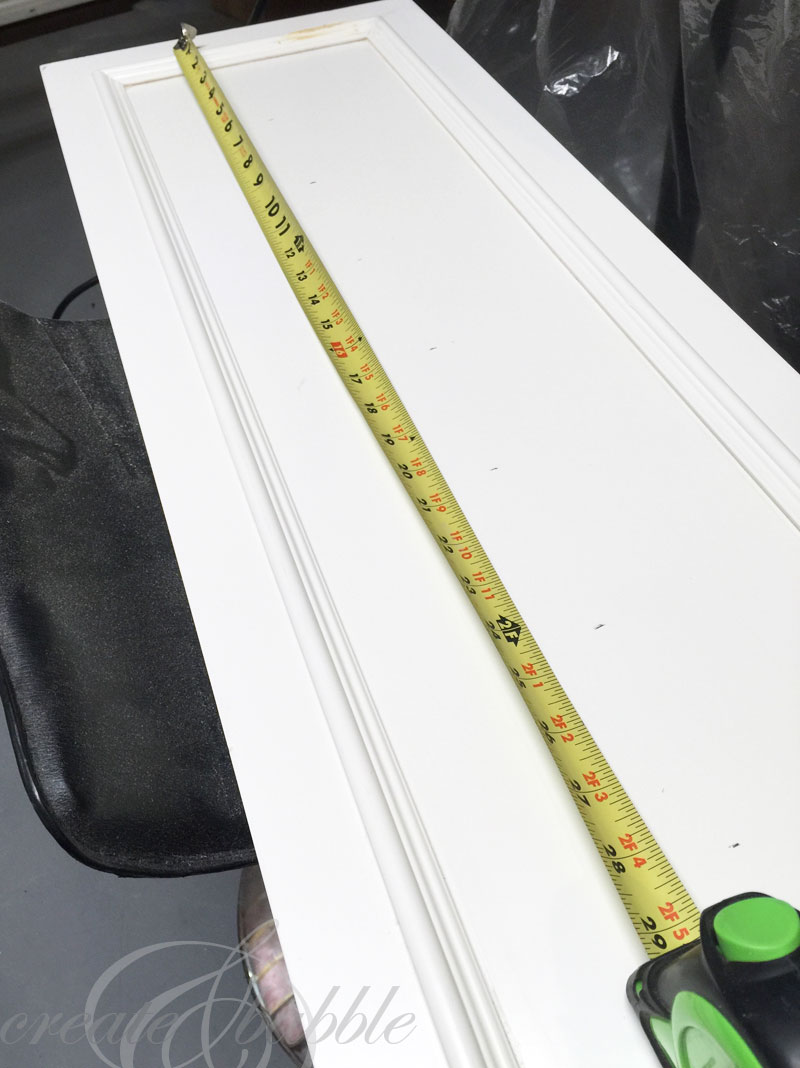
Measure the length of the door and mark evenly spaced increments where you want to the knobs to be placed.
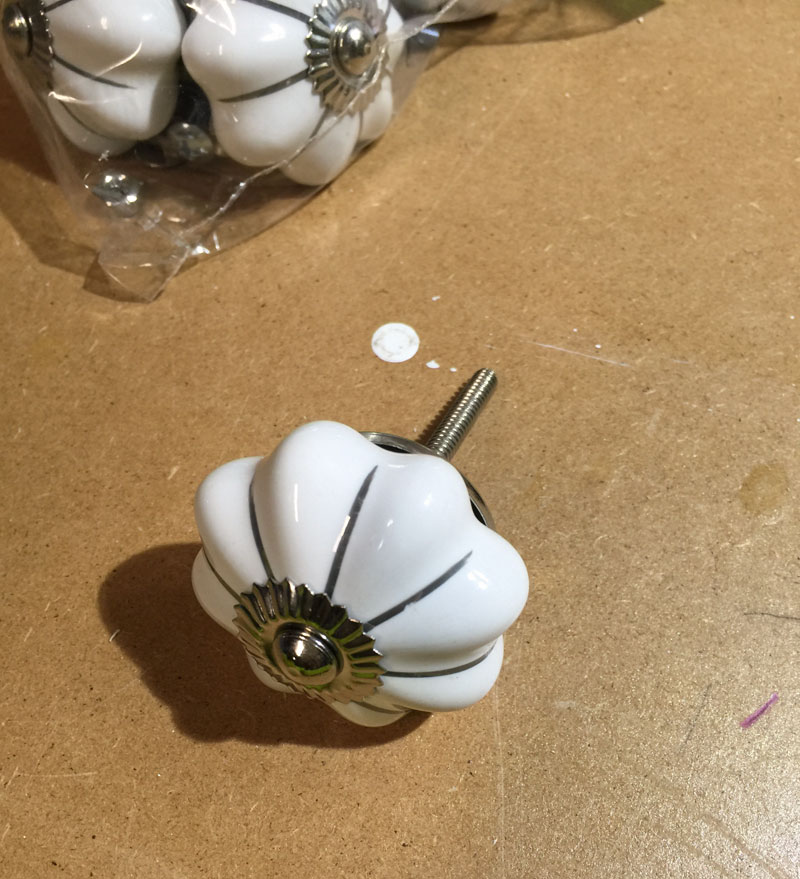
The knobs are from D Lawless Hardware, the best place for furniture hardware in my opinion. They always seem to have exactly what I’m looking for at a great price! Their selection and customer service is just amazing!
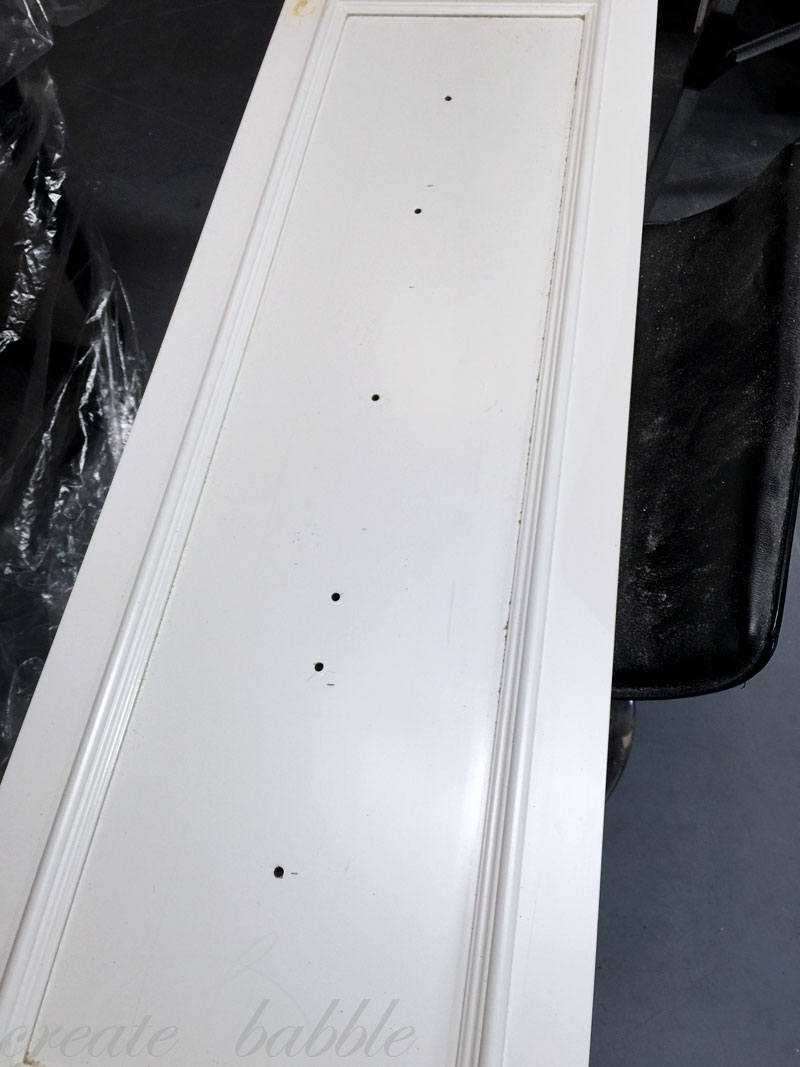
And to prove that I make mistakes – a lot! You can see that in spite of my earlier measuring, I still goofed up on the holes! No big deal. Nothing a little wood filler can’t fix!
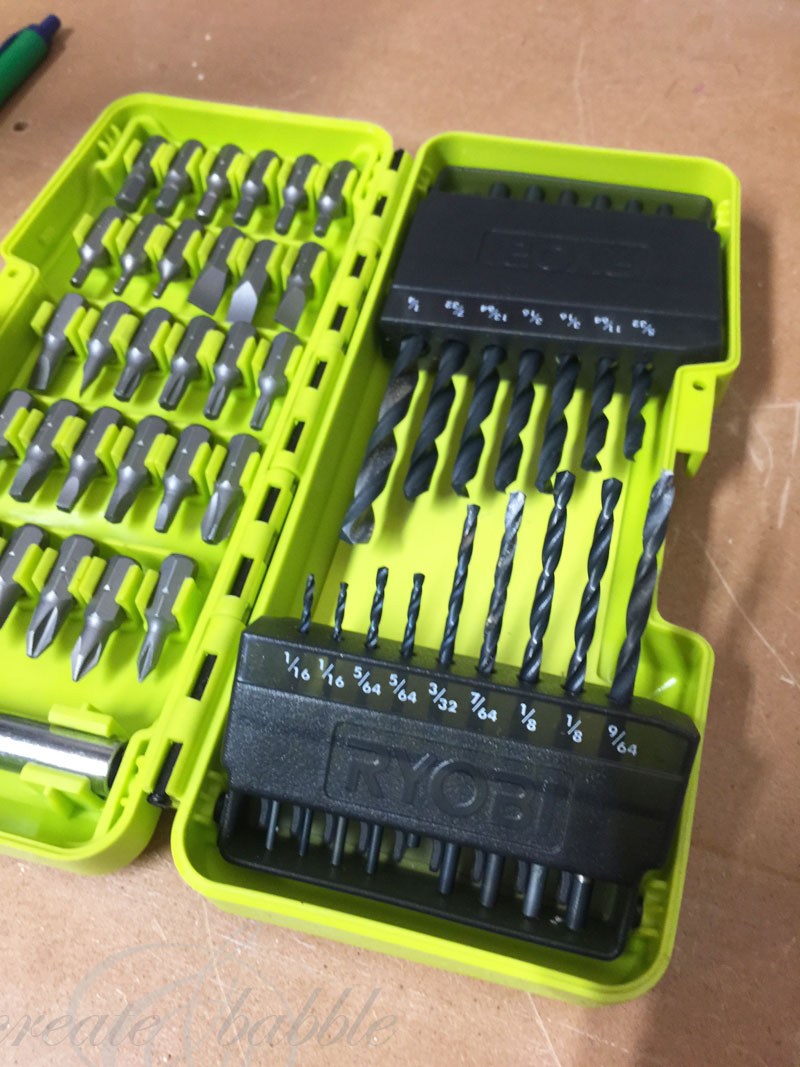
By the way, this is the 56-PIECE DRILLING AND DRIVING KIT WITH DOCKIT STORAGE TRAY from RYOBI (that I used to drill my extra hole). I love it and highly recommend it!
Okay, let’s see where we are. The door is clean, and the holes are drilled for the knobs. Now let’s paint the door!
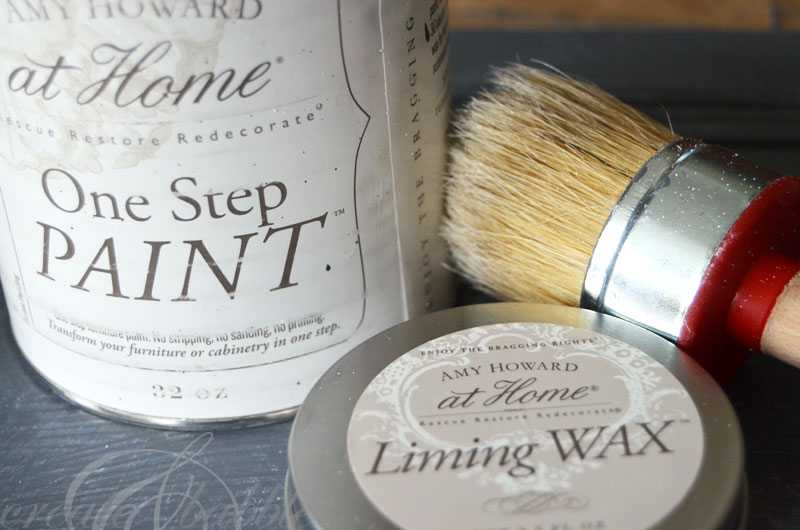
I painted mine with two coats of Amy Howard at Home One Step Paint in Good Man is Hard to Find. Once the paint was dry, I added Amy’s Liming Wax to give some age and dimension. This is the same technique that I used to antique a Longaberger Basket.
Applying Liming Wax is easy, once you learn how. If you’re like me, than you’re a visual learner, too.
I made this quick little video showing how to apply the Liming Wax.
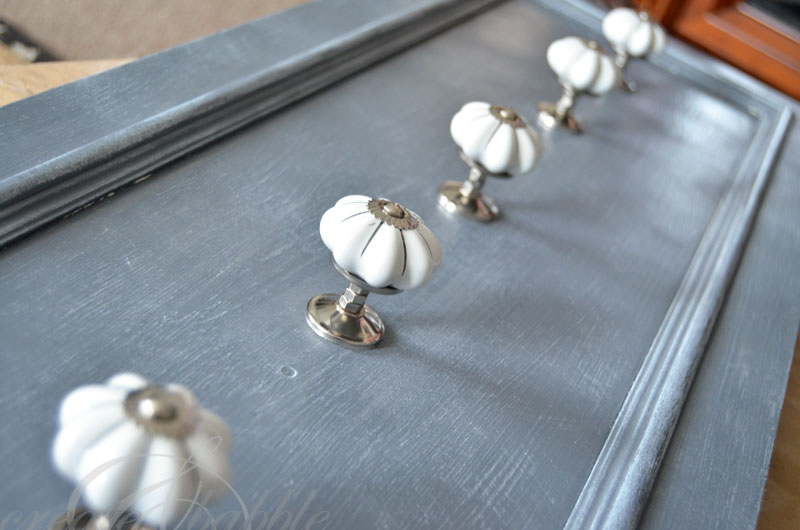
I love the weathered and aged look that the Liming Wax adds without using sandpaper!
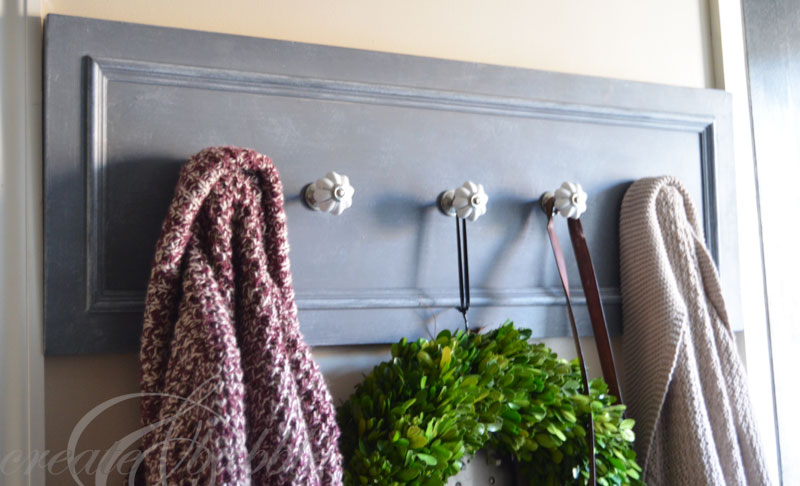
It looks so pretty there with the wreath, the fishing creel purse with the pretty sweaters. Ahhh. If only it would stay like that ; )
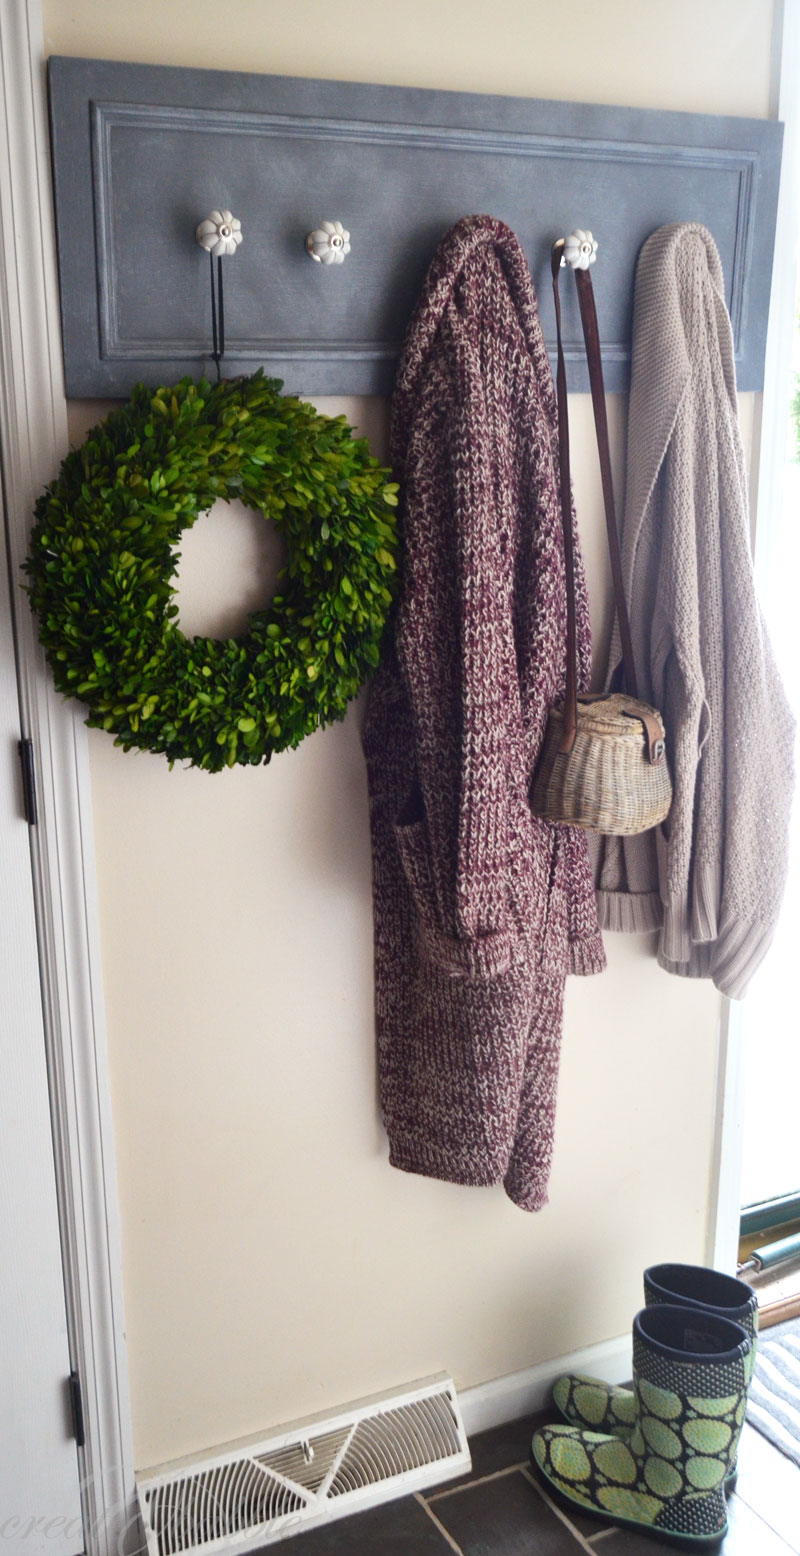
And what kind of blogger would I be without a photo with rain boots in it???? ; )
 Interested in more upcycle projects using cupboard doors? Here’s a chalkboard I made a few years ago.
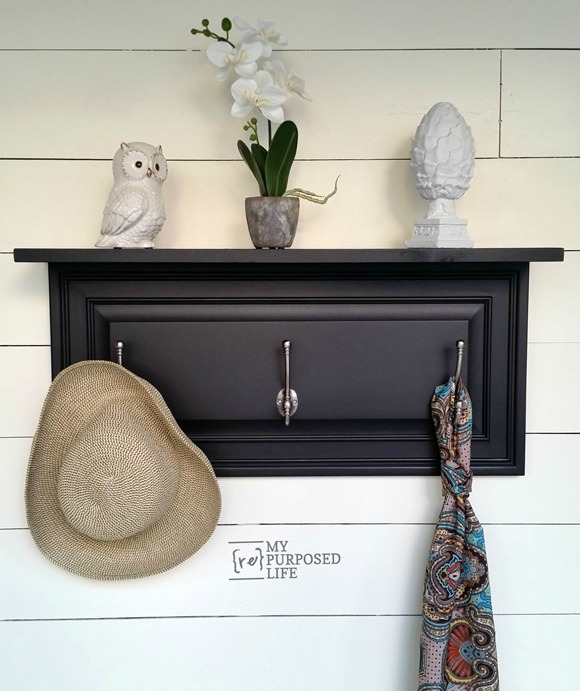
My friend Gail from My Repurposed Life is a master at repurposing cabinet doors!

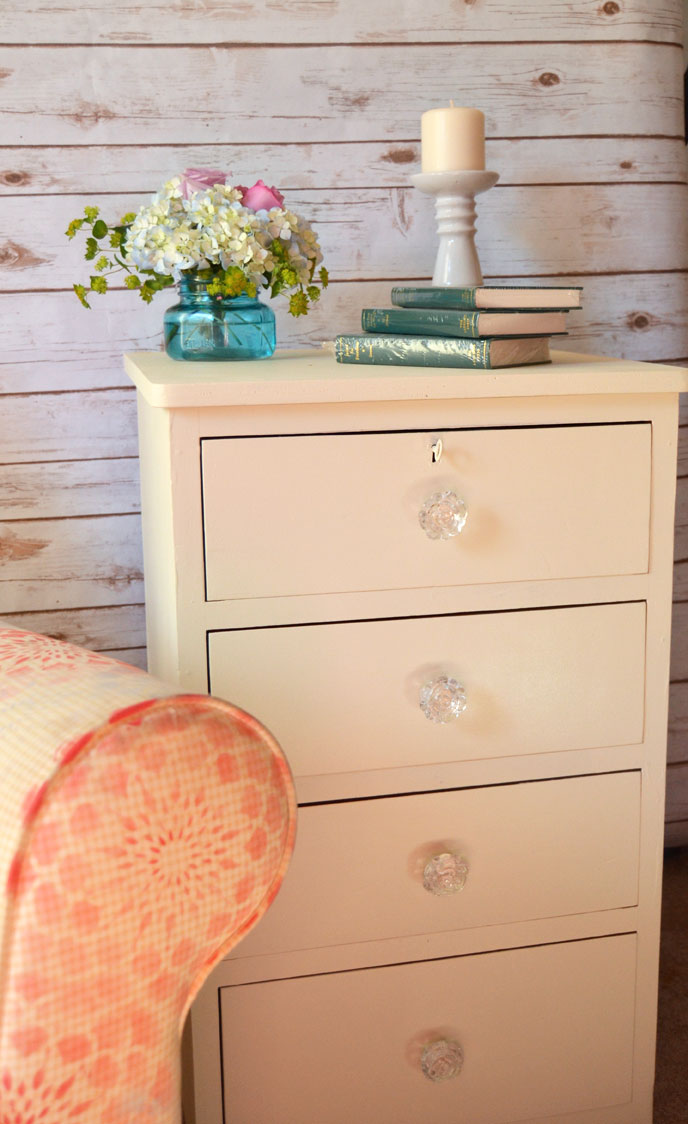
You may also like this $18 chest of drawers makeover.
I like to go to these fun parties!




That is a great idea for an upcycle. And your coat rack looks great. I love the color and the knobs.
I really really super really like this project!
I love your repurposed cupboard door Jeanie! The paint technique is beautiful.
pinning!
gail
ps thanks for linking to My Repurposed Life!
This is adorable, I love the knobs you used. Very pretty. And you were able to repurpose something old. Love that.
What a great idea! I really like the finish on it – it makes it look totally different.
LOVE this coat rack! My husband is slightly obsessed with coats and jackets too. This would help our over stuffed closet a little bit! 😉
I’d love for you to share this project at The DIY Collective party that I co-host. My readers would love it! The party goes live each Thursday at 6am EST. Hope to see you there!
I love this idea and want to head to my local Restore to make my own.
Love it!!! Great repurposing project!