I received free Amy Howard at Home Lacquer for Furniture in exchange for reviewing their product. I have also received free hardware from D Lawless Hardware. All opinions are my own. This post contains affiliate links.

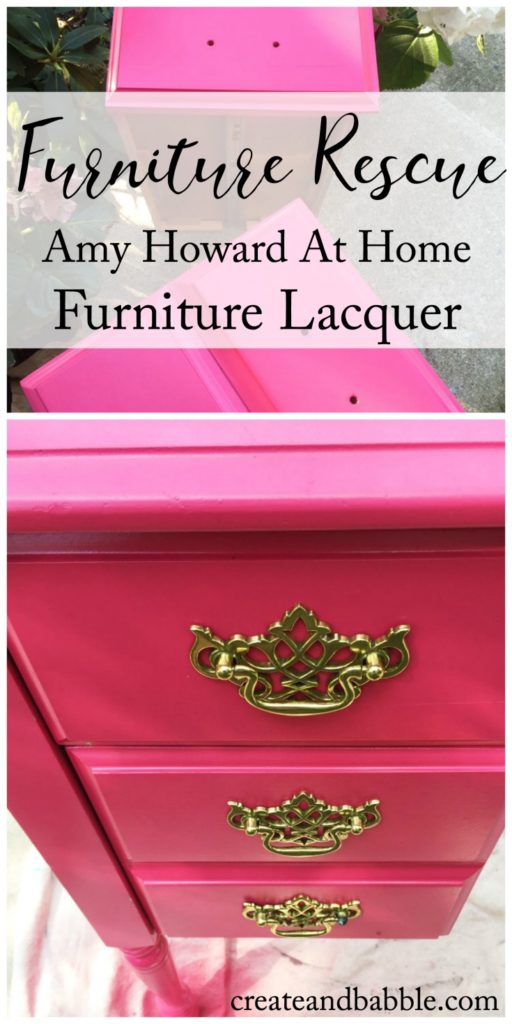
Isn’t that color beautiful? It’s called Begonia. I love how the new brass pulls from D Lawless Hardware pop against that color!
If you have a pale, old, faded piece of furniture and have been wanting the look of a thick, rich, high gloss lacquer finish, read on to learn how to use the Amy Howard At Home aerosol products and transform that old piece into an edgy, chic, high-fashion statement piece.
How to Use Amy Howard Furniture Lacquer
Step 1 – Clean your piece of furniture
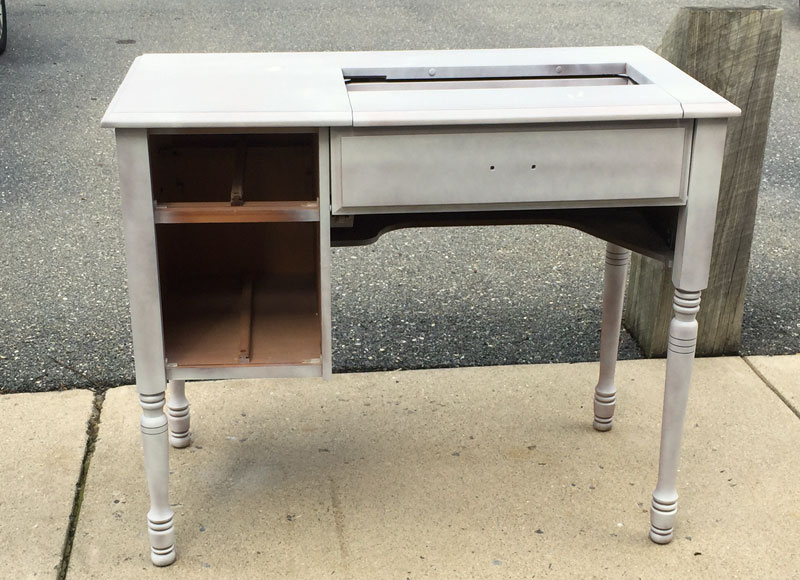
First you need a piece of furniture that’s in need of some love. I picked up this old sewing cabinet several years ago at an auction for just a few dollars.
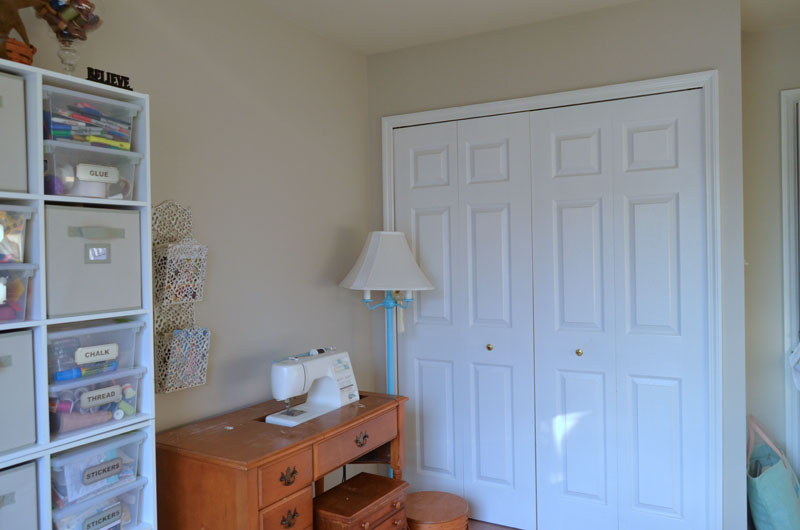
I forgot to take a picture of the cabinet before I started taking it apart, but I found the one above from last year’s One Room Challenge™ post about my office/craft room.
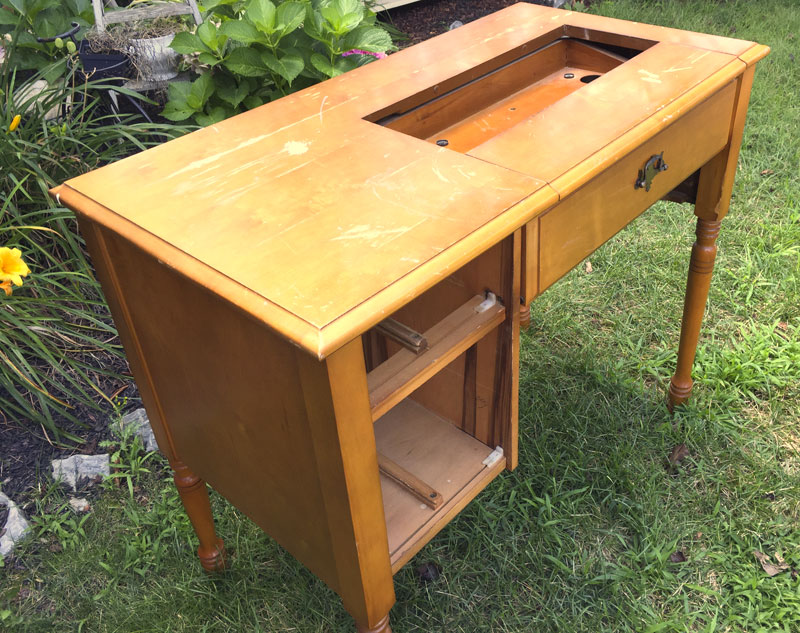
Once you’ve chosen your piece of furniture, give it a good cleaning with a degreaser like Simple Green.
Step 2 – Prime
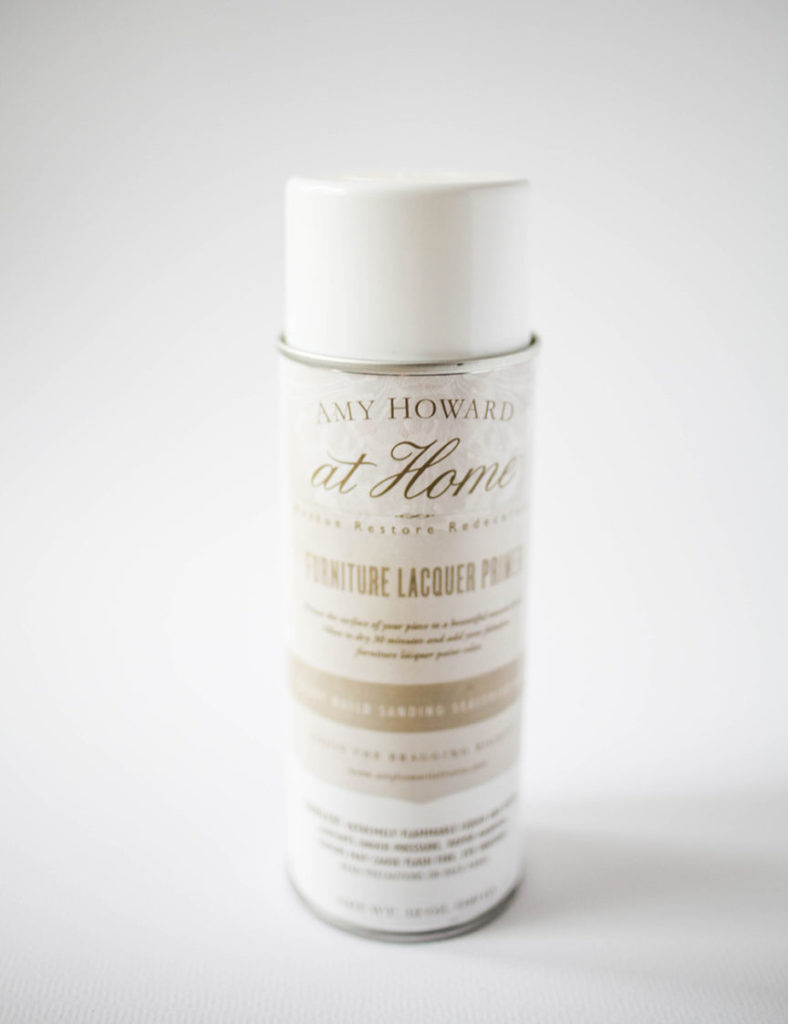
Now it’s time to get spraying! (Please use these paints outside!) The first coat (or 2) is going to be of the Furniture Lacquer Primer. The primer gets the surface of your piece nice and smooth and ready to accept the lacquer.
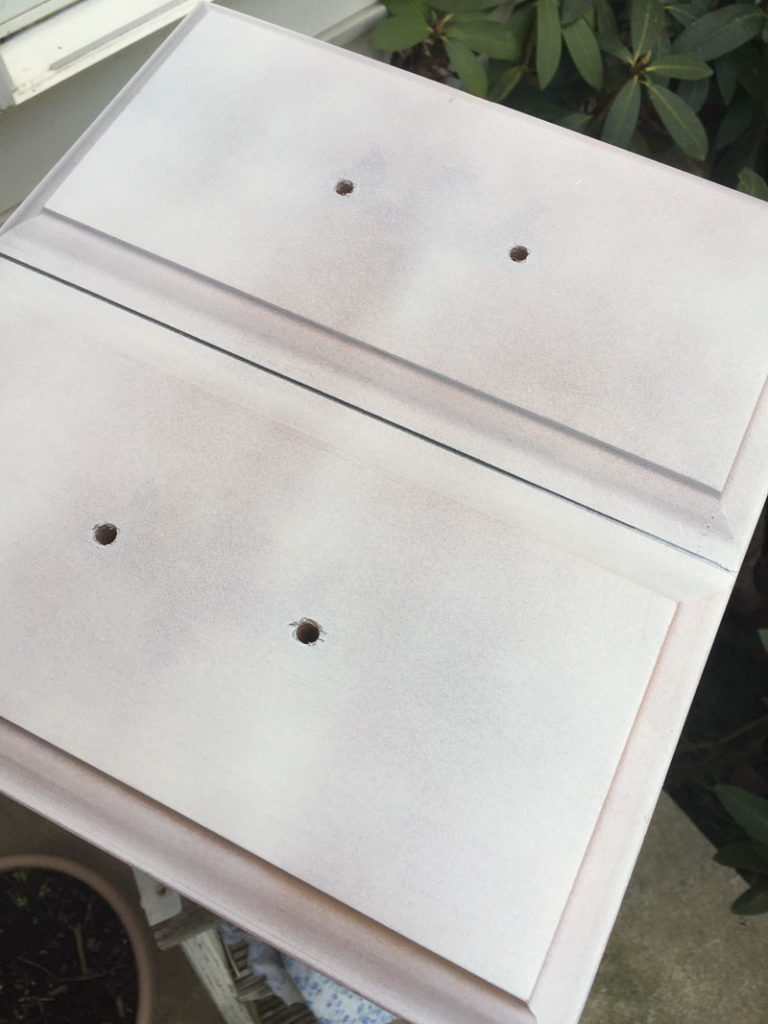
Since my sewing cabinet was old and the finish was chippy and uneven, I applied three light coats of the primer.
Step 3 – Paint!
It wasn’t until I saw the technique in action that I learned how to spray the lacquer. I made a short video showing how to apply the lacquer. It helps to think of the spray can as your paint brush. With a consistent back and forth intentional sweeping motion, start spraying just before the piece and don’t stop spraying until after you have passed the edge. You’ll see what I mean when you watch the video.
I stay about 10″ from the surface. Of course it helps if it’s NOT a windy day. Which is one reason it took me so long to get this project done – waiting for the weather to be just right. My next house MUST have a garage!!!
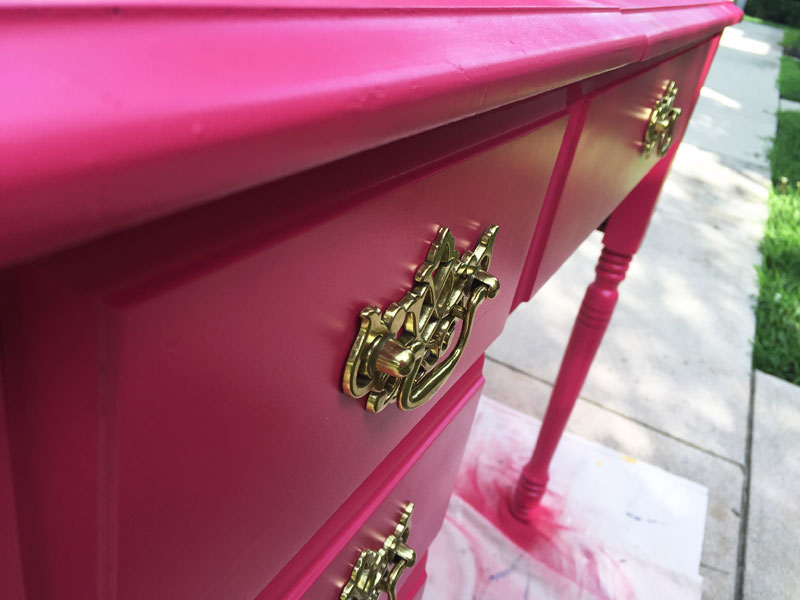
For anyone that’s worried about the sidewalk, I did eventually put a plastic drop cloth under the legs!
I sprayed on 3 coats of the Begonia Furniture Lacquer, allowing each coat to dry and sanding lightly between coats.
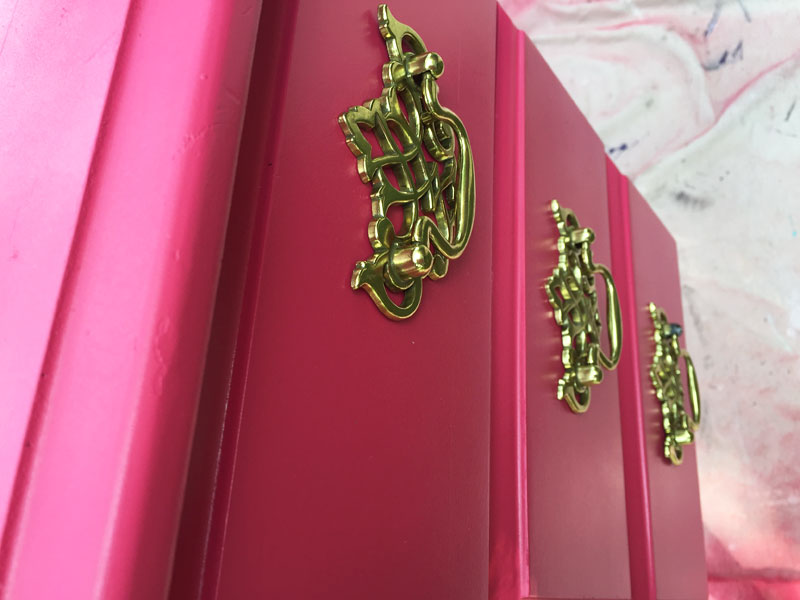
As I mentioned a little earlier, the new hardware is from D Lawless Hardware. I want to give a shout-out to Derrick and D Lawless: they have the most amazing inventory of furniture hardware. You name it, they have it! And the prices are unbelievable! Please visit D Lawless Hardware the next time you need any type of drawer pull or knob. You will be blown away by the selection, prices, and top-notch customer service. Tell him I sent you!
Step 4 – Finish
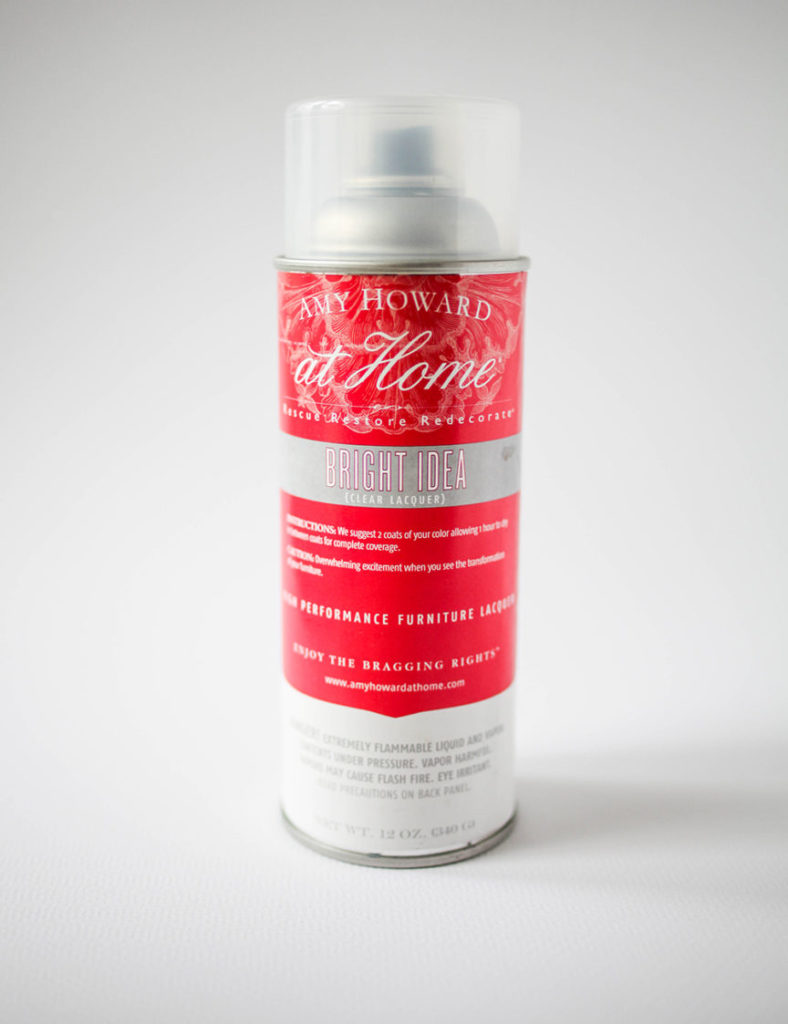
Finish up your masterpiece by applying a coat or two of the clear lacquer called Bright Idea. Once that is dry, all that’s left to do is to attach your pretty new hardware.
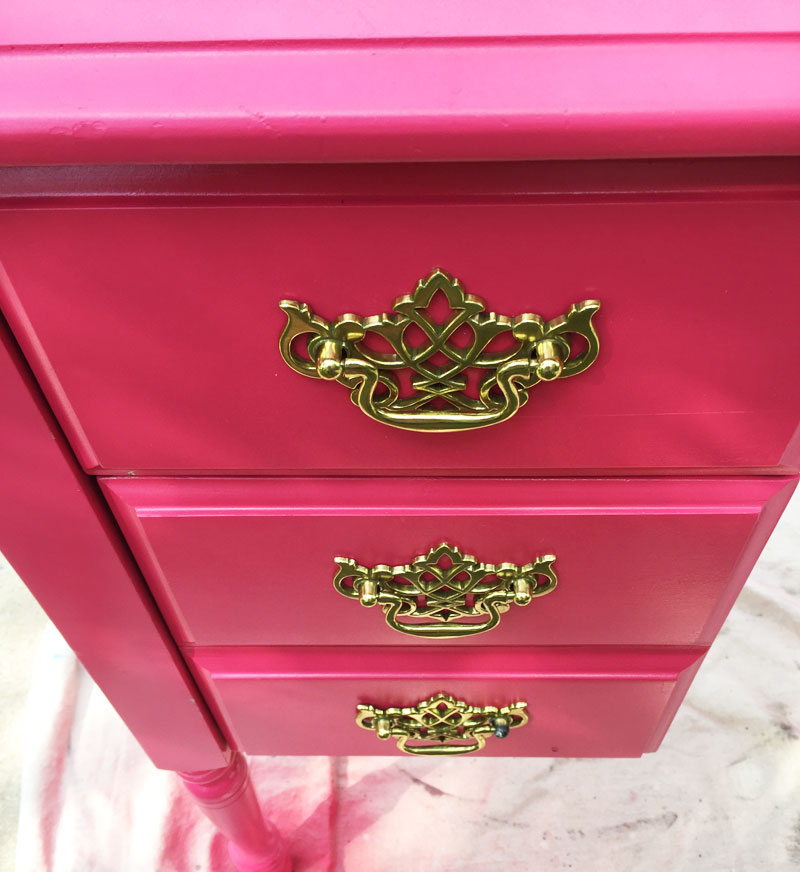
Stand back and admire your glamorous, fun, new piece!
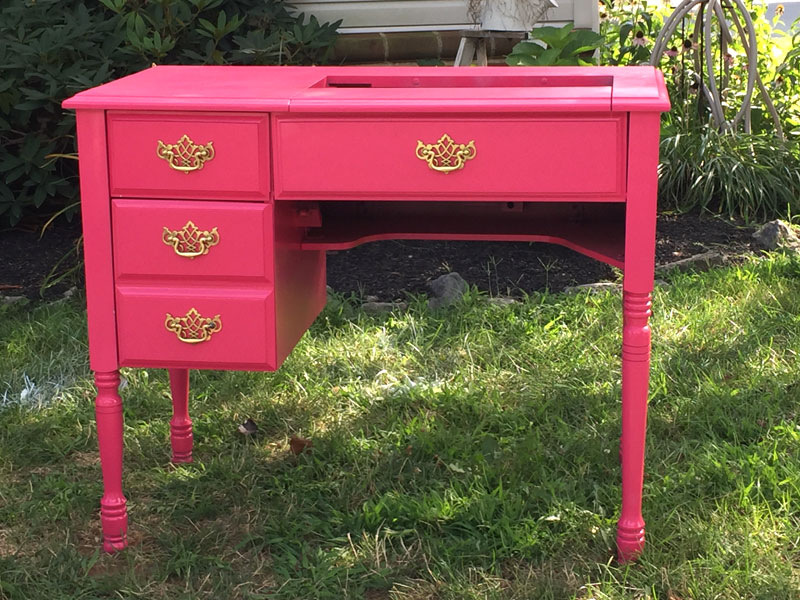
Now I know this color isn’t for everyone but I adore it! It’s fun, bright, and cheerful. And I love seeing that pretty pop of Begonia every time I walk into my office/craft room!
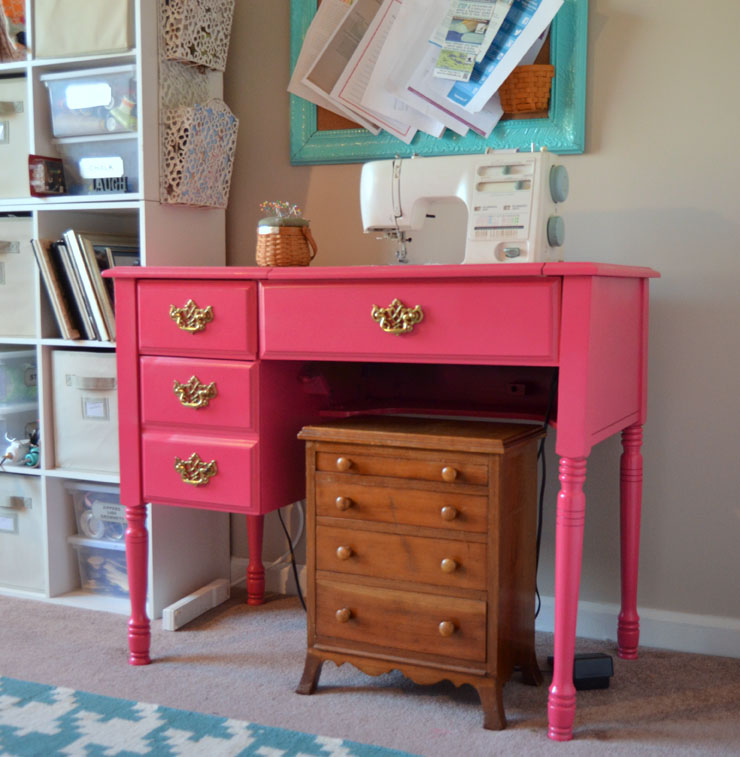
It just makes me smile!
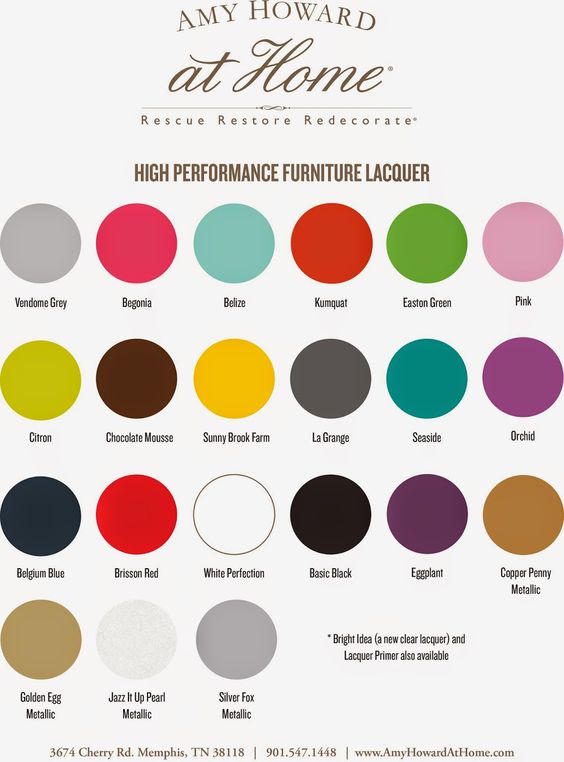
Look at all of these fabulous colors!


I love the colour! And the hardware is gorgeous! How do you think this paint would work for kitchen cabinets?
Thanks Maureen – I love the color, too! And I think kitchen cabinets would look incredible painted with lacquer!
All spray on? How awesome! It came together so great!
Yep, all spray! I love it!
How many cans of each product did you need for this project?
What a cheerful color! The finish looks perfect. I’ll have to give that lacquer a try!
Thanks Vineta – I’m in love with this bright color! You’ve got to try the lacquer.
I love the color you chose for this piece! It turned out so well!
The pink is so fun! Thanks for linking up to Merry Monday! Pinned! Have a great week!
Kim
I love how the desk turned out. Sometimes you want the bright lacquer finish and this makes it so easy.
Love it! What a difference some paint can make! That color can’t help but to make me smile. Thanks for sharing at SYS and have a great week!
XO Barbara
What a beautiful color. Very bold and bright. Thank you for sharing with us at #HomeMattersParty. See you again next week.
The golden touch boosts the appearance of the desk. Really an eye-catching project. Admirable !
For this piece how long did it take to do a coat and dry a coat, also how many cans of the lacquer paint did it require?
I don’t recall exactly how long it took to spray on a coat but it wasn’t long at all. I used about 2-1/2 cans of the paint.
I do not see the color that I need. Do you think I could paint with anOther kind of paint and then just use the lacquer finish over the top of it?
If I have something that I already painted and there are big scratches in the paint would you recommend stripping the old paint first and sending, just sanding or going right for it?
The expert furniture refinishers would probably disagree, but I would sand a little and then go for it!
That color can’t help but to make me smile. Thanks for sharing at SYS and have a great week!
I’m a person who loves color in my life so this a perfect project for me. Pink is my very favorite. Thank you for ur advice, looking forward to more.
I recently refinished an old side table and decided to try Amy Howard’s furniture lacquer after hearing good things from friends. The finish came out smooth and rich — just the kind of project that makes you feel like you’ve unlocked a creative superpower. It’s funny how small DIY wins can brighten your whole day. Before I started, I was scrolling through seventh avenue reviews to compare different products and styles, and that really helped me feel confident about my choice. Whether you’re refreshing something old or giving a thrift find new life, lacquer can be such a satisfying way to personalize your space.