• Home
  • About
  • Contact
  • Partner
  • Privacy Policy
    • Facebook
    • Instagram
    • Pinterest
    • Twitter
    • YouTube

Create and Babble

  • DIY
    • Home Improvement
    • Upcycle
    • Furniture Makeovers
    • Build It
  • Craft
    • Silhouette
    • Sewing
    • Wedding DIYs
    • Seasonal
    • Gifts
  • Lifestyle
    • Bicyling
    • Travel
    • shopping

STAY UP TO DATE

Get the latest crafting and DIY tips, tricks and tutorials delivered straight to your inbox!

DIY Kitchen Step Stool

September 14, 2015

If you like it, please share it!Share on pinterest
Pinterest
Share on facebook
Facebook
Share on twitter
Twitter
Share on stumbleupon
Stumbleupon
Share on google
Google
Share on linkedin
Linkedin
Share on reddit
Reddit

There’s something new in my kitchen.

DIY-step-stool-11

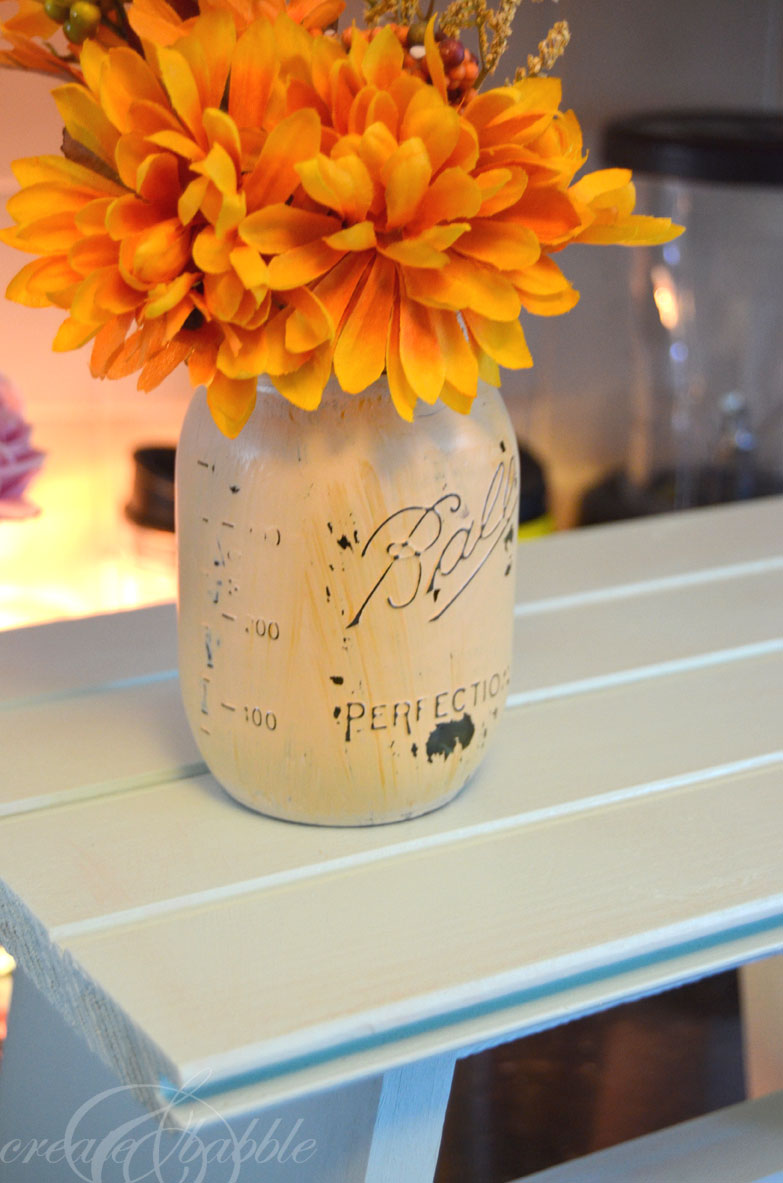
No, not the painted mason jar – that’s from last year.

DIY-step-stool-1

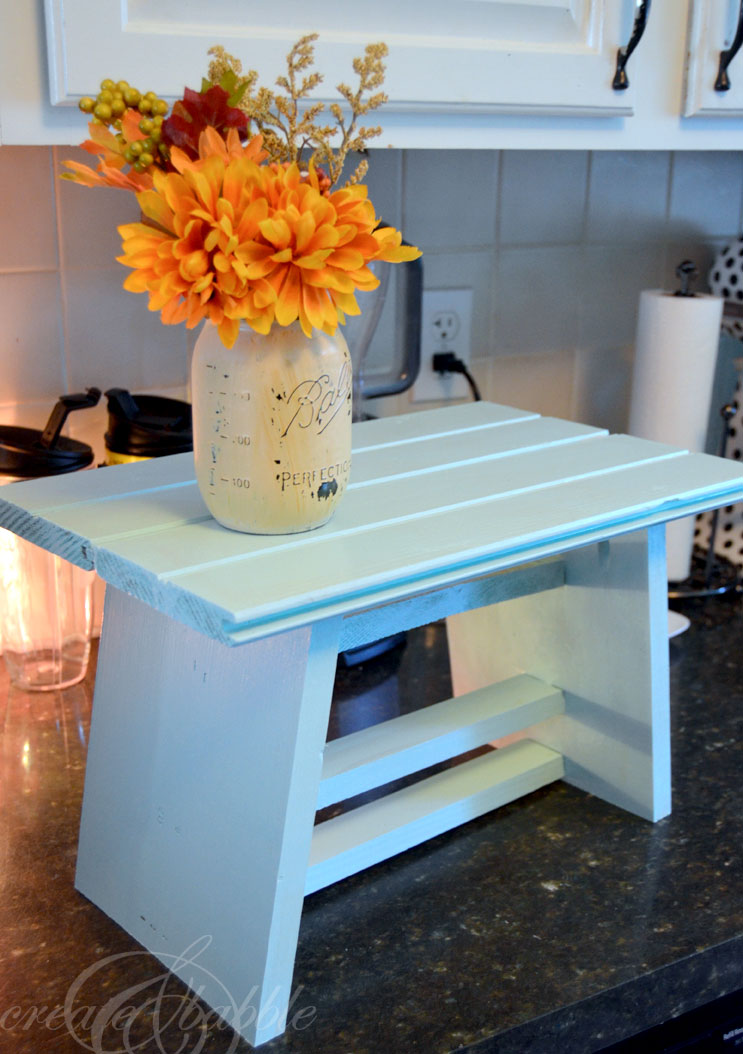
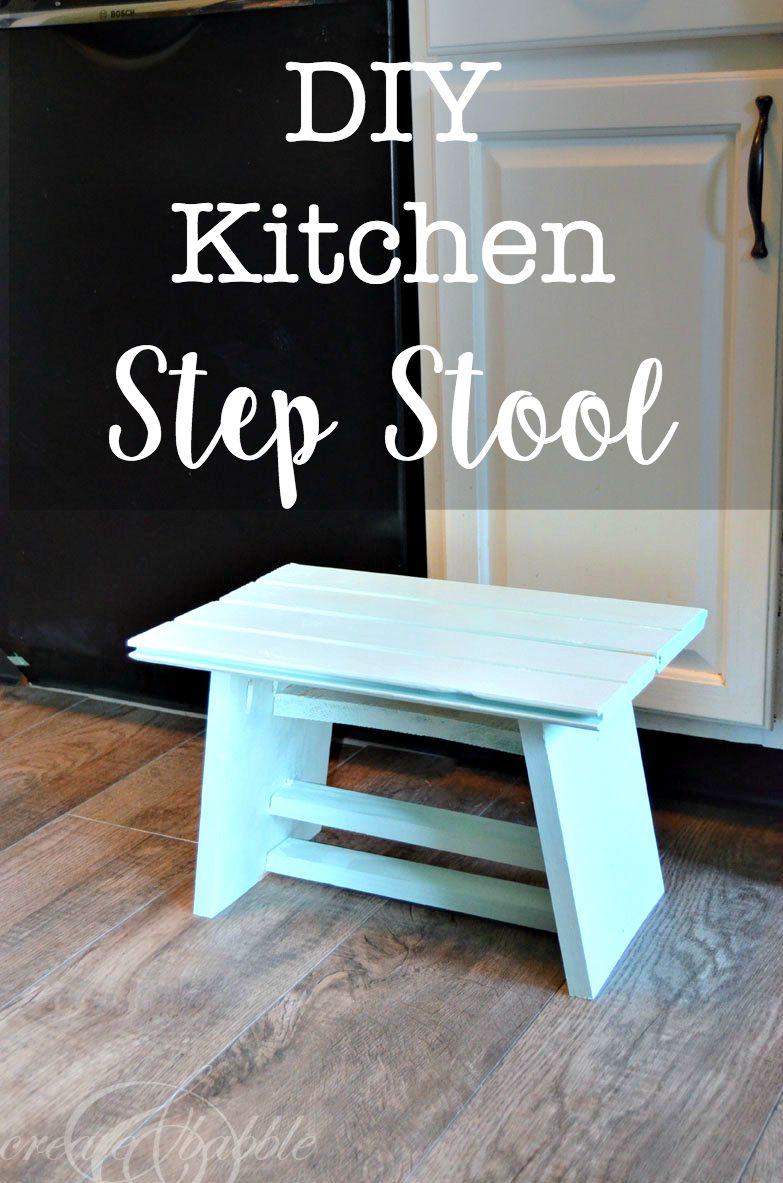
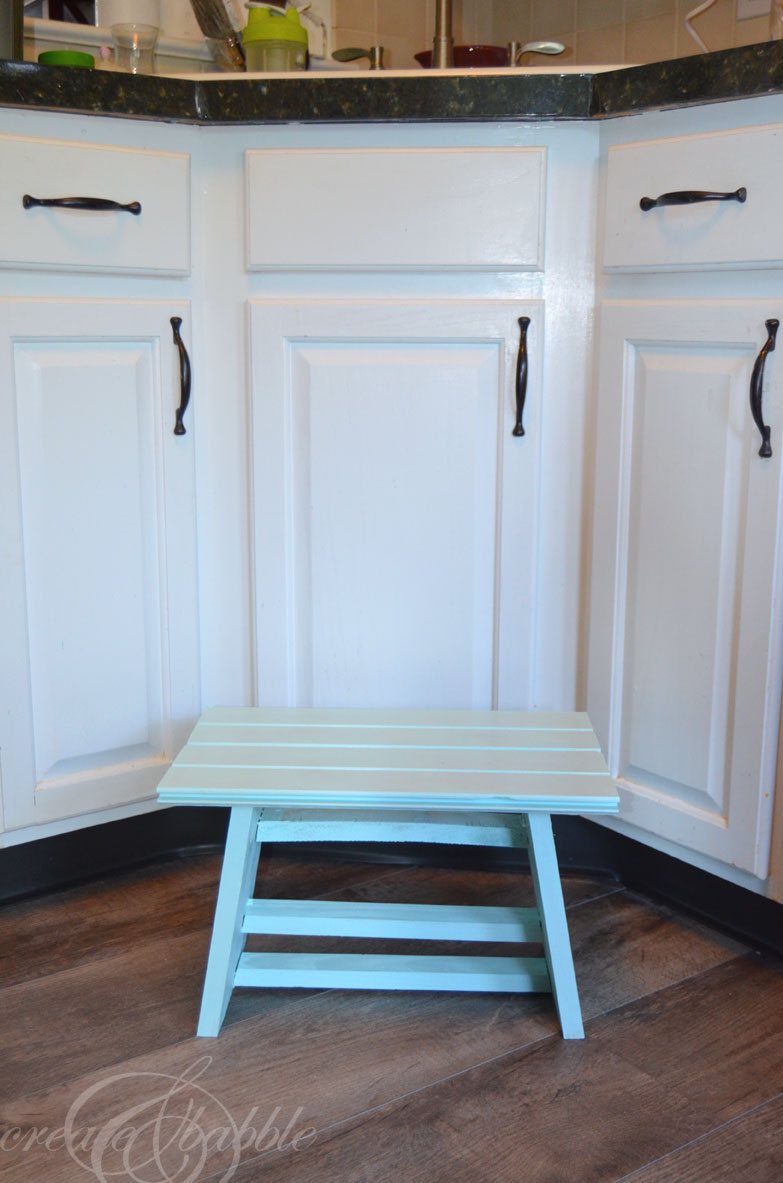
It’s the cute, little step stool!

Since I’m only five feet tall, I wish I had a step ladder in every room in the house. It never fails. Every time I find myself in need of the step ladder when I’m in the kitchen, I realize it’s either down in the basement or up in the bedroom.

step-stool-13

Now I’m happy to say that I can reach the top shelf in every single kitchen cabinet!

The best part of the step stool is that is took almost no time at all to make and since I used scrap pieces of wood, it didn’t cost a dime to make it!

DIY-step-stool-4

Here’s how I made it in case you want to make one, too.

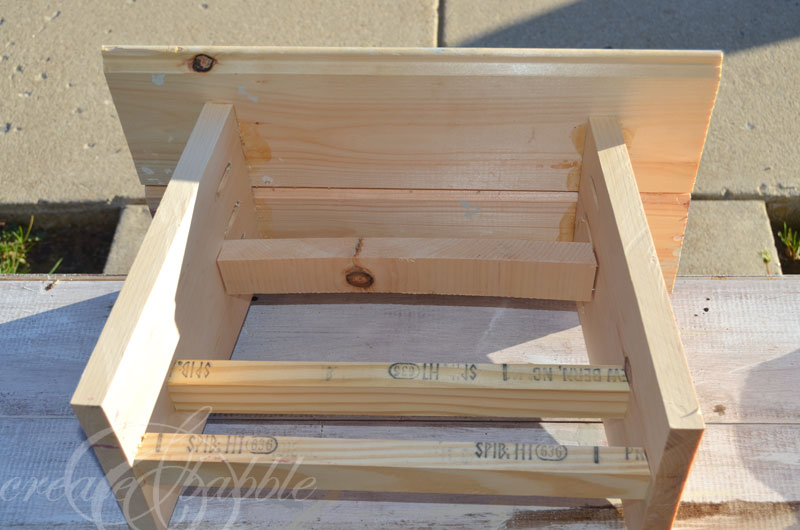
  • First I cut two lengths of leftover tongue and groove boards to 16″ long for the top or “step” of the step stool.
  • Then I cut two lengths of a leftover 1″ x 8″ to 8″ long for the legs, but I beveled cut the ends at eight degrees on my Ryobi Compound Sliding Miter Saw. (By the way, I’m giving one of these miter saws away here!)
  • Using my Kreg Jig, I drilled four pocket holes in each leg, then attached the legs to the top using four pocket screws.
  • Next, I cut down a leftover length of a 1″ x 2″ into 3 graduating lengths and again bevel cut the edges at eight degrees. I used these pieces as braces between the legs to give the step stool extra strength. I attached these using my Ryobi Brad Nailer.

DIY-step-stool-5

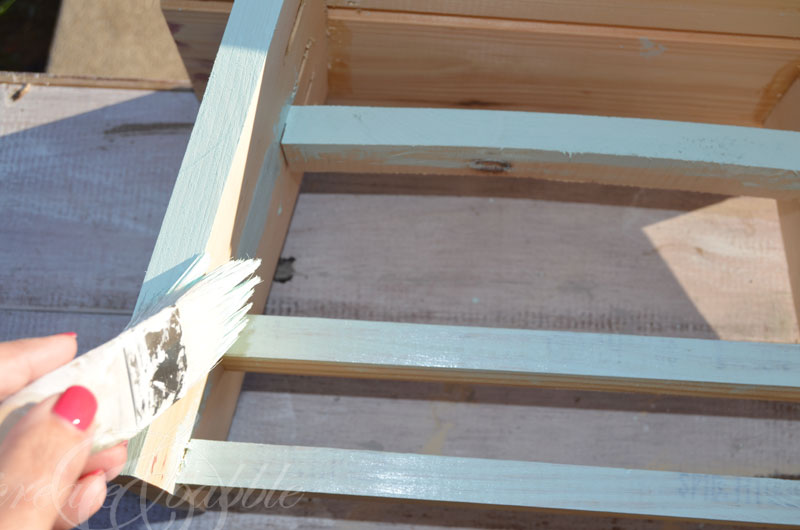
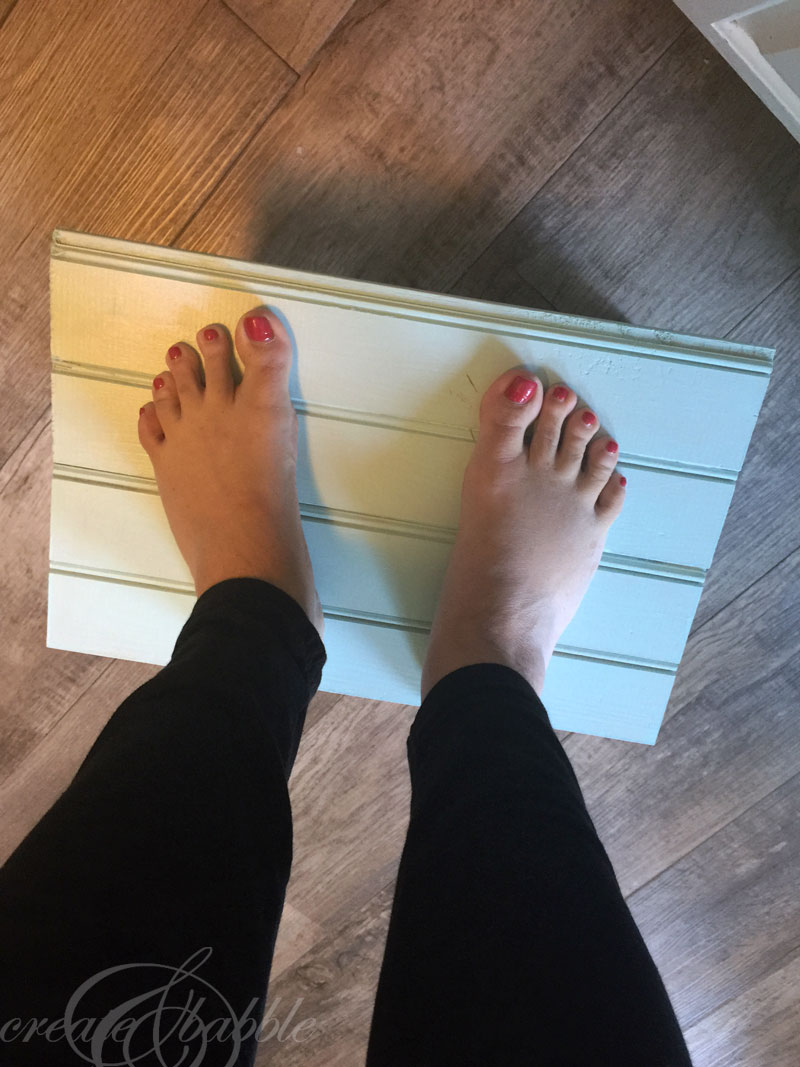
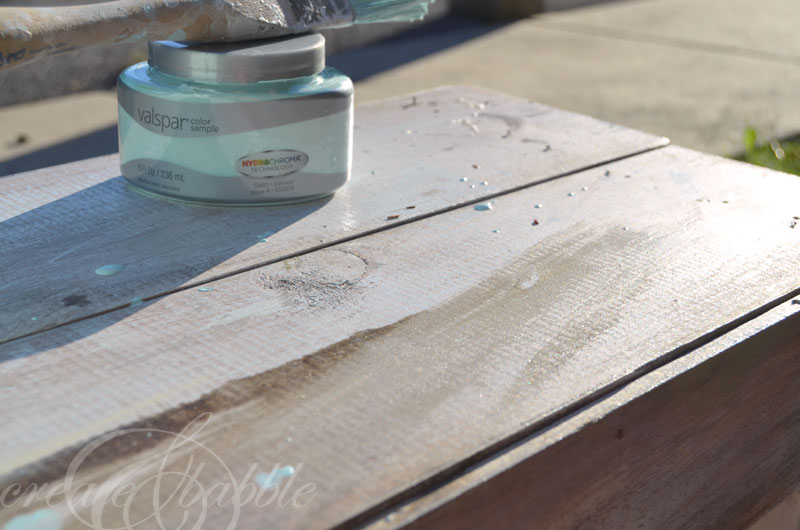
All that was left to do was give it a quick coat of paint.

DIY-step-stool-7

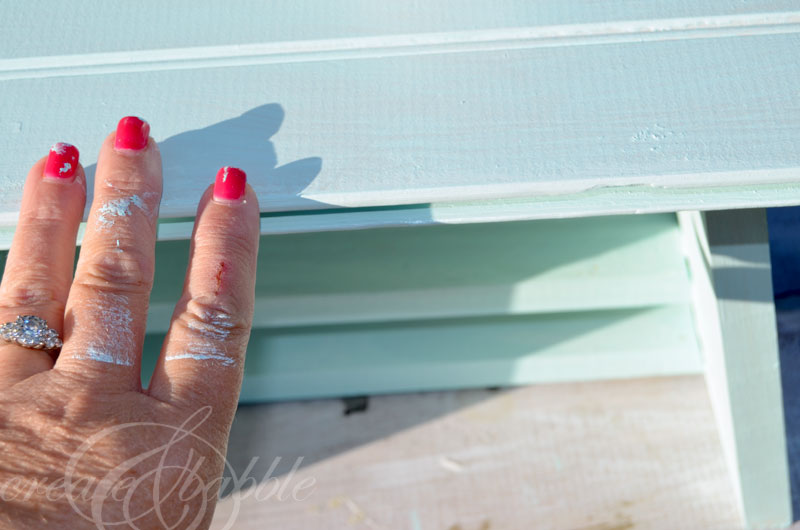
I think I am the messiest painter ever!

DIY-step-stool-6

Remember the farmhouse bench that I made early this summer? I wanted it to have a worn, loved look. Well it got more “love” added it to this morning when I painted the stool on it ; )

DIY-step-stool

pin-this-post

It is so nice to be able to reach things on those top shelves without running throughout the house looking for the step ladder.

DIY-step-stool-10

If you like it, please share it!Share on pinterest
Pinterest
Share on facebook
Facebook
Share on twitter
Twitter
Share on stumbleupon
Stumbleupon
Share on google
Google
Share on linkedin
Linkedin
Share on reddit
Reddit

Filed Under: Build It, DIY, Tutorials

« DIY Pretty Framed Pegboard – Part 2
How to Monogram Hand Towels »

Comments

  1. Joanie says

    January 30, 2017 at 8:11 pm

    Cute, very cute.

    Reply
  2. Lorry Evens says

    August 28, 2020 at 11:42 pm

    So great to read your comment.
    Really glad that the article is helpful

    Reply
  3. Mark says

    October 13, 2020 at 6:10 am

    Perfect color choice. Great work!

    Reply
  4. George says

    November 13, 2020 at 1:22 pm

    Great post !! I’m very much glad to find this article, this website has been my gateway to information.

    Reply
  5. Teena says

    January 7, 2021 at 4:27 am

    Awesome DIY on kitchen step stool. I like this idea and very grateful to you for share this useful idea with us. Thank you.

    Reply
  6. Nixon says

    February 2, 2022 at 3:21 pm

    Great post !! i am very happy in this read today in your post.

    Reply

Leave a Reply Cancel reply

Your email address will not be published. Required fields are marked *

About Jeanie

About Jeanie

Welcome to Create & Babble. This is where I share my loves: crafting, hiking and camping

Read more about me here

Categories

Archives

AntiqueFarmHouse
Zots Craft Adhesive Dots

Amazon Associates Disclosure

Jeanie Hevener Emmert is a participant in the Amazon Services LLC Associates Program, an affiliate advertising program designed to provide a means for sites to earn advertising fees by advertising and linking to amazon.com.


hobby lobby

Copyright © 2025 · Site by Pretty Pink Studio

Copyright © 2025 · Glam Theme on Genesis Framework · WordPress · Log in

This website uses cookies to improve your experience. We'll assume you're ok with this, but you can opt-out if you wish.Accept Reject Read More
Privacy & Cookies Policy

Privacy Overview

This website uses cookies to improve your experience while you navigate through the website. Out of these, the cookies that are categorized as necessary are stored on your browser as they are essential for the working of basic functionalities of the website. We also use third-party cookies that help us analyze and understand how you use this website. These cookies will be stored in your browser only with your consent. You also have the option to opt-out of these cookies. But opting out of some of these cookies may affect your browsing experience.
Necessary
Always Enabled
Necessary cookies are absolutely essential for the website to function properly. This category only includes cookies that ensures basic functionalities and security features of the website. These cookies do not store any personal information.
Non-necessary
Any cookies that may not be particularly necessary for the website to function and is used specifically to collect user personal data via analytics, ads, other embedded contents are termed as non-necessary cookies. It is mandatory to procure user consent prior to running these cookies on your website.
SAVE & ACCEPT