Remember when I mentioned my little obsession with card stock? Well, I’ve done something about it.
No, I didn’t get rid of it. Well, actually I did give away some of it. But for the rest I desperately needed something to get it organized.
Soooo, I got my DIY on and made this handy dandy wooden paper organizer to fit inside the cubbies of my shelf!
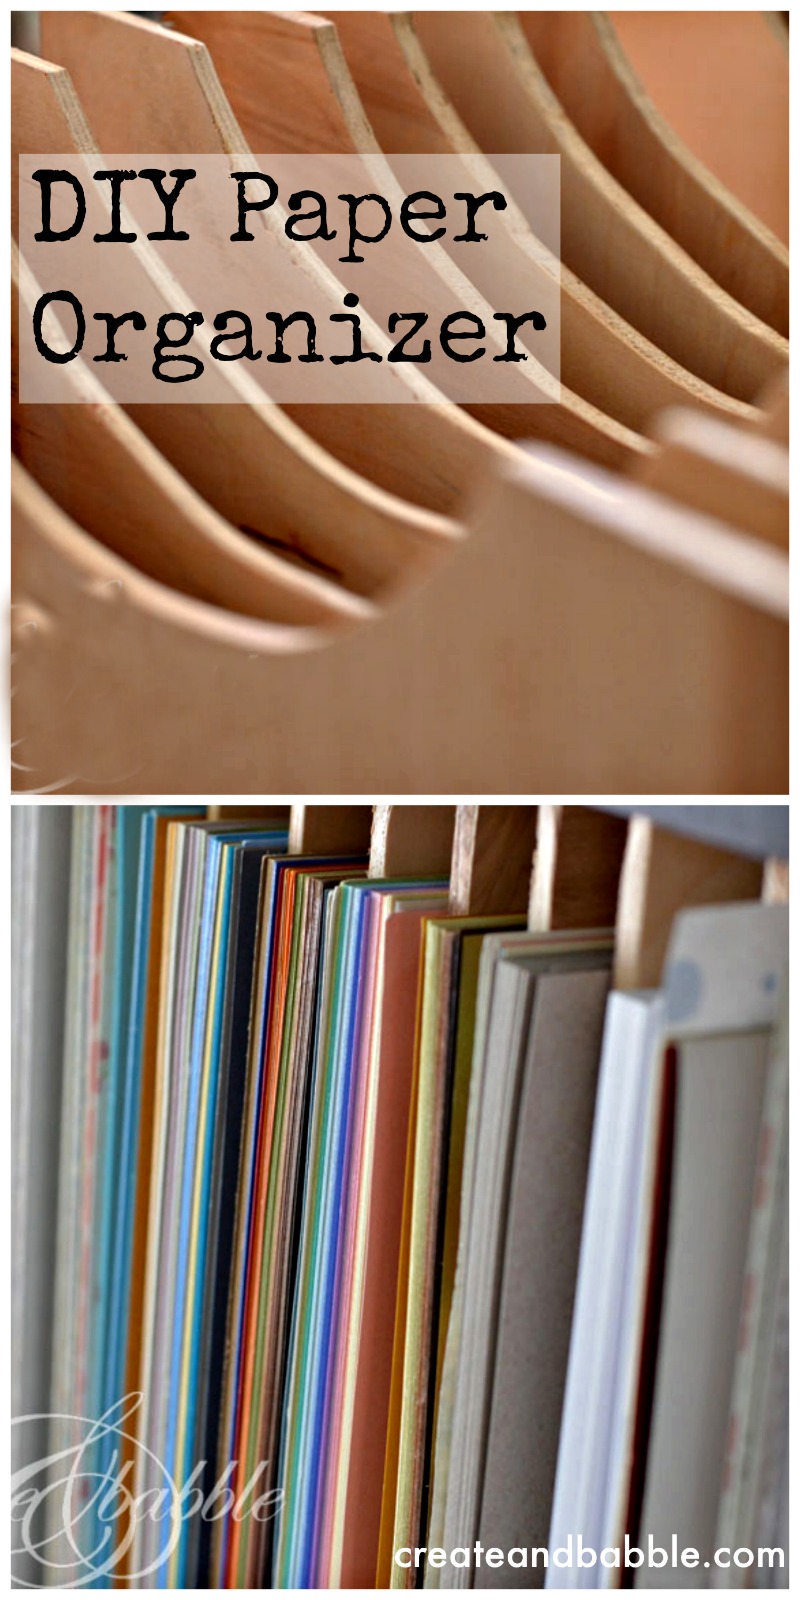
I was so excited to get it in the cubbie and try it out that I didn’t even finish sanding the rough edges or paint it yet! (By the way, the storage unit is actually called a room divider. I got it at Costco a few years ago, but this idea would work for any similar storage unit.)
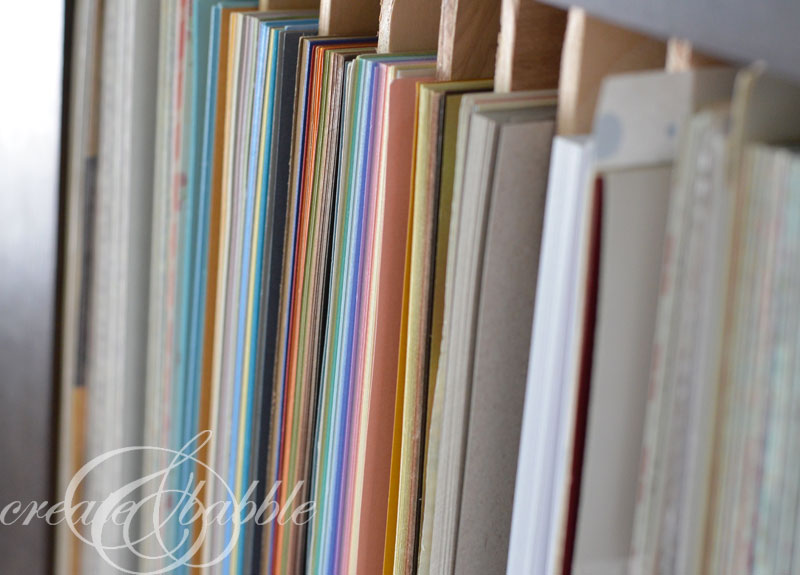
To make it, I first measured the dimensions of my cubbies. They measured just under 13 1/2″ square.
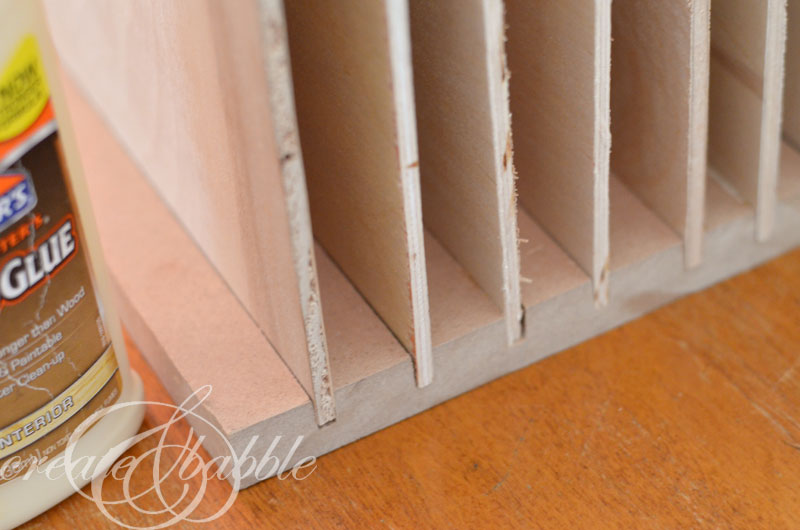
I found some leftover 1/2″ MDF in my wood pile and cut a 13 1/4″ square using my Ryobi 10″ portable table saw. I then made dado cuts into one side of the wood spacing them about an inch apart. Since I don’t yet have a dado blade for my table saw, I just lowered the blade to cut into the wood half way. I made two cuts right next to each other to make a groove wide enough to hold the divider pieces.
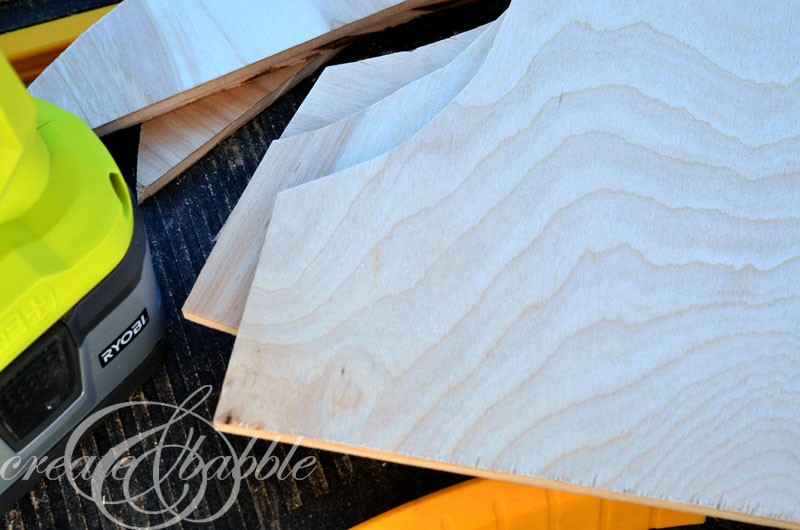
The dividers were made using 1/4″ boards cut to 13″ x 12″.
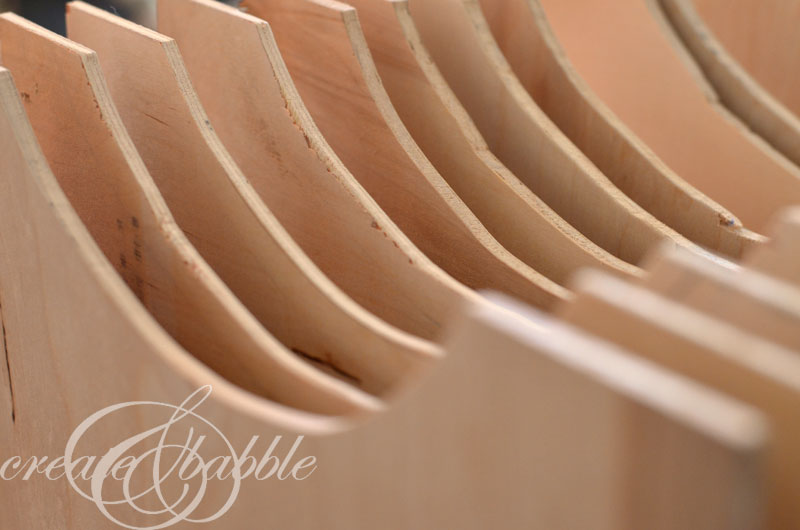
Half circles were cut out using my new Ryobi Jig Saw.
It was actually my first time using a jig saw. Be honest – you can tell, can’t you ; )
The cuts look a little better after some sanding.
There are five more cubbies in that storage unit. I think I’ll need to make at least one more paper organizer. I told you I have a bit of an obsession with card stock!




Love this! You’re so clever!! Wish I had DIY skills….
Oh my goodness, totally need this at my house! I would love for you to share this post at my Create & Share Link Party! Hope to see you there 🙂 http://www.designsbymissmandee.com/
what is the advantage of cutting the half circles in the shelves?
I think the half circles not only allow you to pull the paperstock out more easily but since this is all made for wood materials, you can’t see through the wood. So you can see what it looks like without having to pull out several pieces to find the kind you’re looking for.
i think this is a good idea, but can’t really see from the pics how it looks totally. pics are all close ups.
Since this post is an oldie but a goodie!, can you update and show what you did with the other cubbies? Did you add more paper organizers? I think we’d all like to see what the overall organization is! ❤️
It’s genius! I never would have though to DIY paper organizer like that. Love it! Can’t wait to try out this weekend.
Not helpful at all. No instructions and only close up photo’s. Not a DIY for anyone else.