


I am so thrilled with the latest addition to my craft room. I try so hard to be organized in this space with labeled bins, cubbies, and shelves but I gotta say that a giant pegboard is the ultimate organizer! I can see EVERYTHING all at once and for me that is such a time saver. So without further delay I want to show you just how to build a giant pegboard.
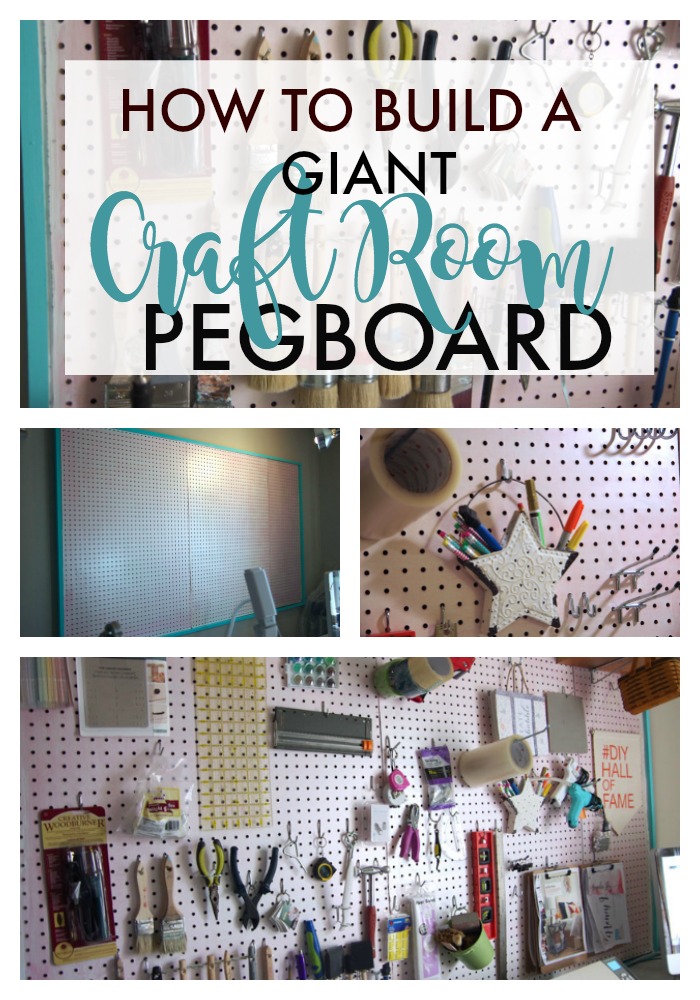
How to Build a Giant Pegboard
Materials
- pegboard
- 1″ x 2″s
- 2″ wood screws
- 1-1/4″ brad nails
- caulk
- paint
- pegboard hooks
Tools (contains affiliate links)
- miter saw
- brad nailer
- sander
- table saw or table saw
- table saw
- table saw
- paint brush
- paint roller
- table saw
- pencil
Step One – Determine placement and size of pegboard
I knew I wanted a huge pegboard. My “desk” is actually long, narrow table that I made a couple of years ago. It is placed up against one of the long walls in my office/craft room. I wanted my pegboard to be directly above that table.
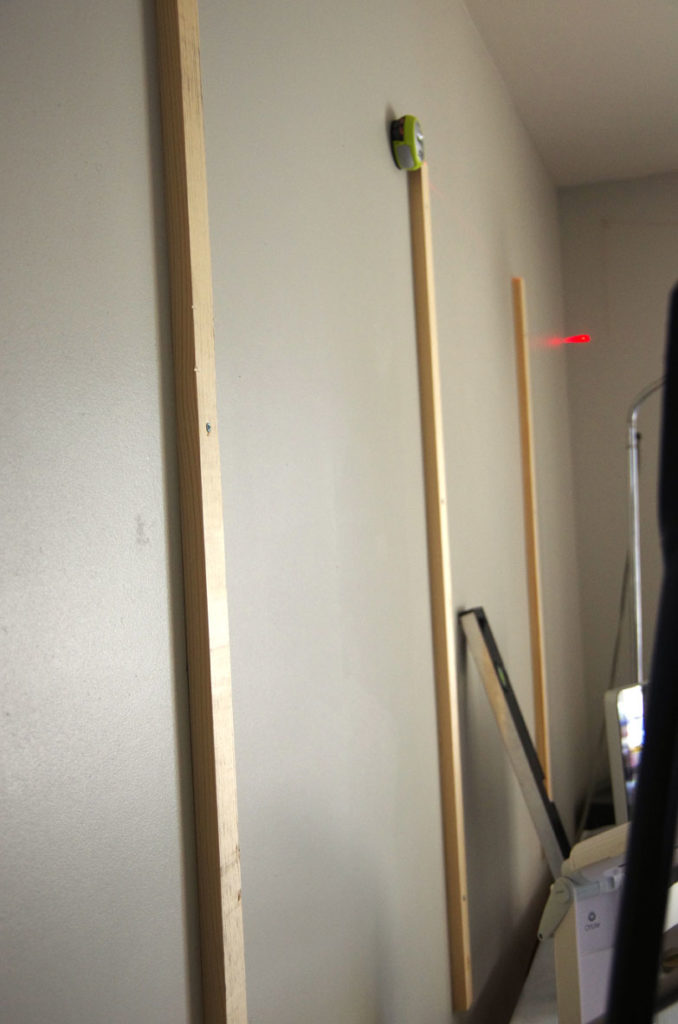
Using a stud finder, I marked the studs and attached a 48″ long 1″ x 2″ at each stud using three wood screws (top, middle and bottom). I used a laser level to be keep everything lined up and even at the top of the studs and I used a carpenter’s level to keep the studs straight.
Since my studs are 16″ apart, I placed my 1 x 2s at 32″, 32″, and 16″ for a total pegboard width of 80″.

Step 2 – Attach pegboards
Using a brad nailer with 1-1/4″ brad nails, I attached the pegboard to the 1″ x 2″ “studs”.
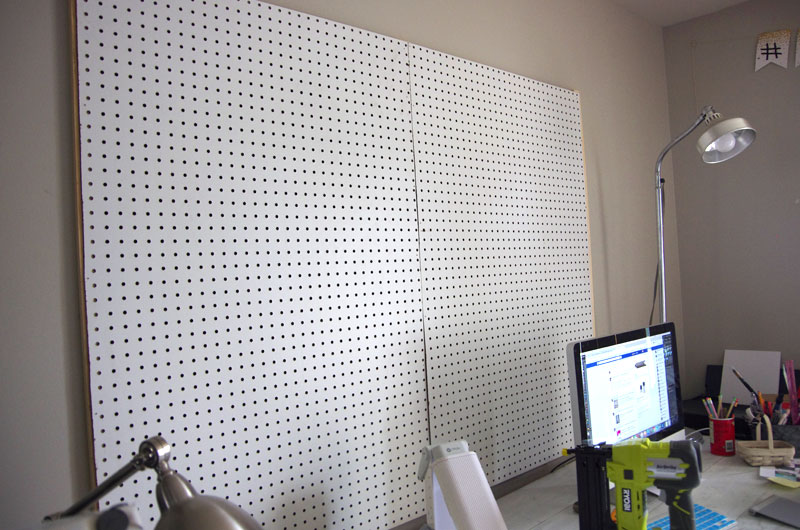
At first I was just going to leave it at 64″ but what the heck!
When it comes to pegboards, I say bigger is better.
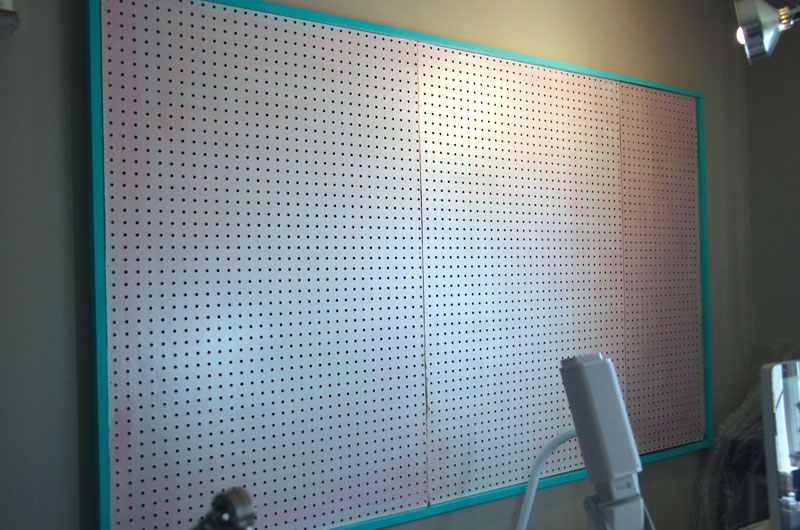
Step 4 – Add the frame
For the frame, I simply used more 1″ x 2″s that I had pre-painted using more of that incredible Americana Decor Maxx Gloss™ paint in Aqua Waters. It’s the same paint that I used on the framed bulletin board.
Again I used the brad nailer to nail the painted 1″ x 2″ pieces to the 1 x 2 “studs”. (I turned the frame pieces on their sides to create a raised frame around the edge of the pegboard.
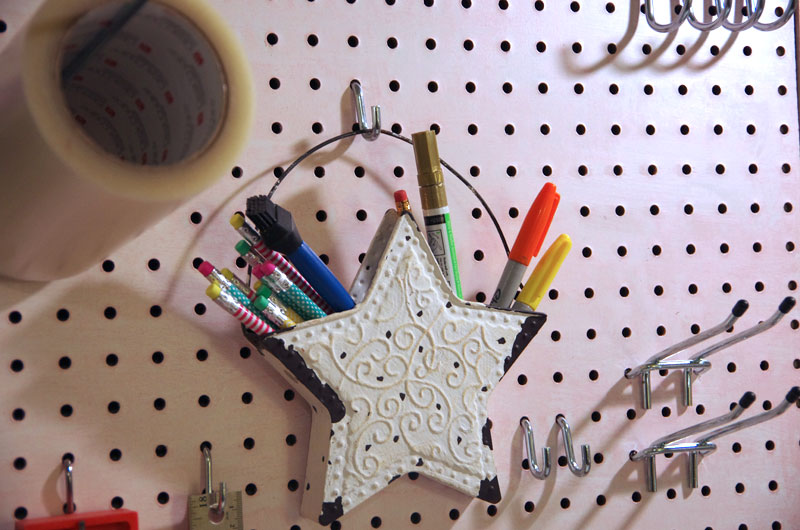
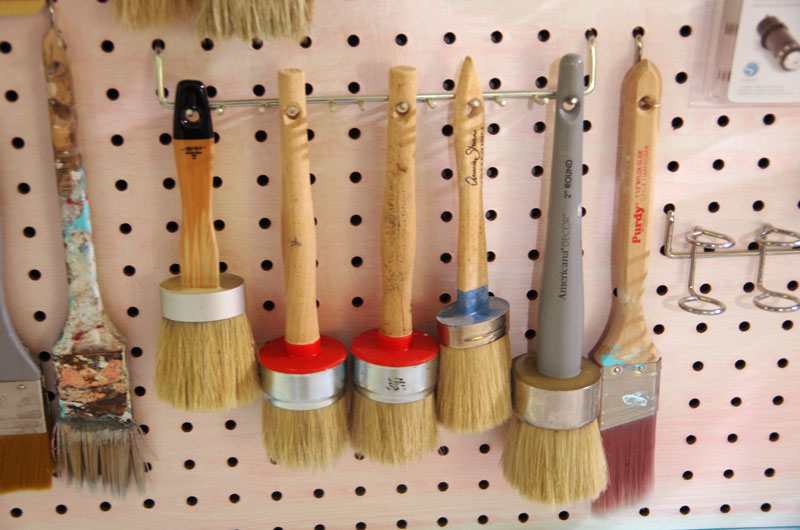
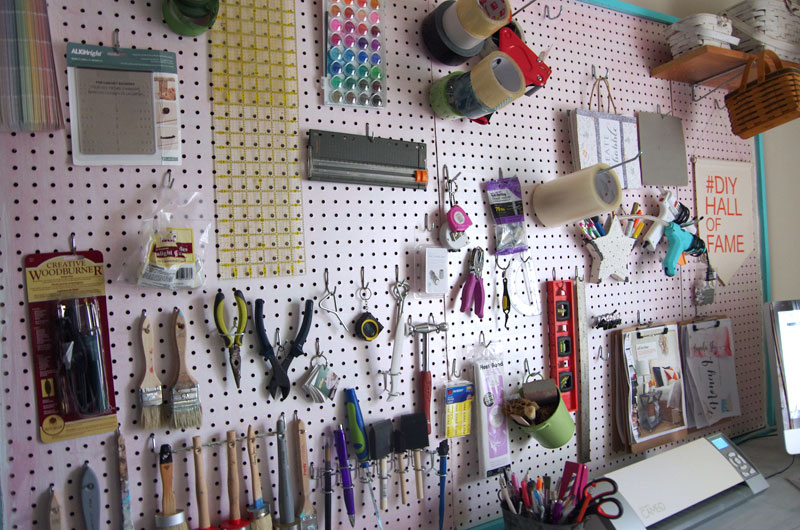
Now the fun part! Adding all of the hooks and then hanging my “stuff”!
So now hopefully I can find what I’m looking for instead of going out and buying another one! Haha! Does anyone else do that? I must have two dozen tape measures!
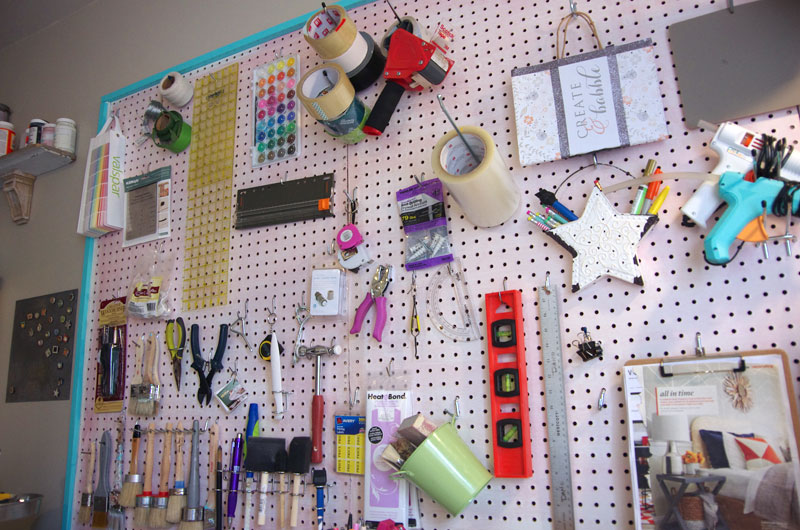
The photo above was taken from my desk chair. I just look up and see everything at once!
Oh my goodness, why did I wait so long to do this!

If you have a designated craft space, I can’t recommend building a giant pegboard enough! It’s a small investment for a big return on organization!
This not the first pegboard I’ve made (see this smaller, framed pegboard), but it’s certainly the largest and I love it!
Oh and if you’re wondering how to hang a pegboard in your basement and don’t want to drill holes into the block walls, I gotcha covered! See How to Hang a Pegboard Without Drilling Into Cinderblock.


I don’t have room in my current craft room for a pegboard (I have cabinets on the walls) but will seriously consider it if/when I move. I think that even if I have cabinets on the walls, I would try to put pegboard underneath them. Sometimes I drool over the organizing systems at containerstore.com (nearest store is 5+ hours away!)
Pegboards are wonderful things! And I agree about the Container Store. There is not one near me either which is probably a good thing!
OMG Jeanie I just bought peg board for both my workbench and my craft room. I can’t wait the paint them a bright color!
Thanks for sharing your tutorial at Motivation Monday on Mom Home Guide! I’ve been meaning to hang a large pegboard, so I will be using this tutorial!
Oh how I would love something like this I just don’t have the space. My craft supplies keep growing and growing! It came out great!
Kate | The Organized Dream
Can you imagine doing this project, but leaning them on the floor instead of installing them? I have a big wall in my living room, but I live in an apartment and don’t want to put big holes in the wall. I was thinking I could get these peg boards started, lean them and still use the shelves, hang art, etc. and then they can travel to a new home when I buy and perhaps get mounted there! What do you think?