


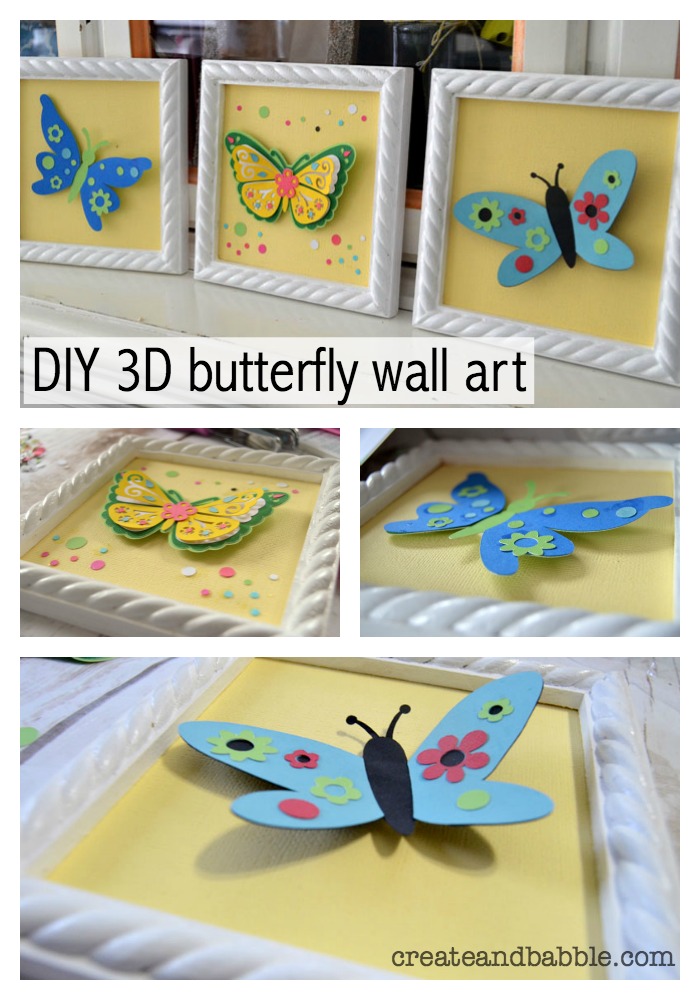
March is going by so fast which is a good thing if you’re like me and in a hurry for Spring weather to arrive and STAY! But March is National Craft Month and it seems like I got very little crafting done. I tried to make it up for it this past weekend when I made 3D Butterfly Wall Art.
Nothing says Spring more to me that bright happy colors, flowers, and butterflies.
These framed 3D butterfly wall art pieces were not only fun to make, but they also were a fast and inexpensive craft. If you’ve got a way to cut out some butterfly shapes (like a Cricut, a Silhouette, punches or die cuts), a few sheets of solid colored card stock in your favorite colors, and some adhesive (including dimensional adhesive like foam squares), then you’ve got everything you need to make the butterflies for the 3D butterfly wall art.
This post contains affiliate links for your convenience.
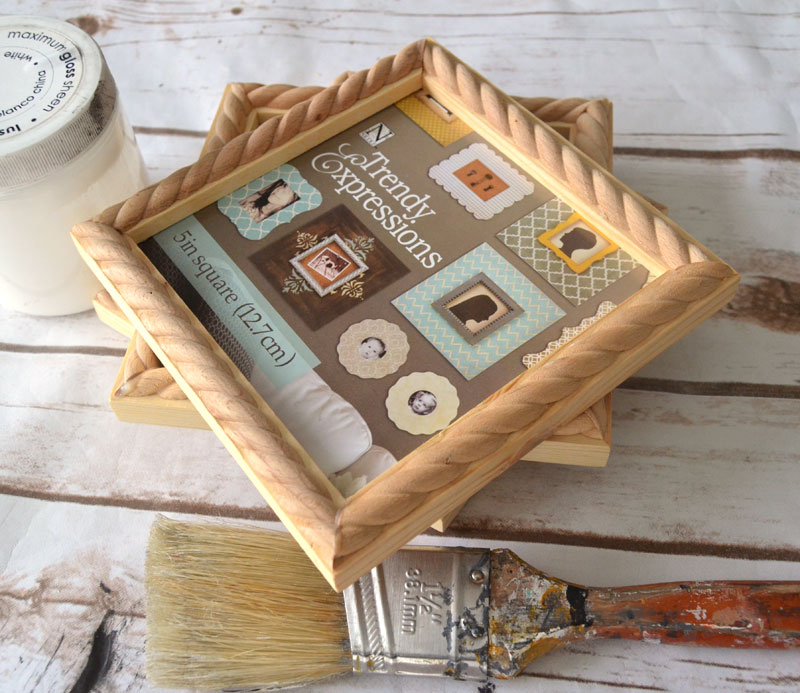
In addition to the materials mentioned, you’ll also need some unfinished frames and some craft paint to paint them. I’ve had these three unfinished frames for a few years. I think I got them in the dollar section at Michaels. Although not the same, these frames would definitely work – and the price is right! (I actually think I like those frames a little better! I’ll be ordering some of them for sure.)
Instructions to make 3D Butterfly Wall Art
Step 1 Paint the frames
Paint the frames in whatever color you desire. I painted mine white with a glossy white paint. (I used Deco Art Americana Decor Maxx Gloss.)
Step 2 Cut out some butterfly shapes
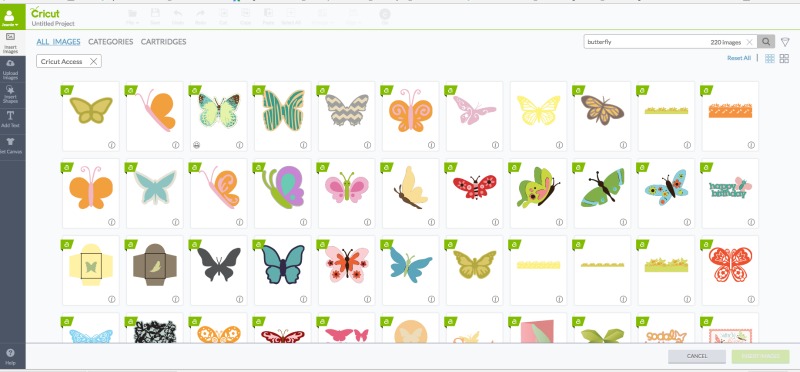
I used my new Cricut Explore Air 2 and butterfly designs from the Cricut library. I typed “butterflies” in search and then filtered by “Cricut Access“. There were over 200 butterflies to choose from.
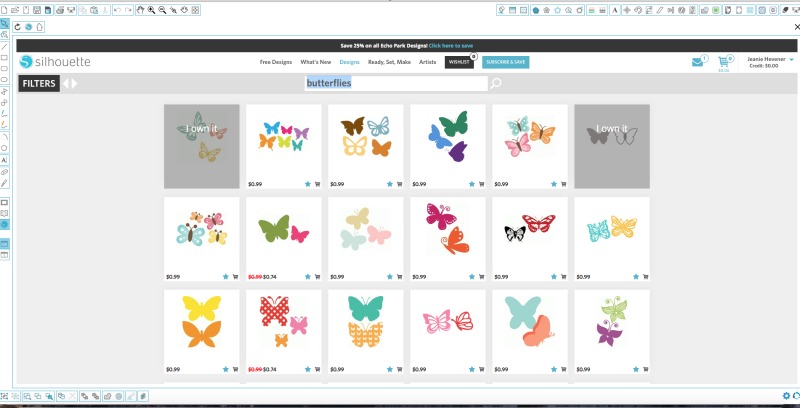
There are also hundreds of butterfly shapes in the Silhouette online store.
If you don’t have an electronic cutting machine, don’t despair! Do you have a Sizzix or some other brand of die cutting machine? If so, there are a lot of butterfly dies available. I especially like this one from Spellbinders.
Okay, so once you have your butterflies, they need a place to land ; )
Step 3 Cover the frame backing with a solid color piece of card stock
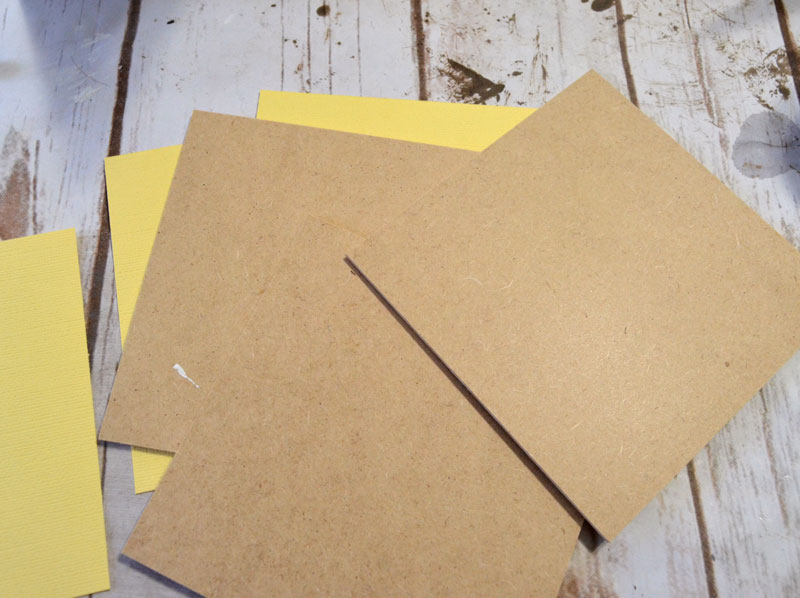
I chose to use yellow. I didn’t bother to adhere the backing to the card stock – I just inserted both back into the frame.
Step 4 Apply dimensional adhesive to butterfly
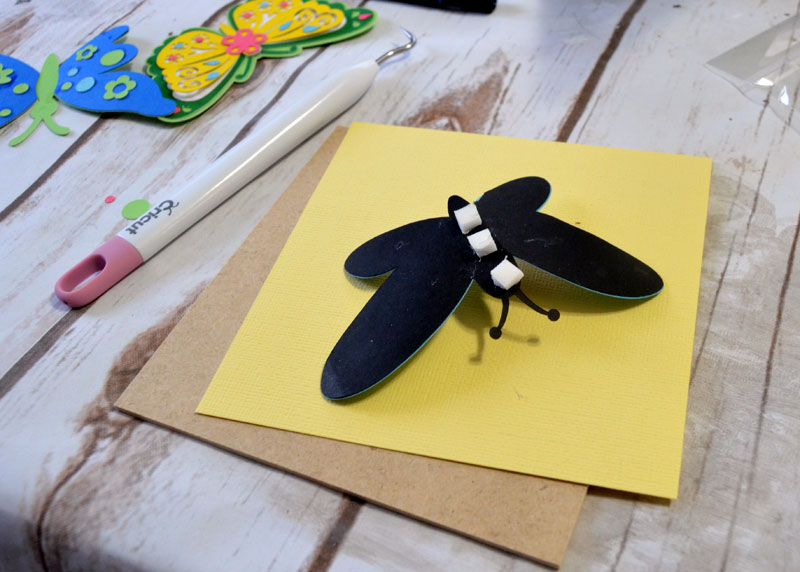
Only apply the foam squares to the body of the butterfly. Slightly bend up each wing to give the butterfly dimension,
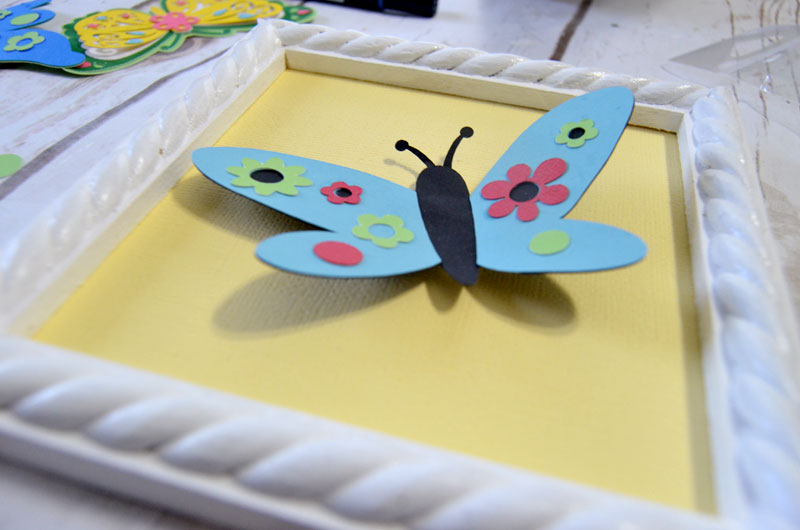
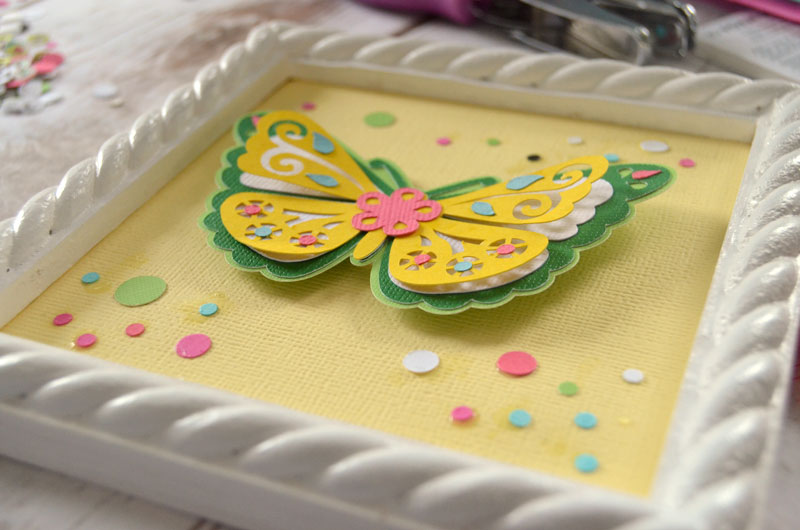
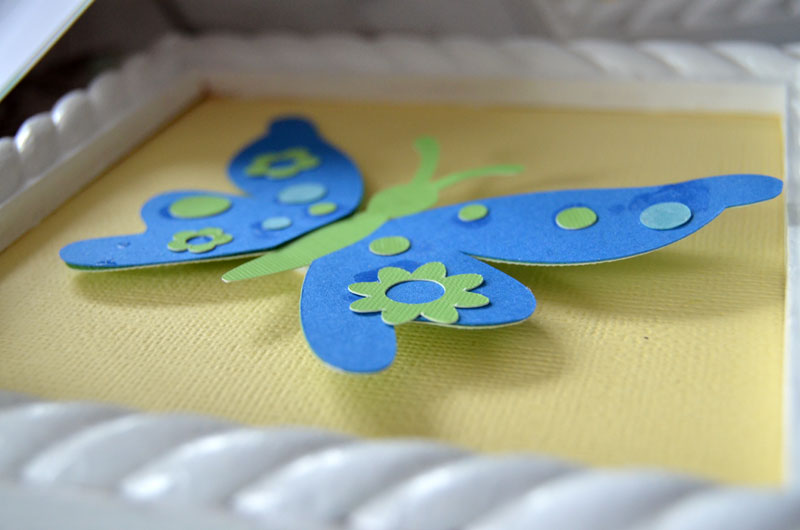
I love these 3D butterfly wall art pieces. Aren’t they pretty? These are going on the wall in my daughter’s new powder room. Where are you going to put yours?
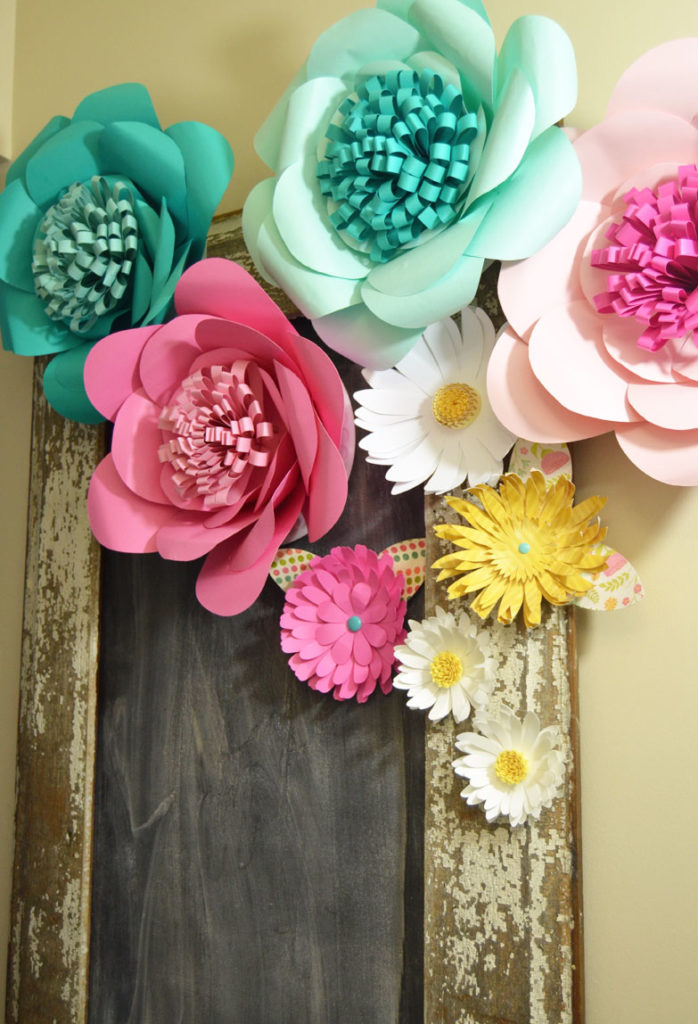
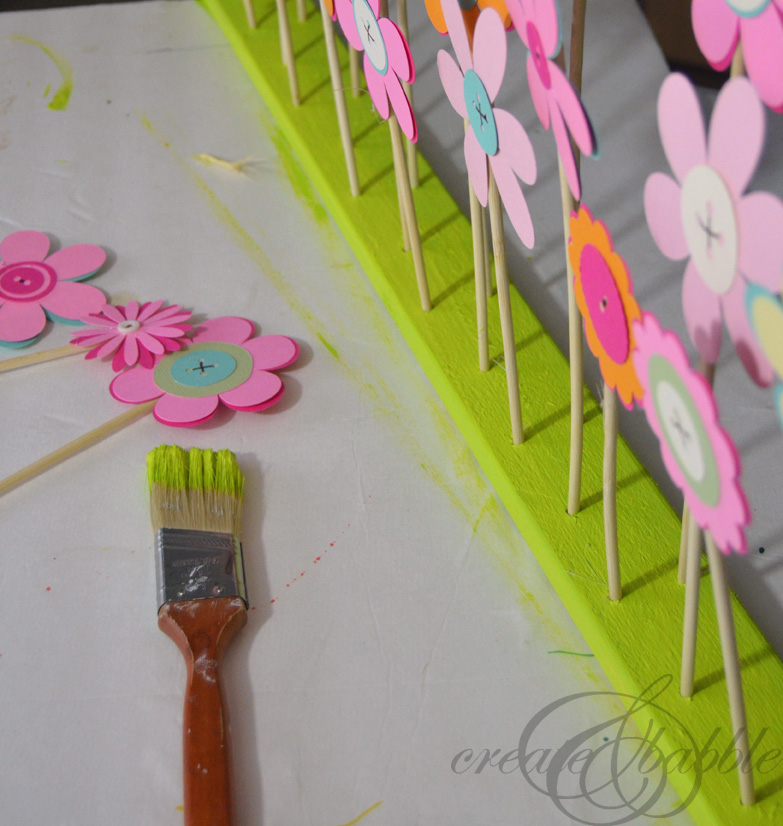
If you like this post, you may also like these other paper crafting projects:

Here is Where I Party!


This is such a great idea! I love papercrafts & I never thought to do something like this. Thanks for sharing at Merry Monday!
If you’re considering importing a car into the United States, it’s advisable to consult with an experienced customs broker or import specialist who can guide you through the process and ensure compliance with all the necessary regulations https://www.youtube.com/watch?v=sqq8bXGThCU
Wow, this 3D butterfly wall art tutorial is truly inspiring! I’ve been looking for creative ideas like this, and I found some helpful inspiration while exploring Twin Peaks Desserts that could pair perfectly with a cozy crafting session. It’s amazing how small details can transform a room and make DIY projects feel so special. Thanks for sharing such a creative guide!
This butterfly wall art tutorial is truly inspiring and makes decorating so much fun! I was also exploring ways to stay informed about local happenings, and I found this Inmate search online resource particularly helpful for checking accurate records. It’s great to have such reliable information at your fingertips, especially when you want quick updates on current data. Definitely worth bookmarking for reference!
This 3D butterfly wall art idea is so creative and elegant, especially how you layered the wings to add depth and movement. I love how simple materials can completely transform a blank wall into something eye-catching. While browsing design inspiration the other day, I also came across a helpful Court record search resource that organizes public details clearly and efficiently. Thanks for sharing such an easy and budget-friendly decor project — definitely trying this soon!
This is such a creative and refreshing DIY idea! If anyone wants to add a personalized touch, you could even incorporate printed elements inspired by SC mugshot records themes for a bold, pop-art style concept. Mixing textured paper, metallic paints, or subtle glitter can also give the butterflies more depth and realism. Layering different sizes will create a beautiful floating effect on the wall. Keep experimenting with color combinations to match your room’s vibe!
Wow, your 3D butterfly wall art looks amazing! I’ve been trying to find easy ways to stay organized with local records, and I found the Canyon County Inmates tool really helpful for quickly checking up-to-date details. It made tracking information much simpler, and I think anyone interested in local records would benefit from it too. Thanks for sharing such a fun craft project—it’s inspiring to see creativity in action!