At first when I saw that this month’s power tool challenge was to make some type of photo display I was stumped. I didn’t want to build an ordinary picture frame. How boring. Then I went away on a scrapbooking retreat last weekend and it hit me. My friends and I were spending hours making pretty scrapbook pages that we are putting in an album. Wouldn’t it be nice to have a way to display these pretty pages on a wall for everyone to enjoy instead of being in an album on a shelf? Don’t get me wrong, I love flipping the pages of a scrapbook and reliving the wonderful times that are captured on those pages. But having a frame that can hold a 12″ x 12″ scrapbook page that could easily be switched out would be awesome.
So I gave it some thought and came up with this idea. It’s a large (30″ x 30″) wooden frame with a sheet metal surface allowing you to temporarily display scrapbook pages with magnets.
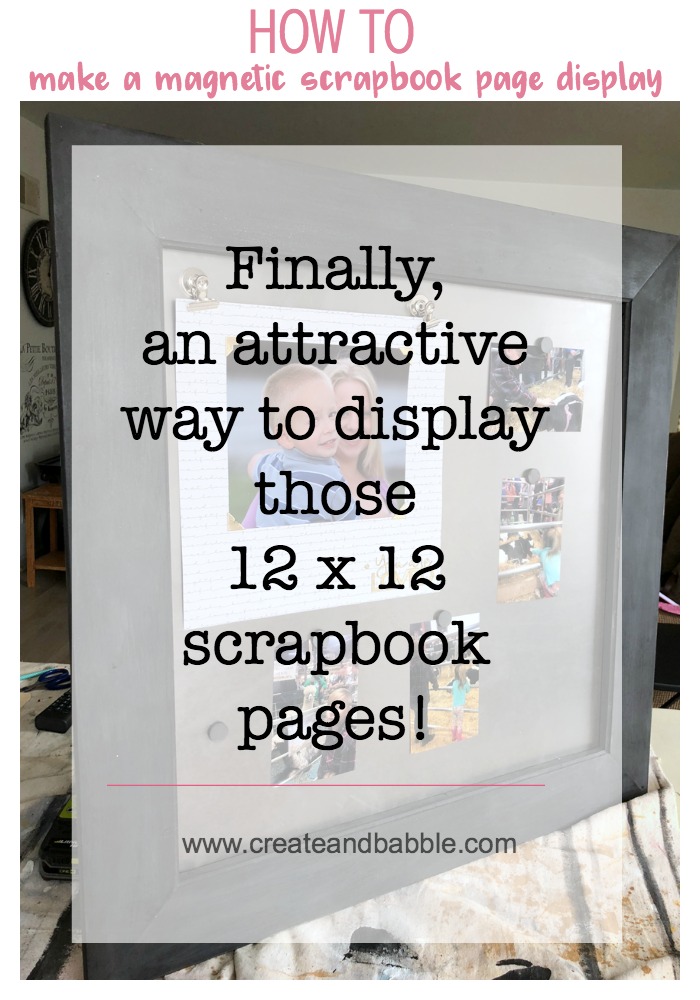
How to make a magnetic scrapbook page display.
I may earn money or products from the companies/products mentioned in this post at no additional cost to you. As always I only recommend products and services that I use and love.
Supplies:
Tools:
Steps to make a magnetic scrapbook page display
Step 1 – Route the edges of the wood
Using a 3/4″ straight bit in my router, I cut a 3/4″ rabbet on one long edge of each of the 1 x 4s.
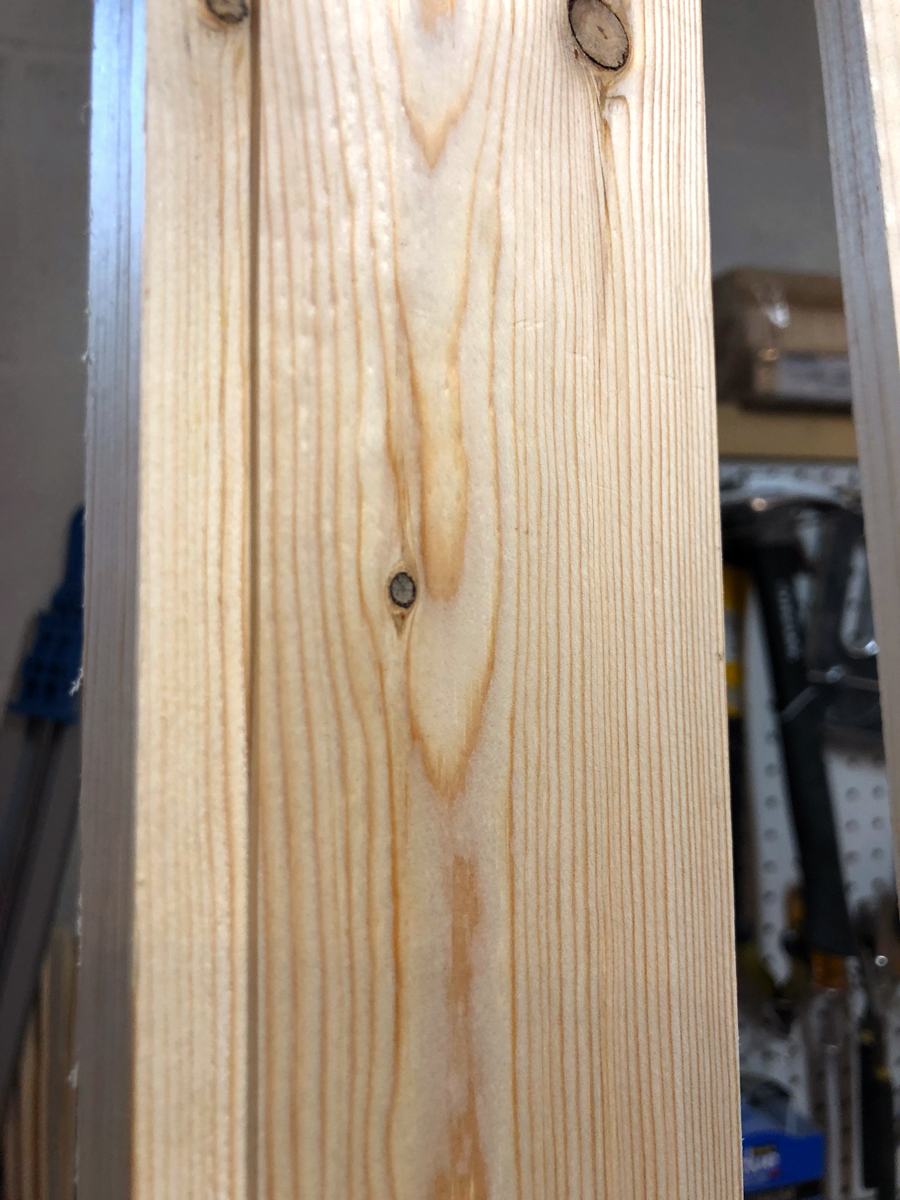
This will provide a “ledge” to receive the sheet metal and allow the back of the frame to be completely flush.
*Optional: I also used a 3/8″ round over bit on the other side of that same edge. This is just to give the frame a more finished look.
Step 2 – Cut the frame pieces
Using a miter saw set to 45°, I cut the 1 x 4’s into four equal pieces measuring 30″ long at the widest points (24″ at the narrow points).
Step 3 – Glue frame together
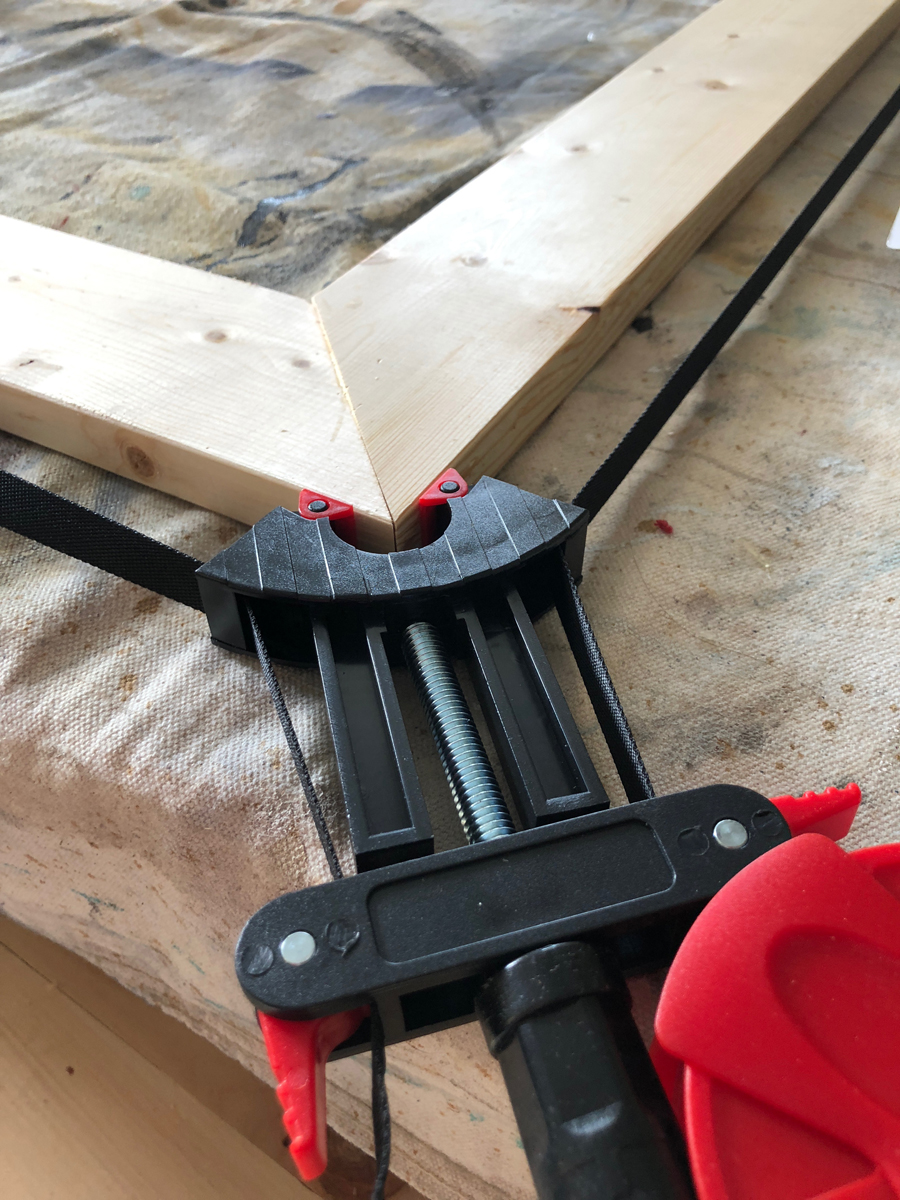
Glue frame pieces together using wood glue. Clamp in place with band clamp and allow to dry overnight.
Step 4 – Sand
Fill any gaps with wood filler, allow to dry and then sand smooth.
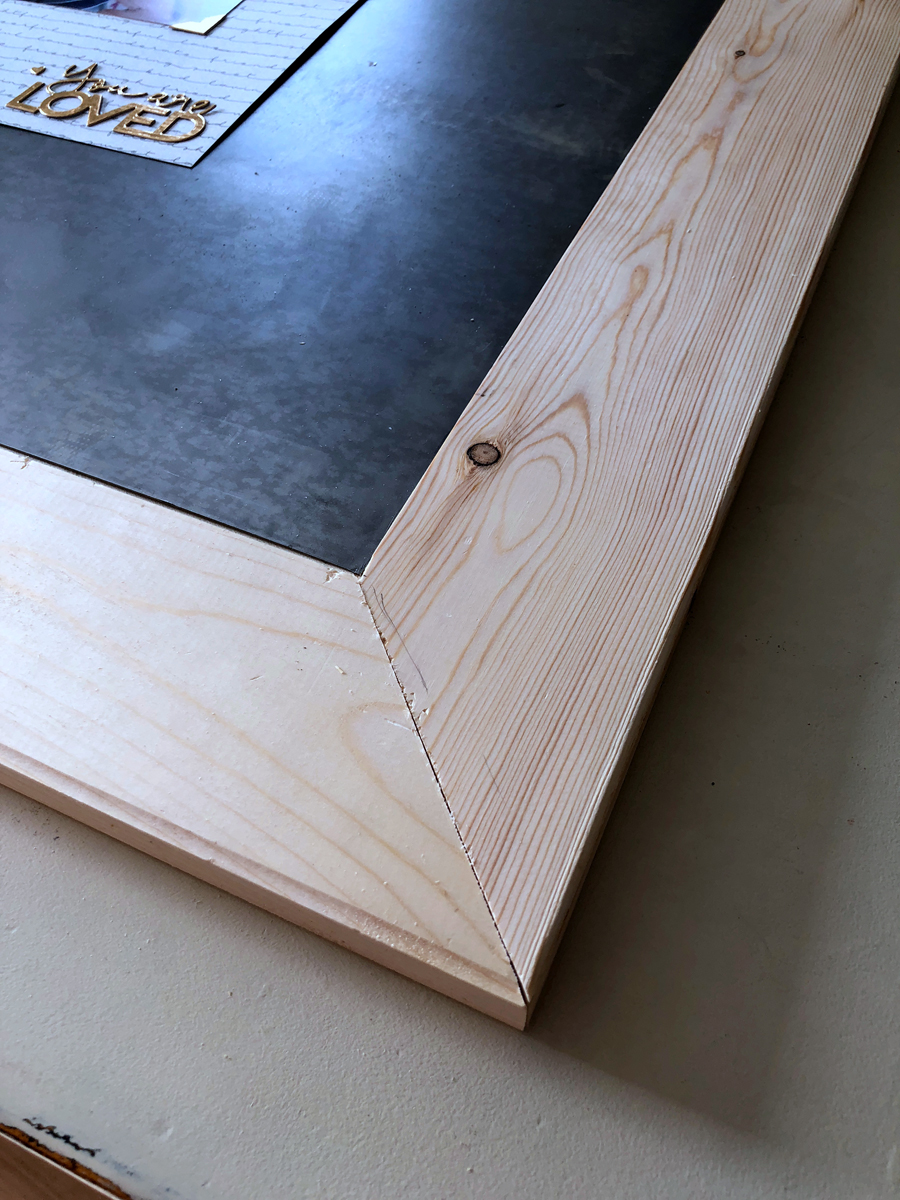
Step 5 – Paint or Stain
Finish the frame as desired. I used Miss Mustard Seed Milk Paint in Typewriter and finished with a clear wax.

Step 6 – Attach sheet metal
Remove the clamp and turn the frame over.
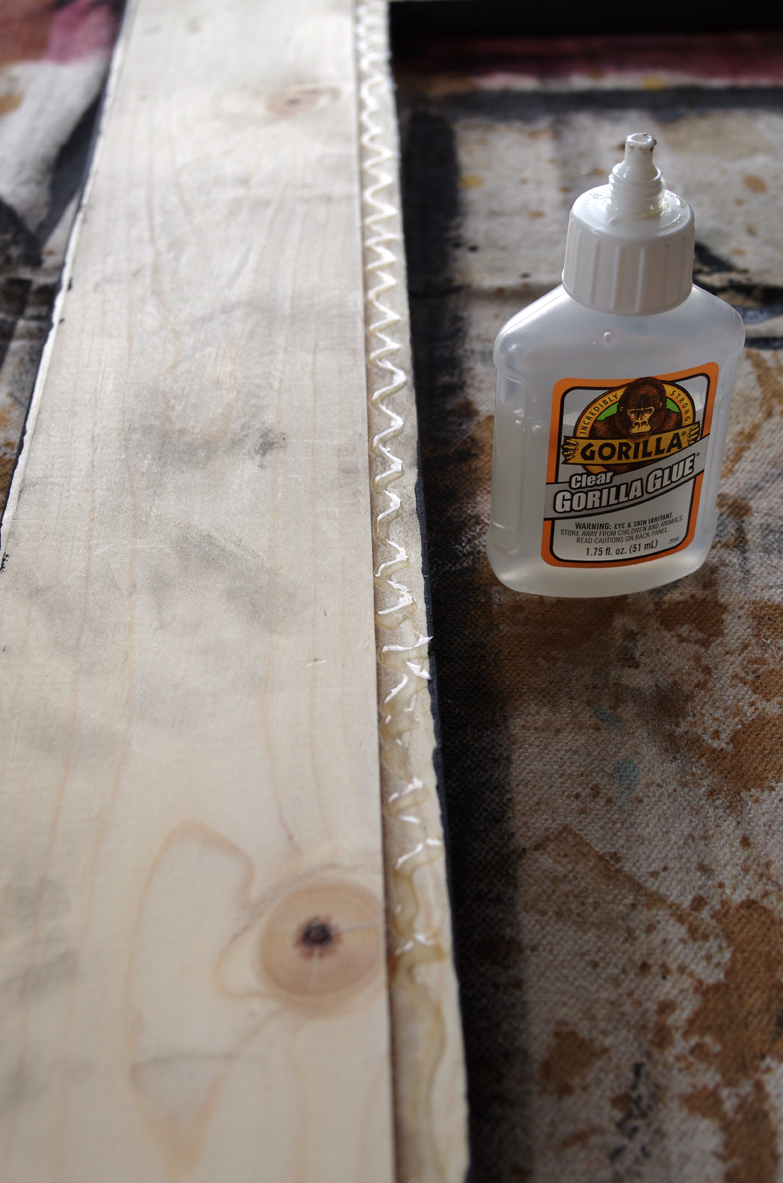
Apply a bead of glue along the rabbeted edge and lay the sheet metal in place.
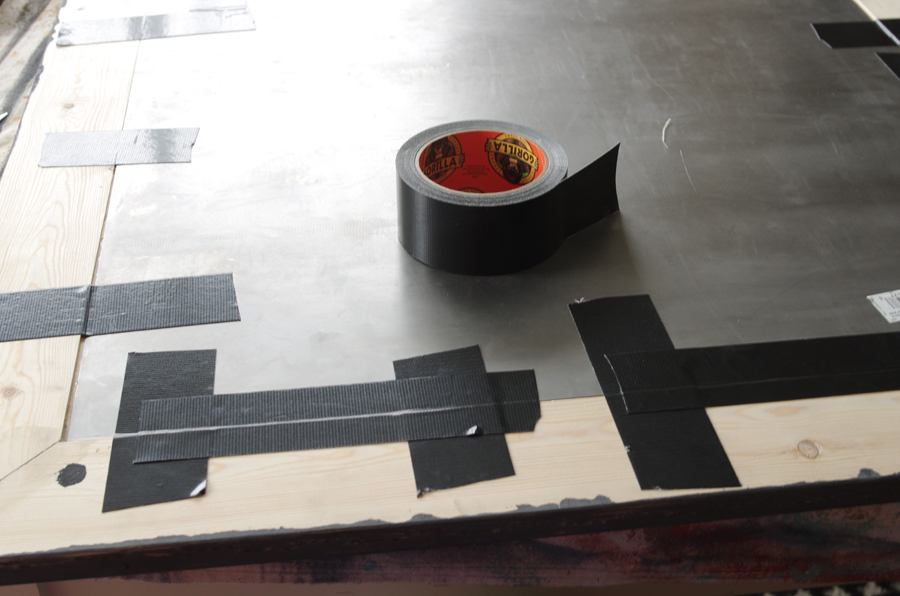
Because the sheet metal may not lay completely flat, I added strips of the Gorilla Tape to help keep it in place. This tape is no joke – don’t attach it to anything that you don’t want permanently attached!
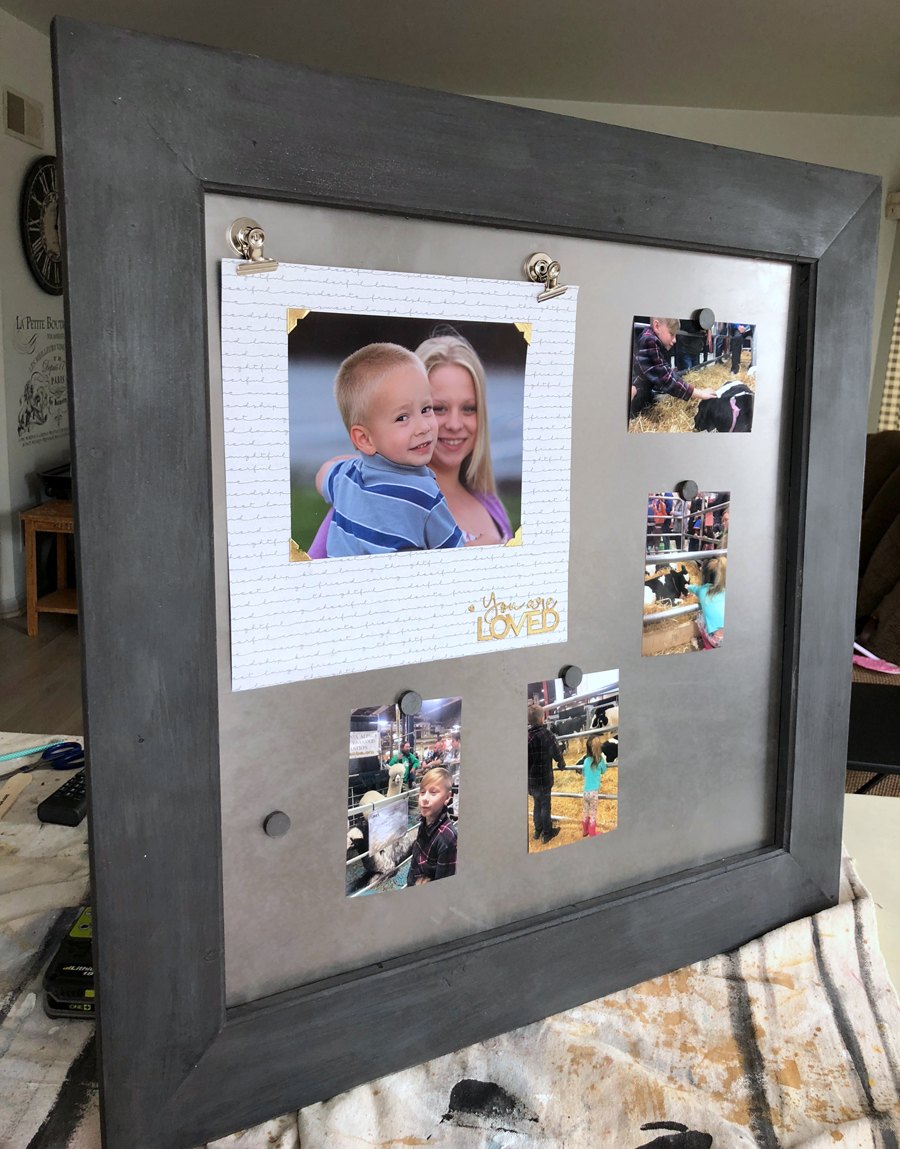
Finished! Now get that scrapbook page and some magnets. There’s even plenty of room for some additional photos. I just love this. I wish there was room for another one in my craft room. But I do have a big blank wall in my kitchen. Hmmmm…..

Here it is in place in my family room. It looks good near those curtains and my black doors.

Please go visit my friends to see the creative frames that they have made:
H2OBungalow – Easy Rustic Picture Frame
Just the Woods – How to Make a Printable Display for Kids Chore Charts
The DIY Village – DIY Wood Shim Picture Frame
The Kim Six Fix – Acrylic and Perforated Metal Floating Frame
My Repurposed Life – Printable Pallet Frame
Refresh Restyle – How to Make a Photo Display


Jeanie,
Your oversized magnetic frame is perfect! Great tips and tutorial. I love that color (typewriter).
gail
What a fun way to display your photos! Love the way you attached the metal frame in the recess on the back of your frame. This would make a fun magnetic memo board too.
This is such a cute idea! I have an empty wall in my kid’s room that I can’t decide what to do with it. This would be perfect, and I love that I could say I made it myself:)
Nice tutorial. The magnetic scrapbook display is so nice. Thanks for sharing your post with us at the Inspiration Spotlight party @DearCreatives. Pinned & sharing.
This magnetic scrap book display is such a really cool idea, this tutorial is really nice and easy to understand i could even do it. Thank you very much for sharing.
Nina
http://www.ninalazina.etsy.com
Good idea with the metal sheet design. Creative Work
Increased regulatory intervention, while stabilizing, could also impose restrictions that affect Bitcoin’s appeal and functionality. https://memebettoken.com/