


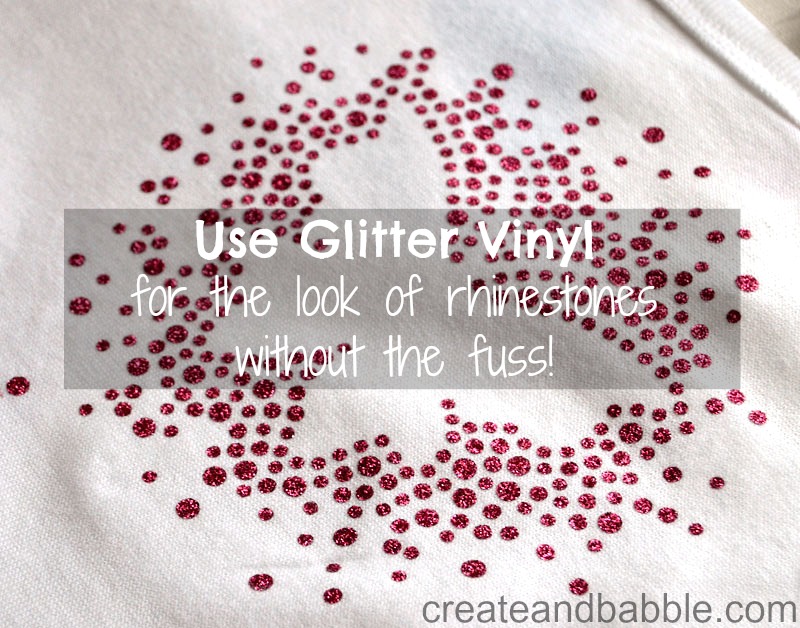
Welcome back to another Silhouette® Sunday. Are you like me and LOVE the look of rhinestones but not all the tedious setting of all those little stones?

There is a way to get the look WITHOUT rhinestones.
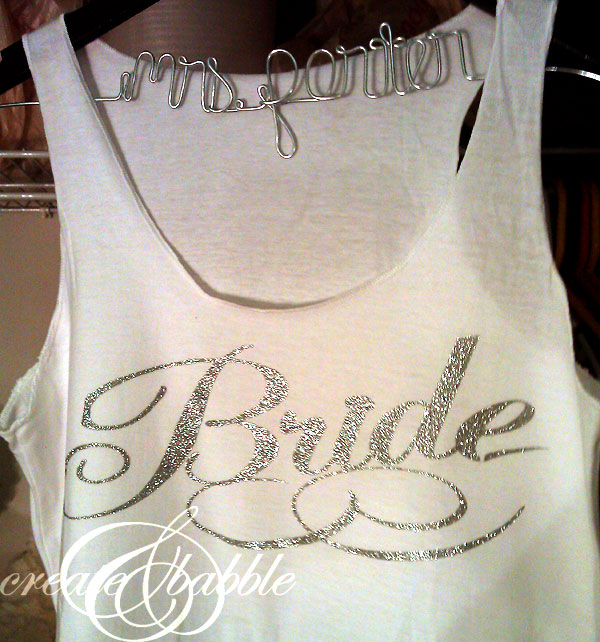
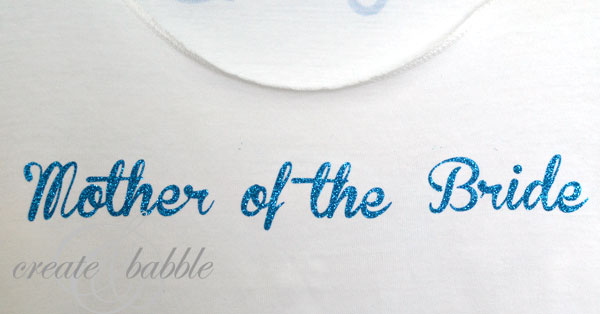
These are the tank tops that I made for my daughter, her bridesmaids and me for my daughter’s wedding a few years ago.
 They look and sparkle just like rhinestones but it’s glitter heat transfer vinyl!
When I set out to make these tops, it was my intention to use rhinestones. I bought the kit from Silhouette America and thought I was all set to go. But I learned one thing: I DO NOT have the patience for this! It seems that some people have absolutely no trouble using rhinestones – not me.
I thought I followed the directions, but I just didn’t have the patience. Very few of the stones went into the little holes, and the ones that did were upside down. I got so frustrated! Anybody want my leftover rhinestones??? Maybe I’ll try again at some point but in the meantime I’ll stick to glitter heat transfer vinyl. I love it!
My favorite glitter HTV (heat transfer vinyl) is from Specialty Graphics. I have tried other brands, but this is my favorite. I’m telling you, this stuff is amazing. If you try it, you may never go back to rhinestones! It is soooo easy to weed. You just peel back the negative space.
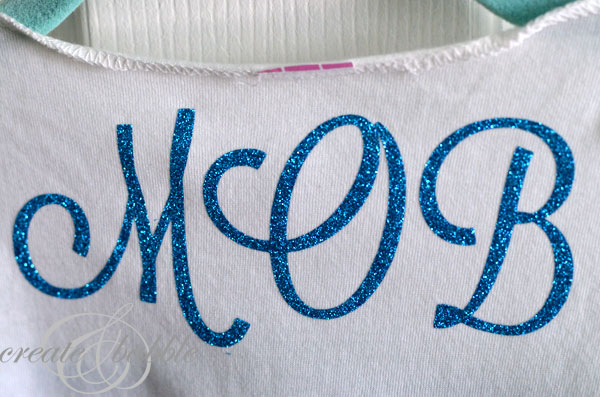
As you can see on the tanks above, I didn’t change the all of the fonts to “rhinestones”. I just cut out the letters as they are. (MOB = Mother of the Bride – in case you were wondering!) Another great thing about using glitter HTV is that you don’t HAVE to just use certain size holes to match the size of your rhinestones! That means you can adjust the size of whatever file you’re using without worrying about the size of the holes!!! I love that!
Here’s a step-by-step:
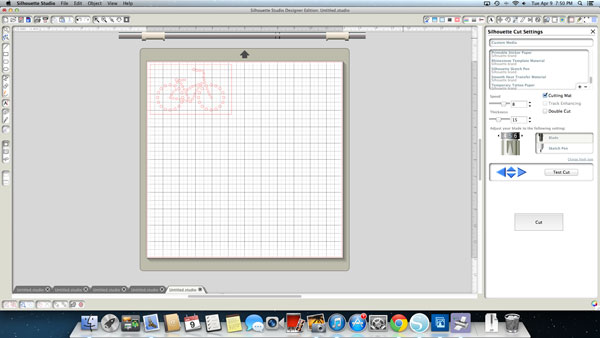
First, I chose a rhinestone file or if you have the Designer Edition of Silhouette, you can create your own. For this tutorial, I am using a simple bicycle. (I love riding my bike and am so excited that weather is finally warming up and I can hit the trails soon!)
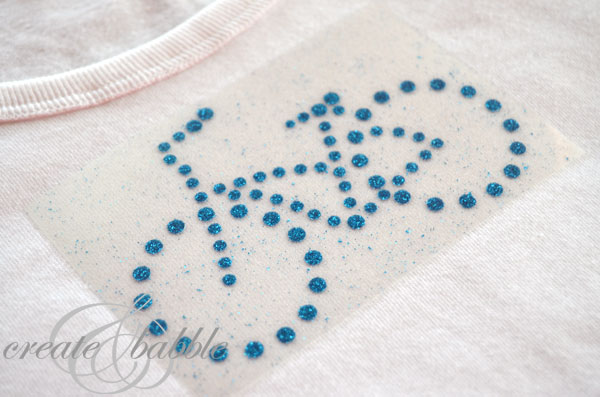
I resized to the size I wanted and to fit the scrap of glitter vinyyl that I had. Using the box tool, I drew a box around the shape (to make it easier to weed). Lay your vinyl (shiny side down) onto the cutting mat. If your design has text, you will need to “mirror” your image. I used the HTV cut setting, but changed my blade depth to 5, speed to 8, and thickness to 15 for this vinyl.
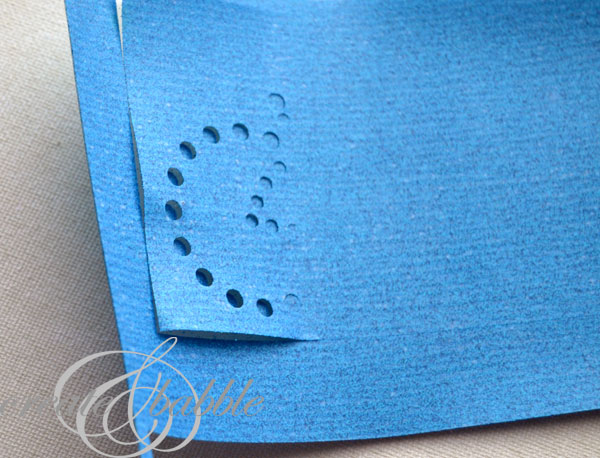
Look at how easy the weeding is. Just pull up a corner and pull the negative stuff away!
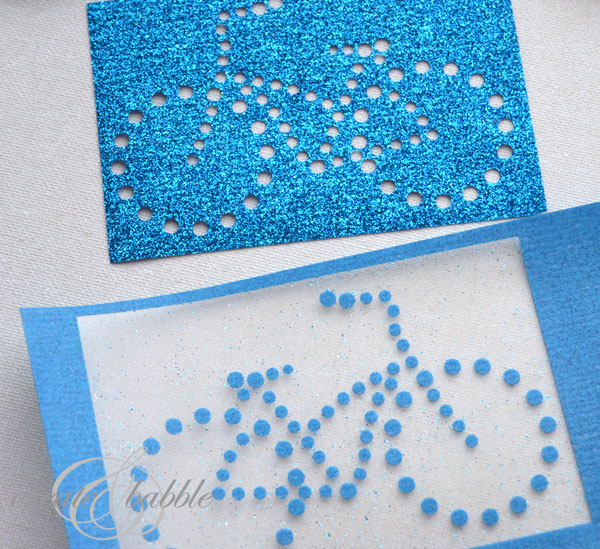
It comes off in one nice piece! Now all that’s left to do is iron it on!
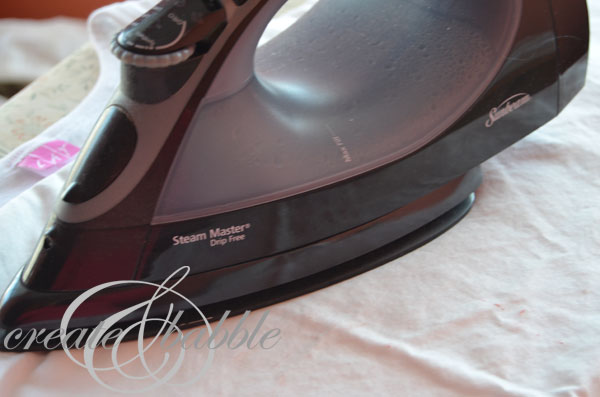
I use the highest setting on my iron and lay a pillow case over the vinyl and press down for about one to two minutes. Let it cool a few seconds and peel away the plastic.
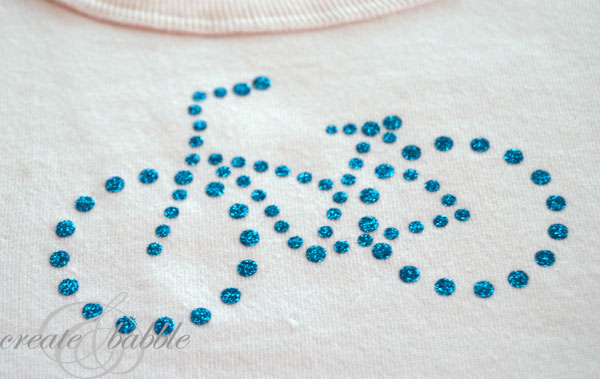
And you are left with what looks like stones! The look without the fuss and time! So much sparkle, I love it!
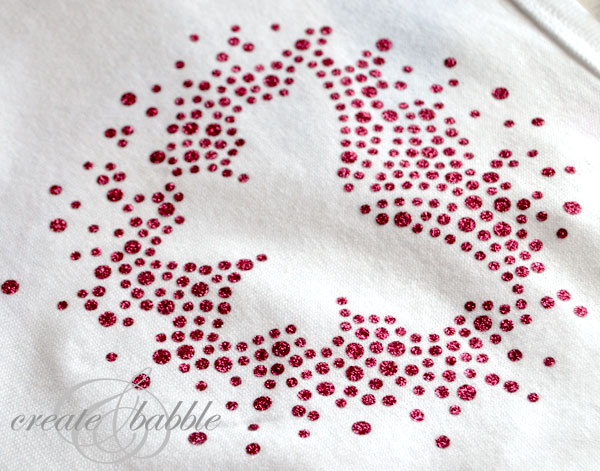
And because I love it so much, I made another tank top with a pretty, sparkly butterfly!
Here is Where I Party!


Hi, Jeanie. How much glitter HTV did you order from Specialty Graphics? I noticed that it comes in feet. Thanks! I’m thinking of making a Minnie Mouse shirt for my daughter, so I was curious how much I’d need.
Hi Carrie, I order a foot at a time.
Very clever and very pretty! Thanks so much for sharing at Project Inspired linky party – I pinned this to our group party pinboard! Tx! Heather xo
Thanks Heather!
Super cute, Jeanie. You make the cutest things!!! I need to get a silhouette and then learn how to use it.{Especially since I have a grandbaby girl due to make her appearance in about a month.}
Thanks Lori! Is she your first grandchild?
What a good idea! I’ve stayed away from the Silhouette rhinestones too because I thought they would be tedious to work with. Question: what do you do with the negative “template” you’re left with?
Found you via the Silhouette linky party at Under the Table & Dreaming. These turned out so cute. I have just started working with my Cameo and so far I absolutely love it. I think rhinestones would be too fiddly for me too, so I will give this a try. Thanks so much for sharing it 🙂
Thanks and thank you for stopping by Sandy! No more rhinestones for me! I’ll stick with glitter vinyl all the way!
I have looked at the web site to purchase the glitter vinyl, but their is no mention about how this holds up to washing. Any special instructions?
I recommend hand washing just to be safe, but mine went through the washer (turned inside out) on the gentle cycle and came out fine.
Hello– I went to he specialty graphics website and noticed some other products they have like fashion flex. Do you know if these can be used with the silhouette too?
I’m not 100% sure, but I don’t see why not.
What a great tutorial! I agree that rhinestones are fiddly. I was wondering about the glitter and now I know I’m going to give it a shot! I love what you made.
Thank you! Once I tried the glitter vinyl, I never went back to rhinestones!
This is so cute. I have to try this vinyl.
Great tutorial! What font or file did you use for the Bride tank top? Did you also make the hanger?
Thanks Trina! “Bride” is a Silhouette file. And no, I didn’t make the hanger. I found it on Etsy.
When using the glitter vinyl with rhineatone setting do you use a transfer material to get the cutouts off your cutting mat to iron on? I don’t see that mentioned.
I just have to tell you thank you so much for this tutorial. I ran across it while googling how to use rhinestones with my silhouette. I have done this and will never ever even try to do rhinestones. This is amazing. I needed to make a shirt for my daughter for her sister’s birthday party and what I did was amazing with your help!! I used your settings exactly and it has never been easier. Even way easier than the silhouette vinyl. When I placed my order and they asked me where I heard about them, I said your blog. Thanks so much!!! P.S. Their product is amazing as well! 🙂
Thank you so much Angie! I’m so glad that the post was helpful to you! Thanks so much for taking the time to let me know, I really appreciate it.
Hiya! I just wish to give an enormous thumbs up for the nice data you
have got here on this post. I might be coming back
to your weblog for more soon.
My blog post … Innisfree
Wow, amazing blog layout! How long have you been blogging
for? you make blogging look easy. The overall look of your site is
great, as well as the content!
Here is my homepage … Push button Switch
Jeanie,
This is perfect. I haven’t tried rhinestones because it looks so time consuming. Well and I have boys. I need to find some of that glittery vinyl. Thanks for sharing!
I am finally going to do this project! Would you recommend I was the new t-shirts I bought prior to adding the glitter vinyl?
Mean to say “WASH” not “was” 🙂
Hi Sandy, yes I recommend washing the new t-shirts first.
Thanks so much 🙂
I love Love LOVE the butterfly… it is a “negative” shape, surrounded by “crystals” or your glitter paper. How did you do that design with the designer software? Or was it a file? I was interested in doing something similar with a vector that I have and pushing it thru the sofware. Is there a “spotlight” or “backlight” tool that you use in the software to surround the “negative” image with the crystal cuts? Any insight would be helpful!
Thank you Rosalind! I used a file from the Silhouette online store.
I was wondering what font bride was done in? Someone ask I make some of the tanks in that font. I think I may have it already but wanted to confirm.
Thanks…
Your stuff is AMAZING!
The “bride” shape is actually from the Silhouette online store.
First, I love your site, valuable info!! My problem – I followed your instructions for cutting the glitter vinyl. My test cut was perfect but when I sent the project to my Cameo only parts of it cut. This was my first glitter vinyl attempt.
Hi Teri! First ; ) Thank you so much!!! That means the world to me!!! Secondly, try slowing down the speed even more for the glitter vinyl. And if your blade is a little older, then I would bump it up by one. Hope this helps!
Great post! Are you using the “Specialty Glitter” vinyl? I have the description it says you need to use a “60° vinyl cutting blade”. I’m using my Pazzles machine and I’ve never had to switch blades for vinyl. Did you just use your regular blade? Thanks!
Hi Debbie. Thanks! And yes, I just use the regular cutting blade. I don’t even know what a 60 degree vinyl cutting blade is ; )
Thanks! Ordering now. Absolutely love this idea!
Hi my name is Jacqueline and I just wanted to drop you a quick note here instead of calling you. I came to your Use Glitter Vinyl instead of Rhinestones {Silhouette Project} – Create and Babble page and noticed you could have a lot more traffic. I have found that the key to running a successful website is making sure the visitors you are getting are interested in your niche. There is a company that you can get targeted visitors from and they let you try the service for free for 7 days. I managed to get over 300 targeted visitors to day to my site. Check it out here: http://t8k.me/wl
You are so creative and skillful. Your guides are useful for me but I don’t know how to get glitter HTV for the job, thanks Jeanie for sharing your great DIY tip.
Awesome idea!!.. So where do you purchase your plain tees?
great!! I would love to try glitter vinyl after reading this! thanks for sharing.
This is genius! Pinned! Thank you for sharing at the To Grandma’s House We Go DIY, Crafts, Recipes and More Wednesday LInk party! Hope to see you again next week.
What a clever idea! I love the look!! Thanks for sharing with SYC.
hugs,
Jann
So cute!!! I’m pinning this idea and can’t wait to try this out Thank you so much for sharing!!!
I really appreciate to read this blog it is very helpful and very efficiently written information. My site :
okbet