Need is a strong word. But if you are a serious crafter you’ll understand why I use this word. Most of you know that I started out in the Cricut world with an Explore Air 2. (Which I still have and use.) But I upgraded last year to the Cricut Maker. And in case you’re wondering: I bought it. It wasn’t given to me by my friends at Cricut. When I saw the videos of the Cricut Maker I knew I had to have it. I NEEDED a Cricut Maker! And here’s why you may NEED a Cricut Maker too.
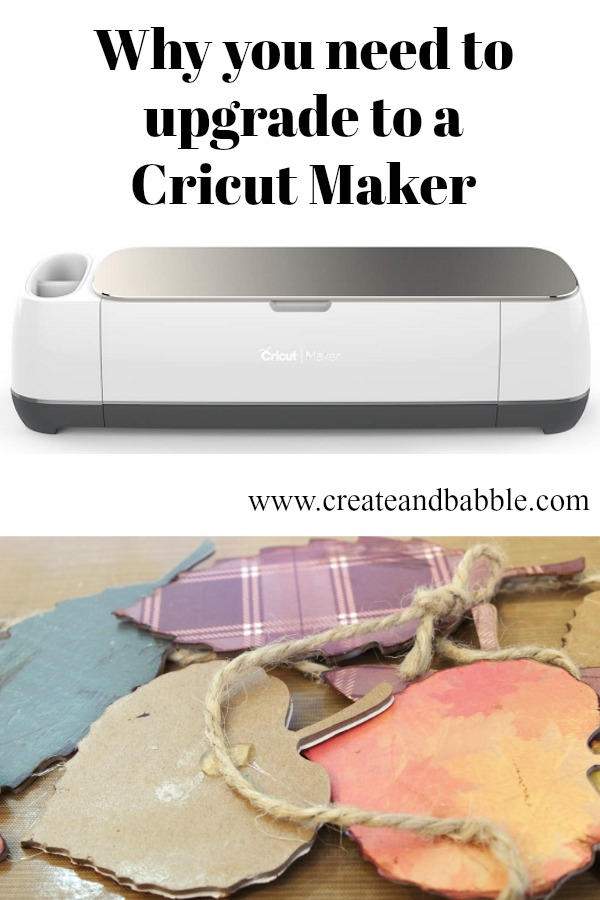
If you like to craft, then I’m sure by now you’ve heard of the Cricut Maker. The Cricut Maker is an incredible machine that cuts fabric, leather, balsa wood, mat board, and more! Affiliate links have been included for your convenience. I get a small percentage of any purchase made at no additional cost to you.
Do you need a Cricut Maker?
If you answer yes to any of the following questions, then a Cricut Maker should probably be on your WANT NEED list!
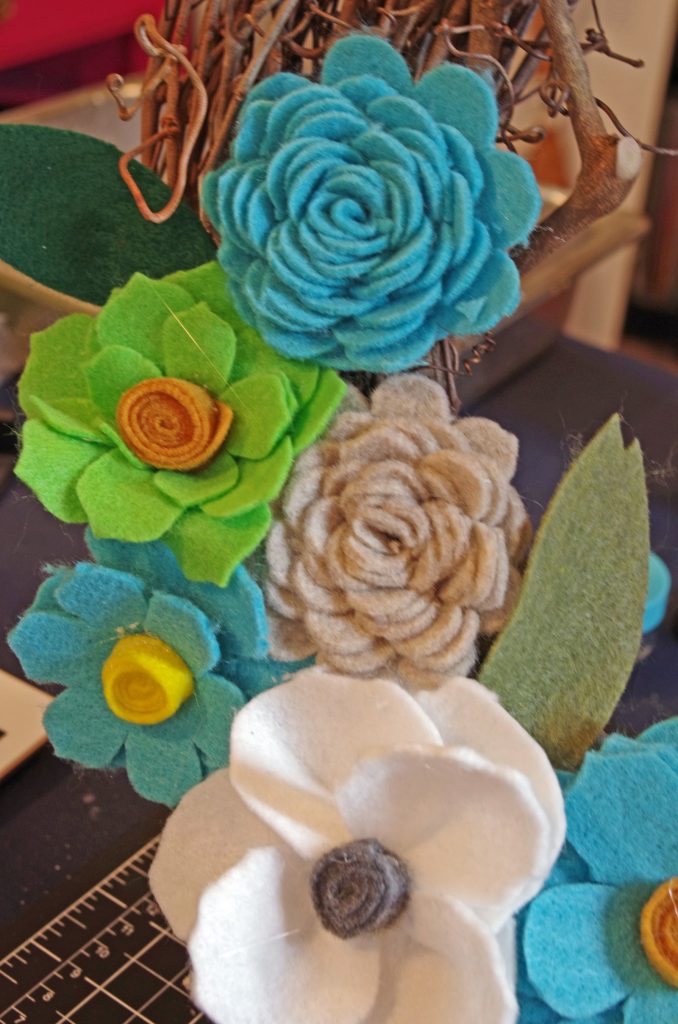
Do you sew? Even if you’re not an expert seamstress, but you like to make small fabric crafts, you need a Cricut Maker. Have you seen any of the fabric projects that I have made during the past year? Christmas Stockings, Heart Coasters, Halloween Coasters, and my favorite: Felt Flowers on a wreath.
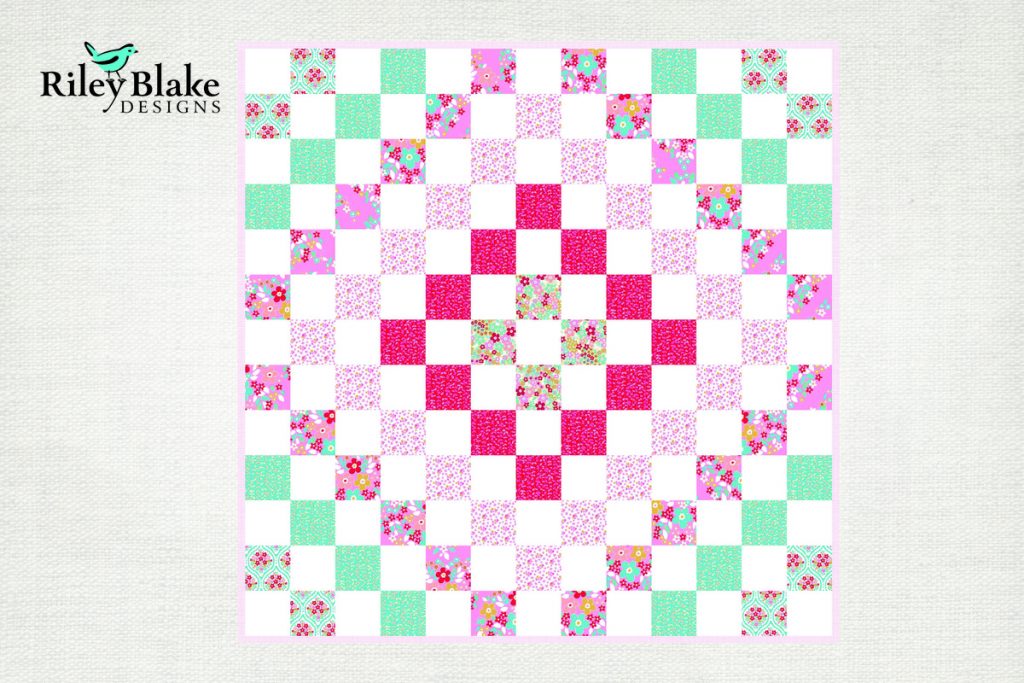
Do you make quilts? The Cricut Maker will be a game changer for you. Especially so if you like to use appliques in your quilting.
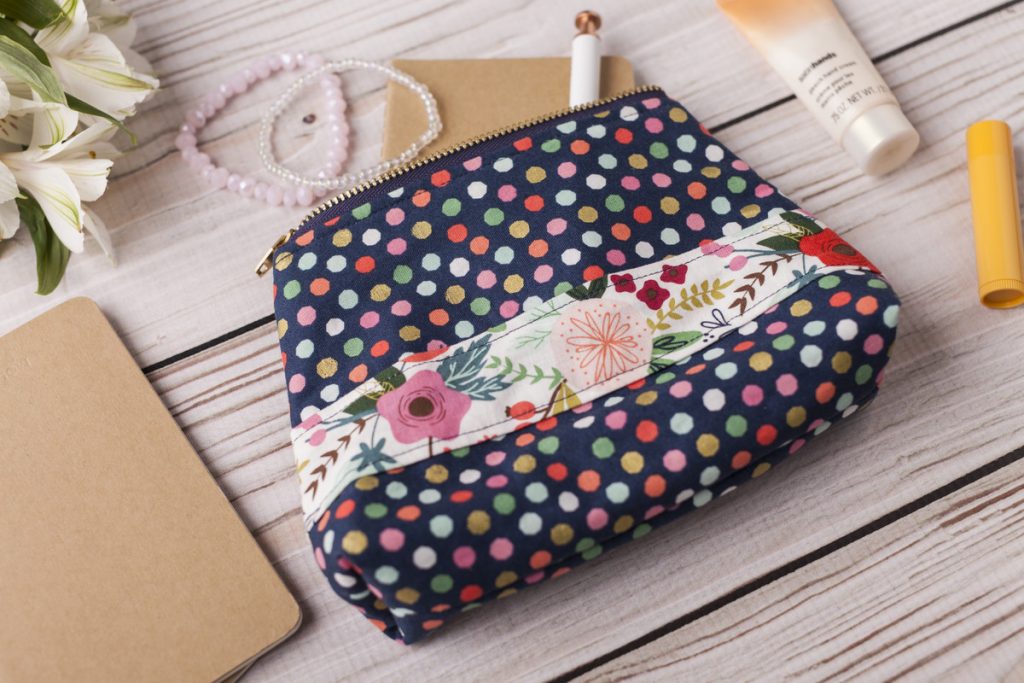
Do you make doll clothes? Do you like to make accessories like hair bows, small purses, wallets, and phone cases?
Do you like woodworking? The Cricut Maker can cut basswood and balsa wood. It can also cut heavy chipboard which has been a huge gamechanger for me. No longer do I have to buy those wooden letters and shapes at the craft stores. I can make my own!
I’ll also be making some personalized scrapbook and journal covers with Cricut Chipboard.

The two-dimensional patchwork pumpkin shown above, was made with scrap wood, chipboard, and patterned cardstock. When I made this patchwork pumpkin, I was so impressed by how well the Maker cut the chipboard with the Knife Blade so cleanly that I had to make more chipboard projects. Which leads to today’s project: A chipboard fall leaf garland.
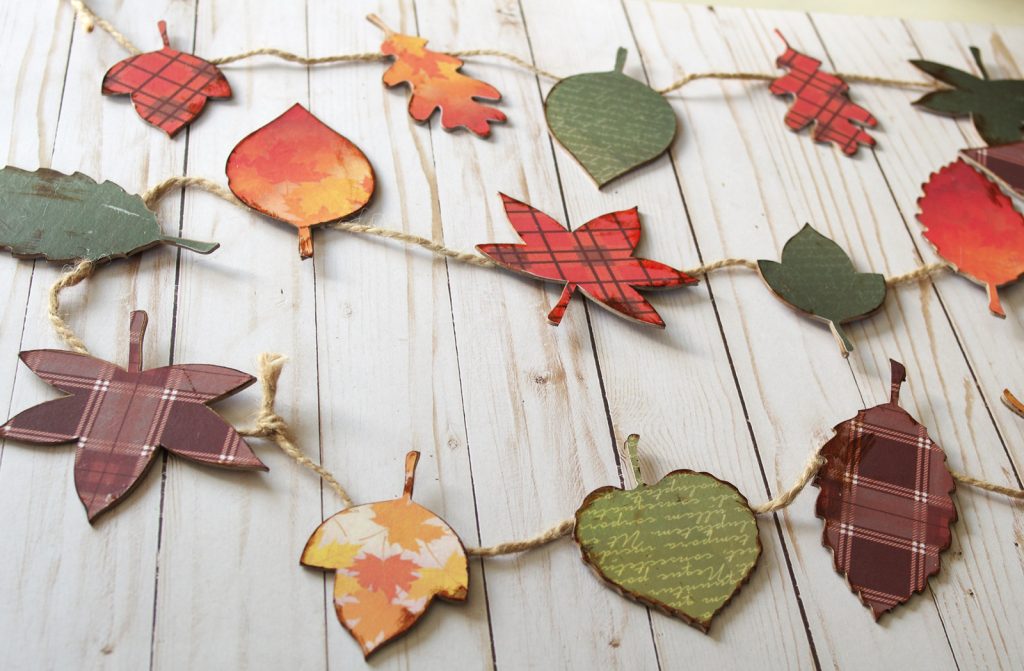
I used pretty much the same technique and Mod Podged patterned cardstock to the chipboard leaves that I cut with my Cricut Maker. The leaf shapes that I used can be found here.
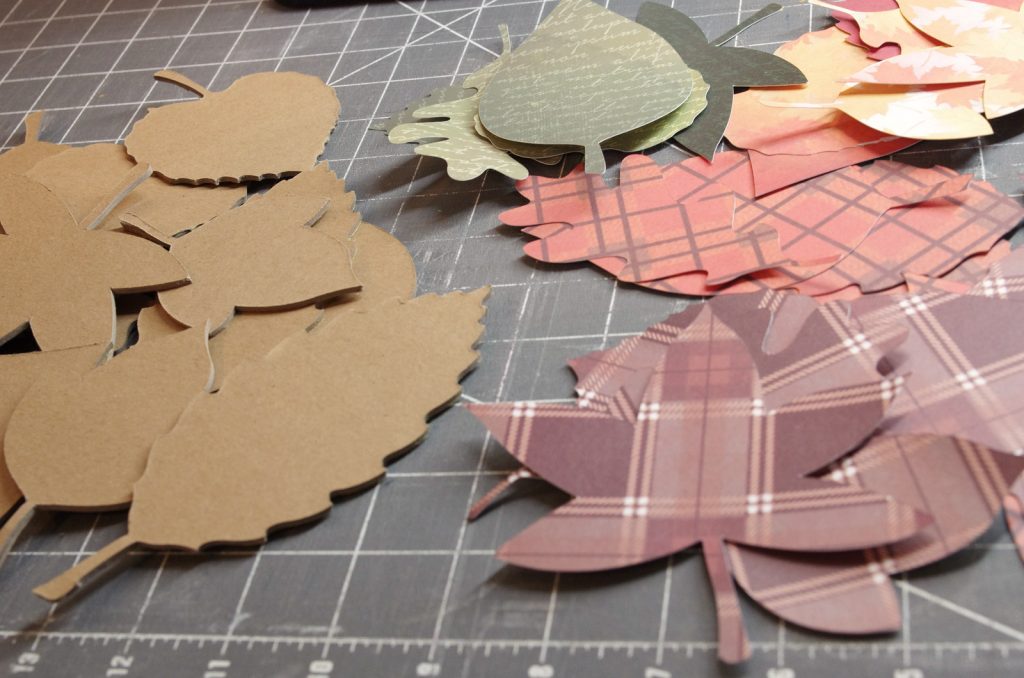
After cutting the leaf shapes out of the Cricut Heavy Chipboard using the Knife Blade, I cut more leaves out of patterned cardstock.
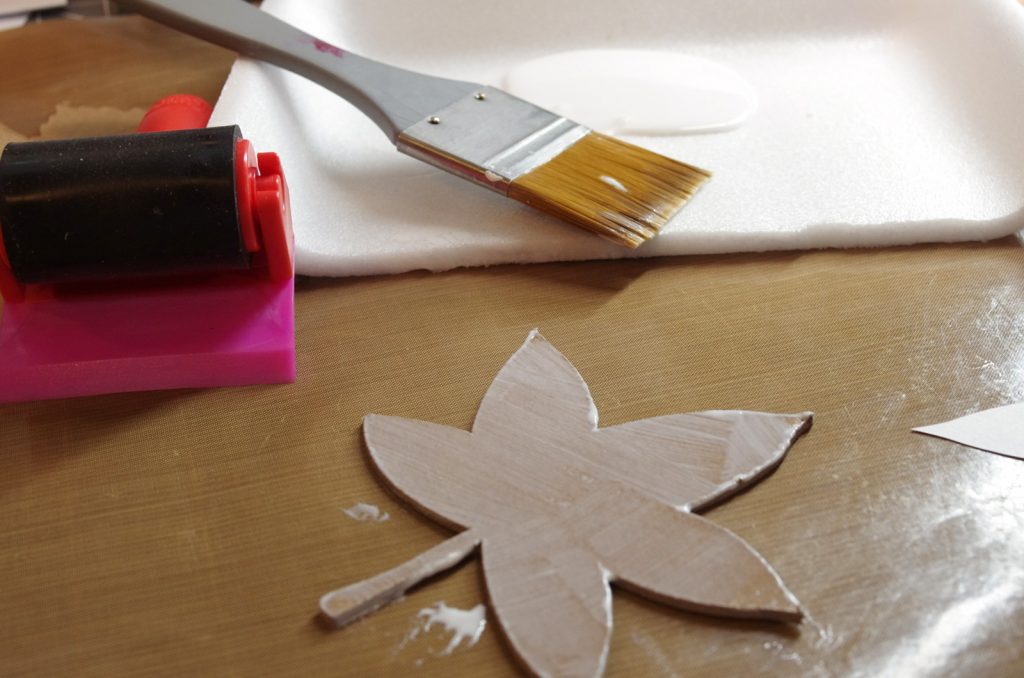
Next, I brushed on a thin layer of Mod Podge onto the leaves and attached the card stock leaves to each chipboard leaf and smoothed down using a brayer.
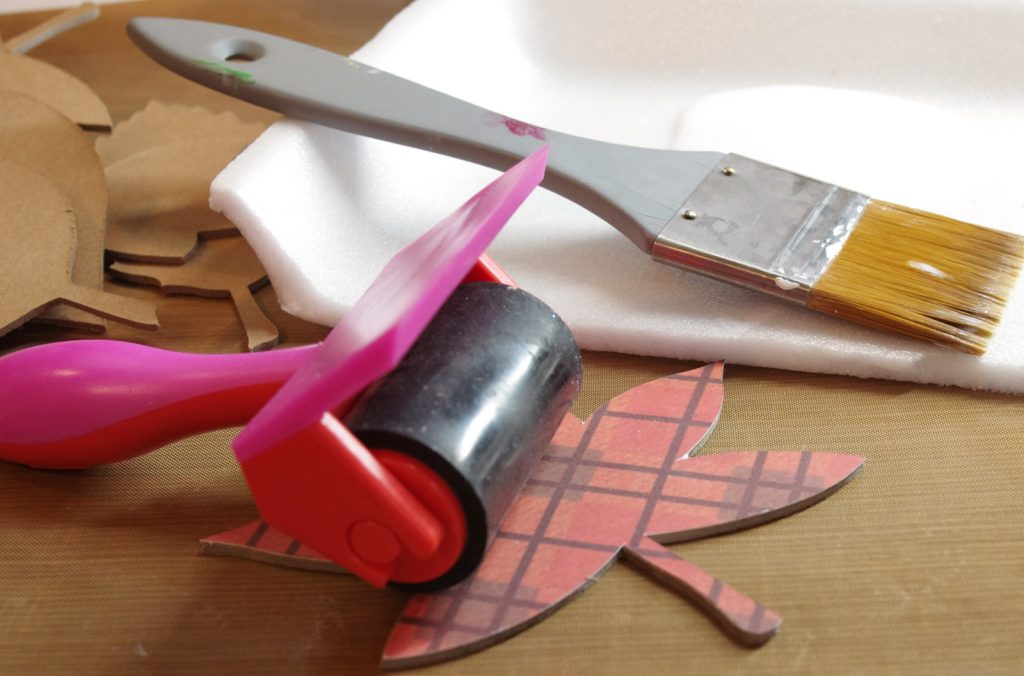
Then I brushed on another thin layer of ModPodge over each covered leaf and allowed the leaves to dry thoroughly.
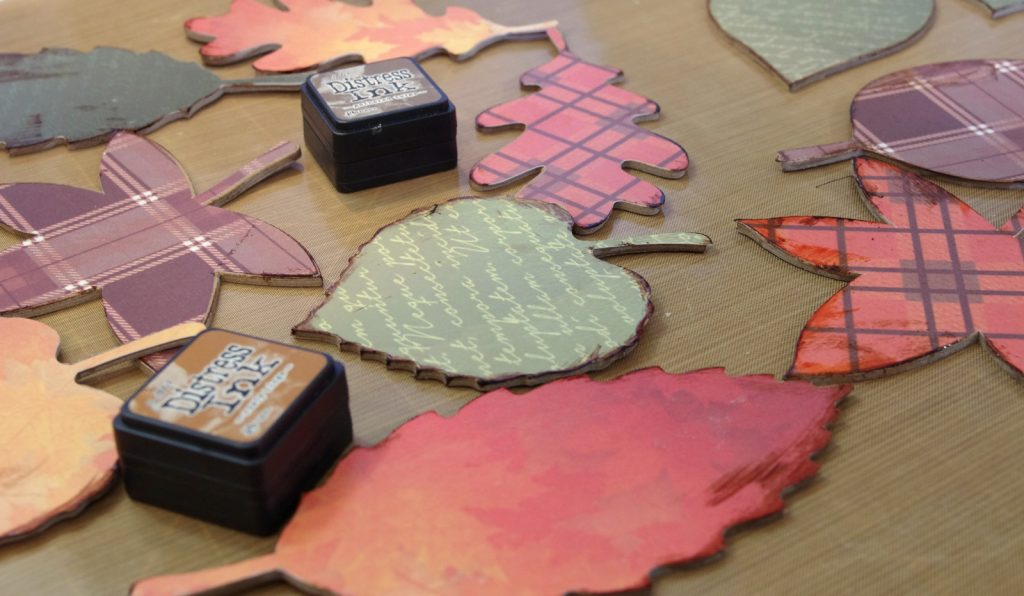
To distress the edges of the leaves and give them additional dimension, I rubbed a distress ink along the edges of each leaf. I then hot-glued the leaves onto the twine.
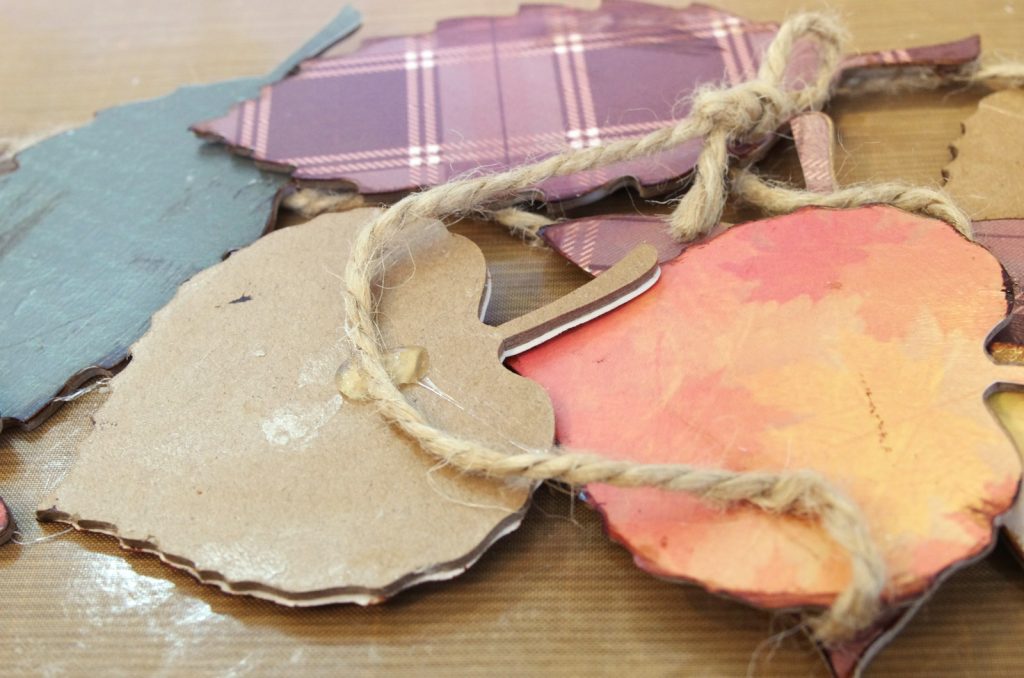
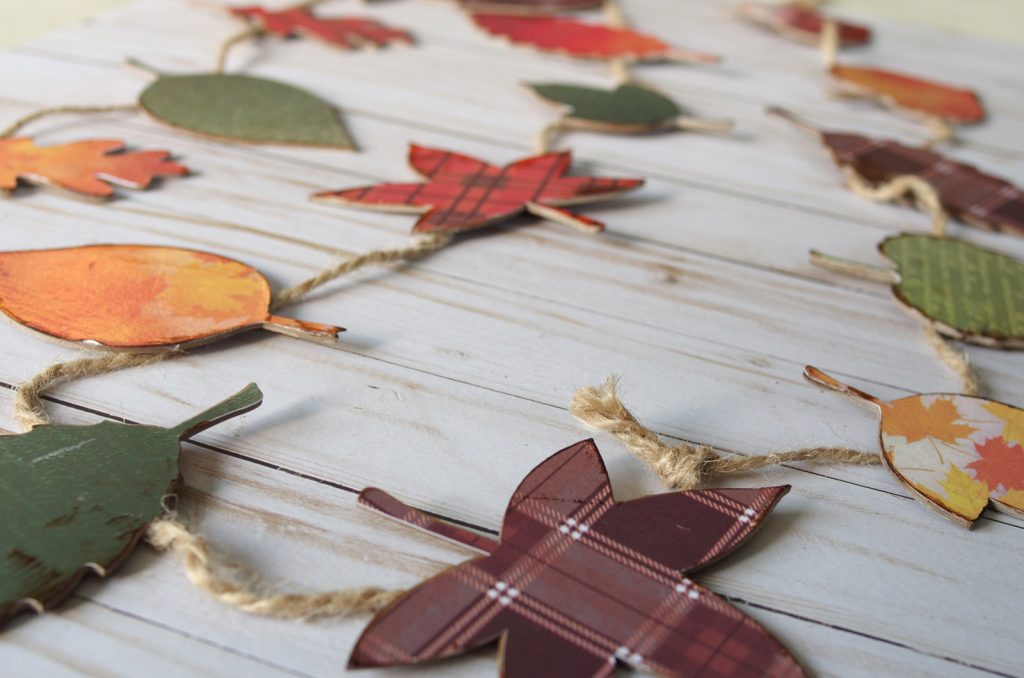
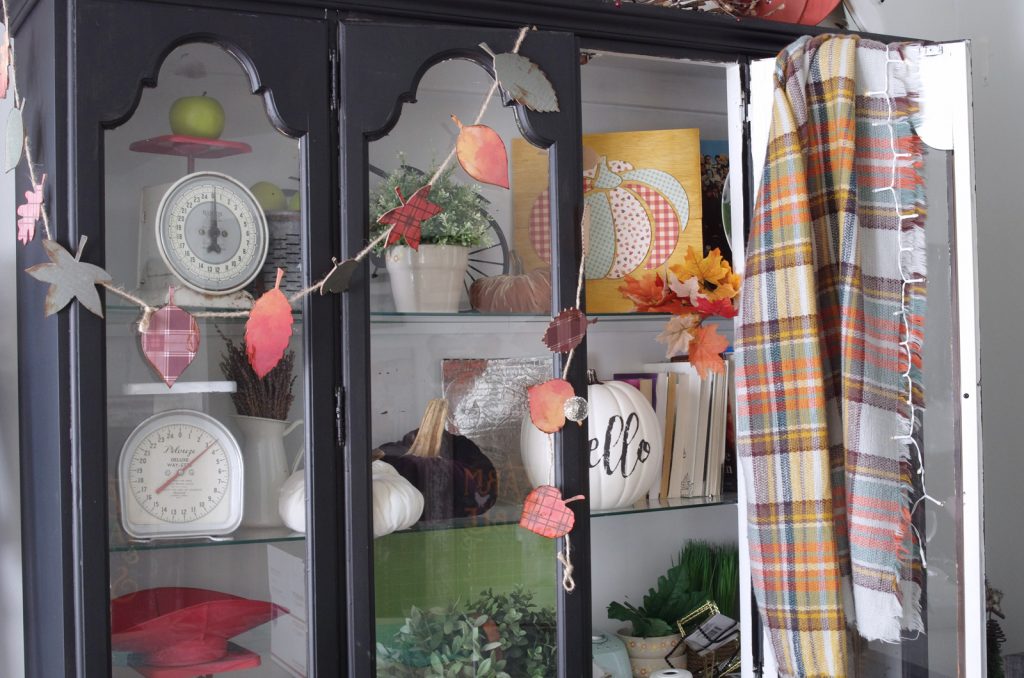
I love how the leaf garland looks draped across the front of my hutch. Imagine how it would look draped from a mantel, too!
This is a sponsored conversation written by me on behalf of Cricut. The opinions and text are all mine.


OK I want one!! Love all your projects!
nice website with good and very creative projects. I like it
I am all of the above and definitely need a Cricut Maker. It is on my wish list.
Hi Jeanie, love your post. I have a new blog party and would like to invite you to come join us on the CLASSY FLAMINGOS BLOG PARTY held each Tuesday evening thru Friday. You’ll get large picture exposure and shout outs. You may get PINKED and you’ll get even more exposure! I hope you’ll come by. poinsettiadr.com
thanks for blog