• Home
  • About
  • Contact
  • Partner
  • Privacy Policy
    • Facebook
    • Instagram
    • Pinterest
    • Twitter
    • YouTube

Create and Babble

  • DIY
    • Home Improvement
    • Upcycle
    • Furniture Makeovers
    • Build It
  • Craft
    • Silhouette
    • Sewing
    • Wedding DIYs
    • Seasonal
    • Gifts
  • Lifestyle
    • Bicyling
    • Travel
    • shopping

STAY UP TO DATE

Get the latest crafting and DIY tips, tricks and tutorials delivered straight to your inbox!

How to Make a Simple Baby Shower Banner

September 27, 2017

If you like it, please share it!Share on pinterest
Pinterest
Share on facebook
Facebook
Share on twitter
Twitter
Share on stumbleupon
Stumbleupon
Share on google
Google
Share on linkedin
Linkedin
Share on reddit
Reddit

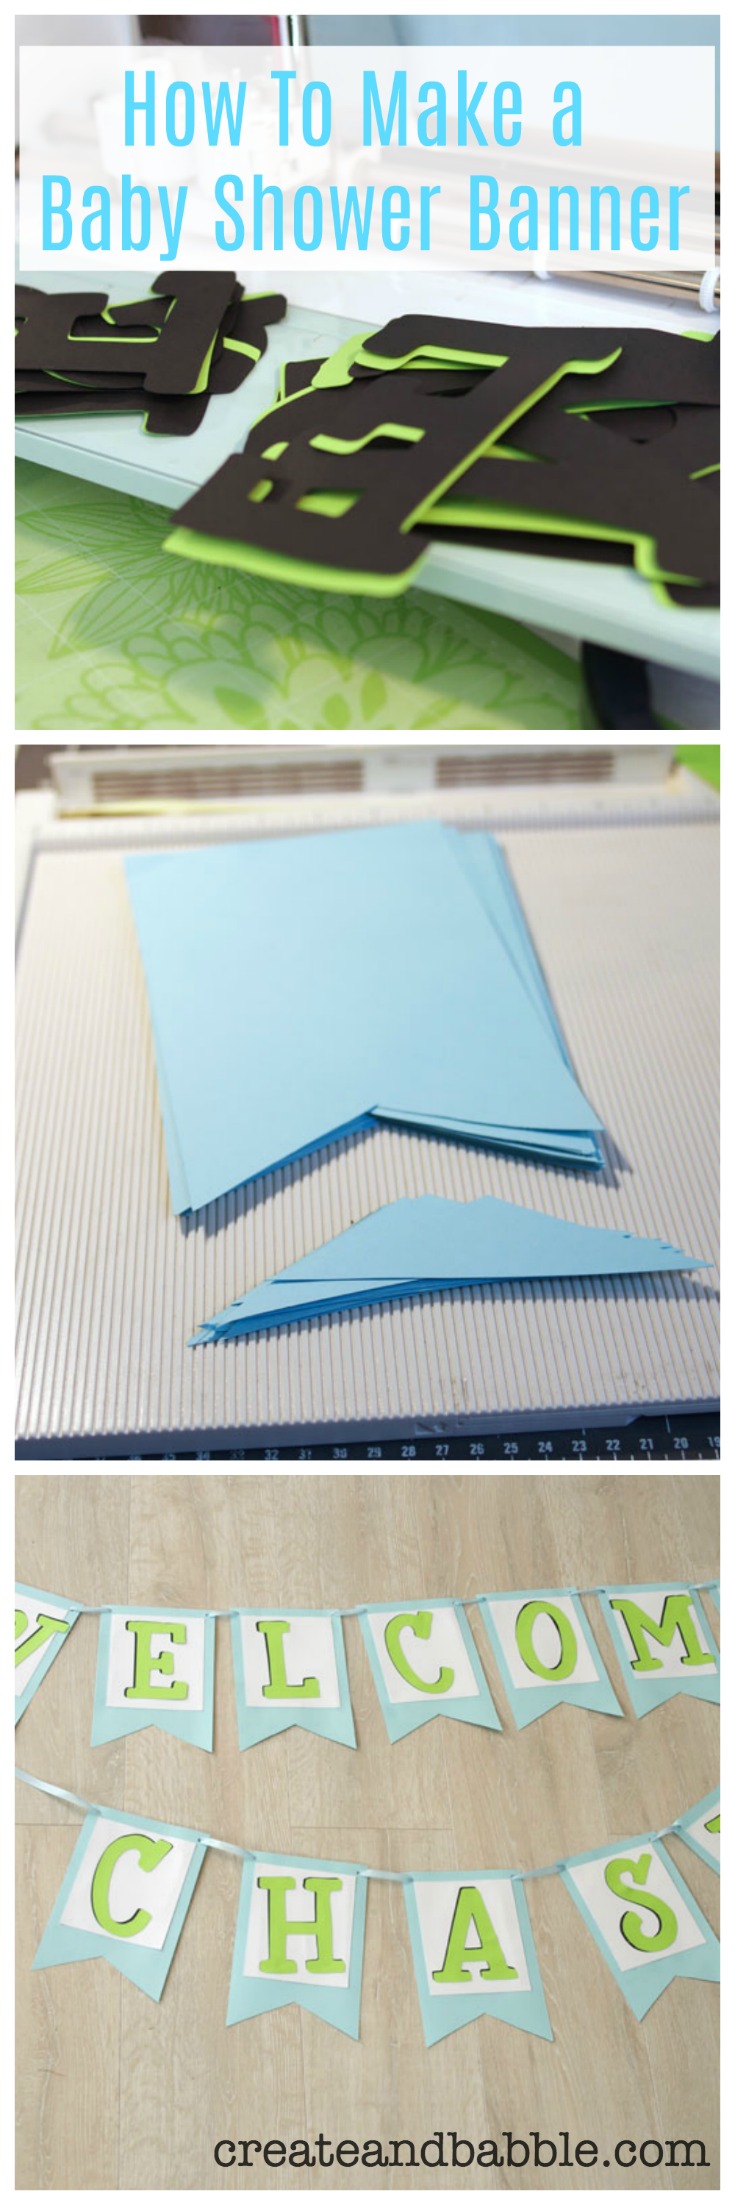
A friend of mine asked if I would make a baby shower banner for an upcoming baby shower that she is hosting for her first grandchild. Of course I said yes. I know how easy paper banners are to make and she had no idea of where to even start. So if you find yourself in a similar situation and want to make banner for a shower or any party for that matter, here’s how!

How to make a simple baby shower banner 

How to Make a Simple Baby Shower Banner

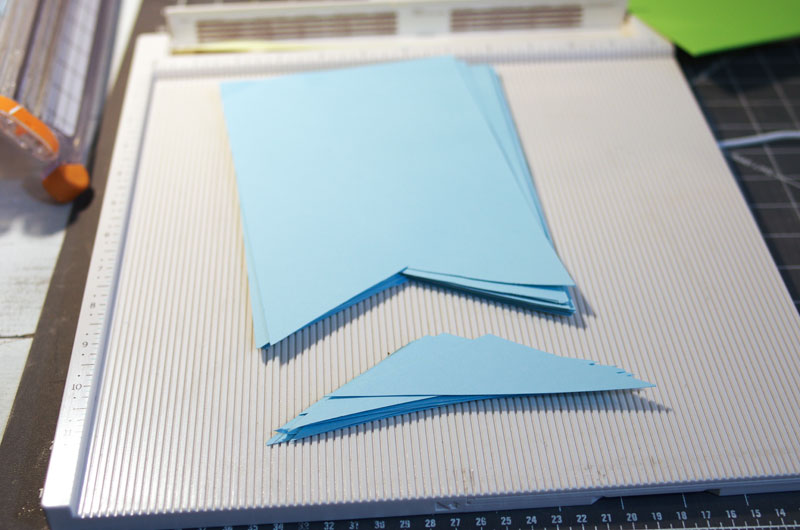
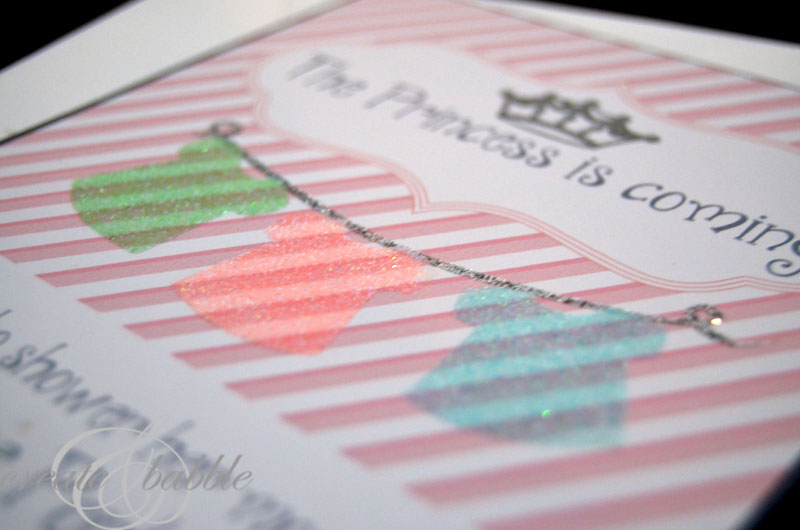
My friend texted me a picture of the invitation so that I could color coordinate the banner with the invitation. It was a very simple, but pretty design with three colors: blue, green and white. (Also take note of the polka dots and monkey ; )

Materials needed to make a simple baby shower banner

  • solid color coordinating card stock
  • adhesive
  • ribbon, twine, or string
  • die cut letters (or cut your own)

Tools needed to make a simple baby shower banner

  • scissors
  • hole punch
  • cutting machine (0ptional)
  • paper trimmer

Steps to make a simple baby shower banner

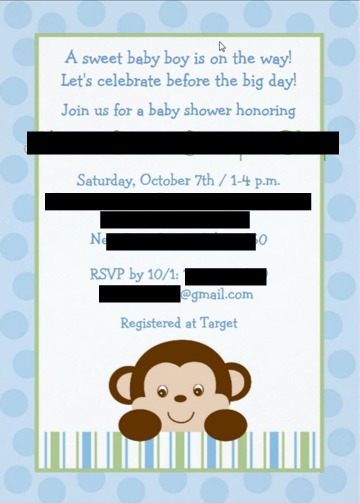
Step One – Make the base of the banner

Cut pennant shapes for the base of the banner. These pennant shapes can be any shape you like: triangles, squares, rectangles, rounded rectangles, etc.

Step One Cut banner base for baby shower banner

I chose rectangles with the bottom notched out.

I simply took 8-1/2″ x 11″ light blue card stock and cut it in half with a paper trimmer. I then had two pieces that measured 8-1/2″ x 5-1/2″.

Next I cut out an inverted “V” shape on the 5-1/2″ bottom of each rectangle.

white background of baby shower banner

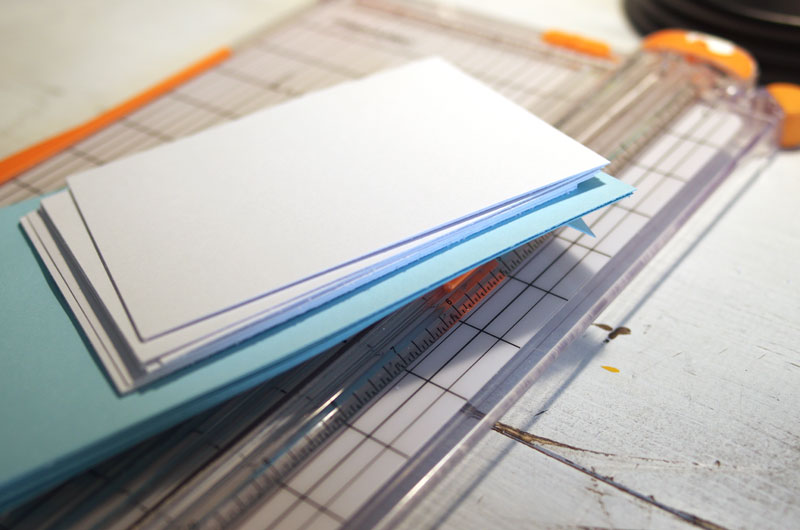
Then I cut  5-1/2″ x 4-1/2″ rectangles out of white card stock to act as a mat on each banner piece.

Step Two – Cut out letters

First this step I used my Cricut Explore Air 2 to cut out the letters for the baby shower banner.

Cut letters for baby shower banner

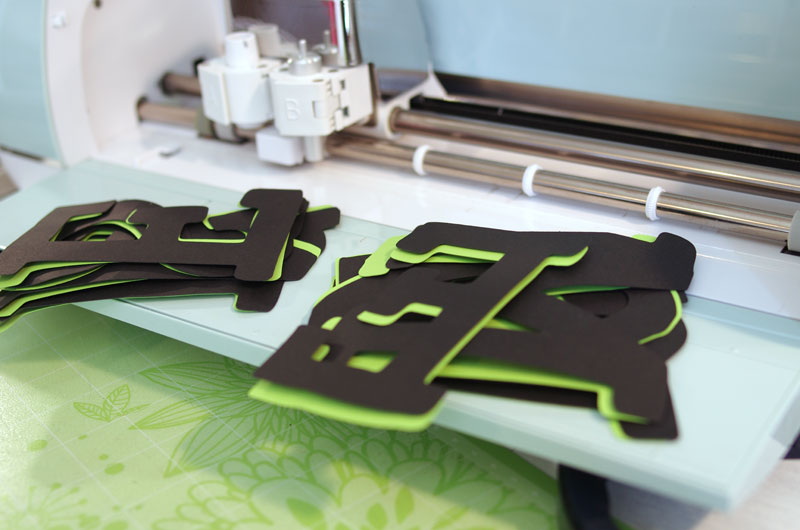
(You could also cut these out by hand, with a different electronic cutter like a Silhouette Cameo, a die cutter with letter dies, or even buy pre-cut letters). I cut the letters out of green and black card stock and used the black letters to act as a shadow behind the green letters.

Step Three – Attach the letters

Using Tombow Mono Liquid Glue, I glued the letters onto the white matting rectangle and then glued the white rectangle on to each pennant shape.

glue pieces of baby shower banner together

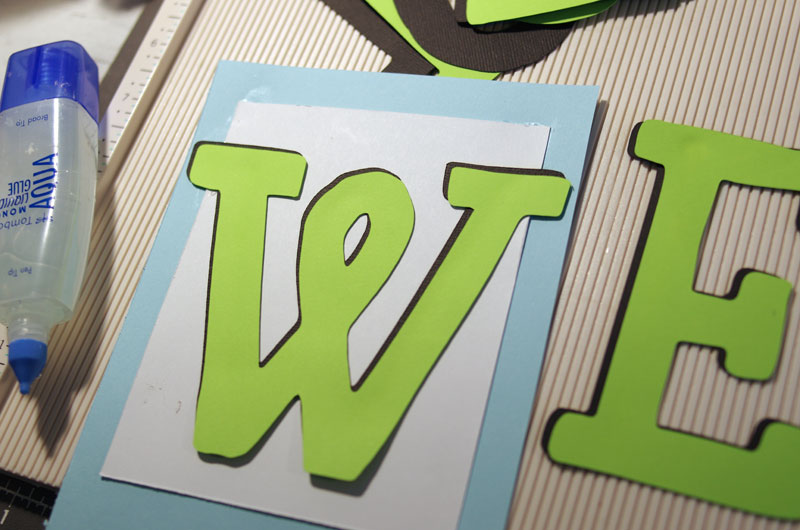
Notice how having the black shadow on the green letters allow the letters to “pop” off the white background.

Step Four – Punch holes

Punch holes in pieces of baby shower banner

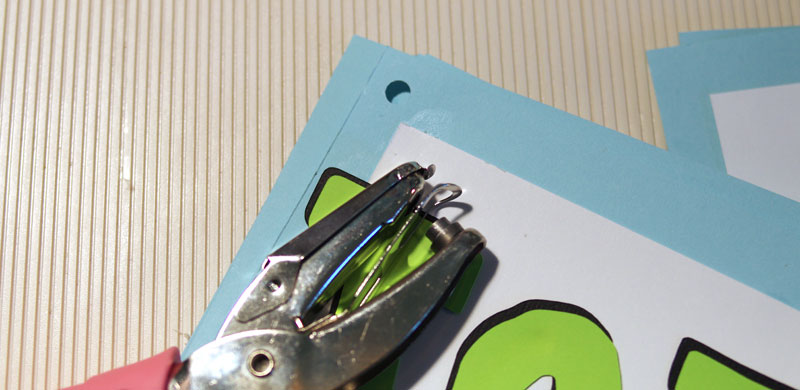
I used a 1/4″ hole punch to punch a hole in each top corner of the pennant pieces and then strung the pieces together on a length of light blue ribbon.

Baby Shower Banner tutorial

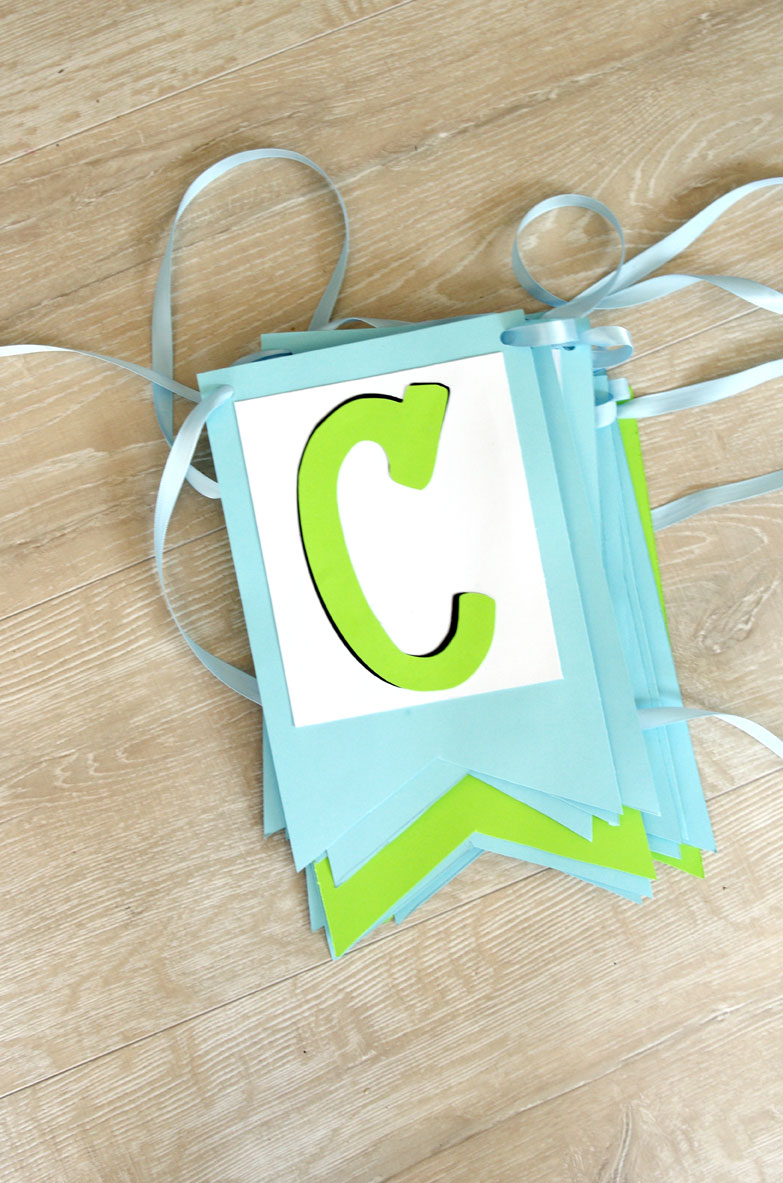
And it’s done . . .  almost!

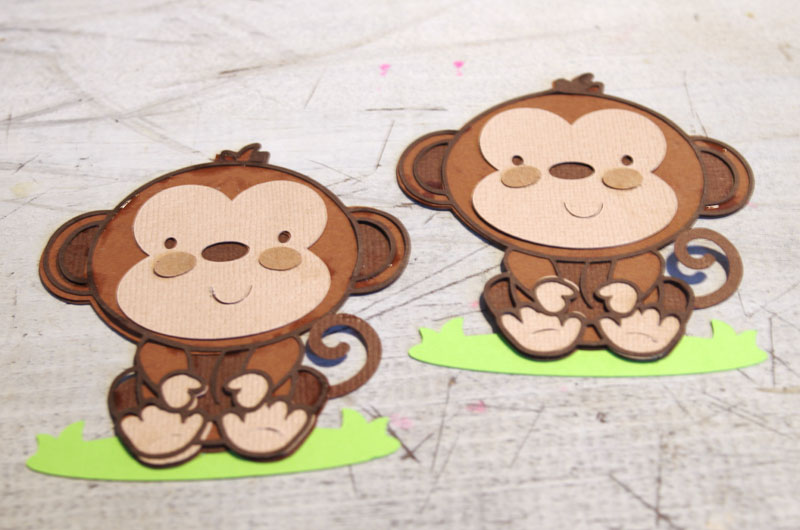
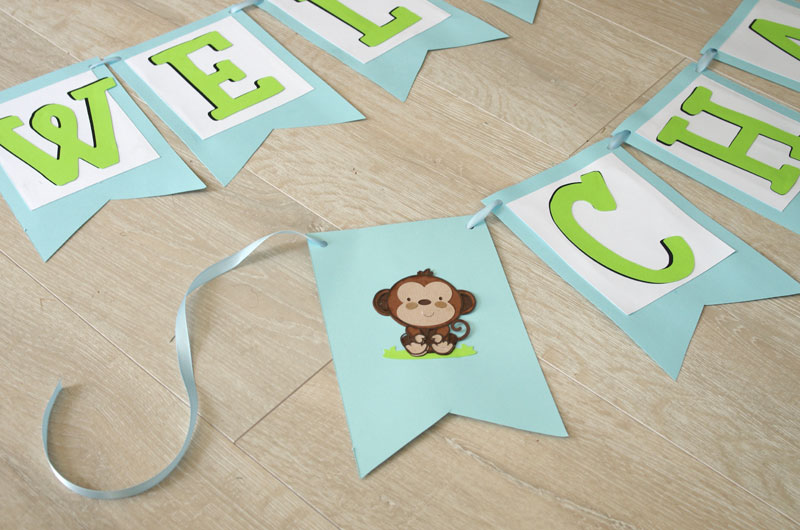
After finding an SVG file for a cute little monkey that is similar to the monkey on the invitation. I cut two of them and added an extra pennant shape to each end of the name banner. Then I simply adhered the monkeys to those extra shapes.

baby shower banner

I also cut heart shapes cut out of coordinating polka dot card stock and added them to two extra pennant shapes added to the front of the back of the “welcome” banner.

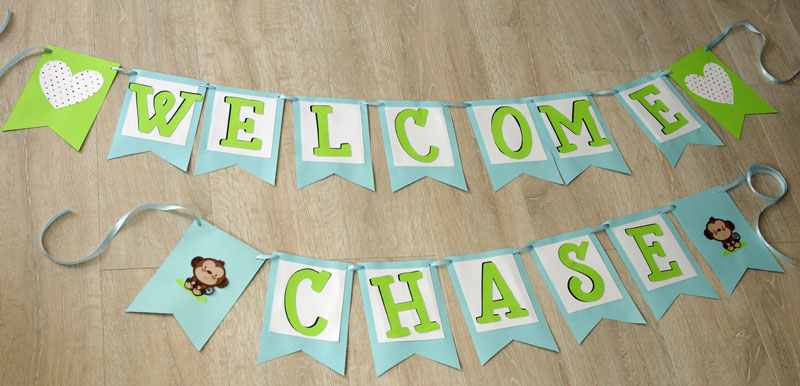
All done! My friend is thrilled with this baby shower banner and I love how easy it was to make and how it coordinates with the colors of the invitation.

Now don’t you think making a banner is easier than you thought?!

Here are a few more baby shower projects that you may like:

Baby Girl Shower Invitation

Baby Girl Banner by createandbabble.com
Baby Girl Banner

silhouette-print-and-cut-onesie-stickers-by-createandbabble.com
DIY MONTHLY ONESIE STICKERS

If you like it, please share it!Share on pinterest
Pinterest
Share on facebook
Facebook
Share on twitter
Twitter
Share on stumbleupon
Stumbleupon
Share on google
Google
Share on linkedin
Linkedin
Share on reddit
Reddit

Filed Under: Crafts, Cricut, Silhouette, Tutorials

« Little Round Stool
Sewing with Craftsy »

Comments

  1. Terri Burson says

    October 3, 2017 at 4:39 pm

    What a sweet project!

    Reply
  2. Atif says

    October 24, 2018 at 11:34 am

    it is a great idea to make baby shower banner with these tips

    Reply
  3. Rashel Ahmed says

    January 9, 2019 at 2:50 am

    Amazing article. It’s a very helpful blog. Thank you so much for share your useful post about the baby shower.

    Reply
  4. eatfrysmith says

    July 13, 2019 at 12:40 am

    I like this article, but the share is very interesting and useful

    Reply
  5. cheappartyshop says

    February 24, 2020 at 7:46 am

    Awesome resources!
    Thanks for sharing such good article. This is really helpful.

    Reply
  6. lisa says

    May 19, 2020 at 8:22 am

    Oh my gosh!!! Thank you so much for this post. I’m 10 weeks now and struggling with not feeling completely bonded yet. I just got to hear baby’s heartbeat and see baby wiggle in my belly and that was amazing. Made it seem more real. Still learning to be ok with my feelings.baby gate reviews

    Reply
  7. lisa says

    December 7, 2020 at 9:55 am

    Love all of this! Thank you so much for sharing honestly! It’s true that I think “love” & “bond” are different. Love can be automatic whereas a bond requires a bit more effort. Super interesting!double banister baby gate

    Reply
  8. Paul Industrialist says

    September 10, 2021 at 9:02 am

    Everything is up to the mark. But if you found your baby shower got broken or damage. You must weld it at a very first attempts. Its a humble advise. Hope it will save your money.

    Reply
  9. TechFalcon says

    January 31, 2023 at 3:04 pm

    Thank you so much for this helpful article. I enjoy your post. Thanks

    Reply
  10. Rodney Sykes says

    March 22, 2024 at 3:51 am

    This is such a cute and easy idea for a baby shower banner! I love that it’s customizable and can be made to match any theme. I’m going to try this for my friend’s upcoming baby shower – thanks for the inspiration!

    Reply
  11. Golam Qauser says

    November 15, 2024 at 1:46 am

    What a great tutorial! I’m hosting a baby shower next month, and this banner idea is exactly what I needed. I love that it’s easy to make, and the end result looks so professional. I can’t wait to try this out!

    Reply
  12. Golam Qauser says

    November 15, 2024 at 3:31 am

    This baby shower banner idea is so cute and easy to follow! I love how simple yet personalized it looks. The step-by-step instructions make it feel like anyone can make one—even if you’re not super crafty! I can’t wait to try it out for my sister’s baby shower next month. Thanks for the inspiration!

    Reply

Trackbacks

  1. 5 DIY Baby Shower Decoration Ideas on a Budget - Penguin Thoughts says:
    January 31, 2020 at 4:09 pm

    […] you to send a simple and effective message to remind everyone why they are all there. And they are deceptively simple to make without a trip to the print […]

    Reply
  2. Easy Cricut Baby Shower Ideas: Gifts, Decor, and More! - Clarks Condensed says:
    February 22, 2020 at 2:22 pm

    […] Monkey Sign […]

    Reply
  3. DIY Baby Shower Ideas with the Cricut - Hey, Let's Make Stuff says:
    September 24, 2021 at 11:40 am

    […] […]

    Reply
  4. Cricut Baby Shower Ideas - Crafting From Home says:
    April 12, 2022 at 3:29 pm

    […] more colorful, welcoming, and attractive for everyone involved. This lovely idea comes from Create & Babble. Before creating the banner, first, here are a few things you need to […]

    Reply

Leave a Reply Cancel reply

Your email address will not be published. Required fields are marked *

About Jeanie

About Jeanie

Welcome to Create & Babble. This is where I share my loves: crafting, hiking and camping

Read more about me here

Categories

Archives

AntiqueFarmHouse
Zots Craft Adhesive Dots

Amazon Associates Disclosure

Jeanie Hevener Emmert is a participant in the Amazon Services LLC Associates Program, an affiliate advertising program designed to provide a means for sites to earn advertising fees by advertising and linking to amazon.com.


hobby lobby

Copyright © 2025 · Site by Pretty Pink Studio

Copyright © 2025 · Glam Theme on Genesis Framework · WordPress · Log in

This website uses cookies to improve your experience. We'll assume you're ok with this, but you can opt-out if you wish.Accept Reject Read More
Privacy & Cookies Policy

Privacy Overview

This website uses cookies to improve your experience while you navigate through the website. Out of these, the cookies that are categorized as necessary are stored on your browser as they are essential for the working of basic functionalities of the website. We also use third-party cookies that help us analyze and understand how you use this website. These cookies will be stored in your browser only with your consent. You also have the option to opt-out of these cookies. But opting out of some of these cookies may affect your browsing experience.
Necessary
Always Enabled
Necessary cookies are absolutely essential for the website to function properly. This category only includes cookies that ensures basic functionalities and security features of the website. These cookies do not store any personal information.
Non-necessary
Any cookies that may not be particularly necessary for the website to function and is used specifically to collect user personal data via analytics, ads, other embedded contents are termed as non-necessary cookies. It is mandatory to procure user consent prior to running these cookies on your website.
SAVE & ACCEPT