It’s been a little while since I’ve done a Silhouette Challenge, so I’m excited to be participating this month!
This month’s theme is garlands. Or banners or buntings; hichever you want to call them. And the bonus theme is “Halloween”.
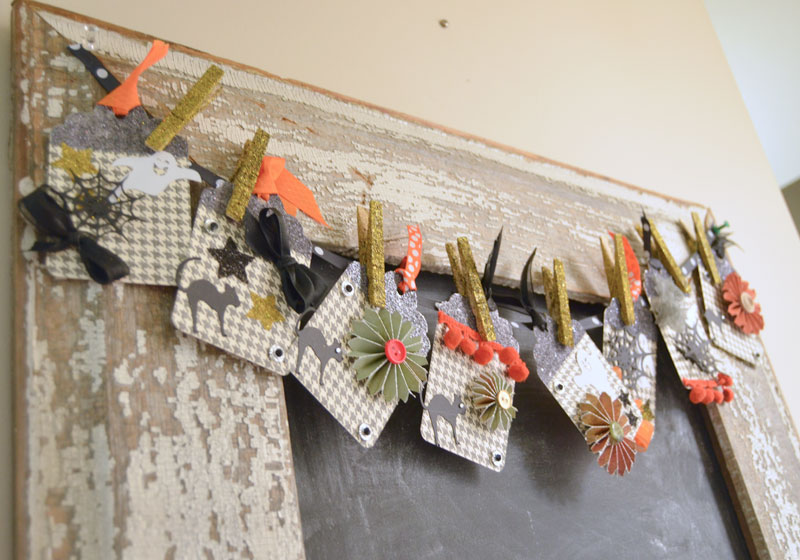
I chose to make a Halloween banner by attaching tags to a ribbon with sparkly clothespins.
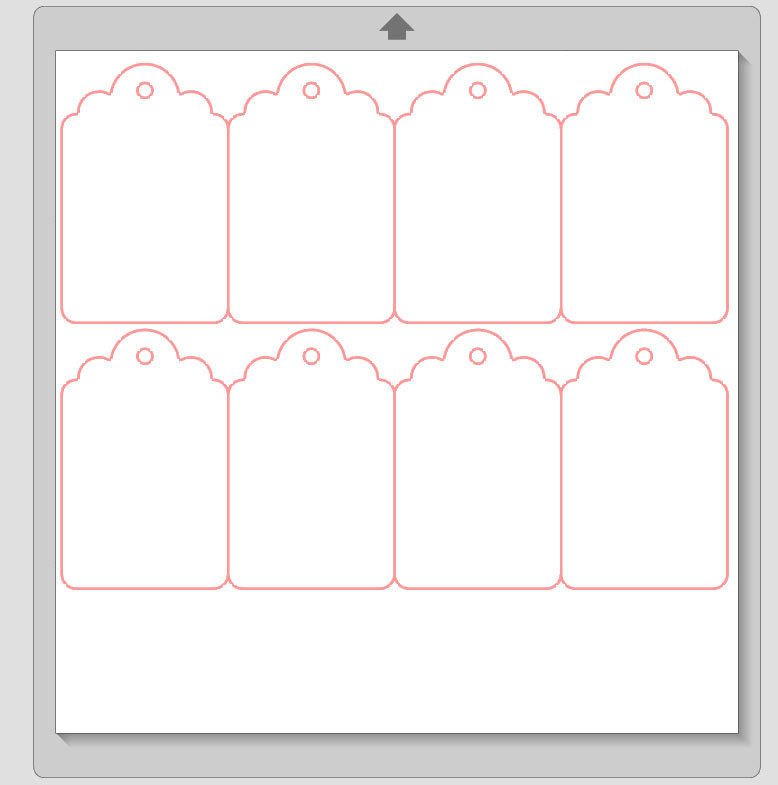
But let’s backup to where I started. First I found a tag shape in my library. (I must have bought this from the Silhouette online store.) I cut eight of the tag shapes out of gray and white houndstooth card stock.
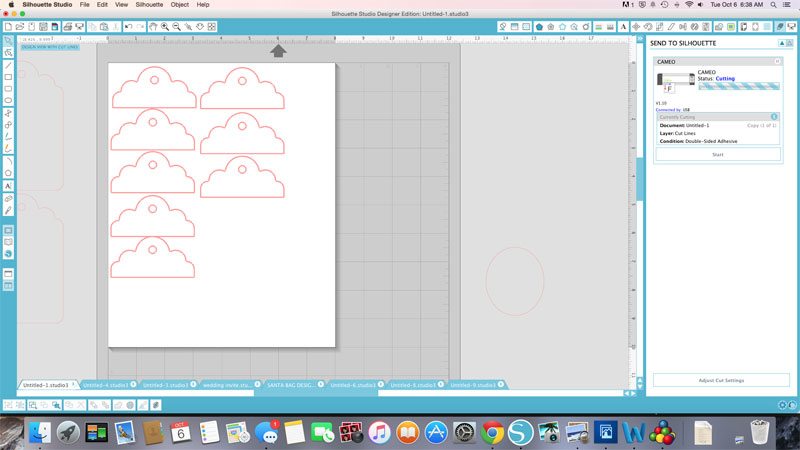
I cut the top part of the tags out of Silhouette Double Sided Adhesive. I love that stuff. In fact I just stocked up on it since it was on sale on Amazon.
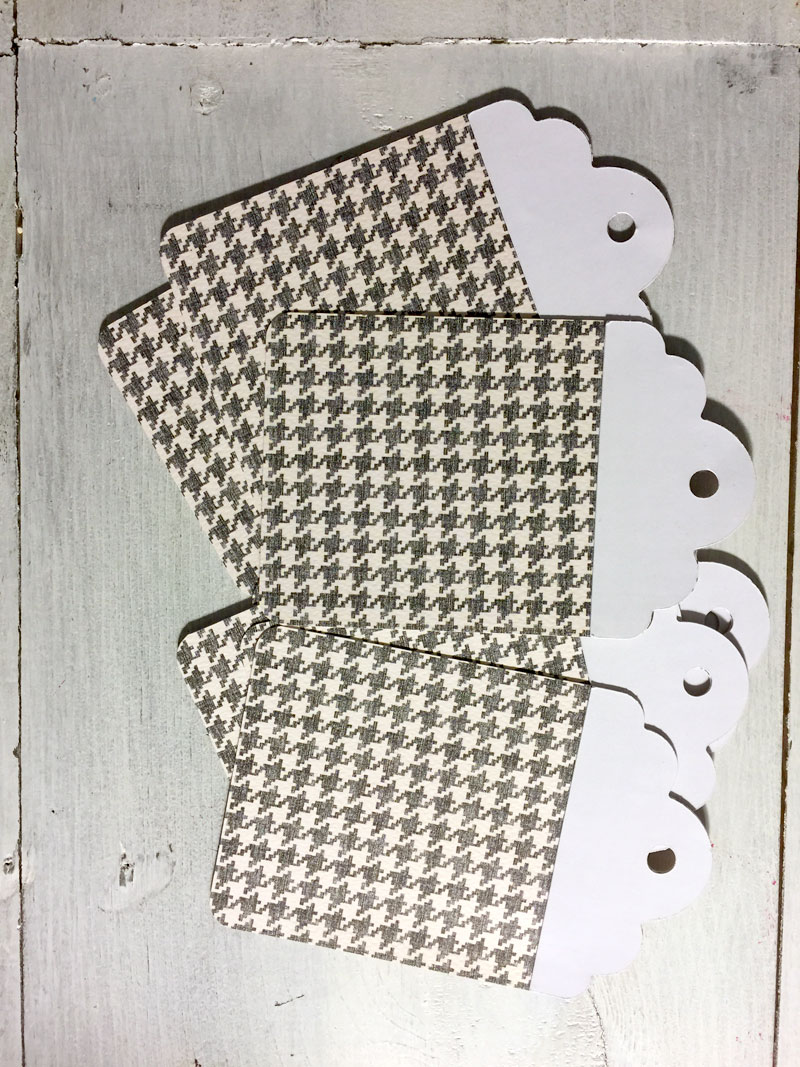
If you’ve never tried the double-sided adhesive, I highly recommend it. It makes applying glitter so much less messy than other methods.
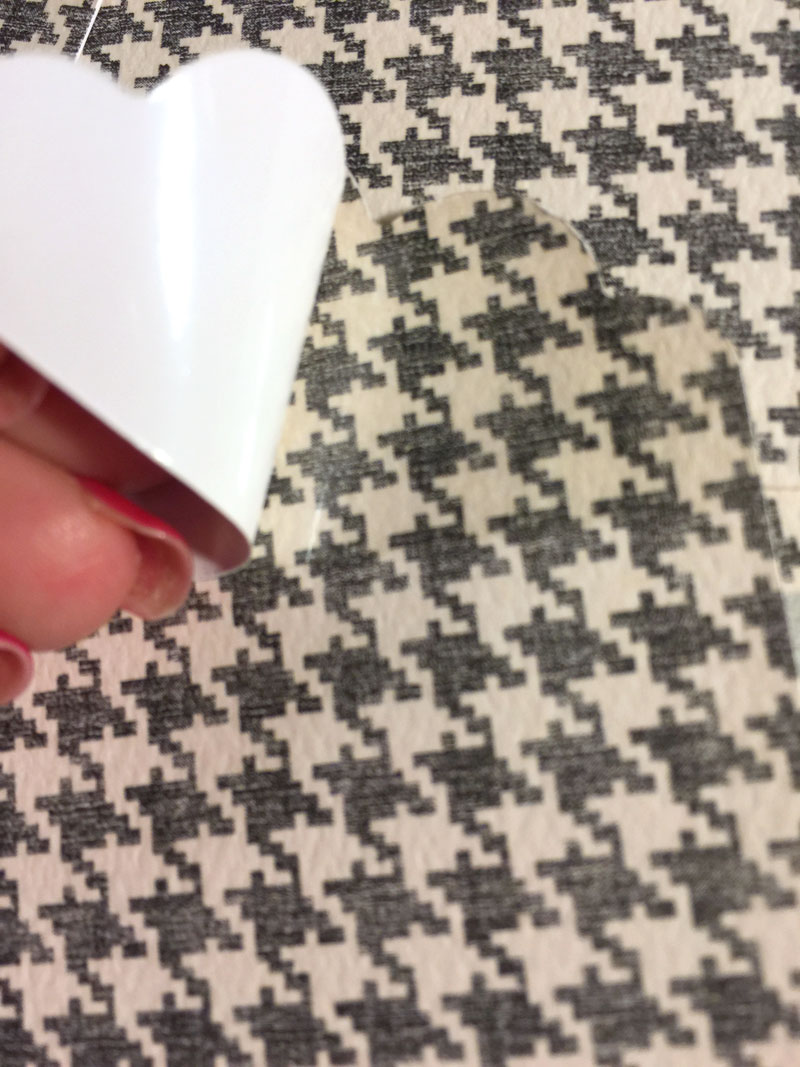
Once you cut out your shape (yellow side down on cutting mat), you peel the shape off of the yellow backing. The adhesive part will be attached to the white part. Apply the shape to your project, then remove the white paper. All that remains is the sticky adesive. You can see it in the image above.
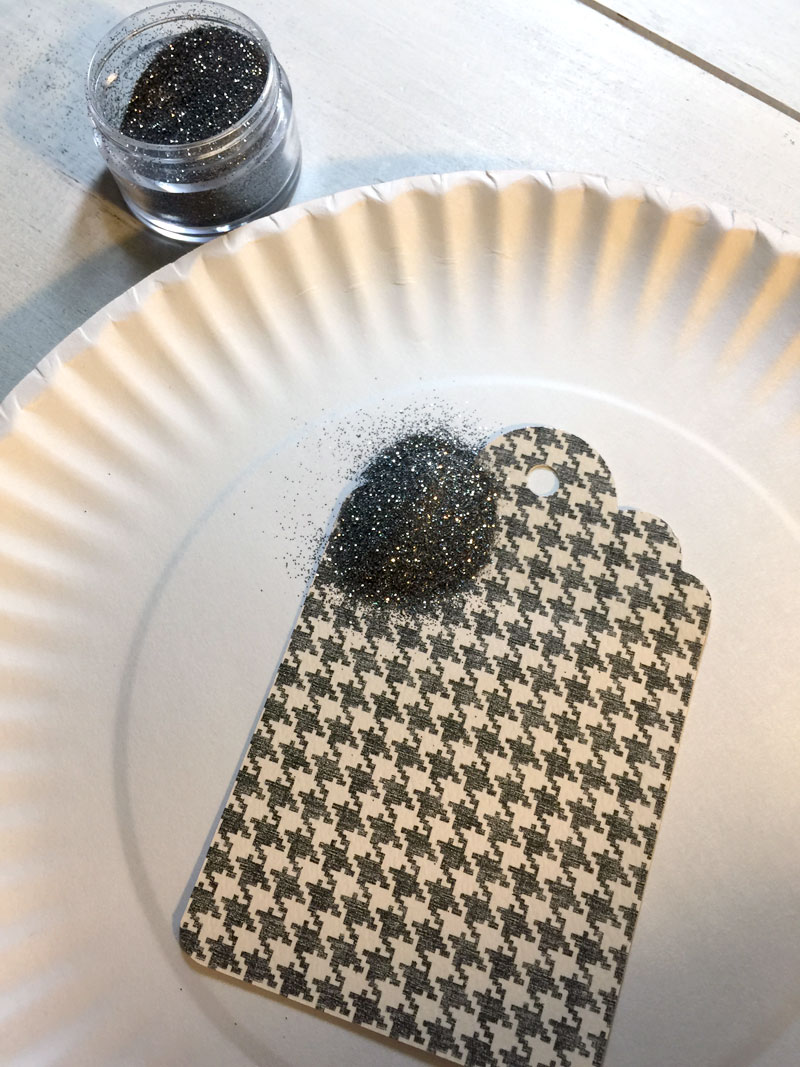
Next, just dump on some glitter and then tap or brush off the excess glitter.
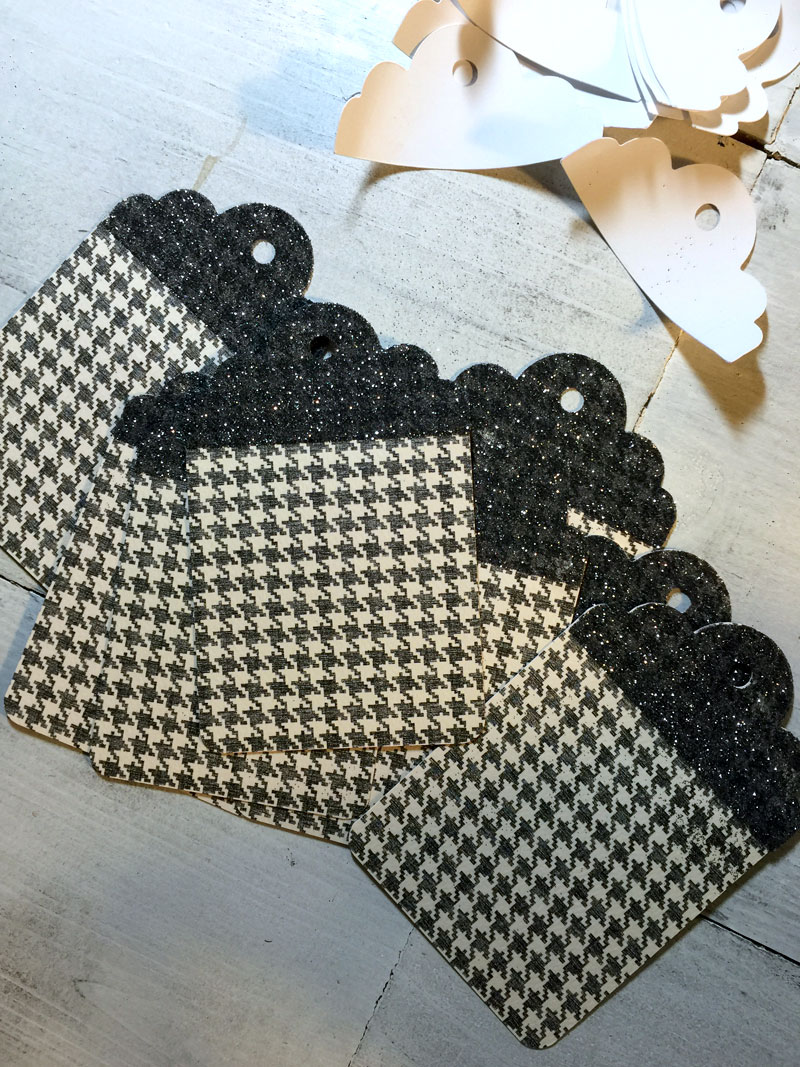
After my tags were cut and glittered, it was time to jazz ’em up with some fun and sparkly embellishments.
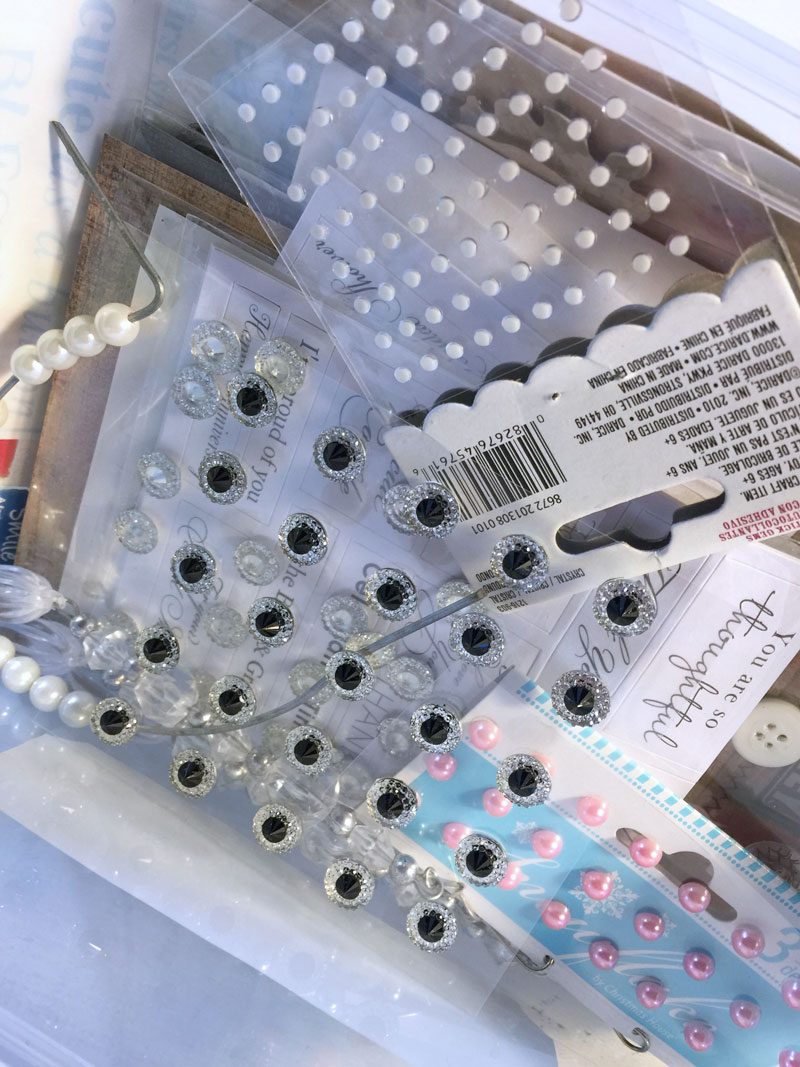
I’m not much of a fan of scary and spooky Halloween decor, so I chose to go with pretty!
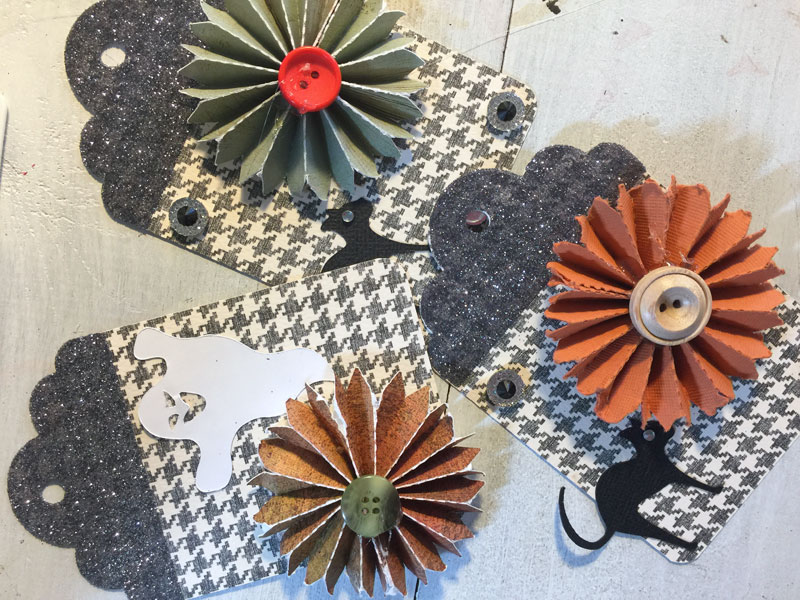
I did have fun with some black cats and ghosts. And of course I had to add some rosettes just because I love how they look and they gave the tags dimension.
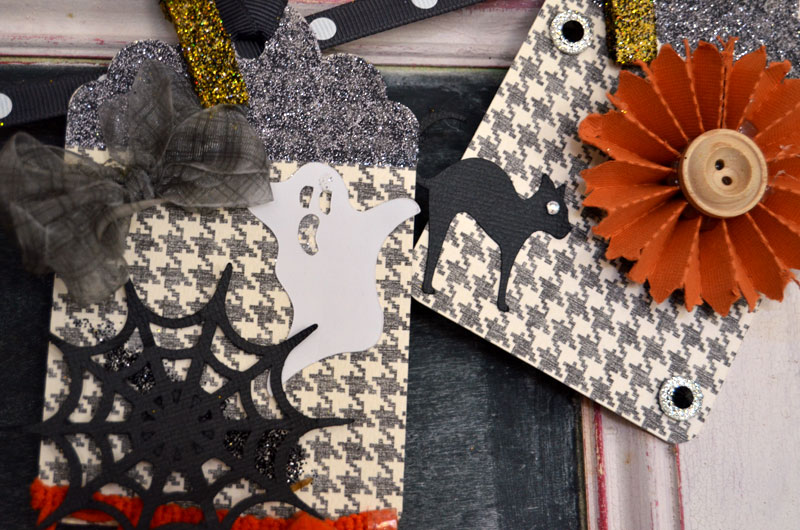
Some little organza bows added a pretty, finishing touch.
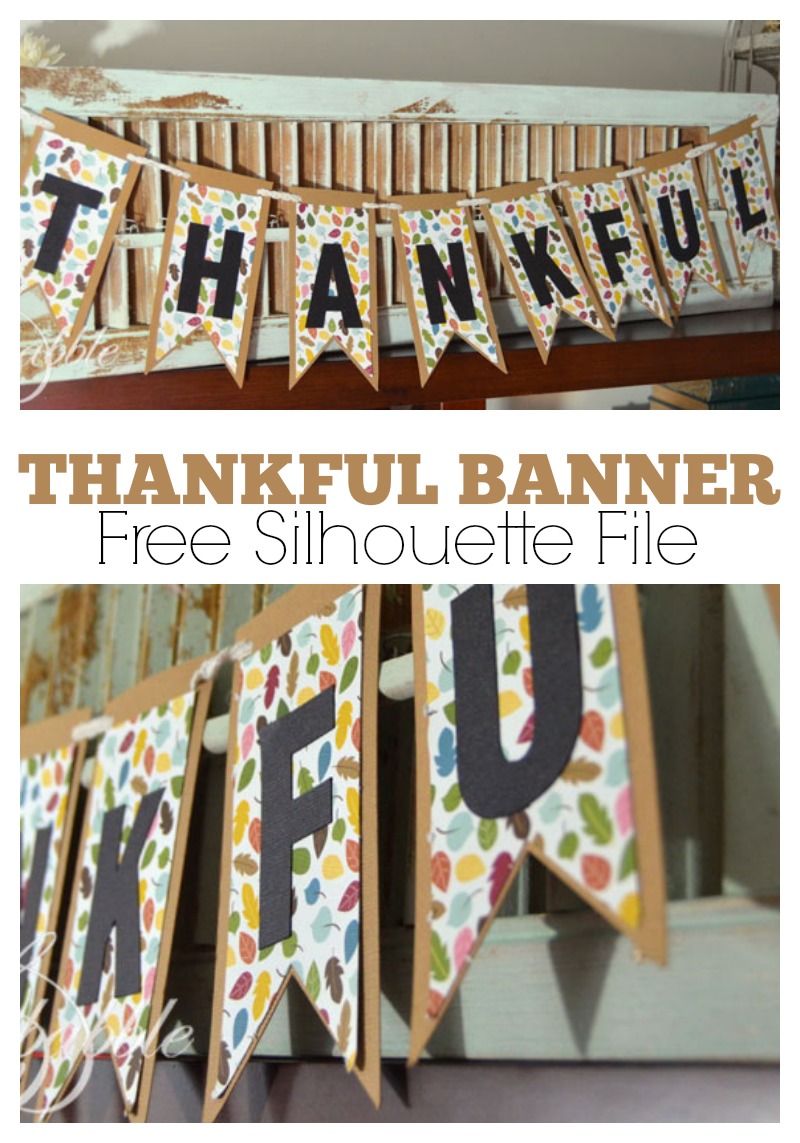
I’ve made a lot of banners over the years like the Thankful banner shown above.
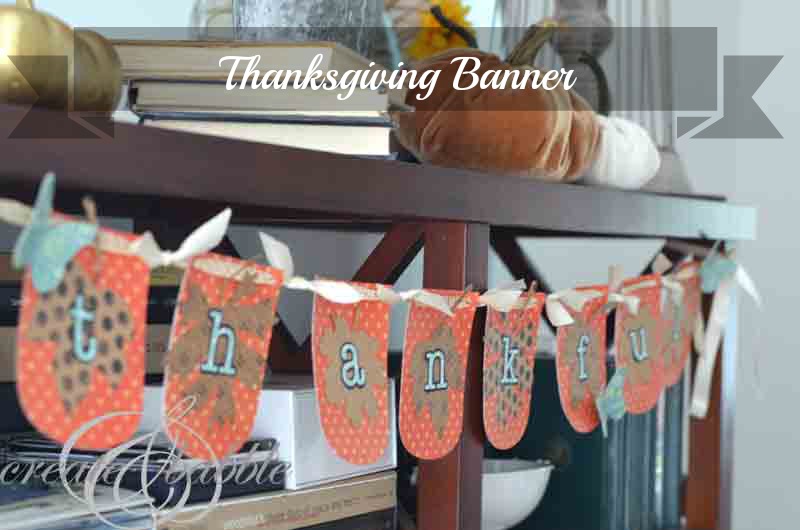
Here’s another thankful banner ; )
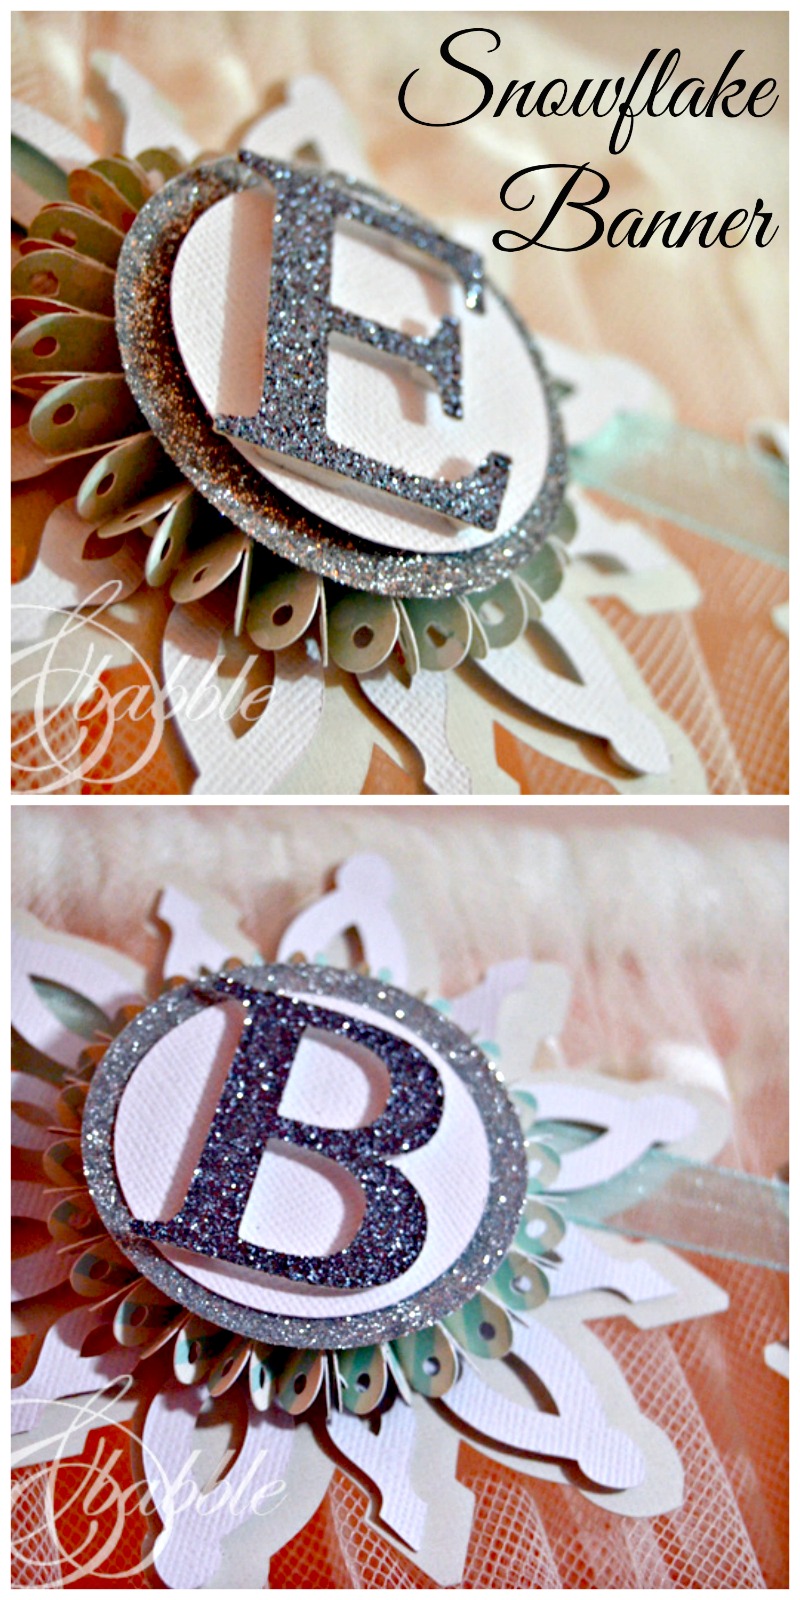
How about a Snowflake banner!
I could go on and on with banners! Just type “banner” in the search bar and you’ll see what I mean!
When you’re done checking out all the banners here, you’ll want come back to Check Out Even More Silhouette Projects!
My Silhouette Challenge buddies and I are all sharing projects on our blogs today, so peruse the projects below for a wealth of Silhouette inspiration!

1. Two Purple Couches // 2. DIYJustCuz {Brittany} // 3. Create & Babble // 4. Whatcha Workin’ On? // 5. A Time For Seasons // 6. Get Silvered // 7. Cutesy Crafts // 8. The Small Stuff Counts // 9. Cupcakes&Crowbars


I never thought to use the double-sided adhesive for glitter, but that’s such a clever idea! I love how dynamic and interesting your banner is! It’s definitely pretty, and I’ll be pinning this! Thanks so much for sharing it!
This is so pretty! I think the embellishments you added are perfect – they give your banner so much dimension and interest! Thanks for the double-sided adhesive tip! I should add some of that to my craft stash!
So much to look at…kind of an “eye spy” banner. And as others have said, the embellishments create eye-pleasing dimension. This would be a great project to do with kids—give them a supply of Halloween elements and let them go to town on each of the letter tags. Thanks for sharing!
I love that you have used Gift tags for this and all the different layers look wonderful. I had to look at the photos multiple times to see all the fabulous details I missed at my first quick glance.
Everything you make is so adorable! I love that you used tags for the banner!
I love this! All the detail you put into it is just beautiful!
I love your banner! I’ve been neglecting my Silhouette machine and this motivates me to start using it again. I also need to get some of that double sided tape too.
I love your Halloween banner. So adorable. You are being featured at Thursday Favorite Things.
Hugs,
Bev