• Home
  • About
  • Contact
  • Partner
  • Privacy Policy
    • Facebook
    • Instagram
    • Pinterest
    • Twitter
    • YouTube

Create and Babble

  • DIY
    • Home Improvement
    • Upcycle
    • Furniture Makeovers
    • Build It
  • Craft
    • Silhouette
    • Sewing
    • Wedding DIYs
    • Seasonal
    • Gifts
  • Lifestyle
    • Bicyling
    • Travel
    • shopping

STAY UP TO DATE

Get the latest crafting and DIY tips, tricks and tutorials delivered straight to your inbox!

DIY Workbench

August 19, 2014

If you like it, please share it!Share on pinterest
Pinterest
Share on facebook
Facebook
Share on twitter
Twitter
Share on stumbleupon
Stumbleupon
Share on google
Google
Share on linkedin
Linkedin
Share on reddit
Reddit

My love of DIY continues to grow. And so does my supply of tools and everything DIY. Which is not a bad thing until said tools are in just about every room of my house and scattered all over the basement floor. It was time to take action. It was time for a DIY workbench.
DIY Workbench by createandbabble.com

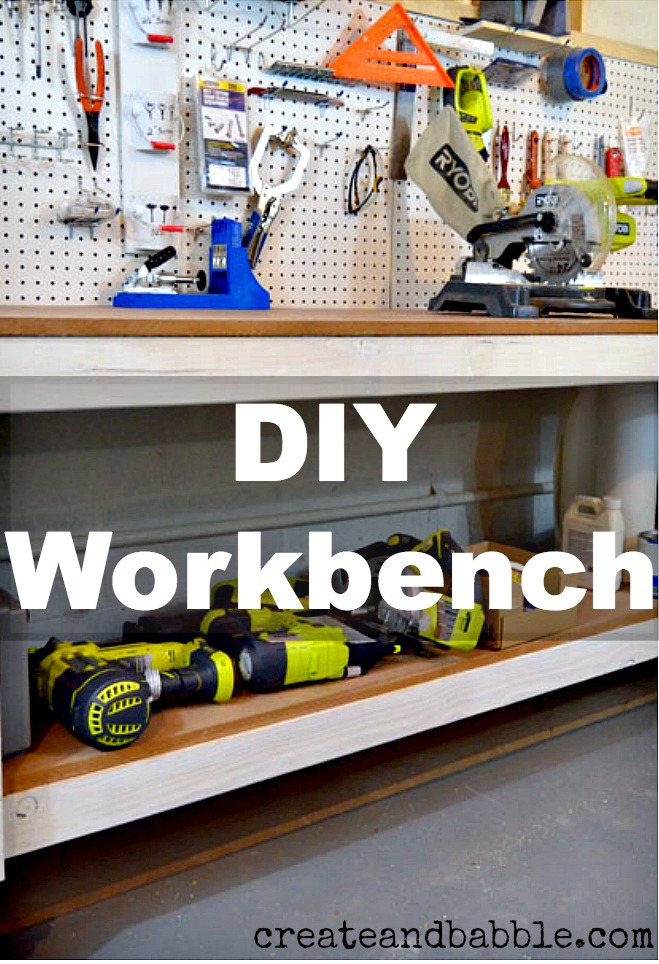
Thanks to the free DIY workbench plans that I found at Shabby2Chic I was able to make this awesome workbench all by myself!

diy workbench

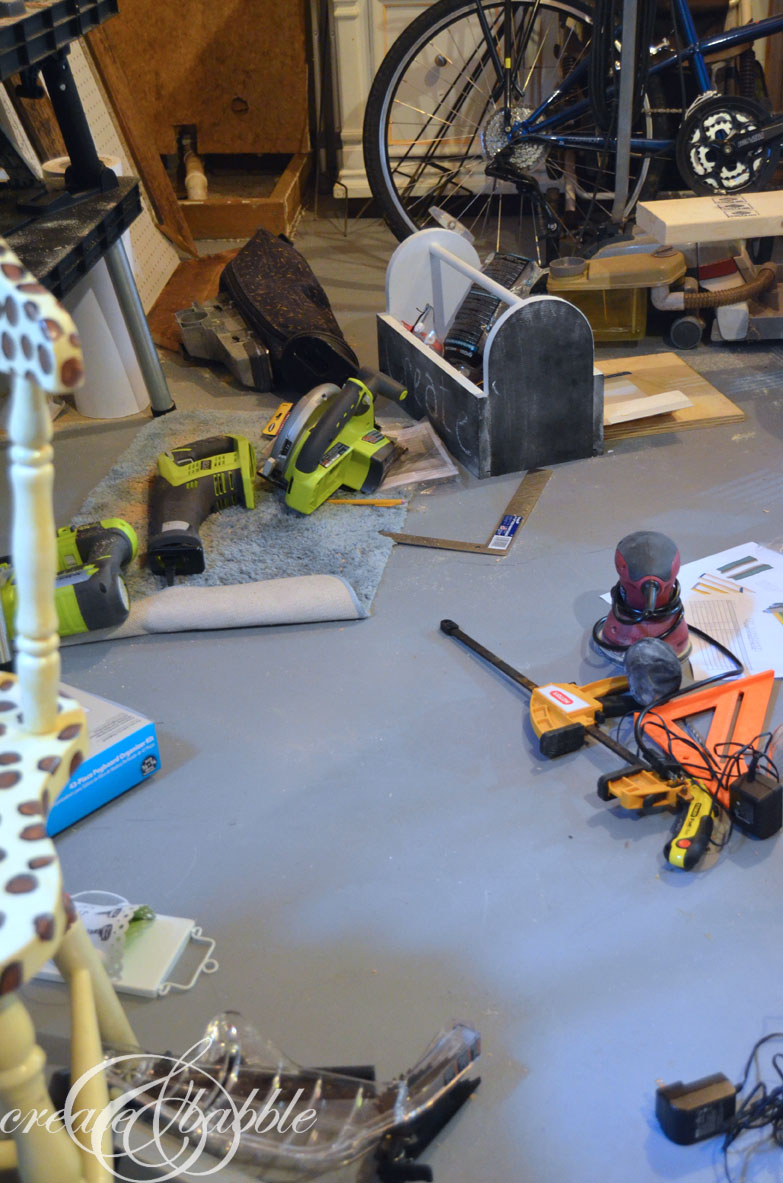
I can’t believe I’m showing this photo, but now you see why I needed this workbench!

workbench

I followed the plans exactly so I’m not going to give a step-by-step tutorial but I will share some photos that show how the workbench came together.
wood

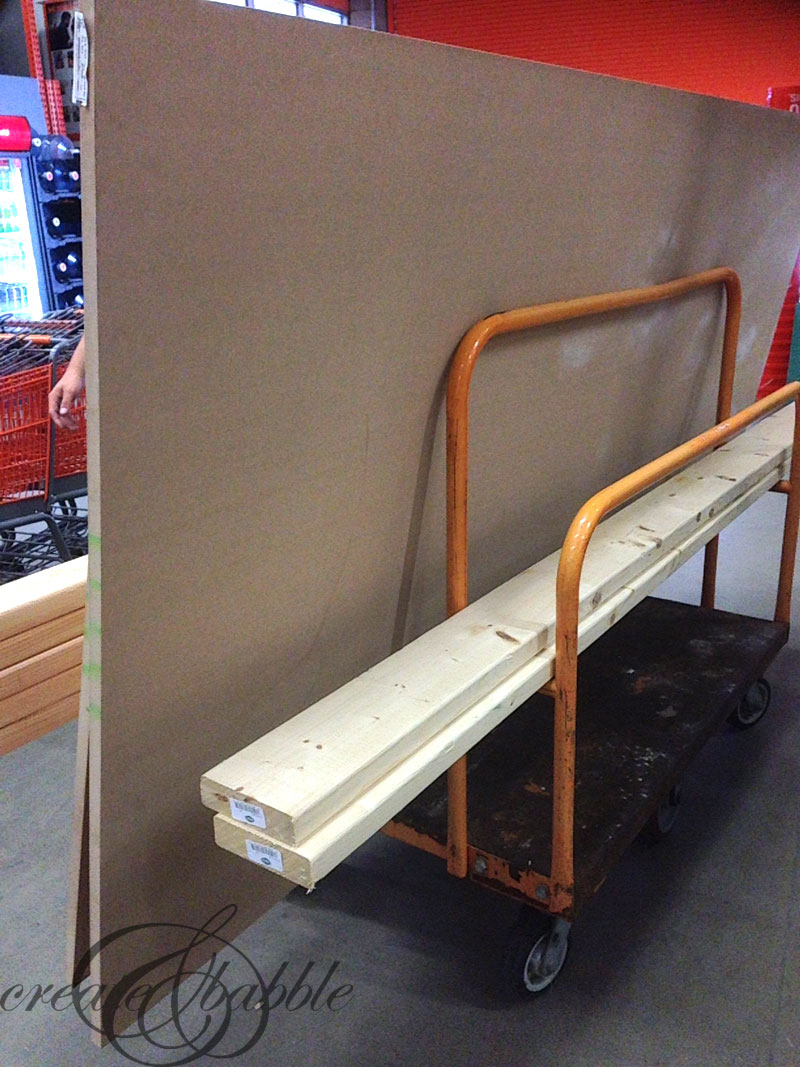
It all started with this small pile of wood from Home Depot. And my son, his muscles, and his pickup truck.

pocket-screws-createandbabble.com

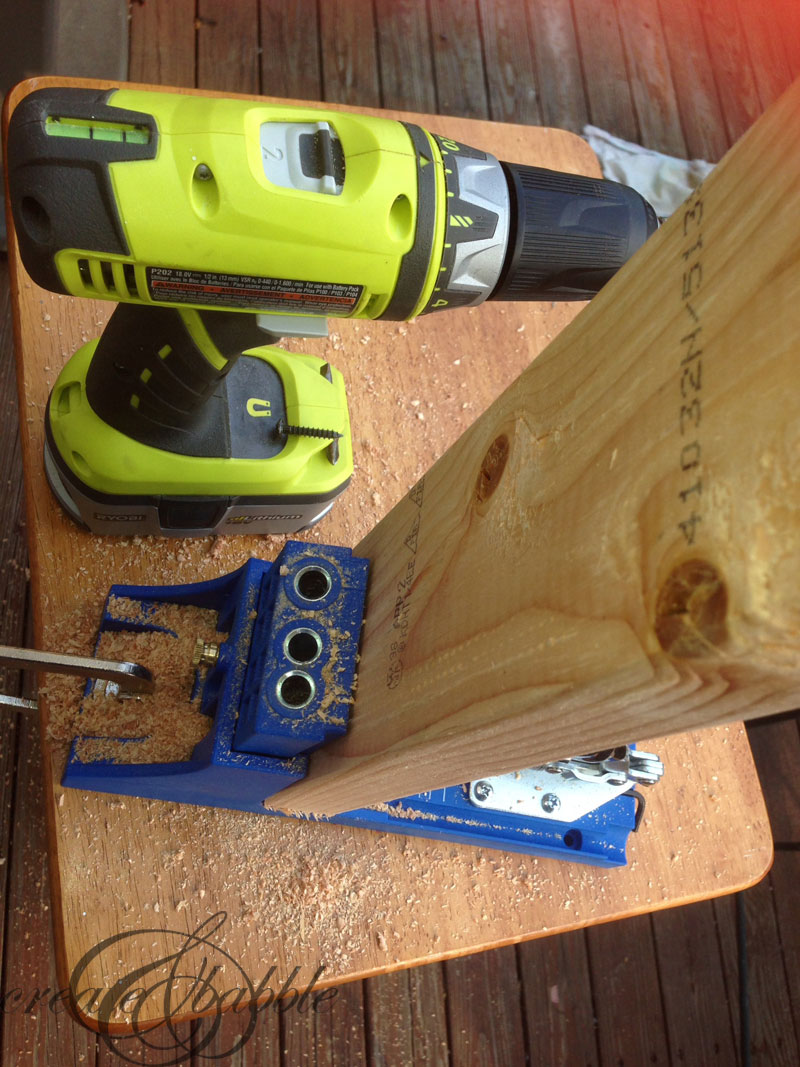
After I cut all of the wood to size using my Ryobi table saw and Ryobi circular saw, it was time to make pocket holes for the first time! I was so excited to do this. I had learned how to drill pocket holes using a Kreg Jig last month at a DIY blogging conference and couldn’t wait to put my brand-spankin’-new K4 to use.
I can’t believe how excited I am about this whole DIY thing – but it’s so empowering and rewarding to just make your own stuff! And not to mention that it’s a whole lot cheaper and it’s way better quality!
workbench frame

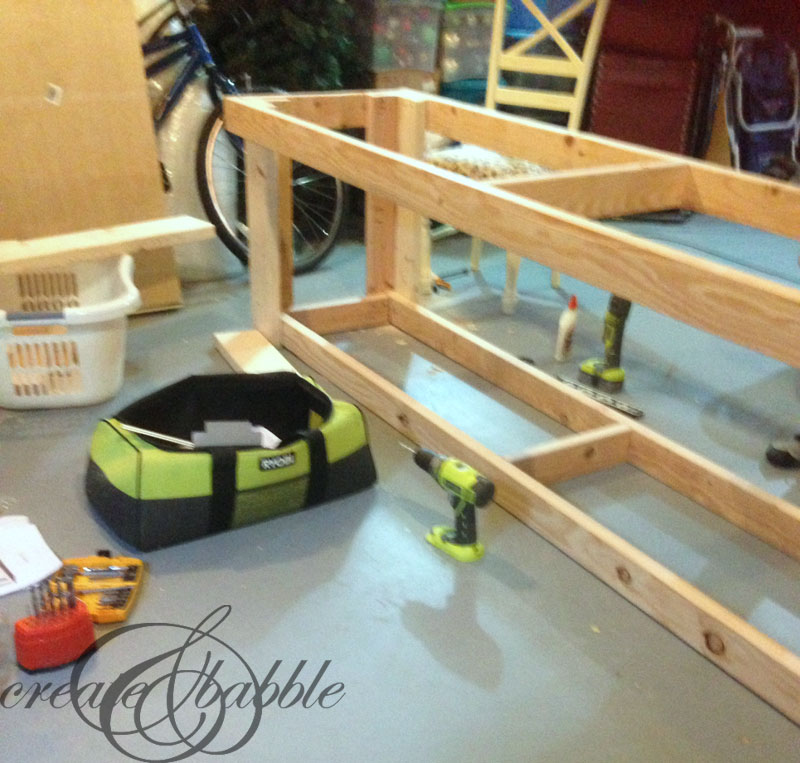
Here is the frame of the workbench (in a bad cell phone pic) all screwed and glued. At this point I kept saying under my breath: please be square, please be square. And it was ; )

And yes, that is a laundry basket holding the wood scraps. Yeah, I know. But it works for now ; )

workbench wheels

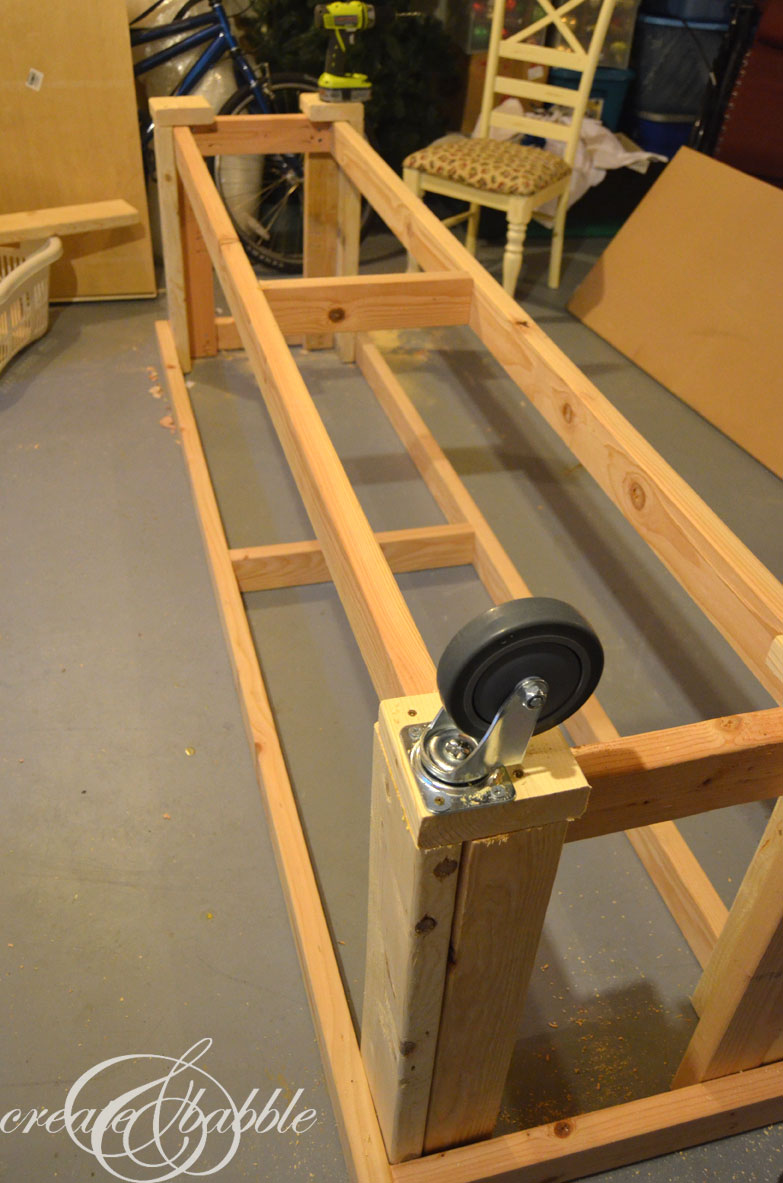
The final step before the big flip was attaching the locking casters.

workbench top

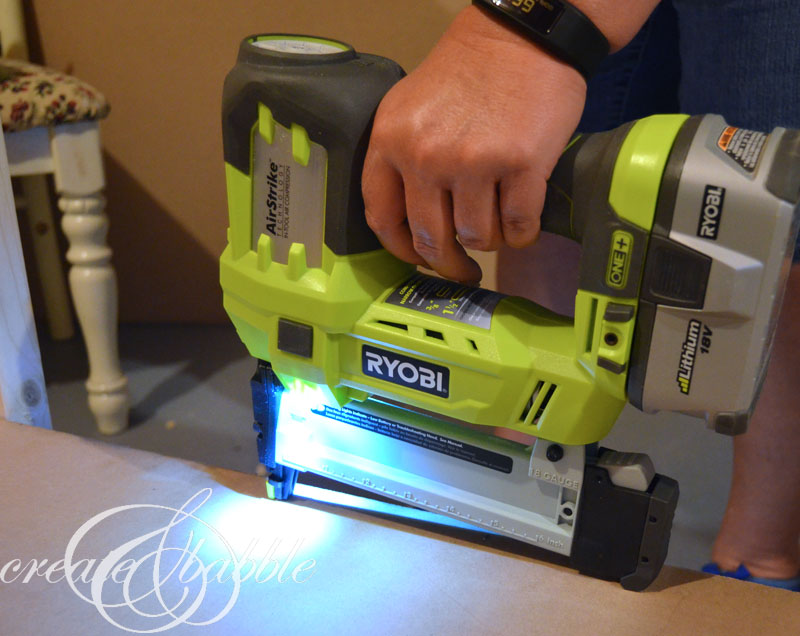
Then it was time to attach the top of the workbench and bottom shelf with the Ryobi Airstrike Stapler. (I did need some son-muscle help lifting the MDF into place)

diy workbench

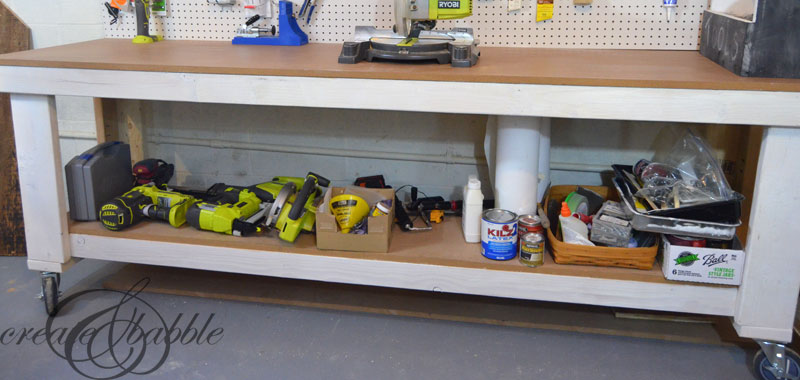
I painted the legs and frame with primer + paint and sealed the MDF with Polycrylic. I think that’s just about the prettiest workbench I ever did see! I’m thrilled that I was able to make it and even more thrilled that all my tools and supplies have one happy home! I’ll tell you all about the pegboard and how I hung it (without drilling into the cement blocks) in a future post. UPDATE: Here is how I attached a pegboard to my cinderblock without drilling into the blocks.

Linking up at Remodelaholic Anonymous

If you like it, please share it!Share on pinterest
Pinterest
Share on facebook
Facebook
Share on twitter
Twitter
Share on stumbleupon
Stumbleupon
Share on google
Google
Share on linkedin
Linkedin
Share on reddit
Reddit

Filed Under: Build It, DIY

« Ball Brand Jars {Giveaway}
How to Hang Pegboard Without Drilling into Cinder Block »

Comments

  1. Sonya~At Home with The Barkers says

    August 19, 2014 at 7:45 am

    LOVE this! I have tools scattered around as well. You did a great job, I’m inspired! ~Sonya

    Reply
  2. Lori @ A Bright and Beautiful Life says

    August 20, 2014 at 2:18 pm

    You did a super awesome job on your workbench. I love the length of it. You’re so handy ~ I’m not at all confident using power tools, except a palm sander. One of these days, though, I’m going to give them a try and build something cool.

    Reply
    • Jeanie says

      August 20, 2014 at 8:49 pm

      Thanks Lori! I would have never believed that I’d love using power tools this much. I am hooked! I hope you do give it a try. You will surprise yourself!

      Reply
  3. Carla says

    August 20, 2014 at 7:55 pm

    Great job. Want to know about hanging that pegboard. I want some in my basement but have concrete walls.

    Reply
    • Jeanie says

      August 20, 2014 at 8:47 pm

      Thanks Carla! I’m working on the pegboard post right now and it should be up tomorrow!

      Reply
  4. Pam @diy Design Fanatic says

    September 10, 2014 at 8:21 am

    Your workbench looks great! Looks simple to make and love that you painted parts of it!

    Reply
    • Jeanie says

      September 10, 2014 at 8:55 am

      Thank you Pam!

      Reply
  5. Anne says

    September 10, 2014 at 8:27 am

    You did a fantastic job creating that workbench! I need to do the same thing! Thanks for the inspiration! Sharing on Facebook!

    Reply
    • Jeanie says

      September 10, 2014 at 8:40 am

      Thank you Anne! And thanks for the share, too!

      Reply
  6. Sonya~At Home with The Barkers says

    September 10, 2014 at 11:13 am

    Love it! My husband has a huge work table like this and was just telling me he needed to cut the length in half because it was too big. I just showed him your post because it is the perfect size. Great idea on the wheels, we will be add those as well! ~Sonya

    Reply
  7. Funky Junk Interiors says

    September 10, 2014 at 1:55 pm

    I absolutely LOVE this workbench and want / need one so badly! Love the caster idea… taking notes!

    Reply
  8. Paula@SweetPea says

    September 10, 2014 at 8:17 pm

    Great job! I know you are so happy to have your tools organized and in one place.

    Reply
  9. DeDe@DesignedDecor says

    September 10, 2014 at 8:48 pm

    I need one and I want one! My tools are all over the place too. I can never find where I set things down, this would help me greatly!

    Reply
  10. Michal says

    September 12, 2014 at 9:39 am

    Wow! That is an awesome workbench. Wish I had a place in my house to put one of those.

    Reply
  11. Susan says

    September 18, 2014 at 6:55 pm

    I’m so impressed with and envious of your gorgeous workbench. Congrats, Jeanie, you’re featured this week at the Inspire Us Thursday Link Party on Organized 31.

    Reply
  12. Julie at Being Home says

    October 11, 2014 at 1:00 am

    Love this! I really need to make a work bench…really, really bad. lol Enjoy your new work station. 😀

    Reply
  13. Adam @ steel casters says

    June 7, 2016 at 4:56 am

    Love that final result. Simple yet very useful idea. Easy to move and great storage. I cannot wait to make my own. What was the total cost? I’m just starting to buy all the necessary materials

    Reply
    • Jeanie says

      June 7, 2016 at 9:19 am

      Thank you! I think the material added up to about $200.

      Reply
  14. Gaz says

    July 14, 2016 at 10:50 am

    Great little project. You definitely will feel better for having all your tools organized.

    Reply
  15. David Miller says

    September 22, 2017 at 11:53 am

    Amizing!!!! Your documentation help me a lot.I used power trills.
    I learnt how to use this.
    It’s help me in my workshop.
    Great.

    Reply
  16. Jeffrey Owens says

    October 14, 2017 at 1:50 pm

    I run a small blog and for my readers, I need to handle lots of tools. On the first days, it was really messed, all the tools and accessories scattering around. then I came up with a working table, I made it by my own, this is amazing. Now life is much cleaner and in order. 😀

    Reply
  17. Norman Cooper says

    March 18, 2019 at 6:47 am

    Love to read this article. Thanks for this great post, I find it very interesting and very well thought out and put together. I look forward to reading your work in the future.

    Reply

Trackbacks

  1. How to Hang a Pegboard without Drilling into Cinder Block says:
    August 21, 2014 at 5:01 am

    […] Here’s a close up of the 1″ x 2″ boards screwed into the floor joists above.  Since I don’t plan on hanging heavy tools on my pegboard, I am confident that my pegboard will hold all of my small tools and DIY supplies, like paint brushes, screw drivers, etc. All of the heavy stuff is on the shelf of my workbench. […]

    Reply
  2. Powder Room Makeover - Create and Babble says:
    September 11, 2014 at 9:56 am

    […] and one last thing, do you remember the workbench that I made? Well it’s in a contest over at Ryobi Nation and I really need your votes! The […]

    Reply
  3. Powder Room Makeover About the Trim - Create and Babble says:
    September 12, 2014 at 1:22 pm

    […] And that women can hang curtain rod hardware, install towel bars and toilet paper holders, build workbenches, paint storage shelves, and farmhouse tables, and remodel their own powder rooms if they want to […]

    Reply
  4. Fabulous & Free Furniture Building Plans says:
    November 4, 2014 at 5:00 am

    […] One of the things I love about the Truss Desk from Shanty2Chic, besides it’s simple design, is that it’s made with only two sizes of wood.  Shanty2Chic also has plans for add-on pieces for this desk. They also have loads of other plans including the one that I used to make my workbench. […]

    Reply

Leave a Reply Cancel reply

Your email address will not be published. Required fields are marked *

About Jeanie

About Jeanie

Welcome to Create & Babble. This is where I share my loves: crafting, hiking and camping

Read more about me here

Categories

Archives

AntiqueFarmHouse
Zots Craft Adhesive Dots

Amazon Associates Disclosure

Jeanie Hevener Emmert is a participant in the Amazon Services LLC Associates Program, an affiliate advertising program designed to provide a means for sites to earn advertising fees by advertising and linking to amazon.com.


hobby lobby

Copyright © 2025 · Site by Pretty Pink Studio

Copyright © 2025 · Glam Theme on Genesis Framework · WordPress · Log in

This website uses cookies to improve your experience. We'll assume you're ok with this, but you can opt-out if you wish.Accept Reject Read More
Privacy & Cookies Policy

Privacy Overview

This website uses cookies to improve your experience while you navigate through the website. Out of these, the cookies that are categorized as necessary are stored on your browser as they are essential for the working of basic functionalities of the website. We also use third-party cookies that help us analyze and understand how you use this website. These cookies will be stored in your browser only with your consent. You also have the option to opt-out of these cookies. But opting out of some of these cookies may affect your browsing experience.
Necessary
Always Enabled
Necessary cookies are absolutely essential for the website to function properly. This category only includes cookies that ensures basic functionalities and security features of the website. These cookies do not store any personal information.
Non-necessary
Any cookies that may not be particularly necessary for the website to function and is used specifically to collect user personal data via analytics, ads, other embedded contents are termed as non-necessary cookies. It is mandatory to procure user consent prior to running these cookies on your website.
SAVE & ACCEPT