Spring is right around the corner and we all can’t wait! I’m ready for longer days, warmer temperatures, lots of sunshine, and pretty flowers. I bet you are too! In the meantime, while I am impatiently waiting for Spring to arrive, I’m trying to make my home feel like Spring has already sprung. Here’s an incredibly easy but super adorable Easy Spring Wall Art that I made with card stock and an old hanger.
Welcome to the third installment of Silhouette® Sunday! If you’re new around here let me explain, I started a new series last week. Every Sunday I will post about a project I made using my Silhouette Cameo®. I receive so many comments from my readers that they own a Silhouette® machine but haven’t used it yet. Some haven’t even taken it out of the box yet! I want to fix that. I want everyone to learn how to use their machines and make pretty things!
This project is super-duper easy and good first-time paper project.
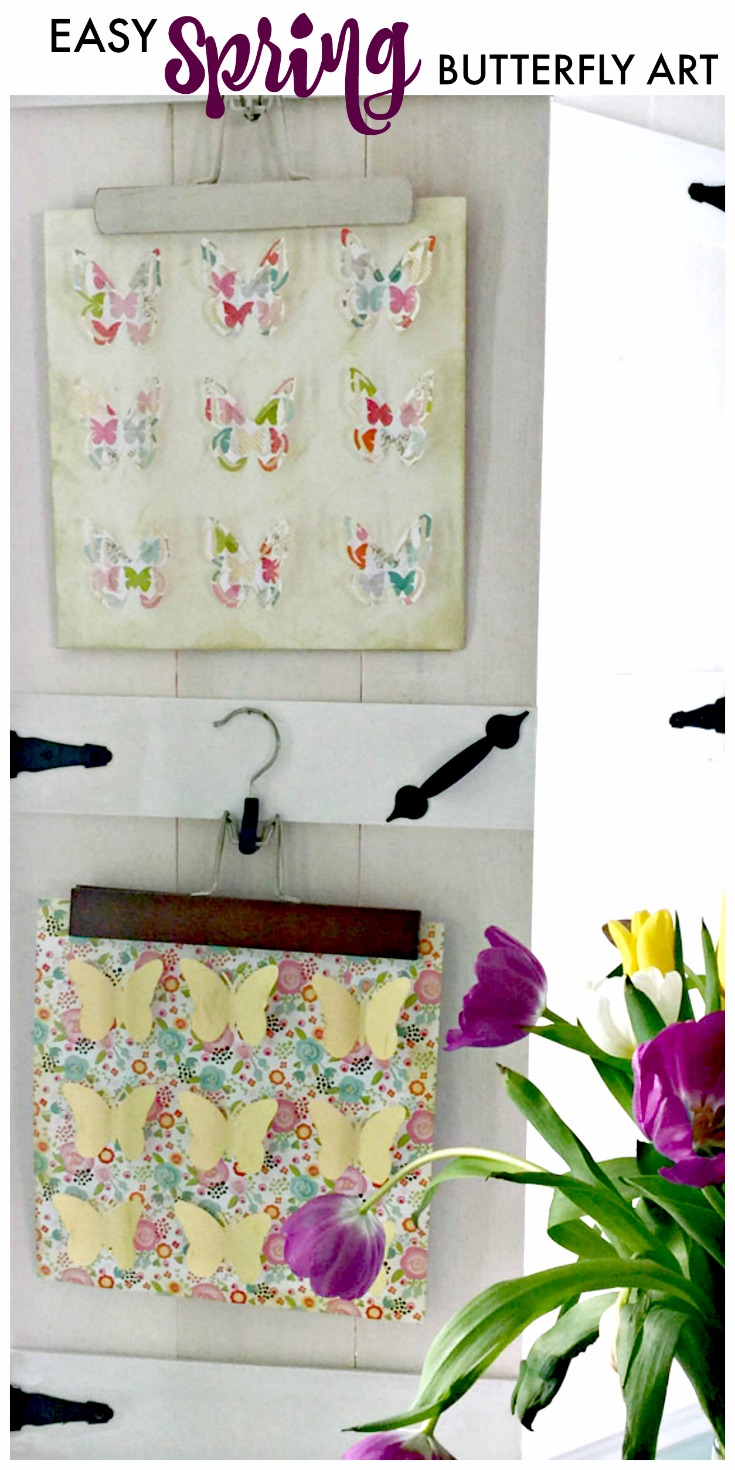
Aren’t these adorable? You can make one in a jiffy, I promise! If you are a brand new Silhouette® user, I made a quick video on that covers opening a shape in the library, how to resize that shape and how to make copies of the shape. There’s also a little tip in there on how to evenly space your shapes in Silhouette Studio that maybe some experienced used didn’t know!
(Post contains affiliate links.)
This really is so ridiculously fast and easy to make. Especially if you have a Silhouette® cutting machine. But don’t worry if you don’t have one. You can still make one similar to mine using a butterfly paper punch to get your butterflies.
You will also need:
- pretty patterned card stock
- solid colored card stock
- adhesive that works well with paper
- wooden pants hanger
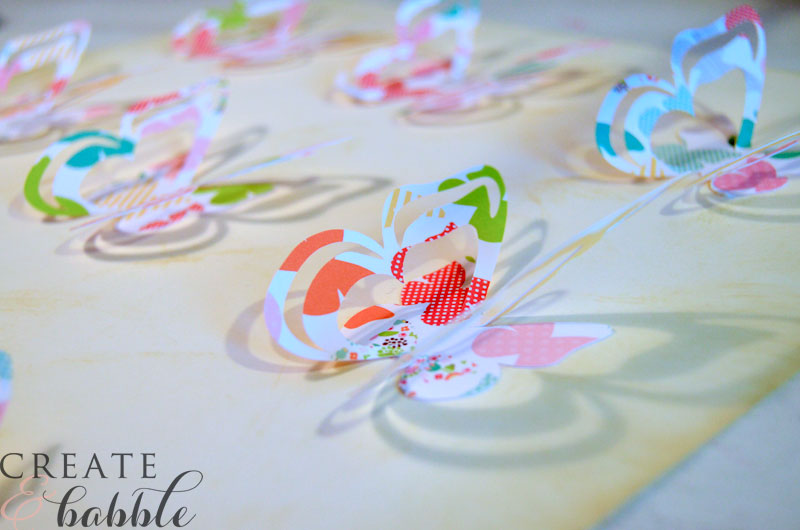
I cut two different shapes of butterflies. From the patterned card stock, I used the 3-D Butterfly shape from the Silhouette® Online store to cut 9 butterflies. After they were cut, I taped them onto plain, off-white card stock. I bent the wings up a little to give them dimension.
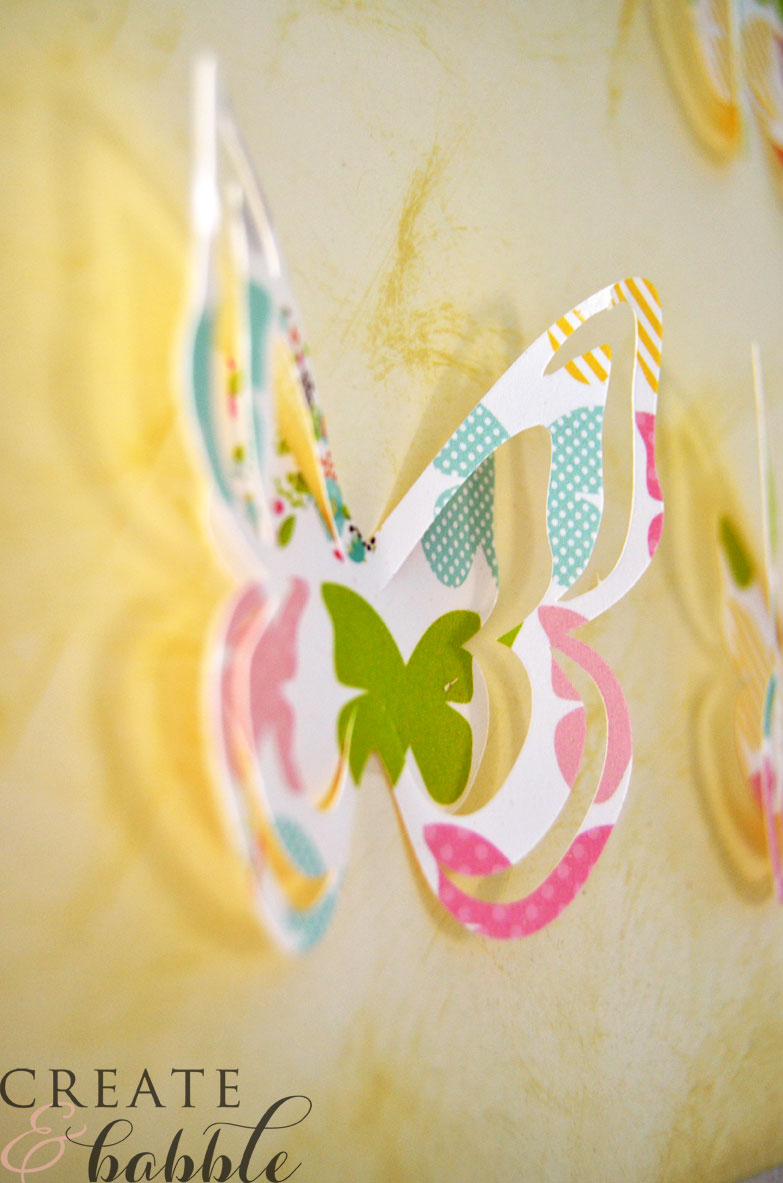
To give the off-white card stock a more antique look, I applied Tim Holtz Distress Inks to the edges.
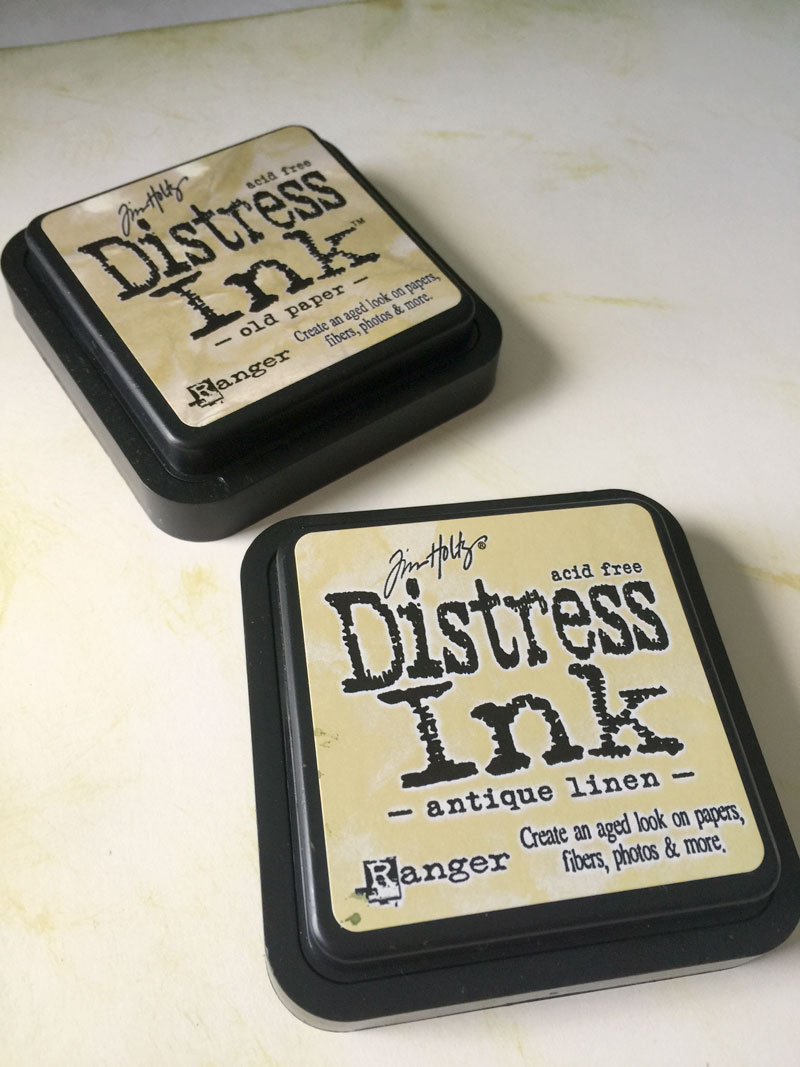
(I’m not an expert in distressing paper. In fact it’s the first time I used these inks. I had to “google it” ; ) It turns out I didn’t have the “right” tools, but I improvised with a sponge!)
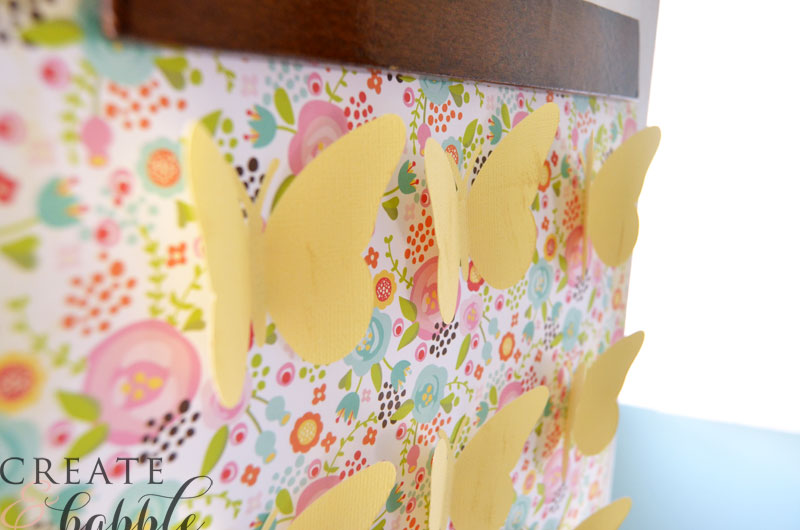
For my second Spring Butterfly Wall Art, I cut 9 solid butterflies from yellow card stock and adhered them to a piece of pretty patterned card stock from the Echo Park Petticoats Collection.
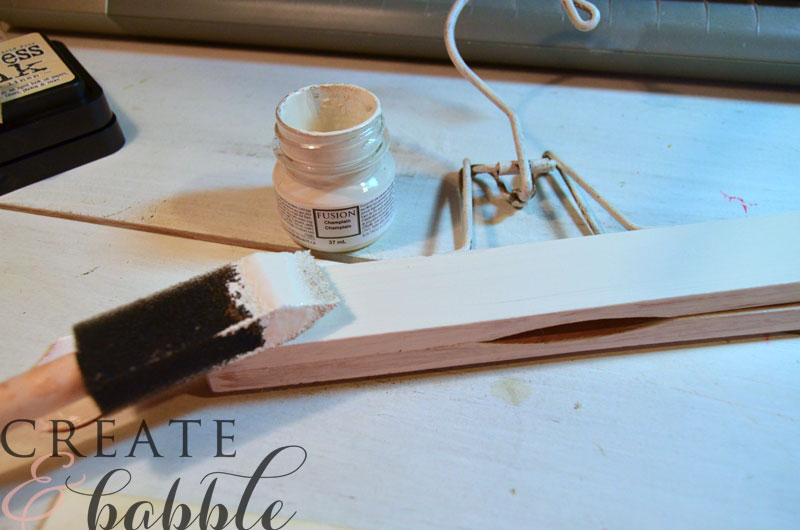
I painted one of my old wooden pants hanger with some white paint. Just to be different ; )
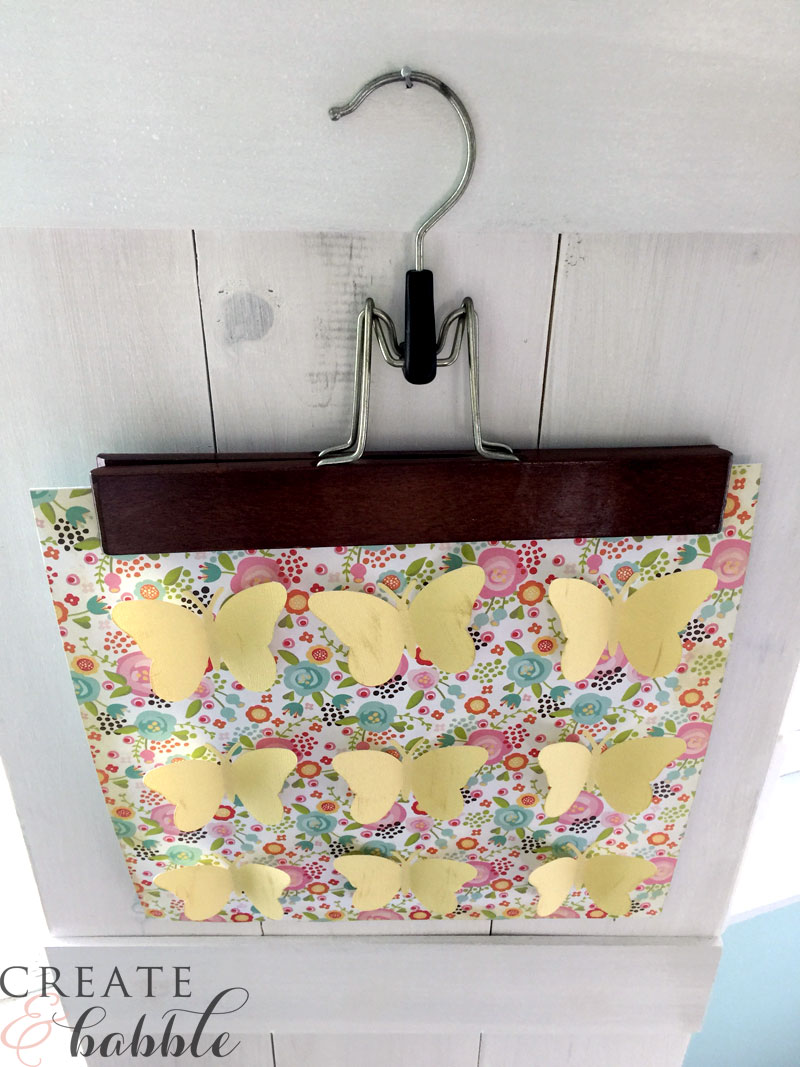
And the newer pants hanger: I just kept it plain. Do what you like! I like both looks and couldn’t pick a favorite ; )
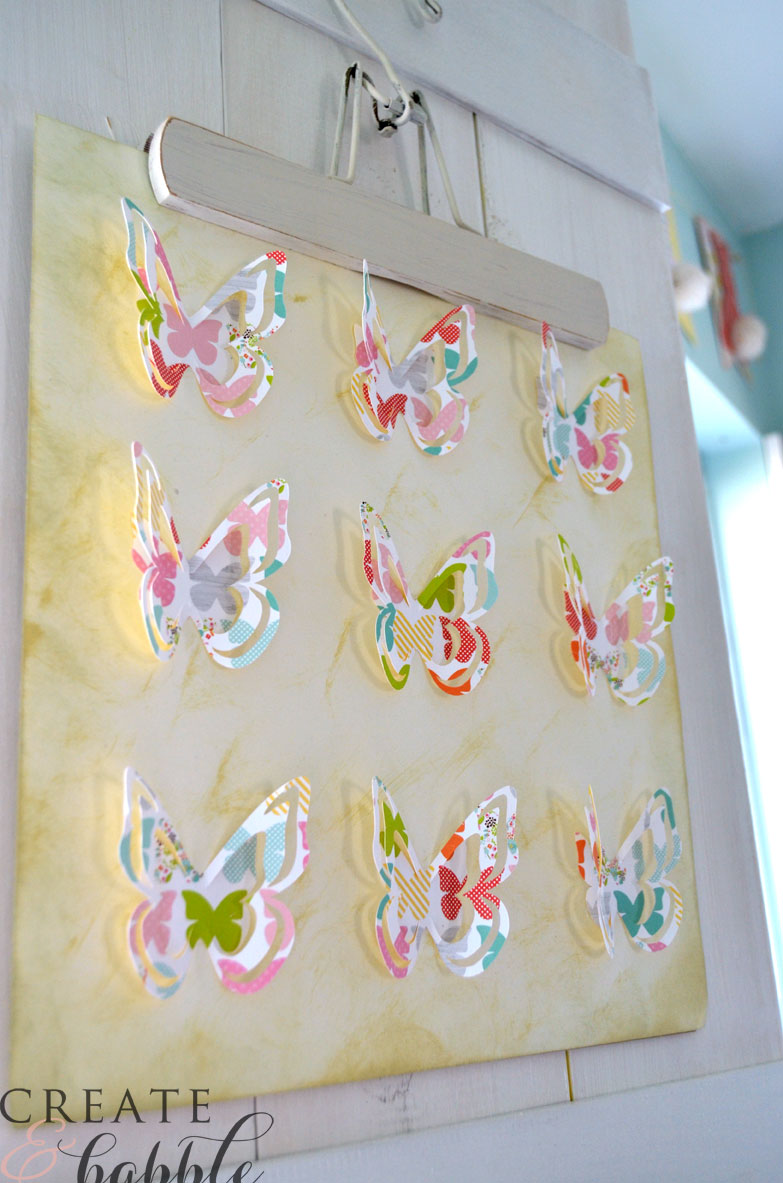
What I do like is the dimension look!
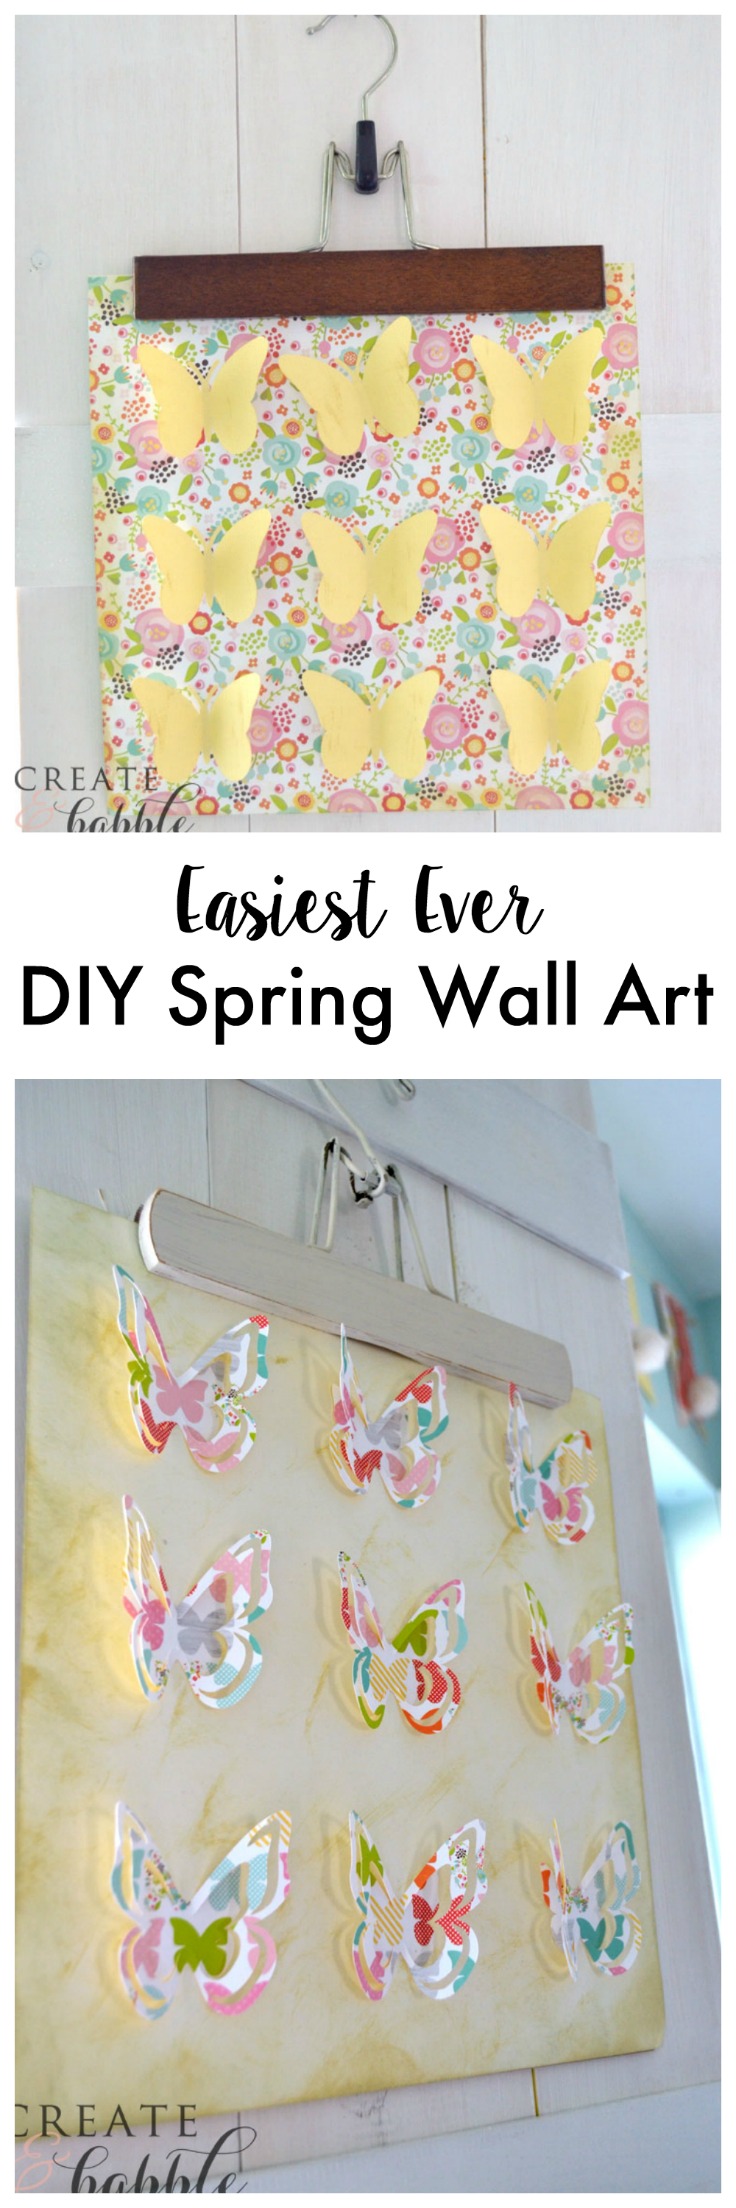
I told you it was easy!
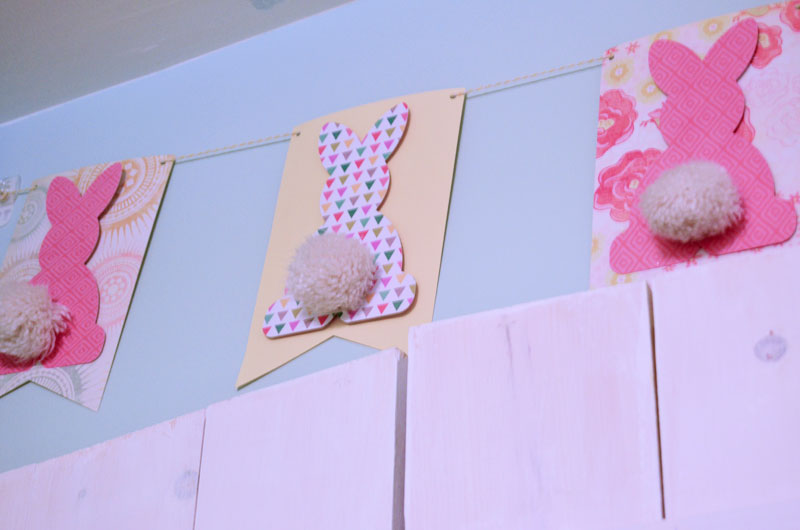
If you’re a fan of fun and easy paper crafts and like to use them to decorate for the holidays, then you’ll want to see the bunny banner that I made last week. I was able to recycle the pom pom fringe off of an old throw for the fluffy tails ; )
Here is Where I Party!


So sweet!
Love these fun butterflies!
These look lovely ! Another reason for me to finally splurge and by a cutting machine .
Thanks Claire! I couldn’t live without it – well I could…but I wouldn’t like it ; ) You must get one!!!!
Hi Jeanine – Love the butterflies! Visiting as a fellow contributor to #DIYMySpring. Hope your week is full of sunshine! Hugs, Holly
Hi Holly! Thanks so much for kind words! A week full of sunshine would be perfect! In fact, we are expected to have above normal temps this week!
Jeanie, these are gorgeous! I wanted to make 3d butterflies for a birthday card a few weeks ago, but went a different route instead. Now I’m wishing I’d done it! They look wonderful!
Thanks Emily! I love the look of butterflies – I think because they remind me of Spring and Summer!
So pretty and easy enough for my girls to do with me!!
Jeanie, This is adorable!
These are lovely- so fun and cheerful for Spring- and love the bunnies too!
Visiting from the DIY Spring hop 🙂
This is so pretty!
Really sweet, and not so hard for those of without cutting machines as well. Thanks for sharing on craft schooling Sunday!
Hello. So pretty! At first I didn’t even realized the first pic was a hanger!! The 3 D make them even better.
But, I must say, all the video ads, in between each paragraph were very distracting.
Inspire Me Mondays
Jeanie, these are super cute! It’s a great project for someone starting out. Echo Park is my favorite paper. Pinning! Thanks for sharing at #HomeMattersParty
How cute. Thanks for sharing at Home Sweet Home.
These are so pretty! I don’t have one of the cutting machines, but I’m hoping for one in my future. Thank you for sharing with us on Party in Your PJ’s. Pinned!
These are so pretty, what a lovely way to make Spring art in a quick and easy way.
Thank you for sharing your article.
Your blog has piqued a lot of real interest. I can see why since you have done such a good job of making it interesting. I appreciate your efforts very much.
Instructions for Playing Baccarat
Looks great, thanks for sharing! I love the pictures on the walls. The painting should not put pressure on the interior, but it should not get lost in it either. If you plan to place several paintings on the same wall, then their color and the saturation of this color should interact. This online art gallery has an amazing variety to suit every taste.