This month’s theme for the Power Tool Challenge is REPURPOSE and I knew for weeks what I wanted to build. I’ve been seeing repurposed headboard benches all over the place and just had to make my own!
I’m super excited to show you my headboard garden bench:
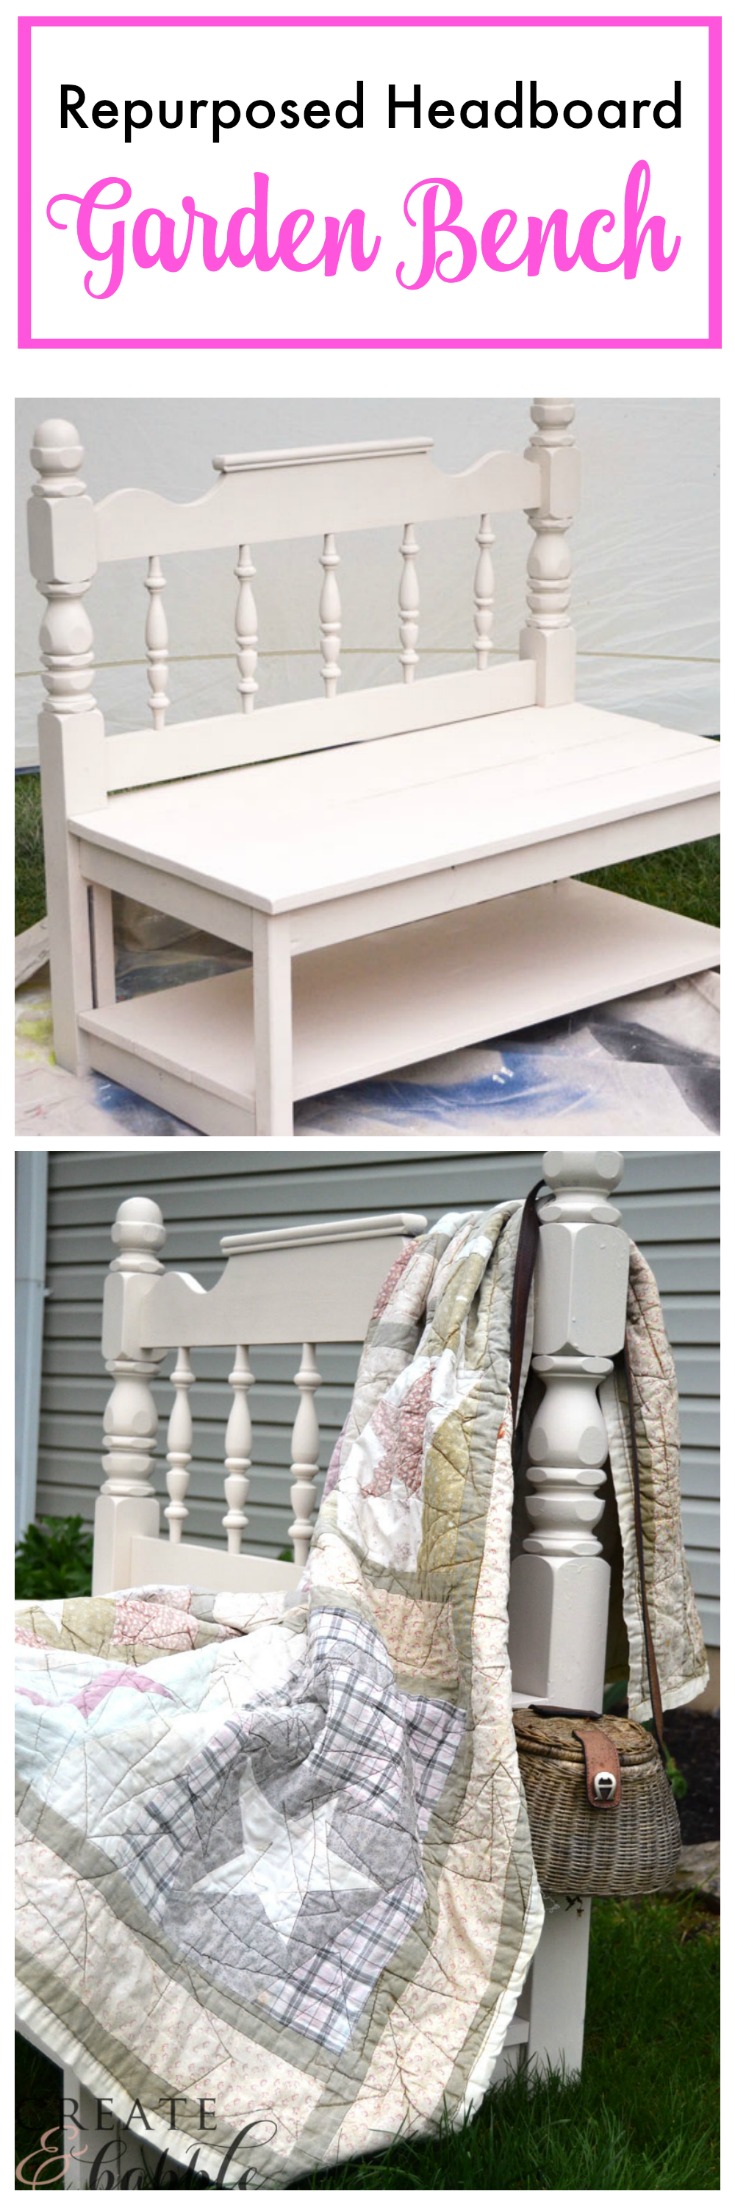
When I saw Wendi’s headboard bench back in the January edition of the Power Tool Challenge, I knew I wanted to make my own. Ever since then I was on the hunt for a headboard.
Why is that you always see things when you don’t want them and then when you want something you can’t find one!
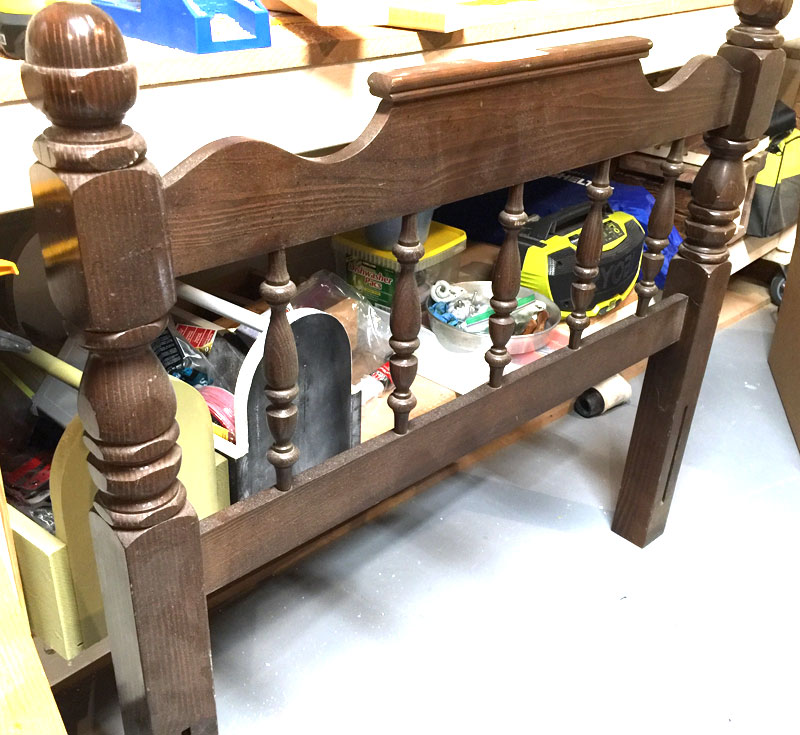
FINALLY! I found one for $15 at a thrift store. $15 was more than I wanted to pay but I was running out of time!
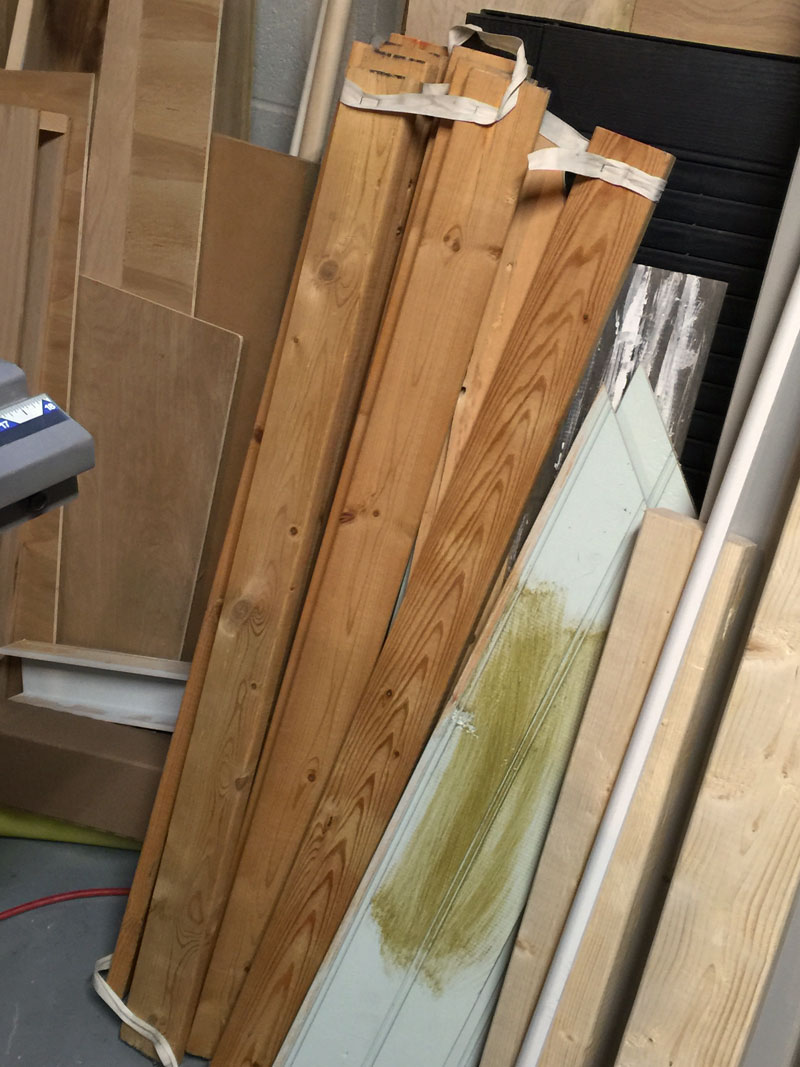
Supplies I used to build my garden bench (includes affiliate links):
- old headboard
- 1 x 3’s (found some in my wood pile) for the frame
- 2 x 2’s for the legs
- 1 x 6’s for the bench seat
- 1 x 2’s for the support pieces (found these in my wood pile too ; )
- Kreg Jig and 2″ pocket screws
- Ryobi Power Drill
- Ryobi Miter Saw
- Ryobi Jig Saw
- Ryobi Finish Nailer with 2″ finish nails
- Ryobi Orbital Sander
- HomeRight Spray Shelter
- HomeRight Finish Max Fine Finish Sprayer
First I have to say that I made a few mistakes along the way. Not huge mistakes. Just a couple of things that would make the building of this bench go a little smoother next time. Don’t worry, I’ll tell you how to do right!
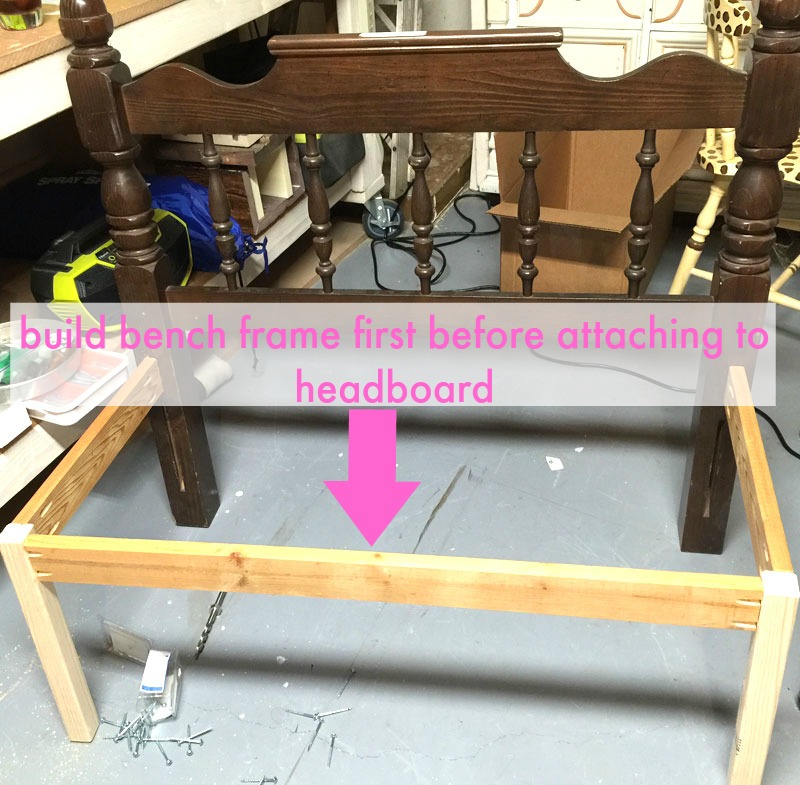
The first thing I did was build the frame for the bench seat. I started out by attaching those two side pieces to the headboard first. Wrong! I should have built the frame first and THEN attached it to the headboard. Lesson learned.
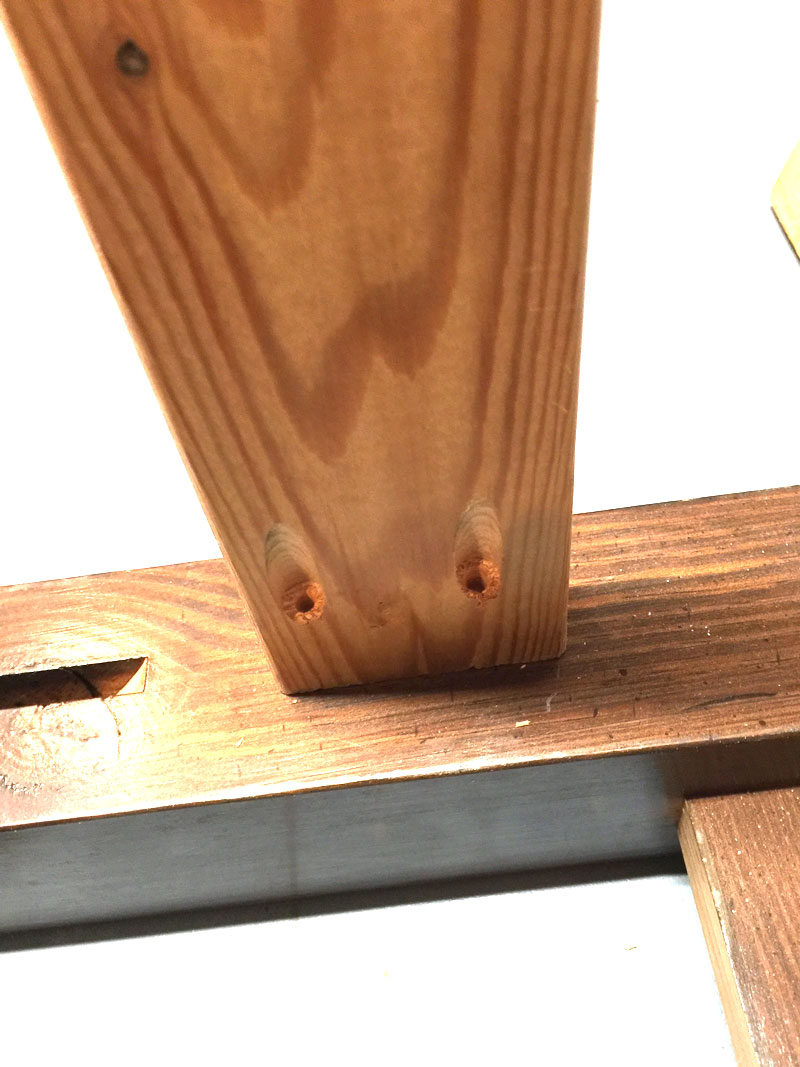
The frame was built using pocket holes and 2″ pocket screws.
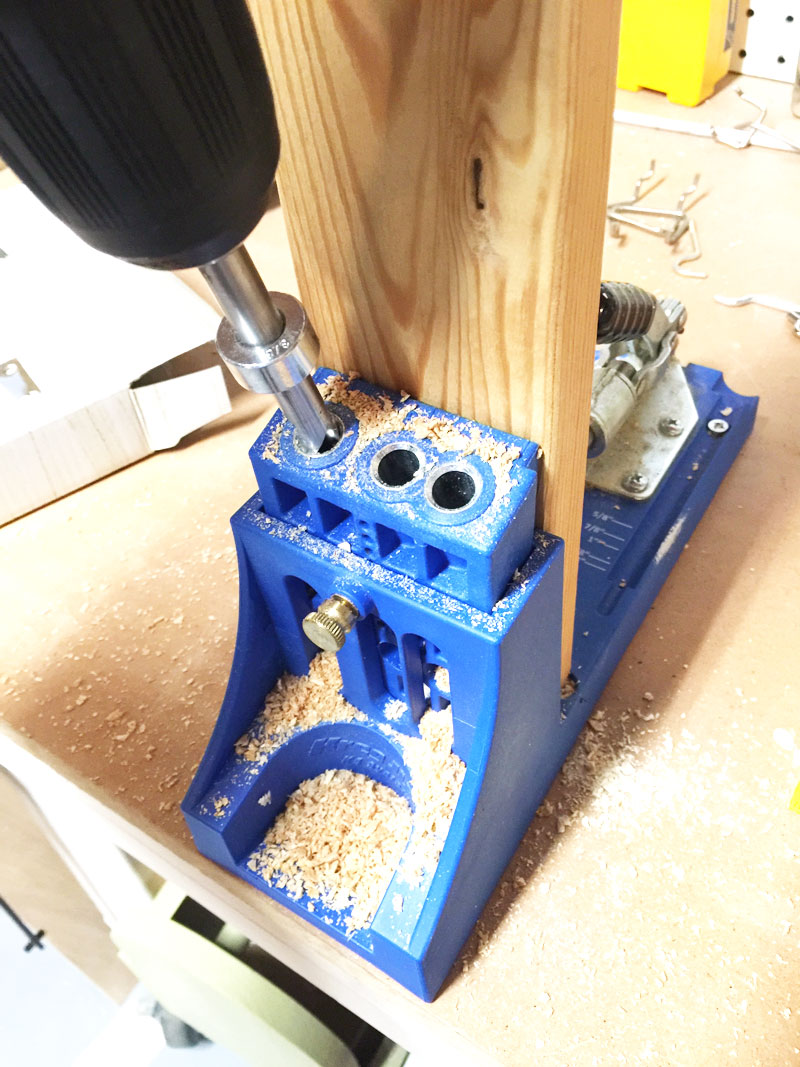
I also used pocket screws to attach the frame to the headboard.
You probably noticed that I haven’t given dimensions for any of the wood. That’s because every headboard is going to be a different size. If you are going to make one of these headboard benches, you will have to customize the cut sizes to suit your headboard.
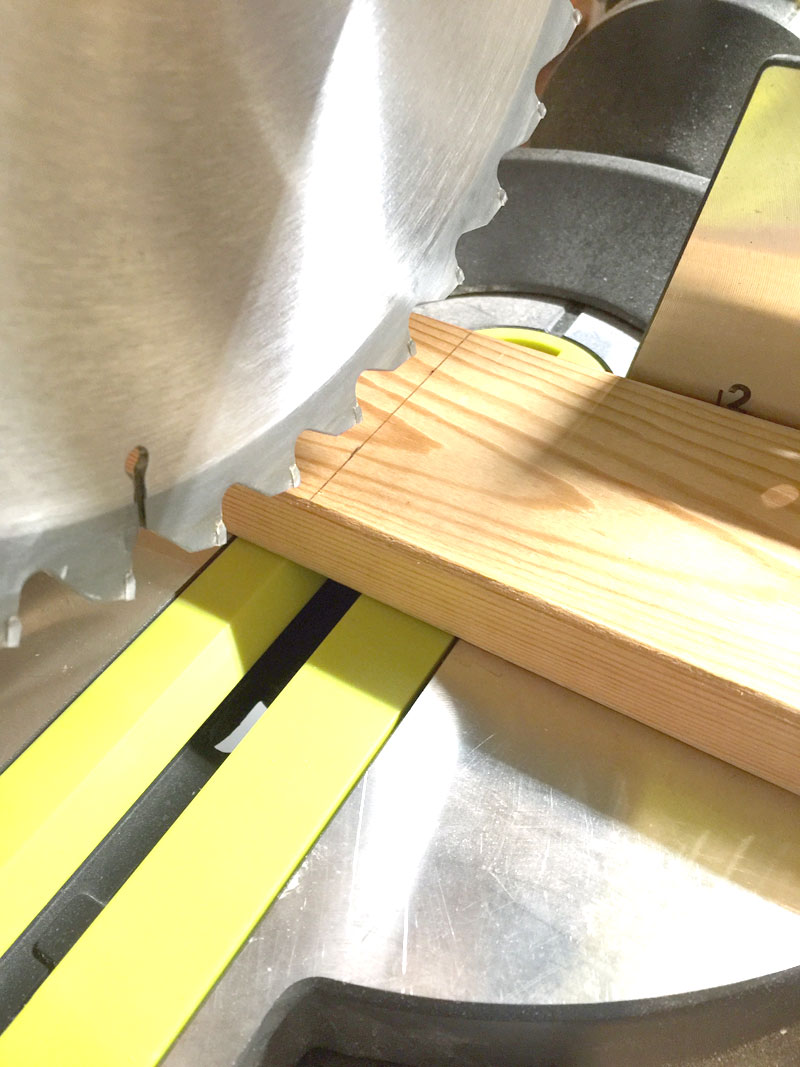
I will say that the height of my bench is about 17″ and the depth is wider than most – about 19″. It is 39-1/2″ long.
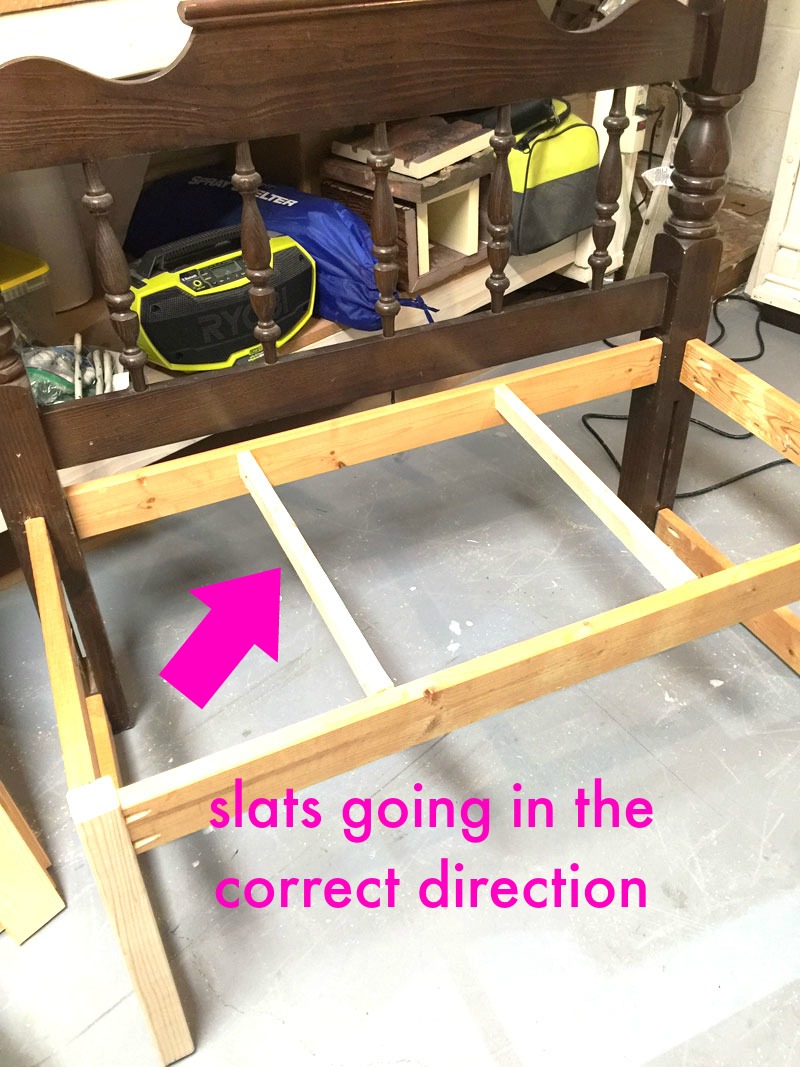
The second mistake I made was installing the support piece in the wrong direction. Since my bench top pieces would laying from side to side rather than front to back, my support pieces need to go in the opposite direction. (Another lesson learned)
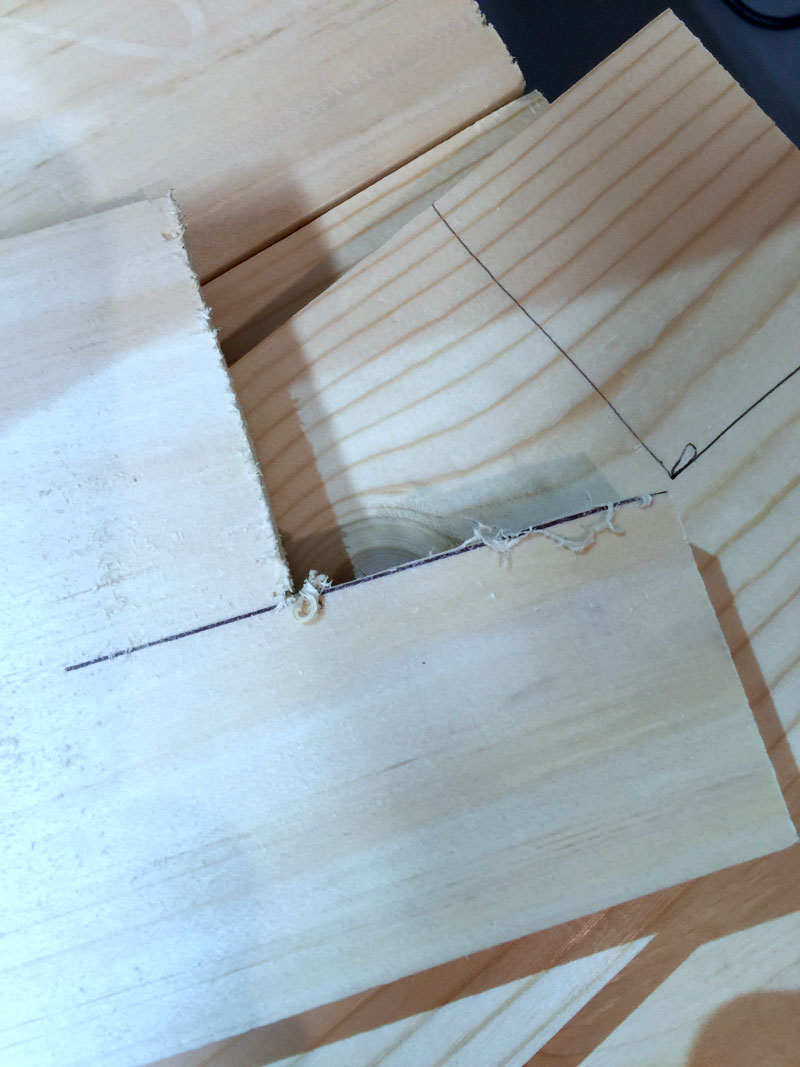
The 1 x 6 boards were cut into 39-1/2″ planks and attached to the frames using 2″ finish nails with my finish nailer. The last plank at the back of the bench had to be notched out to fit around the posts of the headboards. This was easy to do with my jig saw.
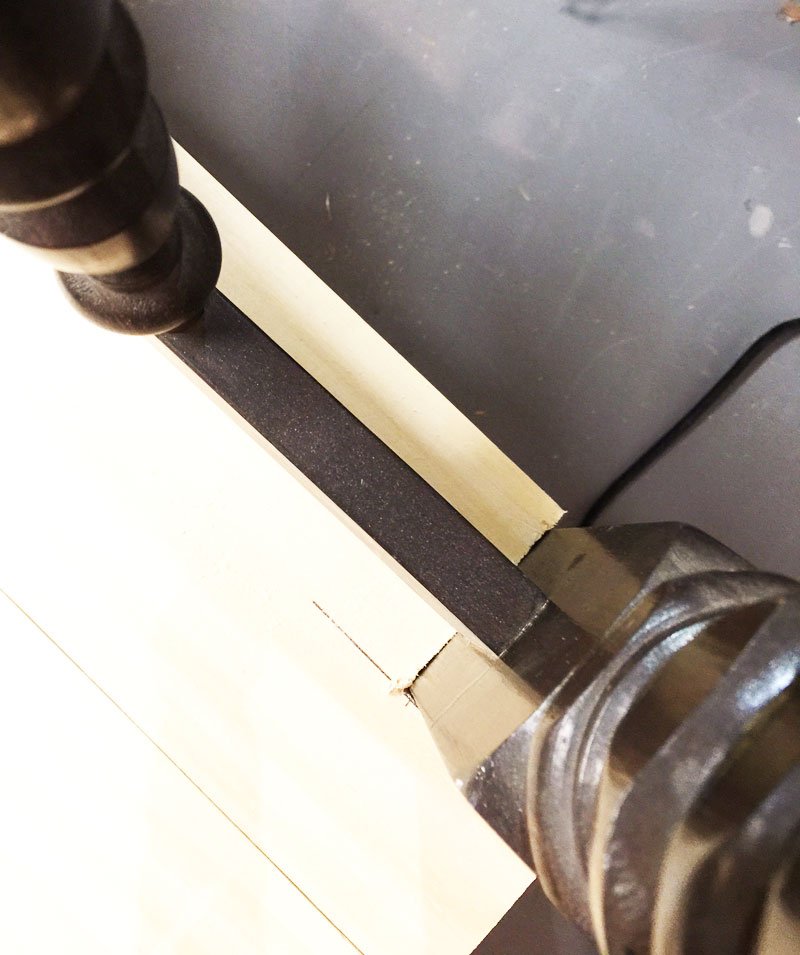
Perfect fit!
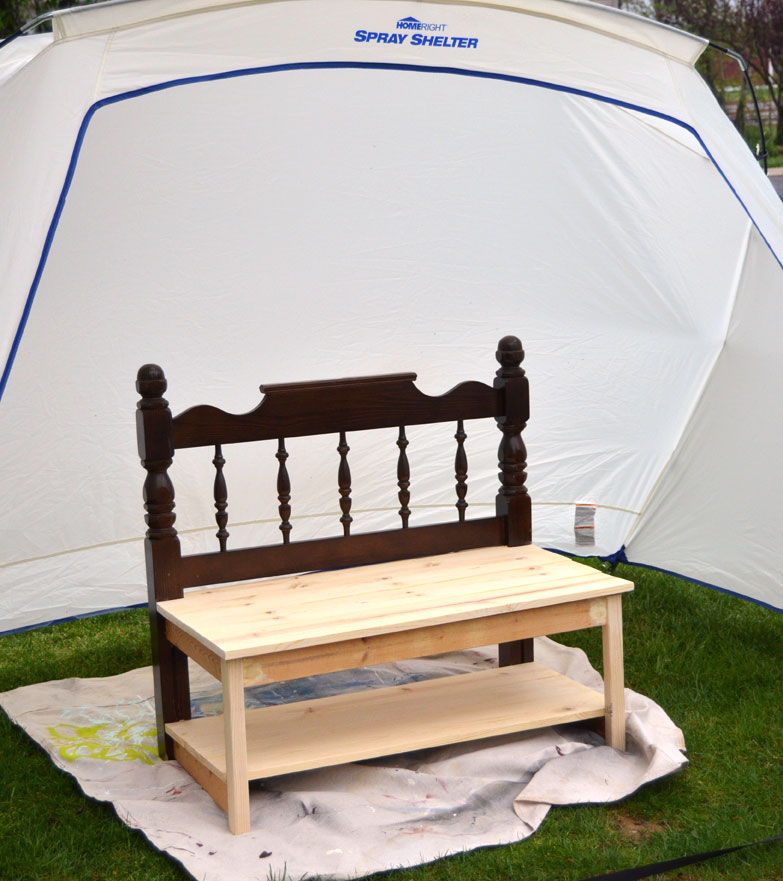
Before I could start painting, I had to fill the nail holes with wood filler and allow it to dry before sanding. I used my HomeRight Paint Sprayer and HomeRight Spray Shelter for this project. It was a windy, overcast, and drizzly day so the HomeRight Spray Shelter sure came in handy! I think my neighbors might be jealous ; )
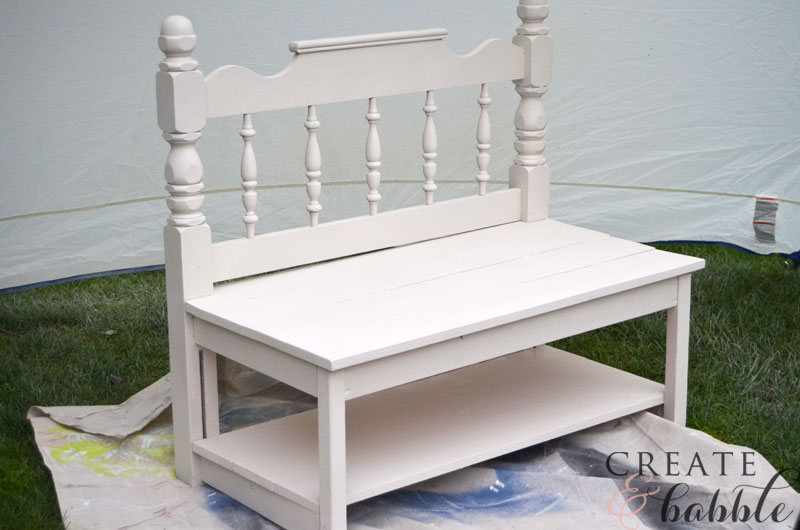
I painted it with Amy Howard One Step Paint in Linen. I adore that creamy color!
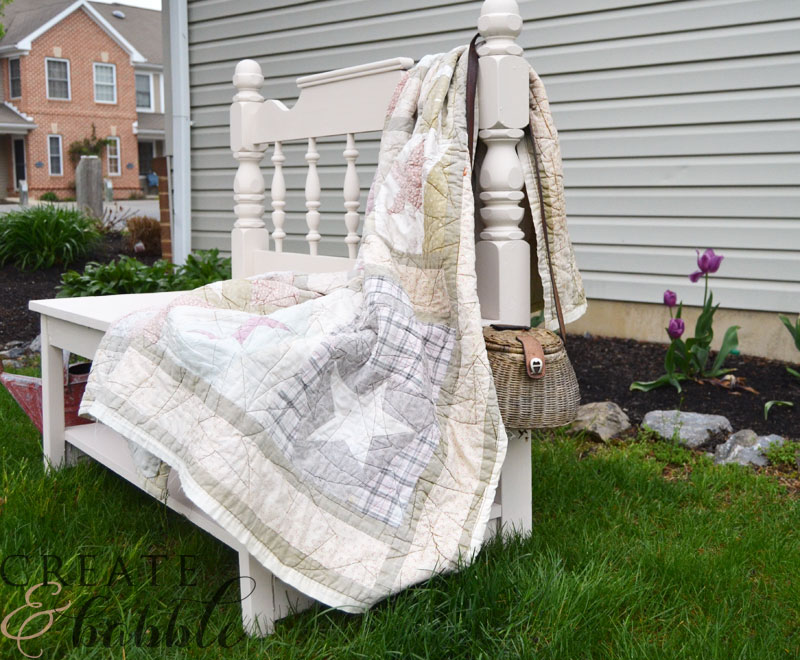
This bench was originally going to be placed in my bedroom but once it was done and I had staged it for photographs in my yard, I kinda liked it there!
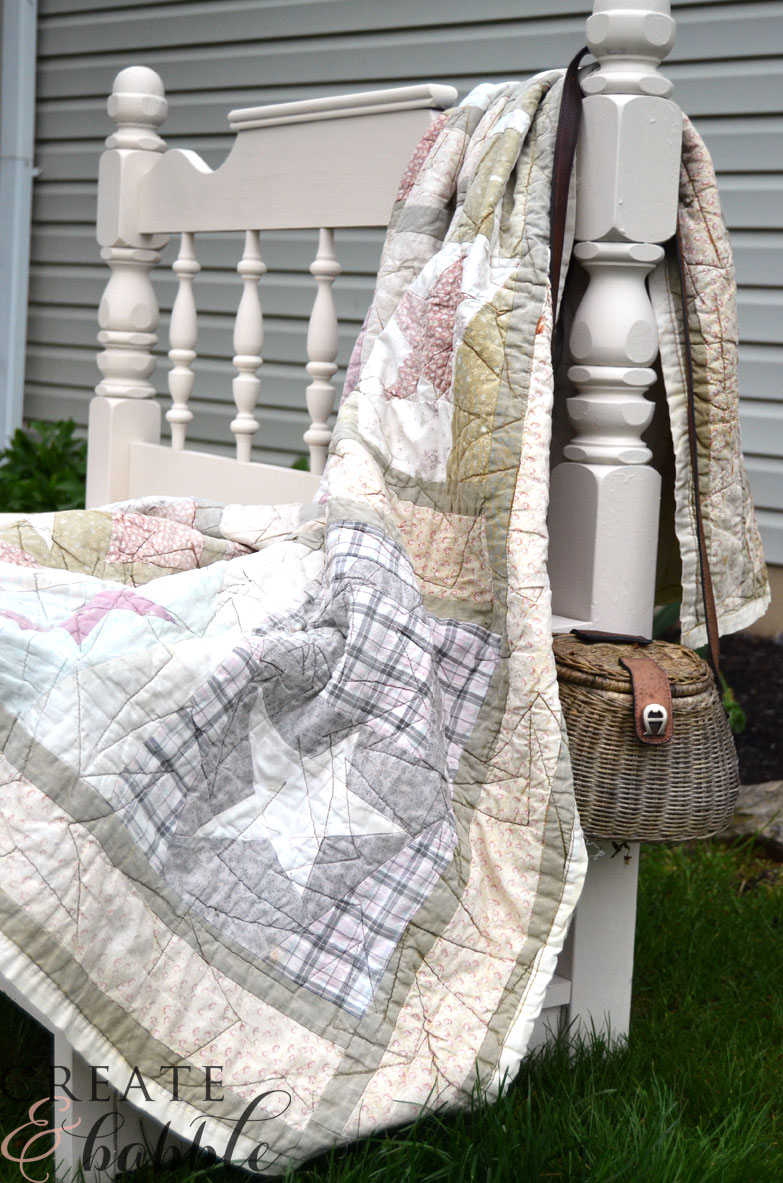
I’ll just have to look for another headboard and make another bench for the bedroom!
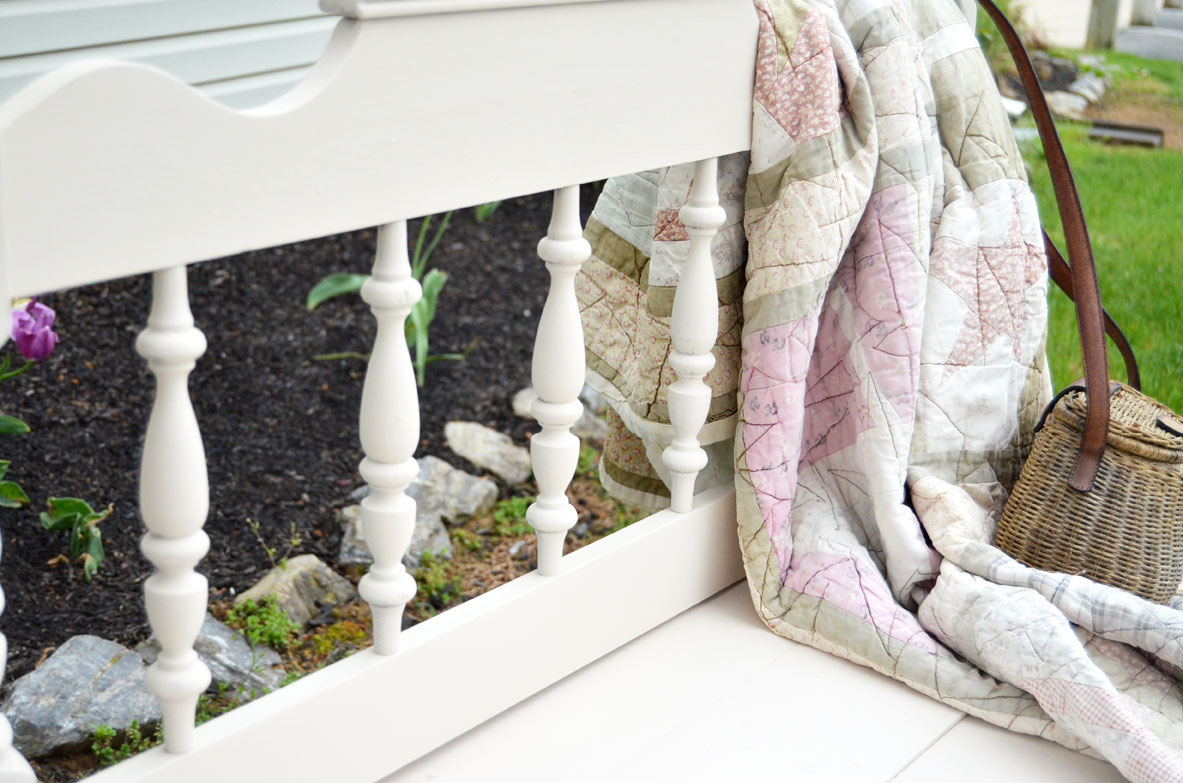
I moved the garden bench to the front yard under a tree. It will be nice, shady place to sit in the afternoons this summer.
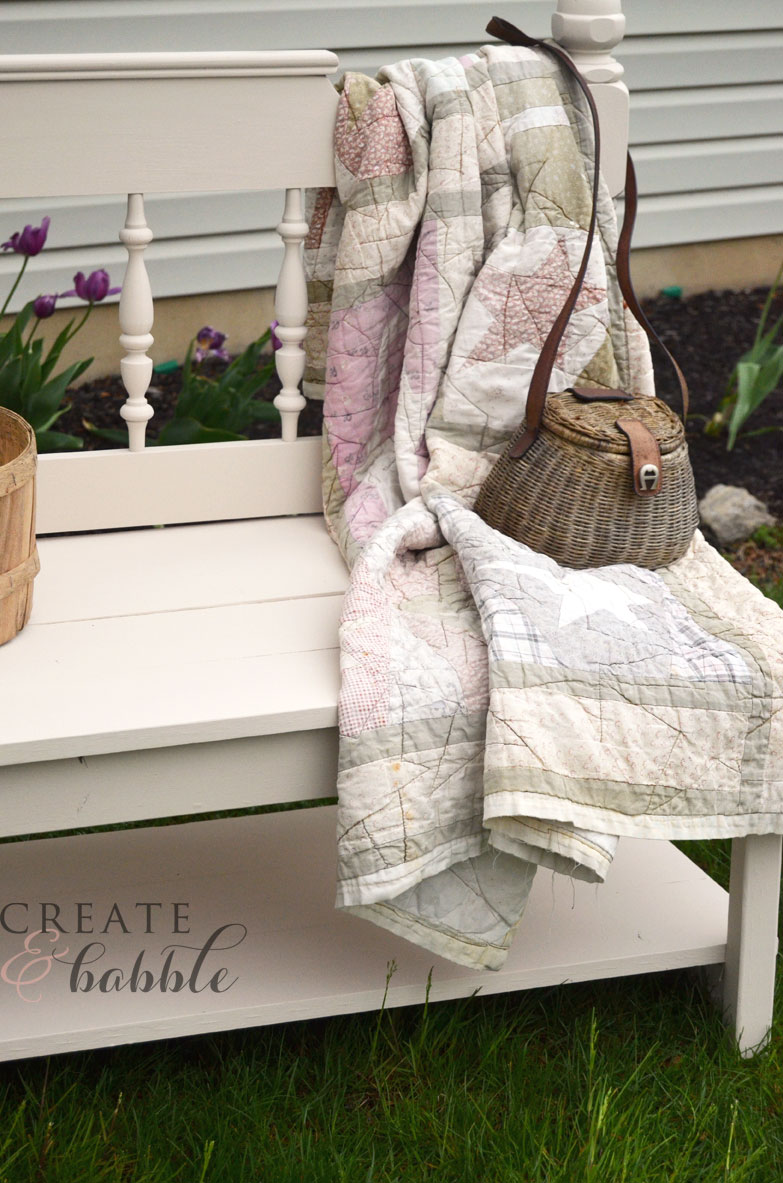
If you enjoyed this repurposed project, then you may also like these:
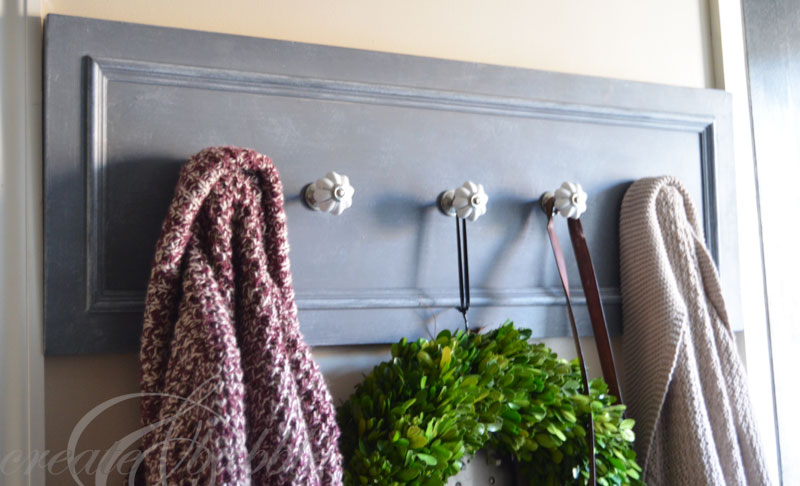
REPURPOSED CUPBOARD DOOR into COAT RACK
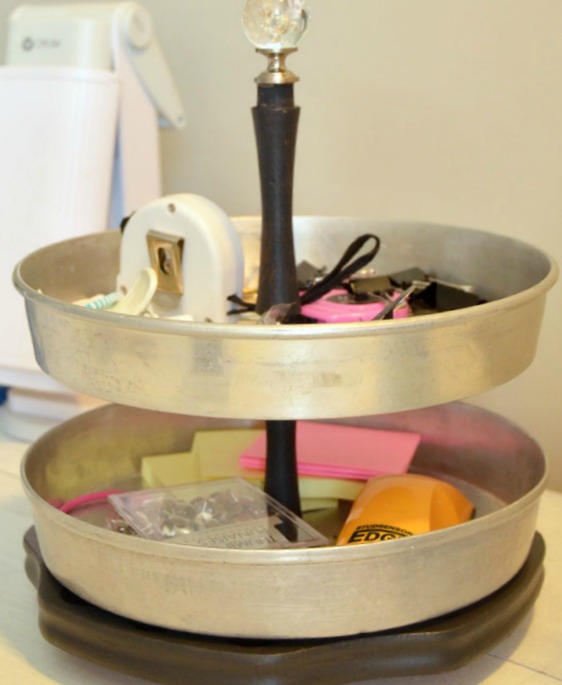
REPURPOSED PIPE HOLDER into 2-TIERED STAND
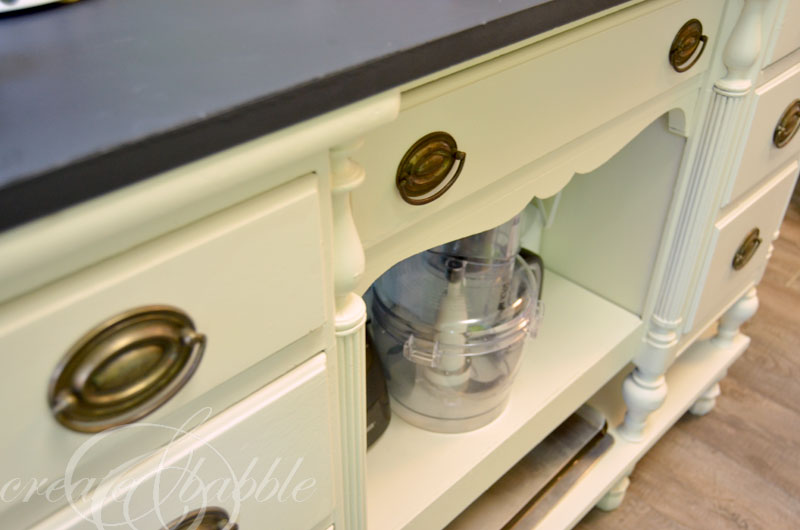
REPURPOSED DESK into KITCHEN ISLAND
Now head over and visit my friends. I can’t wait to see what repurposed projects they have made!
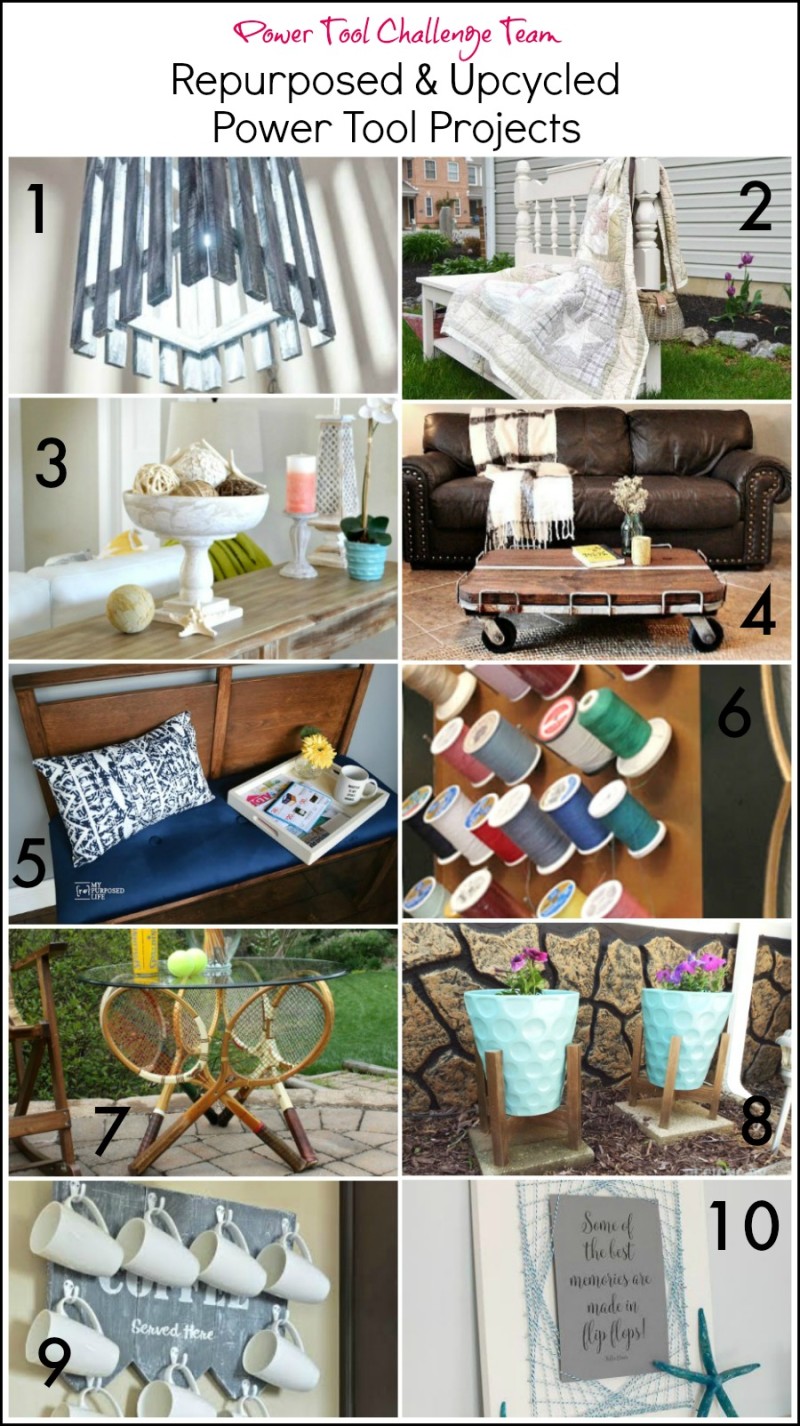
1 Hanging Picket Pendant Light by Designed Decor
2 Garden Bench by Create and Babble
3 Bed Spindle Pedestal Bowl by H2OBungalow
4 Industrial Cart Coffee Table by Refresh Restyle
5 Mid Century Headboard Bench by My Repurpose Life
6 Framed Wall Spool Rack Upcycle by Kim Six
7 Vintage Tennis Racket Table by Virginia Sweet Pea
8 Recycled Wood Plant Stands by Designs Bt Studio C
9 Rustic Coffee Mug Holder by Interior Frugalista
10 Repurposed Cabinet Door String Art by Domestically Speaking
Linking up here and and Wow Us Wednesday.




Love it Jeanie! You’re video on FB was awesome!
So pretty and useful. Love the two tiered look. I know exactly what you mean about not finding what you want when your’re looking for it! Next week you’ll see tons of headboard at crazy low prices! So glad I inspired you too:)
Headboard benches are at their best when they have storage! 🙂
You did a great job with your repurposed project, but you should know–making headboard benches can be very addicting! lol
love, love, love your bench Jeanie
pinned!
gail
I love headboard benches and yours is so pretty – love the fresh white paint and how you added a shelf underneath. You rocked your first headboard bench, Jeanie!
I’m always a sucker for a headboard bench…just love the charm they have. You did a fantastic job, even if there were a few oops moments along the way! 🙂
Such a cute bench! I love the shelf on the bottom!
Such a cute bench! I love how it turned out!
Love the creamy color of the bench – it is so beautiful!
I always love a headboard bench – so pretty!
This is perfect for your yard and I like that you designed your bench with storage under the seat. That will come in handy if you decide to move this inside your home.
I love the bench Jeanie! Great job! What alot of work. It turned out so well. I love the soft white color you chose as well.
I love this. I really want to make one and have everything and now with your instructions I should be good to go.
I can’t believe that is the first headboard bench you’ve ever made. Awesome job! Especially like the extra storage. Thanks for sharing, Cynthia
I so want to make a bench like this, have the head board, but not yet the time.
You did a wonderful job on the bench.
This came out great!!! I’ve been seeing these more and more. I need to make one!
What a pretty little bench you’ve created! Thank you for sharing the tutorial on how you did it too! This is awesome! If you would like to join in one more party, I host Making Broken Beautiful every Thursday thru Sunday over at The Curator’s Collection and I’d live for you to come and inspire! Have an awesome day!
Smiles!
Terry
The Curator’s Collection & Making Broken Beautiful Thursday
Your little bench is so so nice, I love it! Benches are great around the house, in the entrance, kitchen, porch…anywhere! I could see this one in my entrance, it’s really pretty!
The outcome is amazing. You would never guess that it was made from a headboard. I love the shabby chic feel of it.
Thanks for sharing!
The exact amount of the customs clearance fee can vary based on the complexity of the shipment and the services provided by the customs broker. Some brokers charge a flat fee, while others may calculate their fees based on the value or weight of the goods being imported. It is advisable to obtain quotes from different brokers to compare their fees and services before making a decision https://www.youtube.com/watch?v=we2MymvRgQU