It’s time for the One Room Challenge Week 3 Update for my Master Bedroom Makeover. (In case you missed them, here is Week 1 and Week 2.)
I’ll quickly catch you up on what got done this week, but first I want to show you How to Make Farmhouse Style Pallet Wood Frames.

Since time is always limited around here and I wanted some wall art on the wall above the bed as a focal point, I decided to make three framed watercolor floral prints for that big wall.
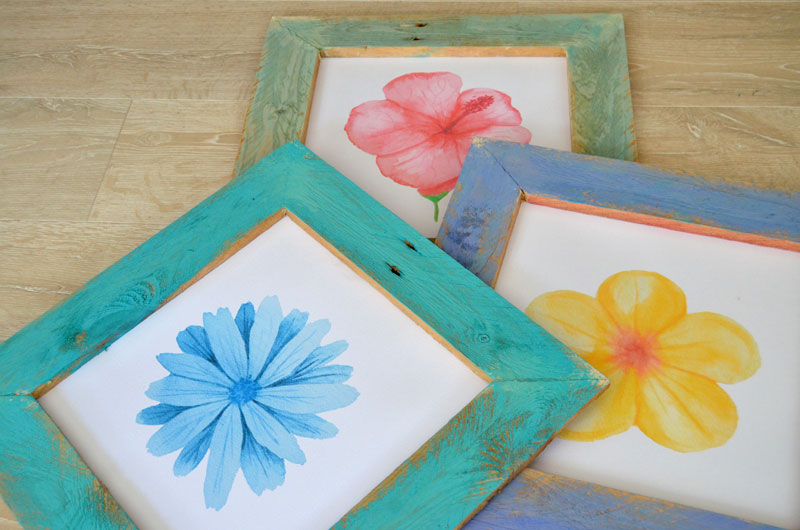
These pretty frames were made with pallet wood that I cut on my miter saw at 45 degree angles. The water color flowers were printed on white textured card stock. The textured card stock give the impression that these prints were really painted instead of printed.
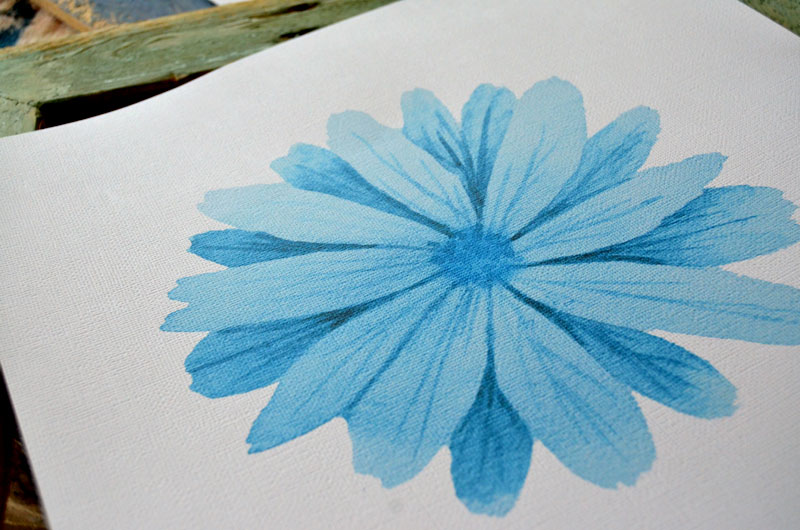
I used my Canon Pixma wide format printer to print out the flowers. I honestly don’t recall where I got the files for water color flowers but similar ones can be found here.
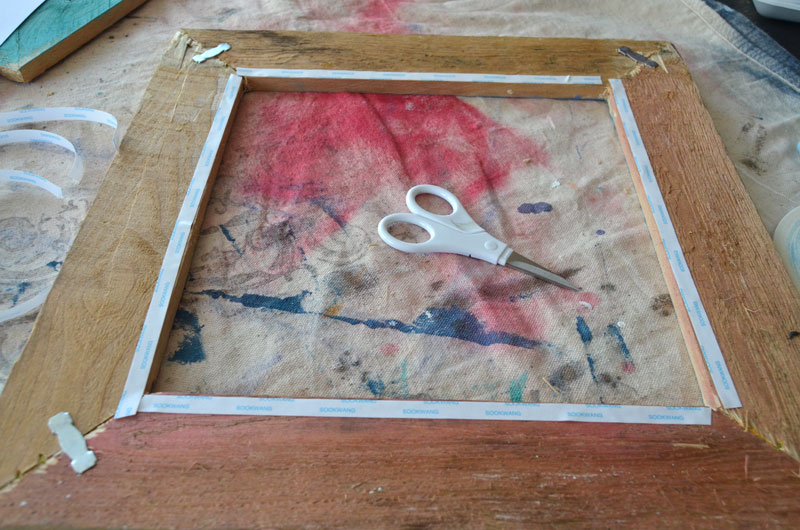
The frames were put together with wood glue and staples. The printed water color flower was attached to the back of the frame with double-sided tape.
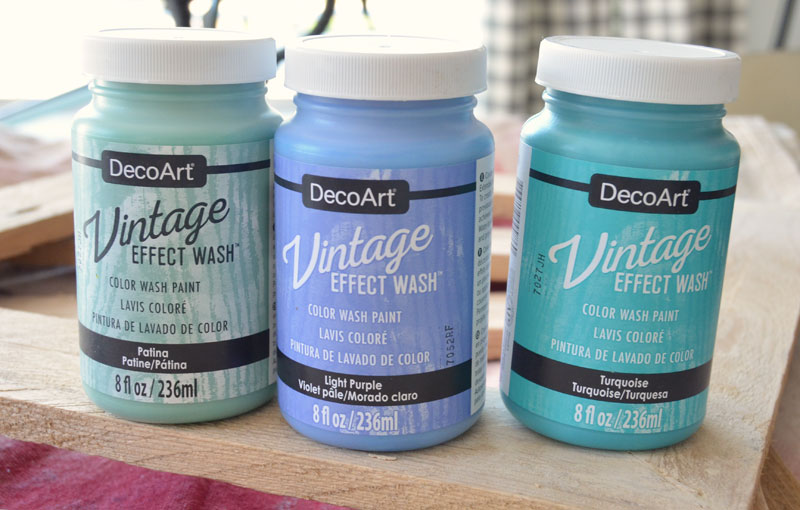
I finished the frames using Vintage Effect Wash™ that I received from DecoArt. It’s a brand new product and I couldn’t wait to try it. I have to say I love it and can’t wait to use it again.
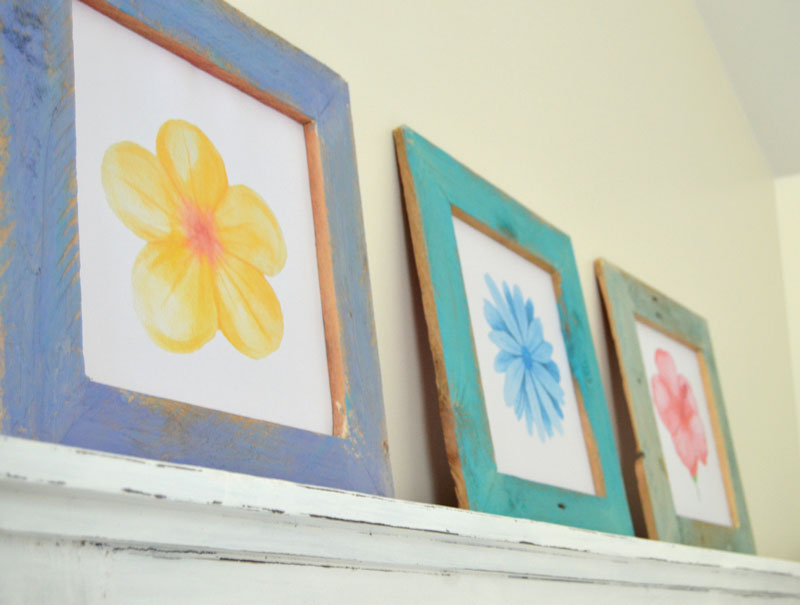
For now the framed prints are resting on the top of the headboard. I’m not sure whether I’ll keep them there or hang them on the wall above the headboard. I’ll determine that once everything else in the room is done and in place.
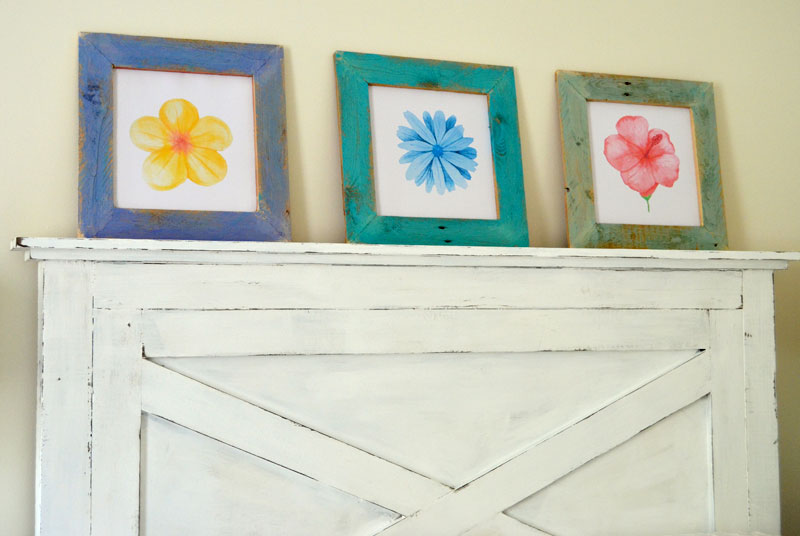
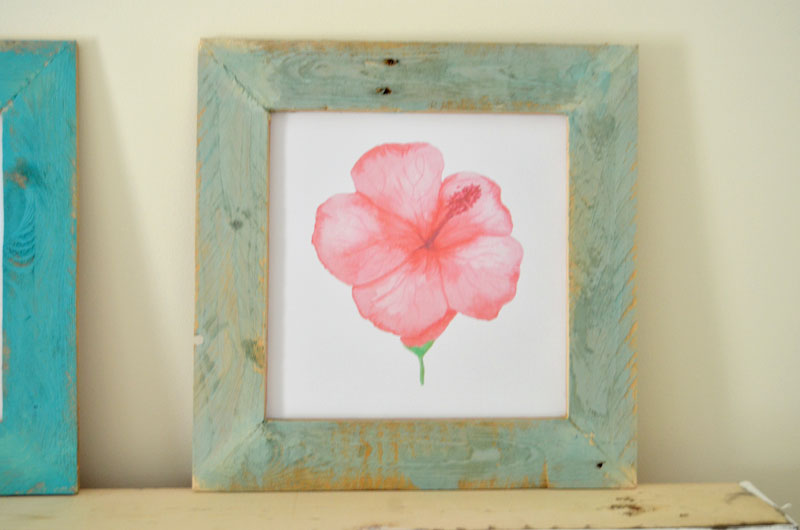
I believe a saved a big chunk of change making these beautiful framed prints myself.
I am updating my orange master bedroom as a guest participant in the One Room Challenge. The ORC® is a six-week long event hosted by Linda from Calling It Home. Every week on Wednesday, 20 professional design bloggers give an update on their room makeovers. And then on Thursdays, the guest participants (that’s me and a couple hundred of my blogging friends) link up our room updates.
I originally started this makeover in April, but had to bow out after an unexpected medical issue. But now I’m back to finish!
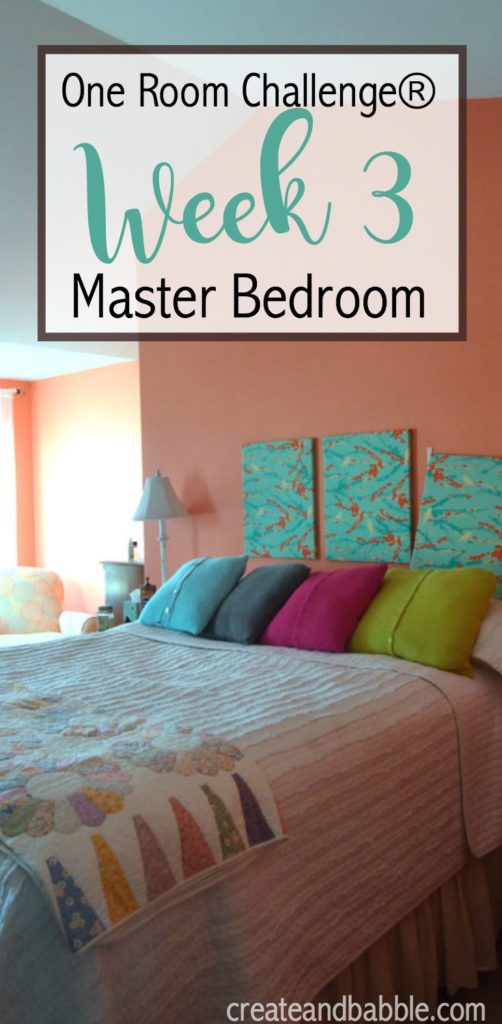
Like I said, I started with an orange bedroom! It’s no longer orange – we took care of that in Week One!
The plan was to work on building the window seat last week but that just didn’t work out. I just may have spread myself a little thin last week. But the good news is that I do have an update!
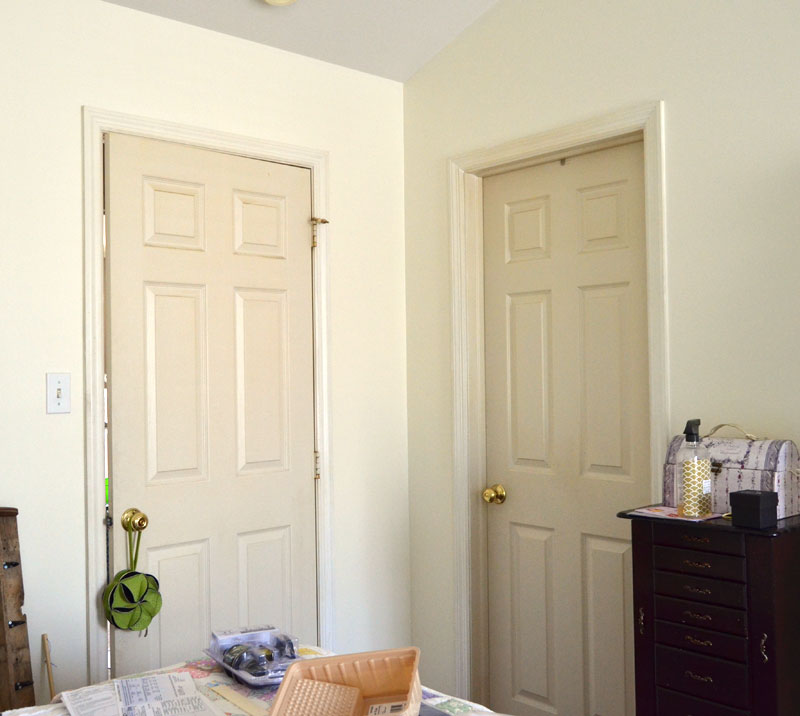
What did I get done? Well for starters, the trim and doors are painted. Which is no small feat. There are three six panel doors in this relatively small bedroom! And I honestly am not sure if they have ever been painted since this house was built about 17 years ago!
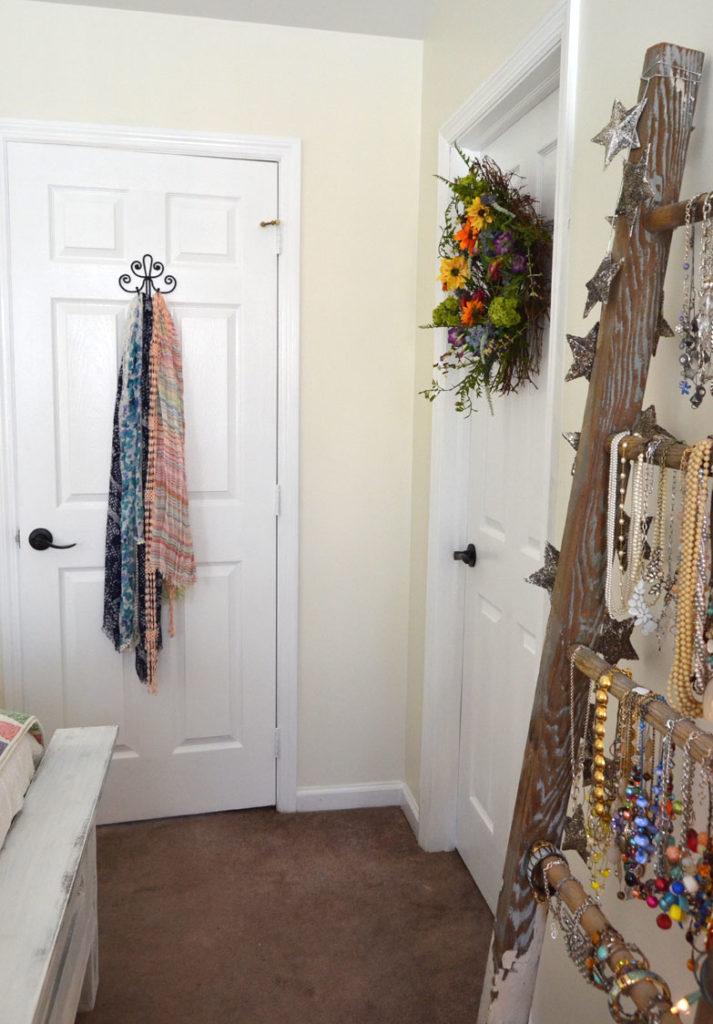
They now look soooo much better! I’m going to have a complete tutorial with tips and tricks for painting interior doors coming up next week so watch for that.
Here is Where I Party!


Your wood frames came out so nice. I love the bright, cheery paint colors you used on the frames. Good luck with the rest of your projects!
I love the effect of that paint! Love Deco Art!
The paint made such a difference and I love your framed prints!
The color of those frames are so pretty! I love that the grain is still showing through.
Great tip to use card stock to make the prints look more like paintings!! I will have to try that soon!
They look lovely. What a good idea zz
Wow, your frames came out great. Those type of frames go for a pretty penny in the stores so it’s nice to see a more frugal option. I’ll have to give it a try myself.
Love our article! I am impressed with your work and want to do similar. Thanks for the wonderful idea.
These look awesome! Pinned! Thank you for sharing at the To Grandma’s House We Go DIY, Crafts, Recipes and More Wednesday LInk party! Hope to see you again next week.
Very cute! I love the look of the paint. Hubby makes my frames for me. It’s so nice!! Thanks for sharing with SYC.
hugs,
Jann
I love your frames. Such a creative idea.
Stop by Thursday Favorite Things since you are being featured.
Hugs,
Bev
This is some really good information about how you can use wood pallets. I love the idea of using old pallets to make picture frames. That seems like a very useful thing to do when you have a lot of old pallets. I wonder if it is hard to find pallets that you can use to make frames like this.
Wonderful! Be careful not to destroy your walls. If you ever damage your wall or ceiling, a repair is essential to resolve the problem instantly so the damage won’t get worse.
Oh Great, I read this post very carefully. It’s very informative for me. I am getting some new ideas from this post. I have also another idea and this that if you arrange with the pallet wood frames then you should to choose the best paint for your wood frames.
Thanks.
Hello,
I really Liked Your idea of making frames with woodden pallets and with colours it looks good !! it will give a amazing look to use in some creative framing of art !!
hey good one
Schools can collaborate with local organizations to offer students volunteer opportunities, promoting community service and civic responsibility. Trusted crypto casino platforms
It looks very unusual! I really like the option of personalized frames, that’s why I chose Art framing stores near me http://customframingwholesale.com . Minimalism and restraint are in fashion! Sometimes one small detail looks much more interesting than an abundance of decor. If you are not sure that you can create a decoration with your own hands, contact a specialist or buy a ready-made decor. Paintings and photographs, no matter how you look at it, can be called a universal way of decorating.
Users may control devices with thoughts, making keyboards and touchscreens obsolete. Energy harvesting from body heat, movement, or solar cells will eliminate the need for charging. https://btcbulltoken.com/