• Home
  • About
  • Contact
  • Partner
  • Privacy Policy
    • Facebook
    • Instagram
    • Pinterest
    • Twitter
    • YouTube

Create and Babble

  • DIY
    • Home Improvement
    • Upcycle
    • Furniture Makeovers
    • Build It
  • Craft
    • Silhouette
    • Sewing
    • Wedding DIYs
    • Seasonal
    • Gifts
  • Lifestyle
    • Bicyling
    • Travel
    • shopping

STAY UP TO DATE

Get the latest crafting and DIY tips, tricks and tutorials delivered straight to your inbox!

How to Use Deco Foil With a Silhouette®

June 1, 2016

If you like it, please share it!Share on pinterest
Pinterest
Share on facebook
Facebook
Share on twitter
Twitter
Share on stumbleupon
Stumbleupon
Share on google
Google
Share on linkedin
Linkedin
Share on reddit
Reddit

click here to signup for optin for popular poss

affiliate links

Thermoweb has a product called Deco Foil. Are you familiar with it? I first saw Deco Foil at SNAP, the craft bloggers conference that I went to back in April. I was so impressed with it and I knew right away that I could figure out a way to use Deco Foil with my Silhouette®. I was right. Deco Foil and Silhouette® play very nice together!

See this tutorial on how to use Decor Foil with a Silhouette® and make this pretty, distressed-star candle holder

What is Deco Foil? Deco Foil is a transfer material. It is very thin and very shiny. It reminds me of gold leaf – only it’s not that fragile! And it’s way easier to work with.

Deco Foil transfer sheets add a metallic accent to just about anything: paper, wood, fabric, and in today’s project I’m using it on glass. Look for a fabric project here soon.

Learn how to use Deco Foil with your Silhouette® Cameo or Portrait

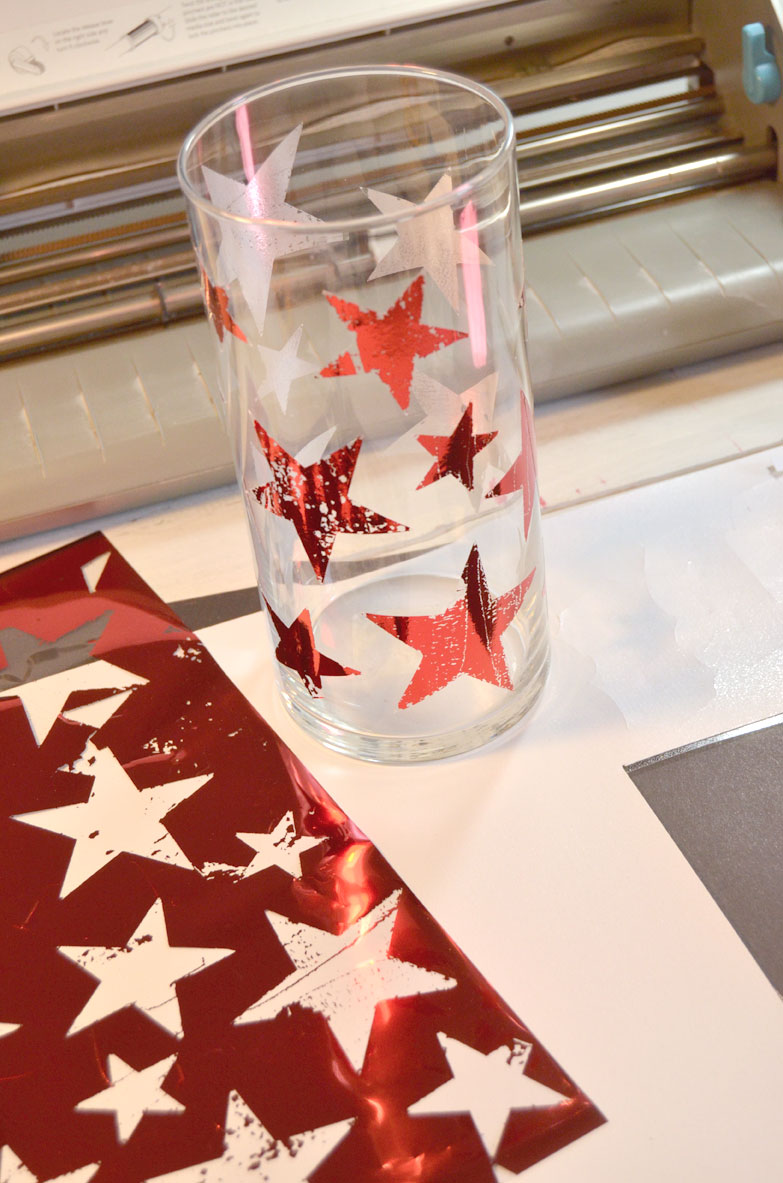
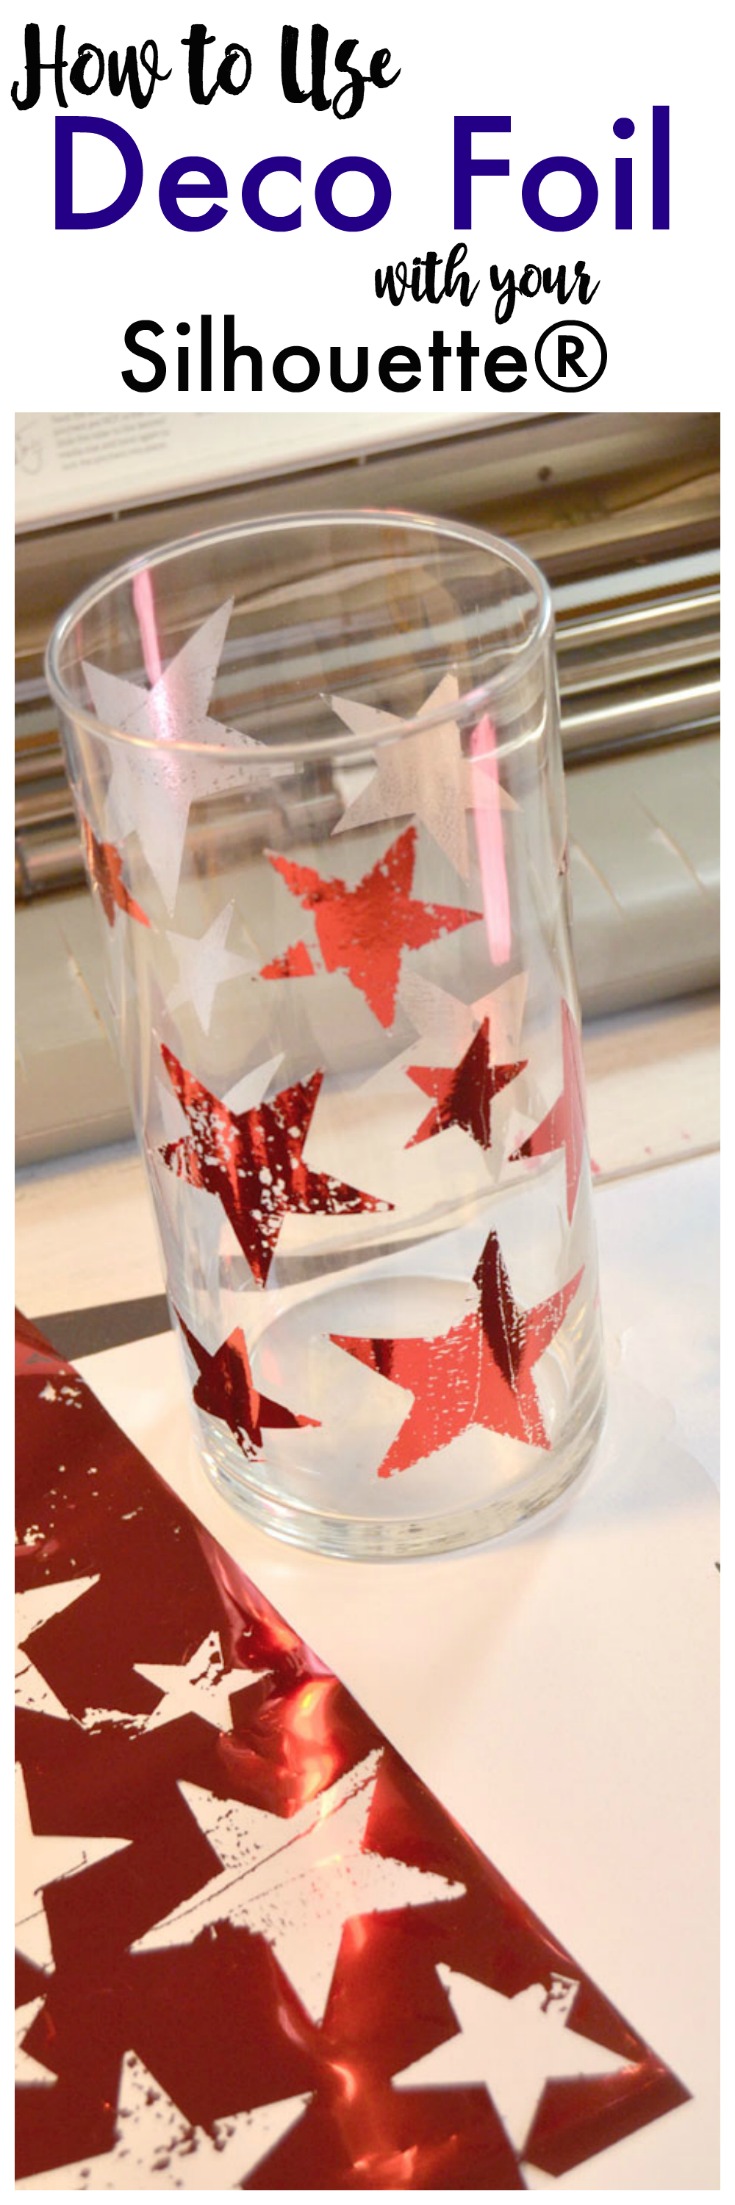
I want to show you how I used Deco Foil and Silhouette® double-sided adhesive to make this patriotic-looking, star-spangled candle holder. I love how the stars have that trendy distressed look, don’t you?

If you’re not familiar with Silhouette® doubled-sided adhesive, I explain it in more detail here and here.

Make a pretty distressed-star candle holder with a vase from the dollar store, deco foil, and your Silhouette® machine

How to use Deco Foil and Silhouette® doubled-sided adhesive
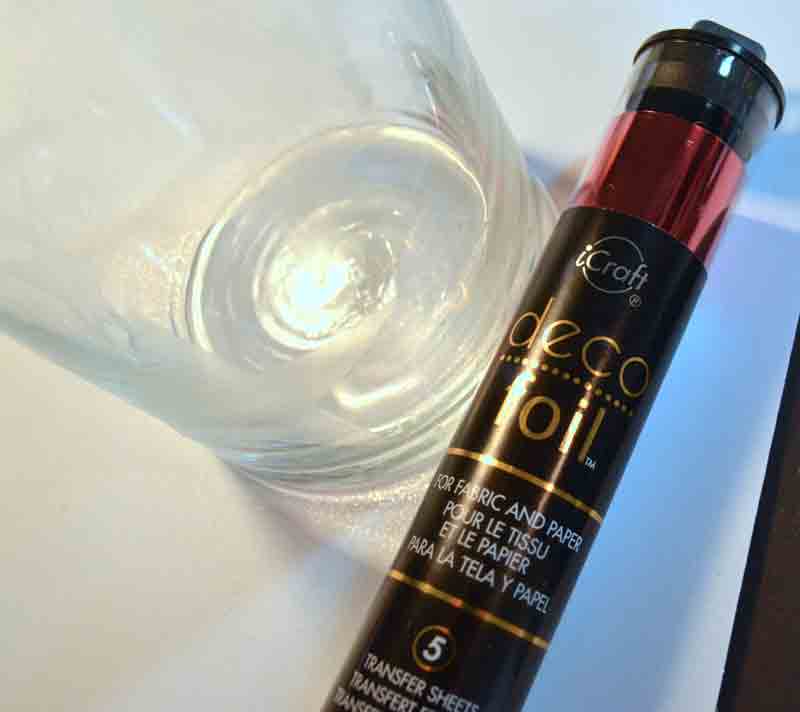
I used a $1 vase from the Dollar Tree, a sheet of red Deco Foil and a sheet of the Silhouette® doubled-sided adhesive. Those three things along with your Silhouette® machine are all  you need.

Let’s get started.

How to use Deco Foil with a Silhouette®

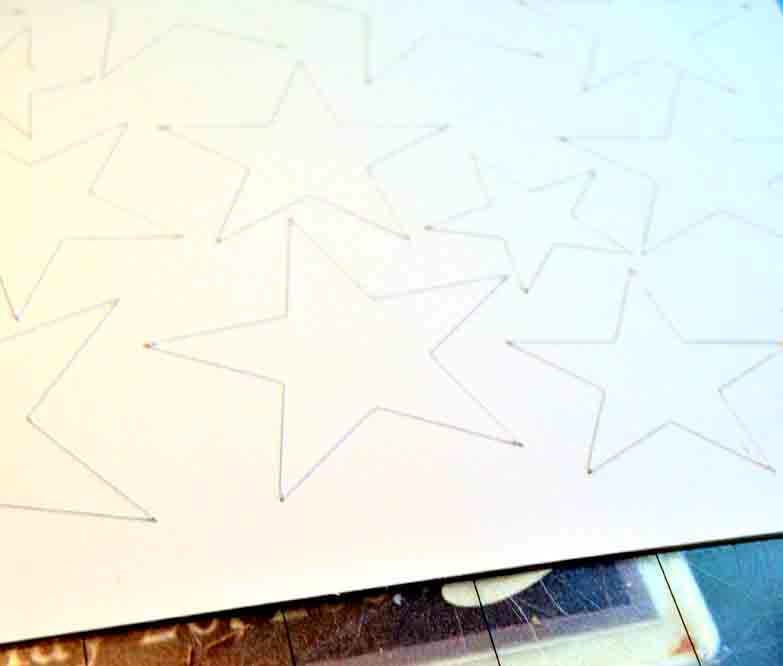
Step One: Cut the stars from the double-sided adhesive

create a page of stars in Silhouette Studio

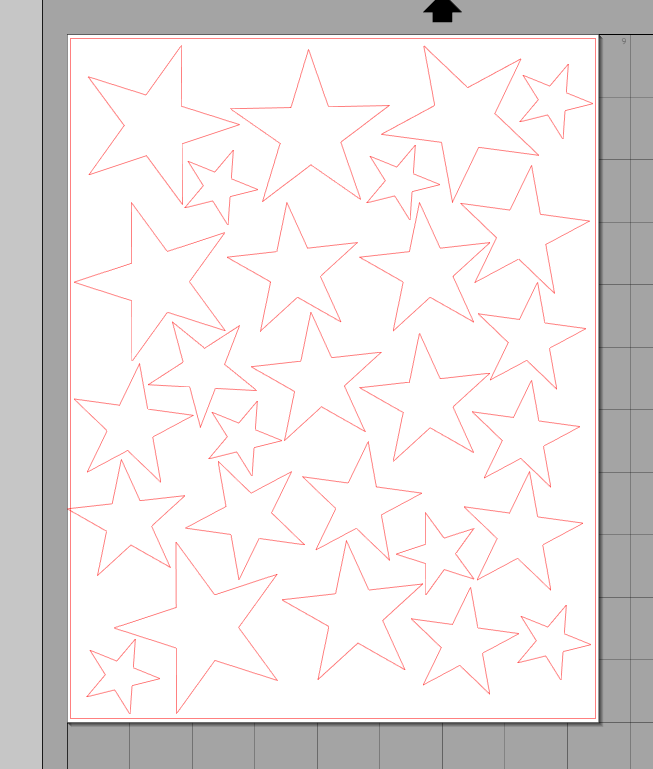
Open up Silhouette Studio® and make a page that is 8-1/2 x 11 since that is the size of the doubled-sided adhesive. Fill the page with three different sized star shapes. I used Design ID #27272 Echo Park Stars. (I ungrouped and re-sized the stars)

cut settings window of silhouette studio

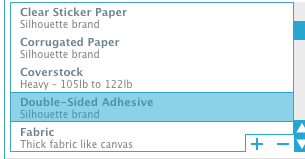
In the cut settings window, change the material to the Silhouette brand of Double-Sided Adhesive.

stars cut from silhouette doubled sided adhesive

Cut!

Step Two: Apply the adhesive to the vase

apply the adhesive stars to the dollar tree vase

Simply pop the star shapes off of the cutting mat, remove either the white or yellow backing, and then apply the adhesive stars in a random pattern all over the vase. Next, remove the remaining backing revealing the star-shaped adhesive.

Step Three: Apply the Deco Foil

lay sheet of deco art over star filled glass vase and rub

Lay the sheet of deco foil on the vase. Burnish the foil onto each adhesive star by rubbing your finger back and forth across the stars. Now remove the sheet. That’s it! Easy, right? Pop in a $1 candle from the dollar store to make a pretty candle holder.

shabby-star-candle-holder

I love how it turned out. What do you think? Please let me know in the comment section if you have or plan to use Deco Foil with your Silhouette® machine. I’d love to hear!

pin-this-post

click here to signup for optin for popular poss

Linking up here, at Wow Us Wednesday, and at Remodelaholic Anonymous.

If you like it, please share it!Share on pinterest
Pinterest
Share on facebook
Facebook
Share on twitter
Twitter
Share on stumbleupon
Stumbleupon
Share on google
Google
Share on linkedin
Linkedin
Share on reddit
Reddit

Filed Under: Crafts, Dollar store crafts, Seasonal, Silhouette

« How to Deep Clean a Carpet
Make Lawn Dice »

Comments

  1. Abigail Cain says

    June 1, 2016 at 8:02 pm

    That’s a great idea! I never even knew you could do something like that. Thanks for sharing! 🙂

    Reply
  2. gail says

    June 2, 2016 at 10:29 am

    That’s a fun project Jeanie! I have some foil aound here somewhere….

    The dollar store has so many glass projects that could be gussied up for any holiday!

    gail

    ps pinning!

    Reply
    • Jeanie says

      June 2, 2016 at 11:03 am

      thanks Gail! I’m sure you have some – Thermoweb gave it out at SNAP. I like it so much I went out and bought more colors! Thanks for pinning!

      Reply
  3. Julia Sandvoss says

    June 2, 2016 at 11:19 am

    What a great project and thanks for showcasing our Deco Foil Transfer Sheets!

    Reply
  4. Ashleigh says

    June 5, 2016 at 9:27 pm

    I’ve never heard of this product before! I’ll have to try it on some mason jars : )

    I would love it if you would consider sharing this on my weekly Link Up:
    http://www.twentysomethinginthe2010s.com/peace-love-linkup-010/
    Hope to see you there! : )

    Reply
  5. Holly says

    August 31, 2016 at 2:59 am

    I’m only now hearing about deco foil, quick question, can you wash the glass after applying the foil? For example if I wanted to apply it to a drinking glass or vase.

    Reply
  6. kariatid says

    December 21, 2016 at 12:13 am

    I love Deco Foil and am glad to see it’s making a come back. I use it on my Minky machine. I’d like to know how you got the distressed look on the stars without having an issue with the open areas of the stars still being sticky?

    Reply

Trackbacks

  1. 3corinth says:
    January 12, 2022 at 8:25 pm

    2snorted

    Reply

Leave a Reply Cancel reply

Your email address will not be published. Required fields are marked *

About Jeanie

About Jeanie

Welcome to Create & Babble. This is where I share my loves: crafting, hiking and camping

Read more about me here

Categories

Archives

AntiqueFarmHouse
Zots Craft Adhesive Dots

Amazon Associates Disclosure

Jeanie Hevener Emmert is a participant in the Amazon Services LLC Associates Program, an affiliate advertising program designed to provide a means for sites to earn advertising fees by advertising and linking to amazon.com.


hobby lobby

Copyright © 2025 · Site by Pretty Pink Studio

Copyright © 2025 · Glam Theme on Genesis Framework · WordPress · Log in

This website uses cookies to improve your experience. We'll assume you're ok with this, but you can opt-out if you wish.Accept Reject Read More
Privacy & Cookies Policy

Privacy Overview

This website uses cookies to improve your experience while you navigate through the website. Out of these, the cookies that are categorized as necessary are stored on your browser as they are essential for the working of basic functionalities of the website. We also use third-party cookies that help us analyze and understand how you use this website. These cookies will be stored in your browser only with your consent. You also have the option to opt-out of these cookies. But opting out of some of these cookies may affect your browsing experience.
Necessary
Always Enabled
Necessary cookies are absolutely essential for the website to function properly. This category only includes cookies that ensures basic functionalities and security features of the website. These cookies do not store any personal information.
Non-necessary
Any cookies that may not be particularly necessary for the website to function and is used specifically to collect user personal data via analytics, ads, other embedded contents are termed as non-necessary cookies. It is mandatory to procure user consent prior to running these cookies on your website.
SAVE & ACCEPT